Theta laboratory | SOMA Game Walkthrough SOMA Guide and Walkthrough
Last update: 27 November 2018
On this page of SOMA Guide you'll find a second walkthrough for Theta Station location.
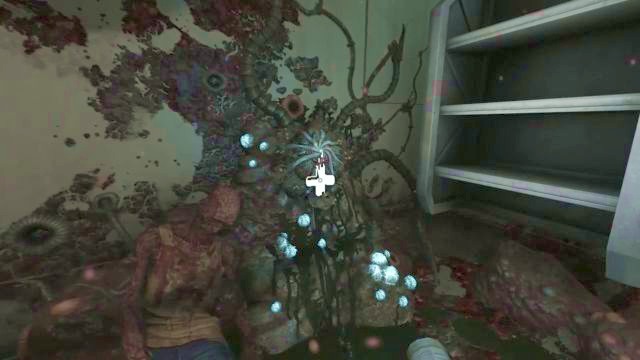
After landing in the ventilation shaft, turn around by 180 degrees and go straight ahead - you should soon reach a hatch through which you will enter the laboratory. Jump down and then turn around - there should be growth there in case you need to regenerate your health.

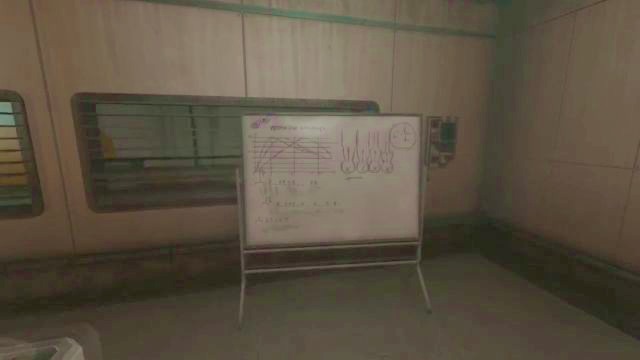
After regaining health, turn around and approach the table in front of you - there's a photograph here. On the blackboard, located nearly in the middle of the room, there's another photograph as well as a number of notes. From here turn to the left and go straight ahead - approach the desk, place the Omnitool in the socket and summon Catherine. When the conversation ends, pick up the cable on your left and stick it into the computer case standing nearby.

It will turn on the mentioned computer. Approach it and activate it - you will have to complete a little puzzle here. You must run (so that they are highlighted) a list of specific modules, so that the memory of the computer is not overloaded. You must run (highlight) the following modules (you can look at the above screenshot as well):
- sys_physics_rigid
- sys_physics_fluid
- sys_phys_buoy
- sys_wmod_atmo
- sys_interface_scan
- sys_wmod_dynlight
- sys_gen_veg_adv
- scn_forest
- pkg_soma_hum
- env_mod_river
- ext_moon_full
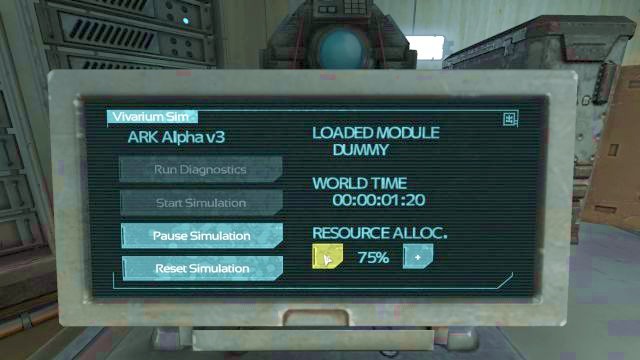
After you've done it, press the "NEXT" button. On the following screen select the "Dummy" option, and then press the "Start Simulation". Your task is to stop the simulation (by pressing the "Pause Simulation") right when the "Dummy" word appears below the "Loaded Module". Right now it's practically impossible to do so, as the modules switch way too quick. To make the whole process a lot easier, decrease the "Resource Alloc." to 5% - thanks to that, you will be able to pick up the moment in which the right module is loaded and stop the simulation.

When you stop the simulation, press the "Run Diagnostics" button. Your task by this terminal has come to an end, but before you leave the room, head towards the orange construction, with the biohazard logo on its doors. Open up the dome and get inside, so that Catherine can scan your body.
Start up the elevator

Pull the Omnitool out of the socket and go through the doors that require you to use the said tool. When the process of cleansing is finished and the doors are open, go straight ahead. At the end of the tunnel, right next to the entrance to the elevator there's a terminal to perform a Data Buffer, as well as a map of the area. A part of this chapter refers to the said map - its existence will make moving around the area a lot easier.
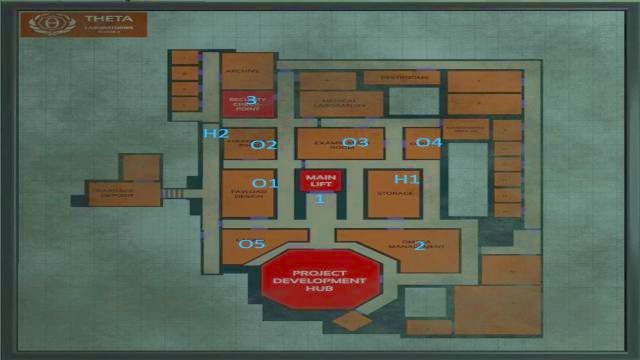
Your main task is to start up the elevator, which can be located near the data buffer terminal and the map (point 1 on the map above) - it lacks a certain chip, which you naturally must collect now. It can be found in the "Omega Management" room (point 2 on the map above). The doors are locked, and the only way (for now) leads through the window, which must first be smashed. There's only one problem - there are no viable items to do so, and you will have to look around the area to find a suitable one (a chair, for instance).
While looking for the item, you must also watch out for the enemy that wanders the area. It has a nasty habit of entering the rooms that you are currently inside, and which have a single entrance only, which almost always results in getting hit by the enemy. Listen and look out for the enemy to avoid situations such as those - corridors are somewhat lit, so hiding in plain sight will get you nowhere, as it will be able to notice you from quite a distance.
If you are in need of a healing, there are places marked on the map (points H) where you can regain health. It's the Storage (point H1 on the map), not far away from the elevator, and the passageway on the left side of the map (point H2 on the map). The chair, which can be used to smash the window can be found in the Payload Design room (point O1 on the map), in the Conference Room (point O2 on the map), in the Examination Room (point O4 on the map), as well as in the Office (point O4 on the map).
Additional items, which can be found, read or simply examined here are:
- Two boards in Payload Design (point O1 on the map)
- Audio recording in Examination Room (point O3 on the map)
- Computer in the Office (point O4 on the map)
- Data Buffer, 3 notes, computer in Security Checkpoint (point O3 on the map)
- Data buffer, board in Casing (point O5 on the map)
- Data Buffer on a corpse in Omega Management (point 2 on the map)
When you're finished with searching the area, it's time to get the chip. There are two solutions to the problem of getting inside the Omega Management - you can either smash the window with a chair, or simply open the doors from the computer in the Security Checkpoint. The first method does not require you to get inside a room located on the other side of the map, but will make a lot of noise which will attract the enemy. So it's generally a better idea to follow the second route.
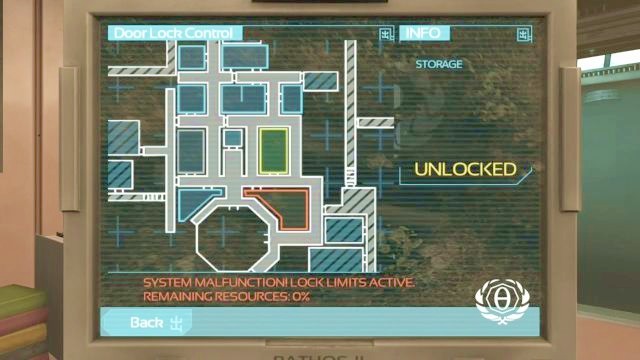
Get inside the Security Checkpoint room (point 3 on the map), pick up all the items in the area (check the list above for details) and activate the computer. Get into the Override Door Lock option, from which you will be able to unlock access to Omega Management. There's a catch though - you must first lock one of the other rooms in order to free the required power. Select one of the previously visited ones (such as Storage), lock it by clicking on the name, and then click on the Omega Management to open the door.

When you're done, go to the mentioned room - watch out so that the enemy won't see you. Get inside and locate the corpse lying on the chair - in its hand there's the chip. You must snatch it by force, by pressing and holding the interaction button and then pulling it away from its grasp. Go back to the Security Checkpoint, place the freshly acquired chip into the socket on the desk and start up the computer again. Select the "Key Control" option, and then press the "Update Connector Chip" button. Take the chip and leave the room.
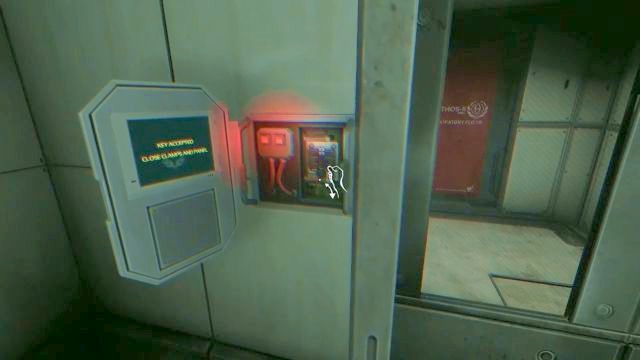
The lights will turn off and the area will now be pitch-black, so watch out not to run into the enemy - if it manages to corner you, throw an item somewhere to lure it away. Get to the elevator now (point 1 on the map), place the Connector Chip into the panel and secure it by flipping two small levers. Afterwards close the box and press the button on it, and quickly get inside the elevator. Press the "Maintenance" button to start it up.
The elevator will soon crash. When you regain control over your character, open up the hatch in the floor and climb down the ladder.