

Sniper Elite 5: Secrets and collectibles in mission 6 (Liberation) - list of all Sniper Elite 5 guide, walkthrough
Mission 6 (Liberation) from Sniper Elite 5 allows you to obtain 19 secrets. Our guide will tell you where to look for documents, artifacts, eagles, letters, and workshops, so you can complete stage 6 at 100%.
Last update: 10 June 2022
Key points of Sniper Elite 5 - Mission 6
Main locations on the map
Kill List target
Secrets and collectibles
The sixth story mission of Sniper Elite 5, Liberation, holds 19 collectibles in total, just like the previous levels. Our collectible guide will let you find all the secrets - stone eagles, workbenches, hidden items, personal letters and classified documents. We've described and marked all the collectibles on Desponts Sur Douve's map.
- List of mission 6 secrets
- #1 - They're Out There
- #2 - Watch Your Back
- #3 - Barely Escaped!
- #4 - Give Me Strength
- #5 - Vengeance is Nigh!
- #6 - Hold the Line
- #7 - Incoming Armour
- #8 - Unfit for Duty
- #9 - A Surplus Bridge
- #10 - Resistance Fanatic Located
- #11 - Lucky Rabbit's Foot
- #12 - Stolen Medals
- #13 - Engraved Lighter
- #14 - Stone Eagle 1
- #15 - Stone Eagle 2
- #16 - Stone Eagle 3
- #17 - Rifle Workbench
- #18 - SMG Workbench
- #19 - Pistol Workbench
List of all mission 6 secrets
There are 19 different secrets in Mission 7. Here is a list of them:
- Personal Letter x5
- Classified Document x5
- Hidden Item x3
- Dead-Eye Target x3 - Stone Eagles
- Workbench x3
Note - some secrets in this mission are easily missable, as they're being held by specific enemies. Try to search every enemy corpse, as they can vanish after a while, taking the secret with them. If they do, you'll have to load a previous save or restart the mission.
#1 - They're Out There

Type of collectible: Personal letter
This secret is easily missable, as it's being held by one of the enemy soldiers. Use your binoculars to examine the soldiers guarding a small southern farm you'll reach soon after starting the mission. Eliminate the correct soldier and search his corpse.
#2 - Watch Your Back
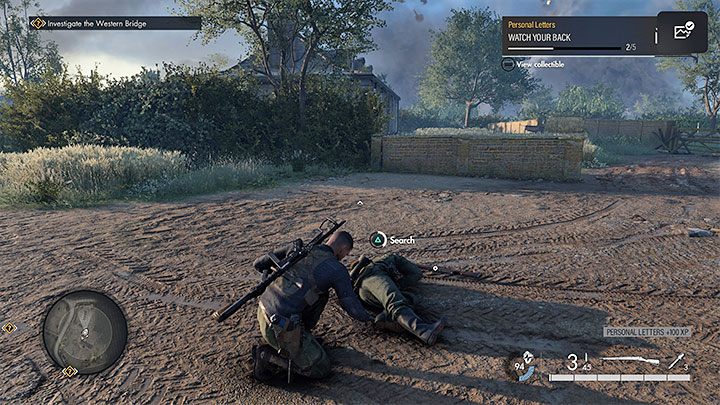
Type of collectible: Personal letter
This secret is easily missable, as it's being held by one of the soldiers guarding Jaan Trautmann's mansion, this mission's Kill List target. You'll find him in the western part of the map. Eliminate the enemies in front of the building and search their bodies.
#3 - Barely Escaped!
Type of collectible: Personal letter
You'll find this secret inside the trenches in the northern part of the map. Search the eastern part of the trenches.
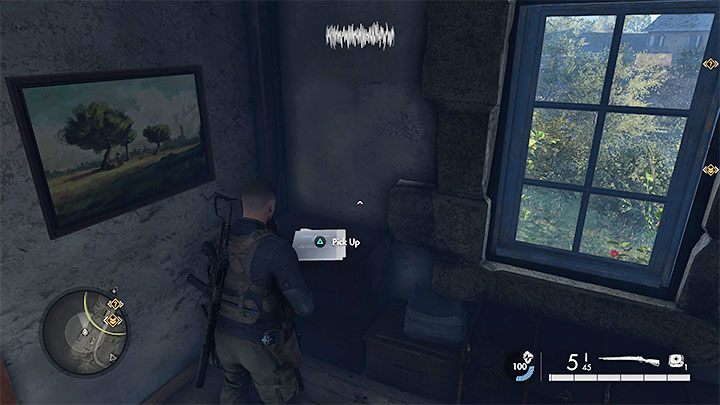
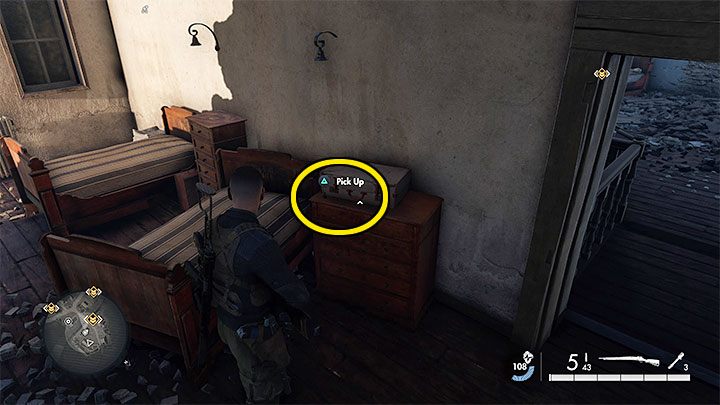
#4 - Give Me Strength
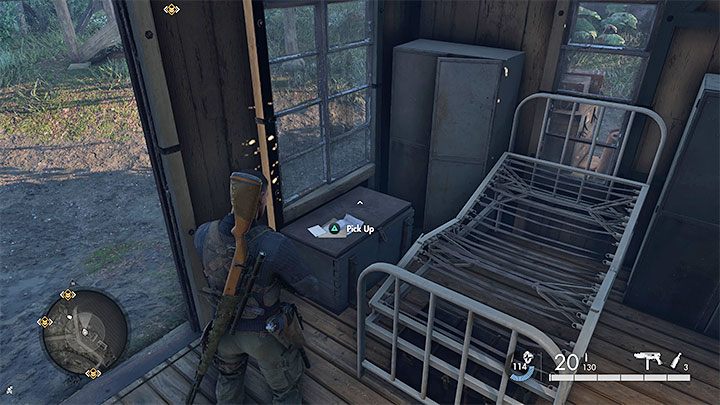
Type of collectible: Personal letter
Visit the eastern camp near the bridge. Enter one of the buildings - the letter is between the bed and the window, next to the exit.
#5 - Vengeance is Nigh!
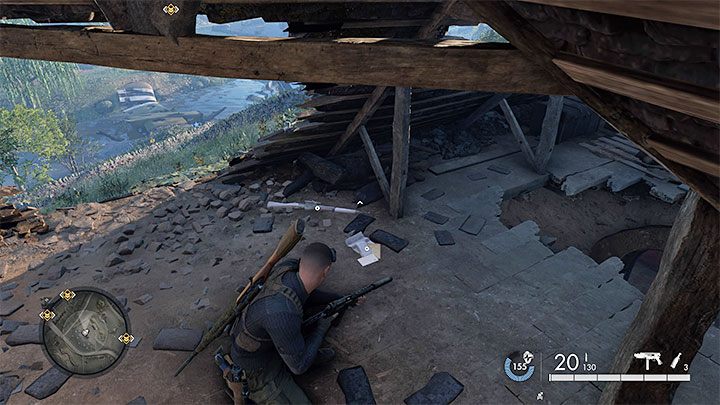
Type of collectible: Personal letter
Reach the farm located south of the western town (the one with snipers). Climb up to the main building's attic. It's a sniper nest - part of the roof's damaged and the collectible is on the floor.
#6 - Hold the Line
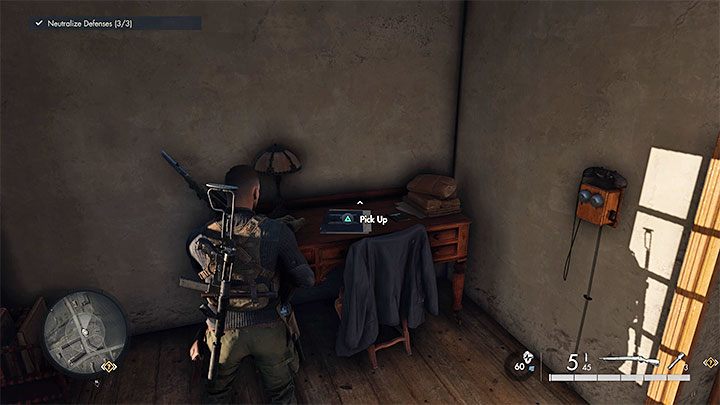
Type of collectible: Classified Document
Explore the southernmost building of the southern town . The document is on the desk.
#7 - Incoming Armour
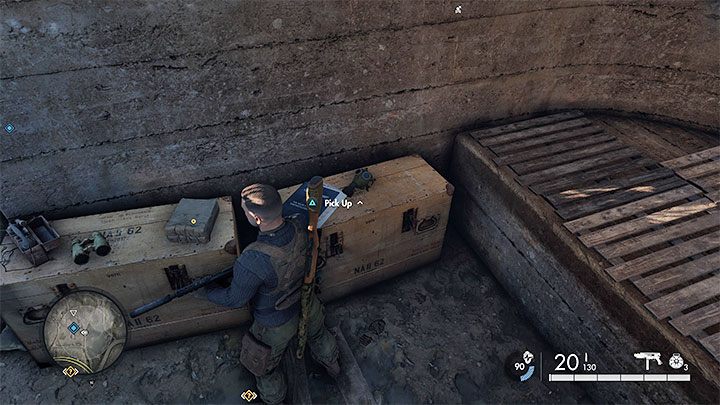
Type of collectible: Classified Document
You'll find this secret inside the trenches in the northern part of the map. Start searching the north-western part of the trenches. You'll find the secret next to the explosive.
#8 - Unfit for Duty
Type of collectible: Classified Document
You must examine the building in the southern part of the map, south of the first town. The document is in a dark corner of one of the rooms.
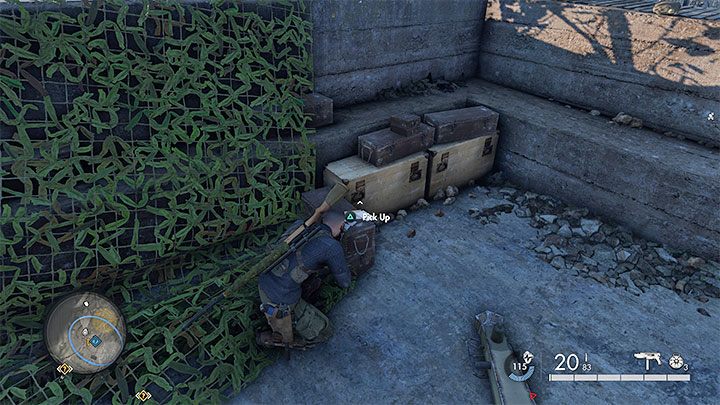
#9 - A Surplus Bridge
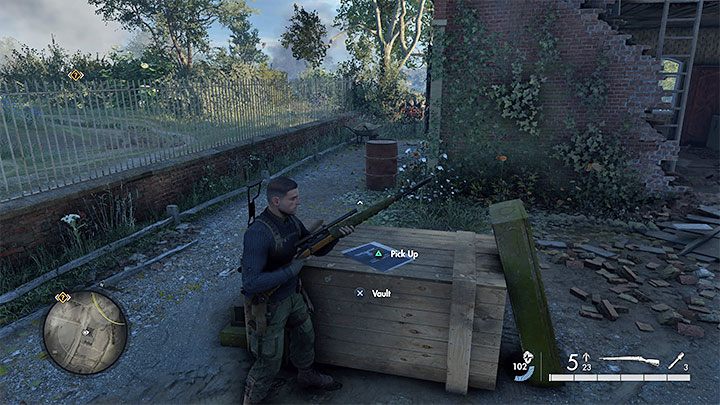
Type of collectible: Classified Document
Reach the farm building in the central part of the map, near the AA guns and the area patrolled by a tank. The document is in a large chest in front of the building.
#10 - Resistance Fanatic Located

Type of collectible: Classified Document
You must explore the western town where the snipers are (we recommend dispatching them first). The secret is inside one of the eastern buildings.
#11 - Lucky Rabbit's Foot
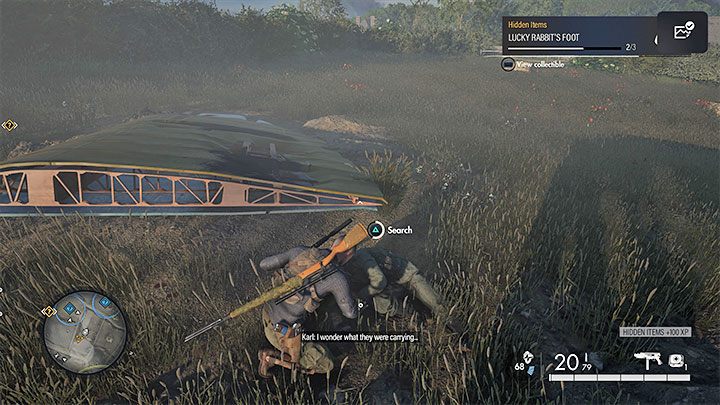
Type of collectible: Hidden Item
This secret is easily missable, as it's being held by an enemy. The soldier in question is searching the plane crash site in the centre of the map, near the AA guns. Kill him and examine the corpse.
#12 - Stolen Medals
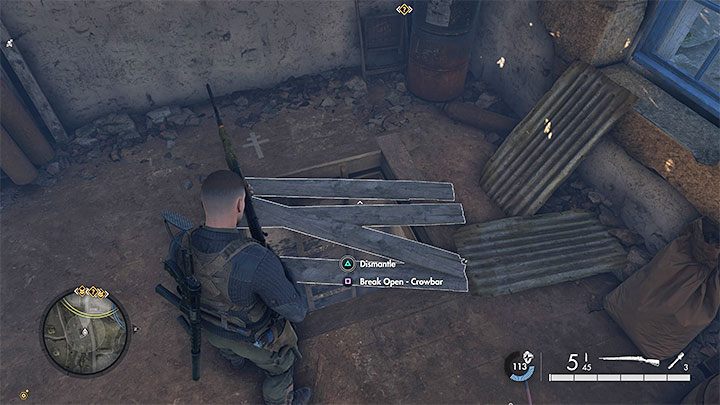
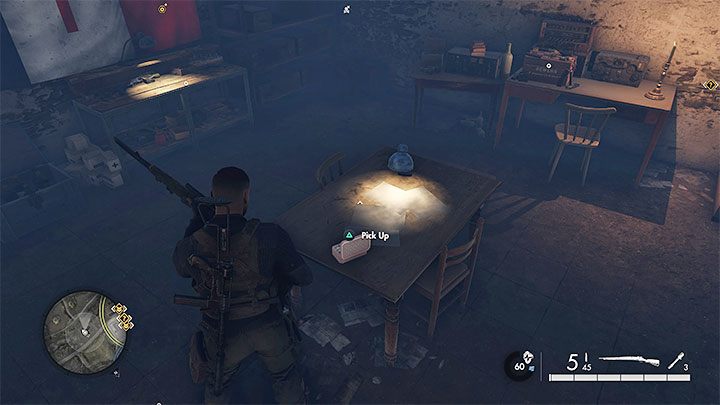
Type of collectible: Hidden Item
In order to find this collectible (as well as the workbench) you must reach the basement of a building east of the sniper town. The basement entrance is blocked off by planks you must rip off or destroy with a crowbar. You'll find the collectible on the table.
#13 - Engraved Lighter
Type of collectible: Hidden Item
This secret is in the northern part of the map, in the area where you face the Tiger tank. You must first unlock this location by destroying a barricade in the northern town.
We recommend destroying the tank before trying to find the lighter. It's in the southern building in this area.
#14 - Stone Eagle 1
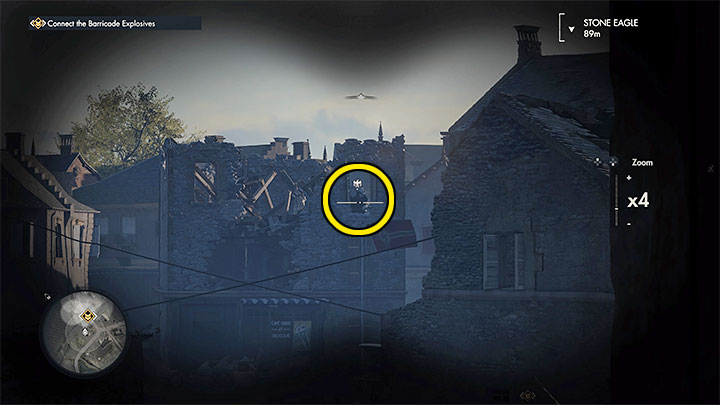
Type of collectible: Dead-Eye Target
The eagle is in a window of a destroyed building in the northern part of the map. You face the Tiger tank here, but you can also hit the eagle from the northern town if you get a good vantage point.
#15 - Stone Eagle 2
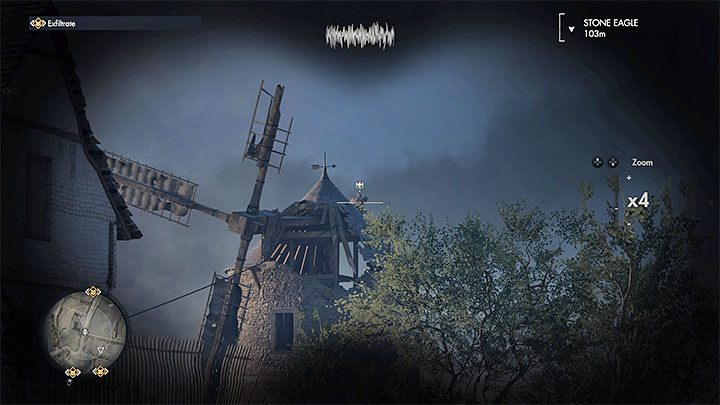
Type of collectible: Dead-Eye Target
The eagle is on top of a windmill in the eastern part of the map, near one of the AA guns. We recommend taking a long distance shot.
#16 - Stone Eagle 3

Type of collectible: Dead-Eye Target
The eagle is on the ruined church in the western town, the one where the snipers are. Specifically, it's on the western edge of the building and can be destroyed even without the scope.
#17 - Rifle Workbench

Type of collectible: Workbench
You'll find the workbench while exploring the northern town. You can climb the vines shown in picture 1. This lets you reach the seemingly inaccessible place where the workbench is.
#18 - SMG Workbench

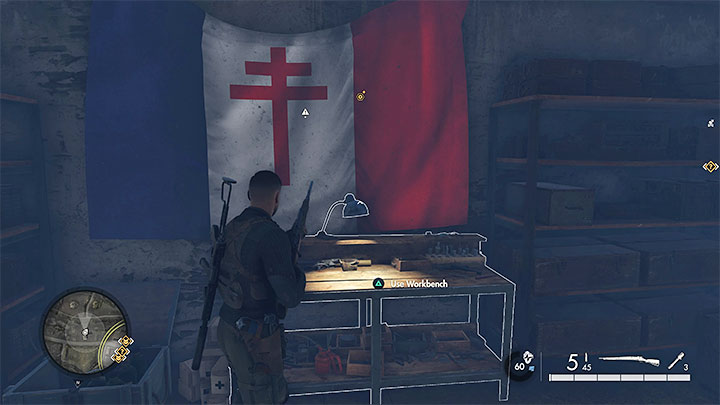
Type of collectible: Workbench
In order to find this workbench (as well as the secret #12) you must reach the basement of a building east of the sniper town. The basement entrance is blocked off by planks you must rip off or destroy with a crowbar. You'll find the collectible on the table.
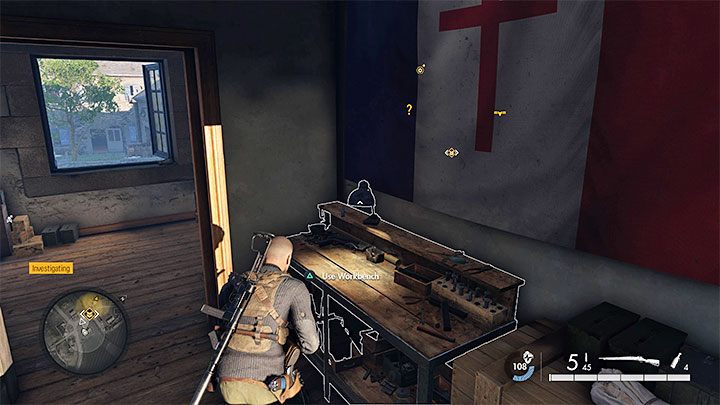
#19 - Pistol Workbench
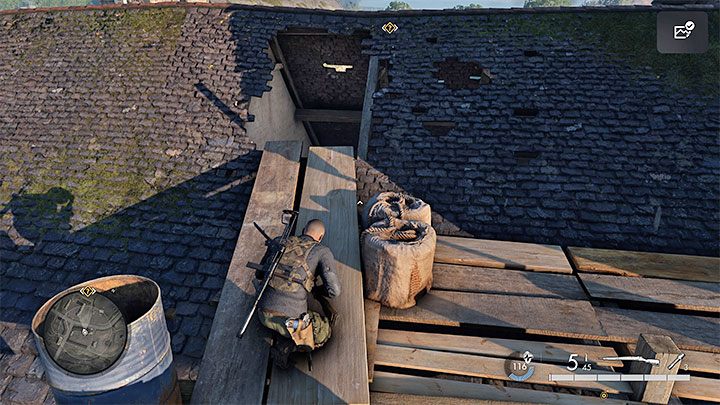
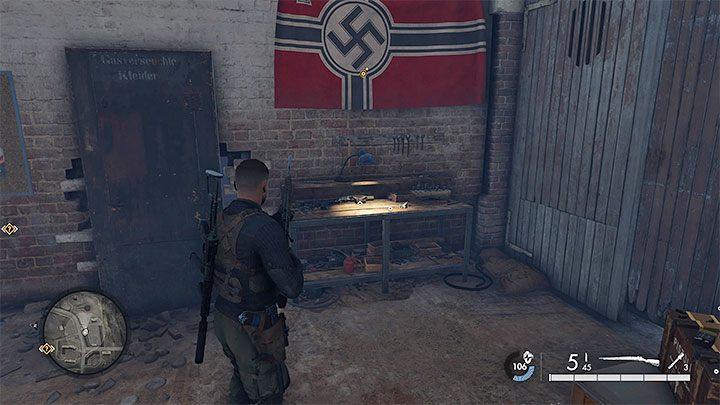
Type of collectible: Workbench
The workbench is in the southern town. It's hidden in a seemingly inaccessible room in the main building. Head to the building's upper floor, walk over the planks and go through a hole in the roof shown in picture 1. After doing so, approach the workshop.