

Sniper Elite 5: Secrets and collectibles in mission 1 (The Atlantic Wall) - a list of all Sniper Elite 5 guide, walkthrough
In mission 1 (Atlantic Wall) of Sniper Elite 5 you can find 19 secrets. Our guide tells you where to look for the secrets (letters, documents, workshops and others).
Last update: 06 June 2022
Key points of Sniper Elite 5 - Mission 1
Main locations on the map
Kill List target
Secrets and collectibles
The first story mission in Sniper Elite 5, called The Atlantic Wall, has 19 secrets to find - personal letters, classified documents, hidden items, stone eagles, and workbenches. Our guide contains a map with the locations of collectibles and detailed descriptions of individual secrets, thanks to which you can find them easier.
- List of mission 1 secrets
- # 1 - Picked Some Violets
- # 2 - Upcoming Delivery
- # 3 - Violets Are Wilting
- # 4 - Violets Don't Wilt
- # 5 - Pests in the Garden
- # 6 - Boches at the Door
- # 7 - Resistance Captured
- # 8 - Beach Defenses
- # 9 - Lacking Air Support
- # 10 - Atlantikwall Report
- # 11 - Resistance Photo
- # 12 - Radio Tin
- # 13 - FFI Flag
- #14 - Stone Eagle 1
- #15 - Stone Eagle 2
- #16 - Stone Eagle 3
- #17 - Rifle Workbench
- #18 - SMG Workbench
- #19 - Pistol Workbench
- Additional information on secretes
List of mission 1 secrets
In the first mission of the campaign, you can find 19 secrets. Here is a list of them:
- Personal Letter x6
- Classified Document x4
- Hidden Item x3
- Dead-Eye Target x3 - Stone Eagles
- Workbench x3
# 1 - Picked Some Violets
Collect type: Personal letter
You have to reach a small building in the eastern part of the map, located by the road going north towards the radar. The secret is in a visible place on the chest.
# 2 - Upcoming Delivery
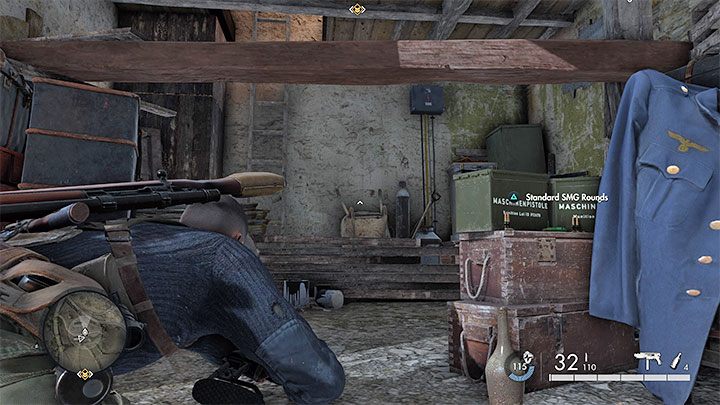

Collect type: Personal letter
Visit the farm in the central part of the map. In the barn, you have to crouch or lie down on the ground to squeeze under the beam (picture 1).
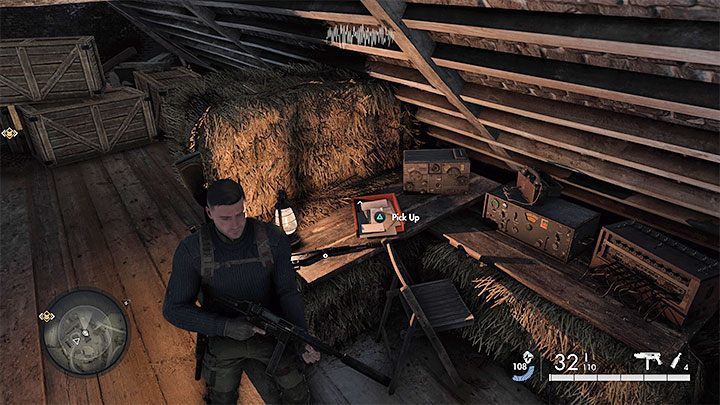
Use the ladder to get to the top. The collectible is on the ground (picture 2), but you have to rotate the camera so that the game will mark it instead of ammunition.
# 3 - Violets Are Wilting
Collect type: Personal letter
You have to reach the northern farm, the same farm with one of the antiaircraft guns. Climb into the attic of the northern building - the secret is next to the hay.
# 4 - Violets Don't Wilt
Collect type: Personal letter
The secret is in the hotel occupied by enemies, located in the northeastern part of the town. You have to reach the floor of the hotel and locate a safe. You can look around for an enemy possessing a code to the safe or blow up the safe using an explosive (it won't destroy the collectible).
# 5 - Pests in the Garden

Collect type: Personal letter
The document is at the very end of the pier in the southern part of the town. It lies next to a few Panzerfausts.
# 6 - Boches at the Door
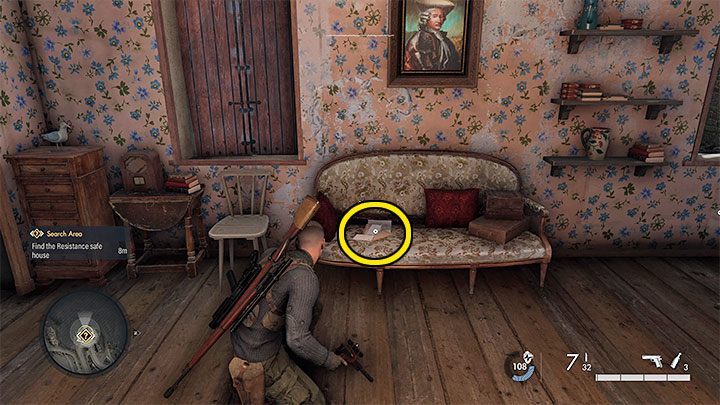
Collect type: Personal letter
You have to reach the resistance hideout related to the main mission objective. Explore the ground floor of the building. You will find the document on one of the pieces of furniture.
# 7 - Resistance Captured
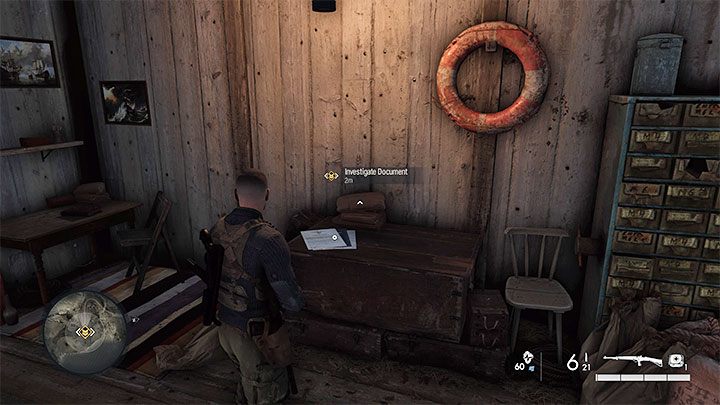
Type of collectible: Classified document
You should find this secret first during the intro to the main part of the mission. It's in the Boathouse - you explore this place after taking the key from the enemy officer.
# 8 - Beach Defenses
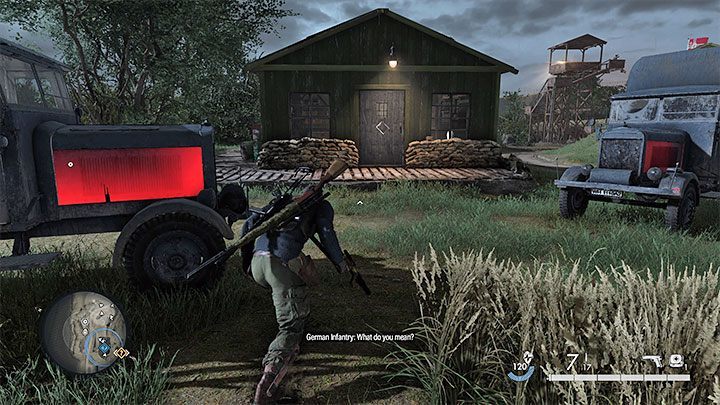
Type of collectible: Classified document
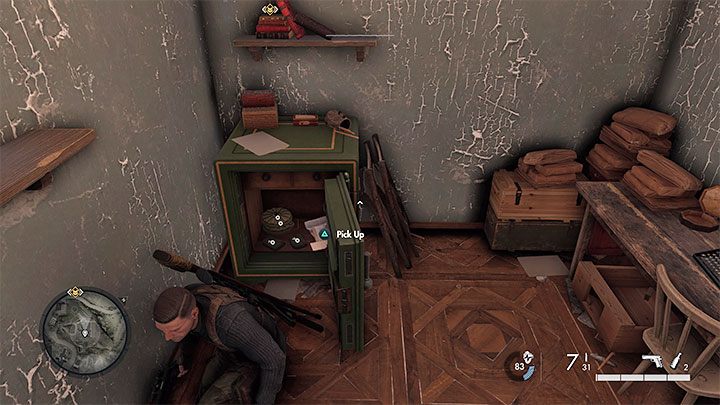
You have to infiltrate the enemy camp in the northwestern part of the map. Approach the locked armory from picture 1 - get a key from a nearby officer or blow up the door with an explosive.
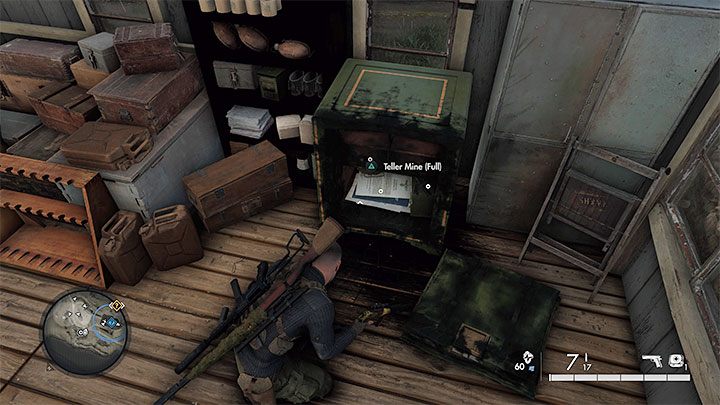
That's not all, because you also have to open the safe shown in picture 2. Look for the enemy with the next code or use explosives (the explosion will not destroy the collectible). After opening the safe, position the camera in such a way you will be able to pick up the document instead of any of the other items in the safe.
# 9 - Lacking Air Support

Type of collectible: Classified document
To find this collectible, you have to reach the bunker beneath the radar (one of the main objectives of the mission). You can open the bunker with a code obtained from one of the nearby enemies, although it is also possible to use an explosive (it won't destroy the secret).
Try to position the camera allowing you to pick up the proper item, not mark the other objects in the safe.
# 10 - Atlantikwall Report

Type of collectible: Classified document
You have to visit the northern farm - one with the antiaircraft gun. There is a safe on the ground floor of the main building. Look around for the soldier with the key or blow up the safe door with an explosive (the collectible will not be destroyed).
# 11 - Resistance Photo
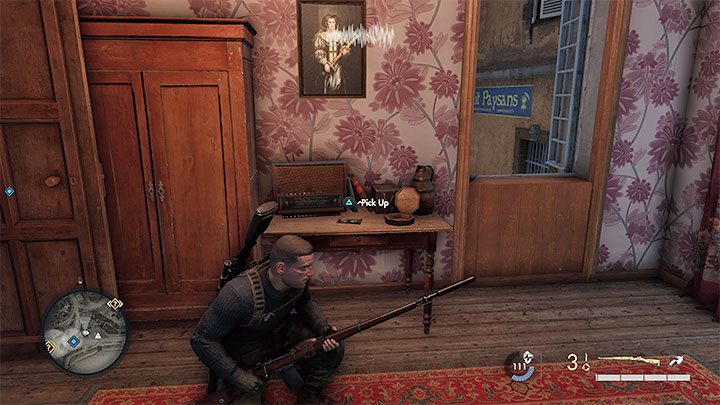
Type of collectible: Hidden Item
You have to explore one of the buildings in the southern part of the town. The collectible is on a small table.
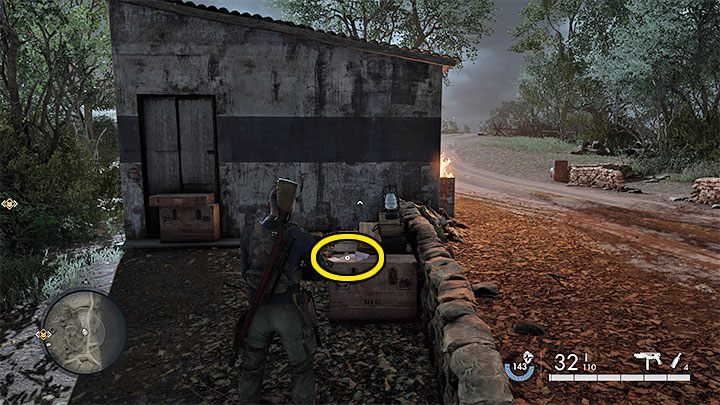
# 12 - Radio Tin
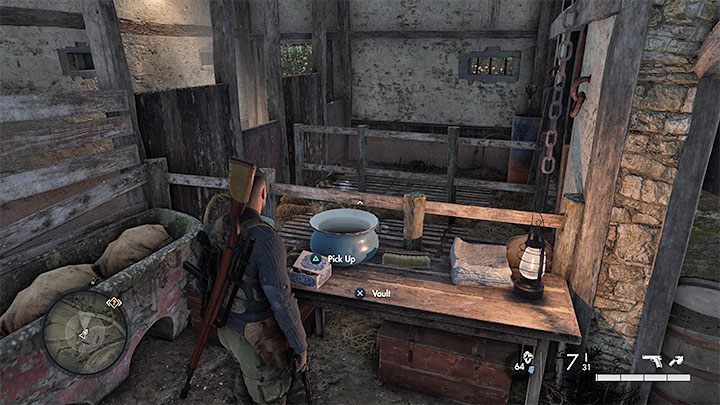
Type of collectible: Hidden Item
Reach the farm in the central part of the map. The secret is on a large table next to a lit oil lamp.
# 13 - FFI Flag
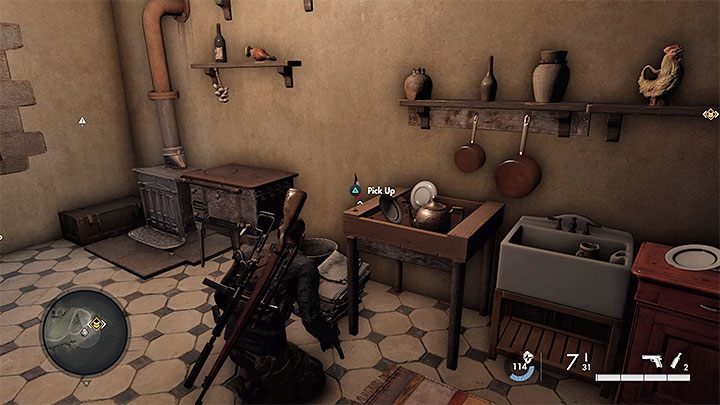
Type of collectible: Hidden Item
You have to examine the building on the western border of the map, adjacent to the barn used for evacuation. It is the same building where the single enemy is. Examine the kitchen on the ground floor to find a small flag.
#14 - Stone Eagle 1
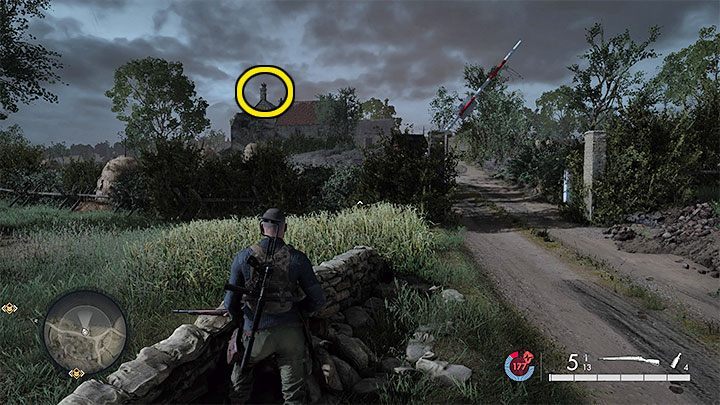
Type of collectible: Dead-Eye Target
The Stone Eagle is on the chimney of the building of the eastern farm. You cannot get there, but you can stand on the road to the west of the secret (picture above). This will allow you to aim at the collectible and shoot it. You have to destroy it.
#15 - Stone Eagle 2
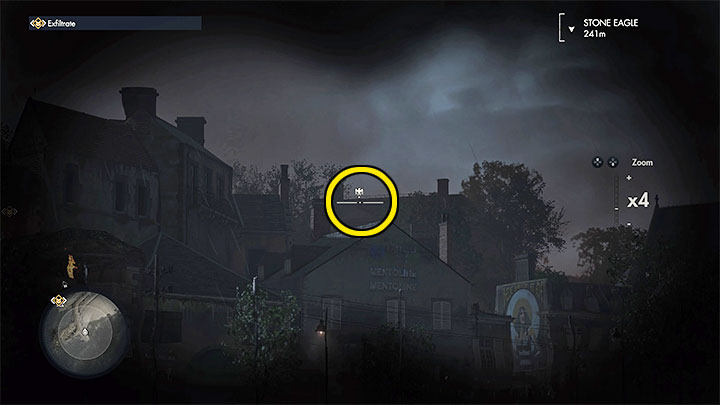
Type of collectible: Dead-Eye Target
The Stone Eagle is on top of one of the structures adjacent to the hotel in the town. It is best to prepare for the shot while being around the pier in the southern part of the map. Use the binoculars to locate the collectible (the picture above) and then the rifle.
#16 - Stone Eagle 3
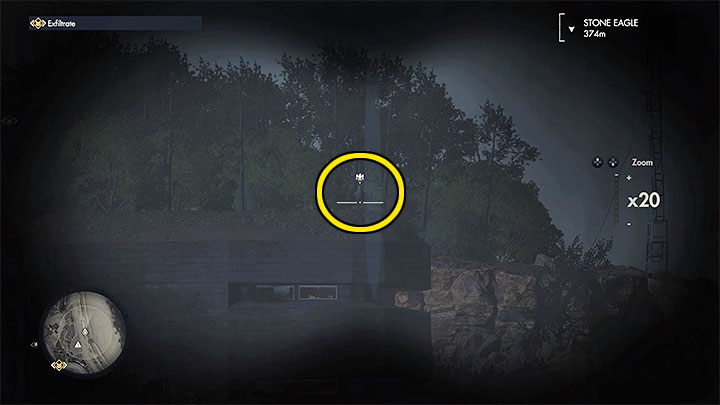
Type of collectible: Dead-Eye Target
The Stone Eagle is on the bunker roof by the beach in the southern part of the map. You should be able to hit it from anywhere on the beach.
#17 - Rifle Workbench
Type of collectible: Workbench
The workbench is in the Processing Plant building, which you have to visit in the initial part of the mission to save a member of the resistance movement.
You have to use a lockpick or bolt cutter to get to the armory in the factory.
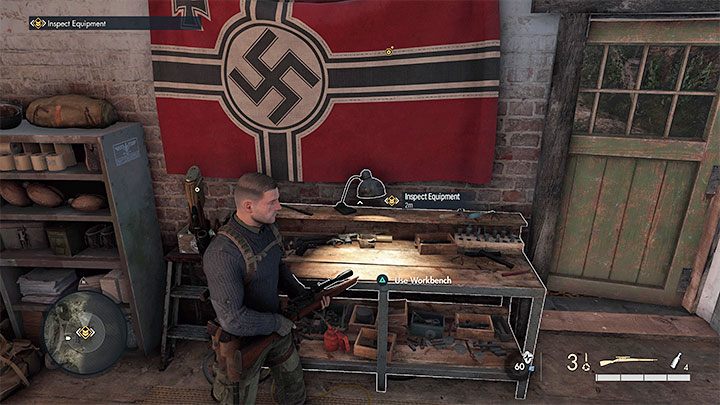
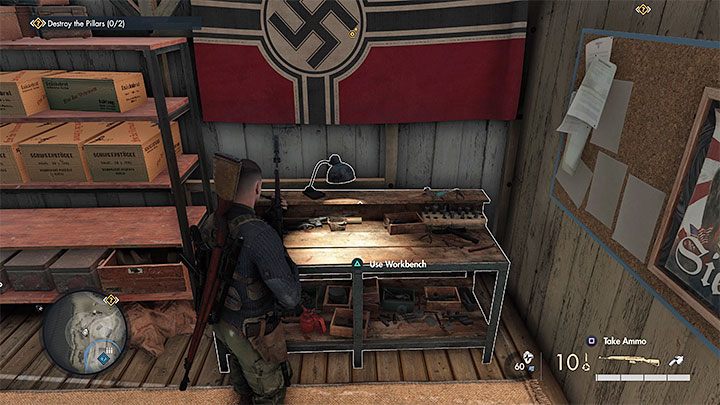
#18 - SMG Workbench
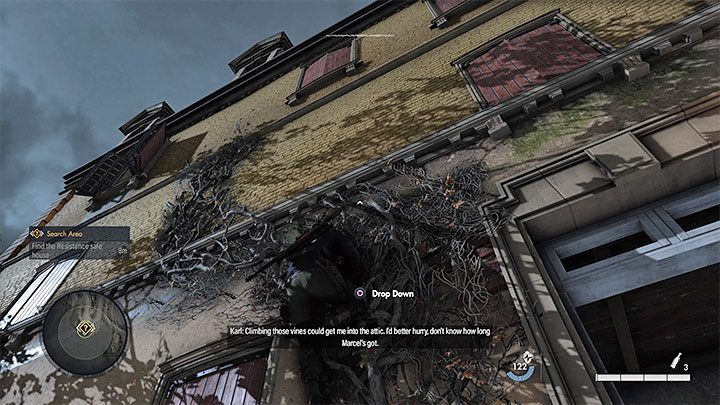
Type of collectible: Workbench
To find the workshop, you have to get to the attic of the resistance headquarters in the town. This means that you have to climb the vines shown in picture 1, thanks to which you will reach the shutter. You can easily find the workbench in the attic.
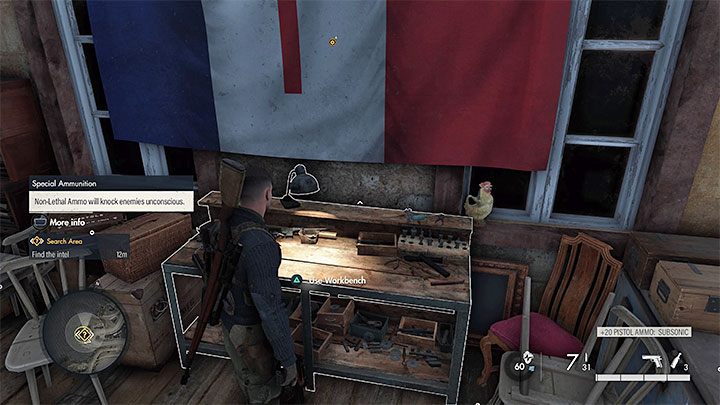
#19 - Pistol Workbench
Type of collectible: Workbench
You have to infiltrate the enemy camp in the northwestern part of the map. Approach the locked armory there - get a key from a nearby officer or blow up the door with an explosive. The workbench is one of the objects you can find inside the armory.
Additional information on secretes
The locations of secrets from mission 1 can be found on our map. Their numbering corresponds to the list in the Collectibles window in the character's journal. The places and ways to obtain the collectibles are described further on the page. This should make it easier for you to complete the first stage 100%.
Some secrets can be bugged, i.e. they don't appear in the marked place. This applies, among others, to collectible number 8 from the above description (the document from the safe in the armory). If you don't see the collectible, you have to restart the mission (preferably on the lowest difficulty level) and try to reach it again. There is a chance that the secret will appear the next time you try to find it.