
Chapter II - Into the Abyss | Walkthrough Slender: The Arrival Guide
Last update: 11 May 2016

Lauren wakes up beside the entrance to an abandoned mine. Before heading there, take a look around. Go to the back of the small building, afterwards straight and slightly right, towards the rocks, looking for a tree with red leaves. On its trunk you will find letter number 4. Letter number 5, on the other hand, is lying on a barrel by the stairs of the house on stilts. Approach the mine entrance. On the right, on the bulletin board, you will find note (8) and letter number 6.

To the left of the entrance, on the wall of the building (behind the pipes) there's a message from a certain Charles M (9). Enter the mine and follow the passage at the end of the corridor on the right. The grated door features a warning sign (10), while to the left of it there's letter number 7. At the very end of the room there's a newspaper (11) hanging from the wall.
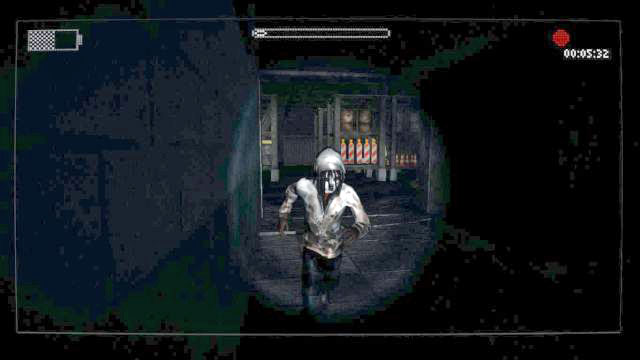
Go through the door on the left into the main corridor. You will reach an elevator and the first of six generators. Click on the elevator to learn that it's shut down. Turn on the generator to learn that you have to do the same with five more. The fun starts at this precise moment. Until the generator is off, you're safe. Turning it will cause The Proxy - Slender Man's subordinate, once a human being, now following the orders of Slender (willingly or not) - to start hunting you. You can however defend yourself - the best method is stunning him with the amplified flashlight mode - aim at the monster while holding down RMB). The Proxy has to be considerably close for the trick to work, but not too close as then he will ignore the flashlight and try killing you either way.
While The Proxy is helplessly covering his face, run away as fast as you can. Most of the time you can survive two of his attacks and be killed with the third one, however each encounter weakens Lauren, making her a perfect target for Slender Man. Yes, you will also have to look out for Slender, probably making it the most difficult part of the game. Luckily Slender usually only starts appearing after you activate the fourth generator, however when he does, he's usually much closer to Lauren and therefore harder to run away from.

The generators, as you have probably guessed, are placed in random location. It's best to develop a system of navigating through the corridors of the mine - stick to one side, e.g. left. The idea here is to avoid visiting the same places and instead go around the whole area. Additionally there's a red light by each generator, so they're quite easy to notice. Starting from the room with the first generator, you should note that it's connected with four corridors. The one to the left of the elevator can contain a generator behind a fence. The next one leads to three rooms, each of them is a potential generator location. However the corridor on the right also leads to three rooms which might contain the machines, as well as many other locations.
It's a good idea to head from left to right: begin with the door in the bottom part of the room on the left, afterwards check all room to the left of the elevator until you reach the stairs leading to the upper floor (you should also check behind the stairs). Climb them, head back down to search the backrooms and continue to the right. Save some energy for the last run; after finding all the generators and activating them, you won't yet be safe. Run to the elevator and have the flashlight ready, as The Proxy might attack even after you activate the elevator. The chapter will end as you reach the top of the mine.
Notice: the hardcore difficulty setting, apart from activating the generators, also requires you to find gas canisters required to turn them on. There are six of them, just like the generators.
The locations of the canisters are completely random, some sample places where you can find them are: the first corridor on the left (behind the fence), the eastern corridor (on the corner), the corridor on the right (nearby the lockers), downstairs beside the cement bags, the corridor on the left (nearby the forklift), downstairs by the machines, the room with the road signs, nearby one of the generators etc.