
Sherlock Holmes Chapter One: Love, Death, and Cordona - walkthrough Sherlock Holmes Chapter One guide, walkthrough
On this page of the Sherlock Holmes Chapter One game guide you will find a walkthrough of Mycroft's Case: Love, Death, and Cordona. During this quest you can get the achievement Not His Toy and Guilty!.
Last update: 22 December 2021
This section of the Sherlock Holmes: Chapter One guide contains a walkthrough for a Mycroft Case called Love, Death, and Cordona. The task in question becomes available after completing The Muse From Abroad story and The Missing Shopkeeper side cases. You'll have an opportunity to unlock Not His Toy and Guilty! trophies in the course of this case. . .
- Key information
- Beginning
- Primrose Cafe
- Bridge
- Tower
- Reconstructions
- Rope
- Pillar of Knives
- Barracks
- Room 4
- Eavesdropping
- Market
- House Of The Eagle
- Killer
Key information
How to unlock the case: complete The Muse From Abroad story and The Missing Shopkeeper Mycroft cases.
Reward: 70 Money or an achievement.
Trophies unlocked in the course of the case Not His Toy, Guilty! . .
Beginning

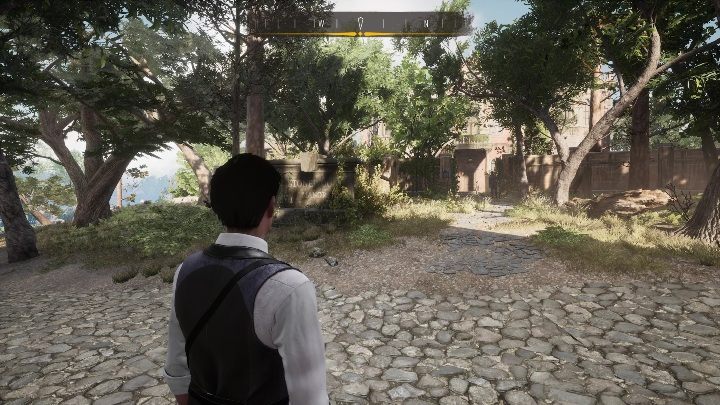
The task starts after you've talked to Mycroft's employee. He will appear near Sherlock's family home, provided you've successfully completed
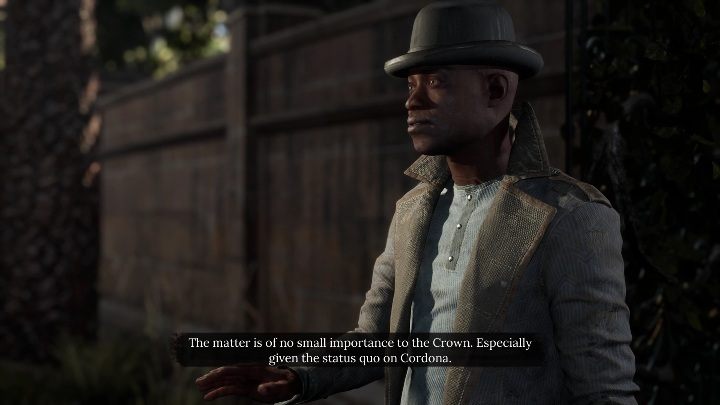
The Muse From Abroad case. After beginning the conversation, you can accept the task right away, or don't accept it - this option unlocks a trophy (Not Now). You can safely choose the second option, as you can talk to the employee again and this time accept the case.
Primrose Cafe
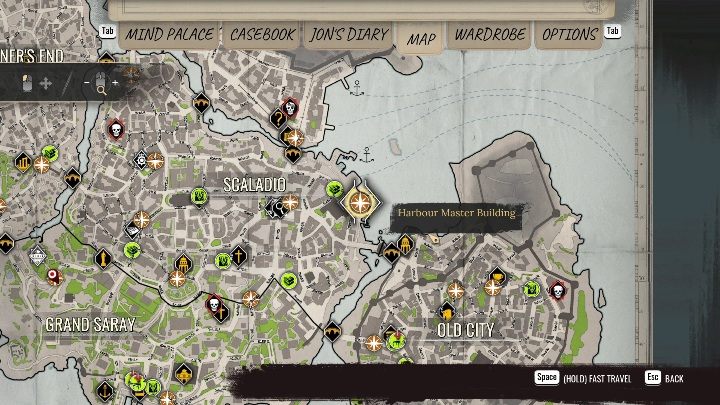
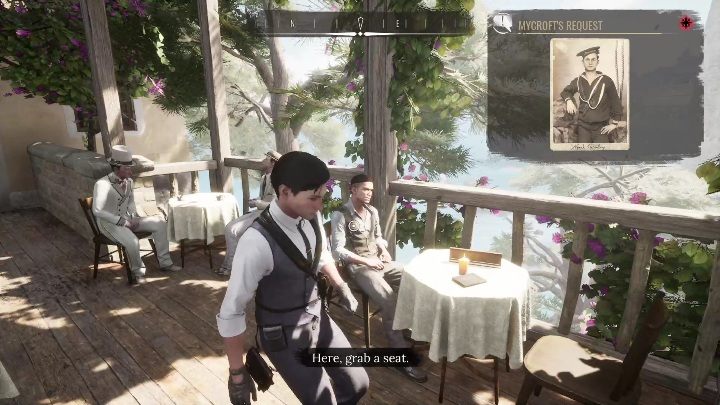
After you talk to the emissary, you and Jon will go to the coffee shop. Once the task is accepted, you and Jon will proceed to a cafe. The location is marked in the screenshot above, to find it go to the north-eastern part of Scaladio.
After a brief conversation, you'll witness a man jumping to this death. Time to get back to work.
Bridge
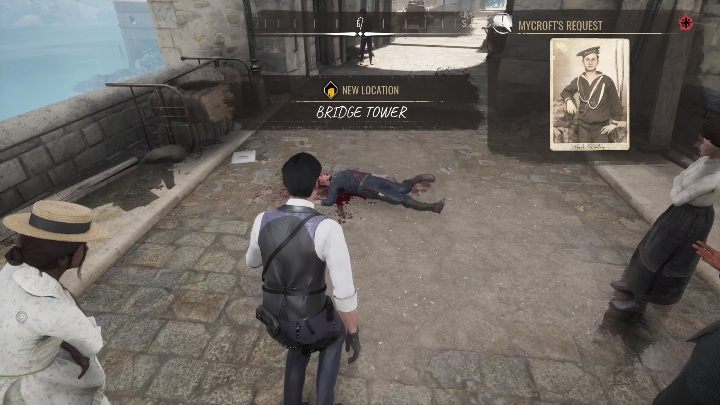
After leaving the cafe, proceed to the bridge to examine the victim. Examine following clues:
- head,
- neck,
- stomach wound,
- no knife in the sheathe,
- leg,
- the key.
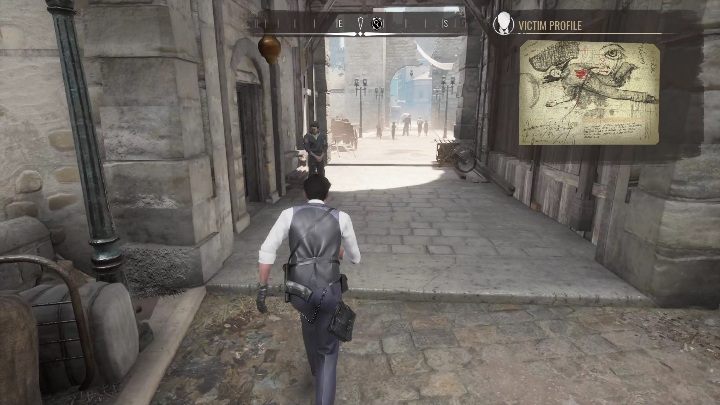
Continue by talking to the man guarding the door. Use all of the dialogue options, and you'll easily gain access to the interior.
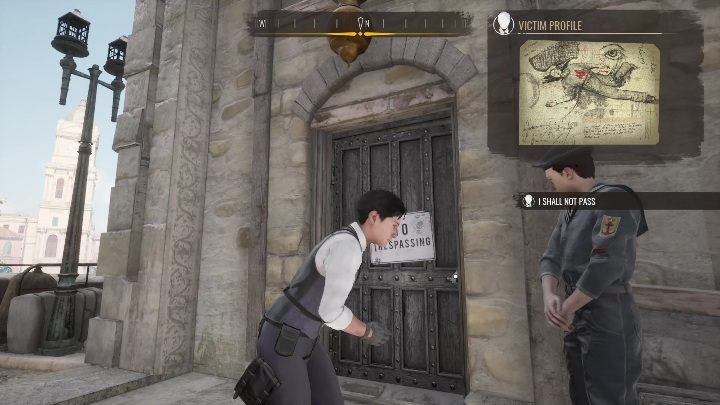
You can now use the "No Tresspassing" door. .
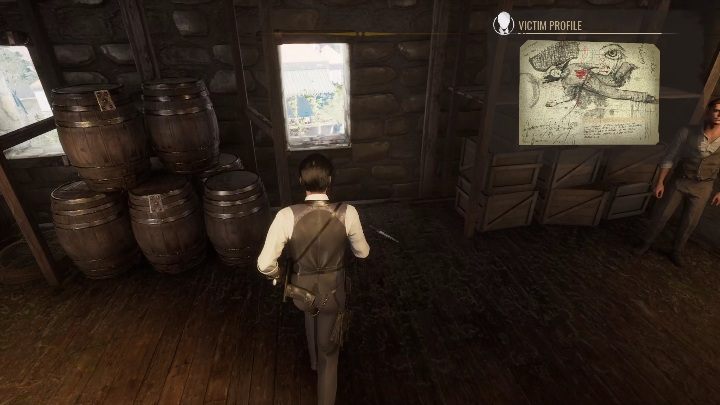
Tower
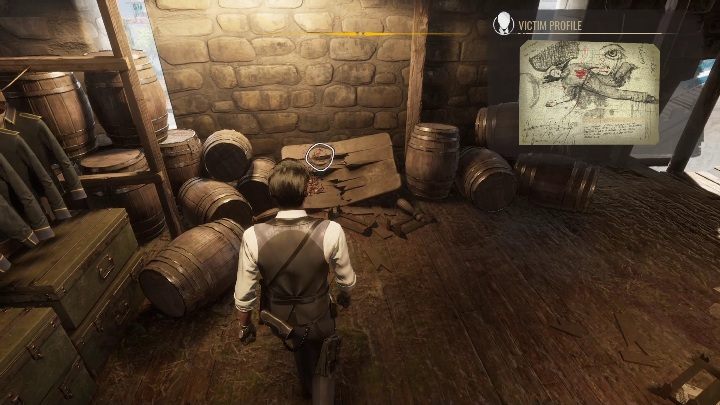
Once inside the tower, look around. Start the investigation with the broken table which you've surely noticed after entering the room.
Continue by looking to your right. You'll notice a large chest which has to be examined. Sherlock will comment on the smell and marks on the sides of the object.
Time to look at the floor. There you will find:
- letters,
- money.
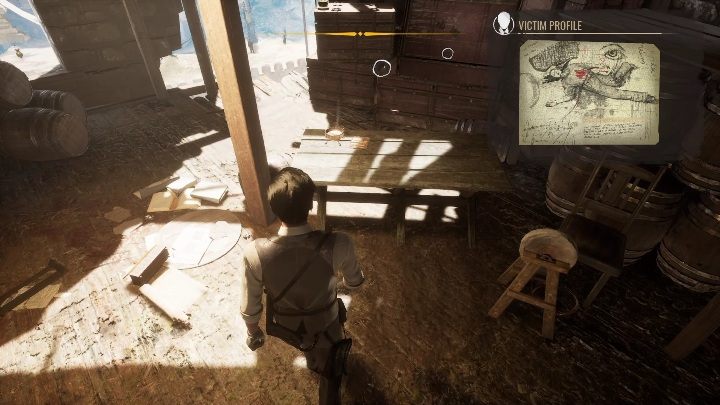
Approach the window which the dead person used to jump to his death. There you'll locate a bloody knife that corresponds with the sheathe found earlier. .
After examining the knife, look at the windowsill - there are more traces of blood there.
Reconstructions
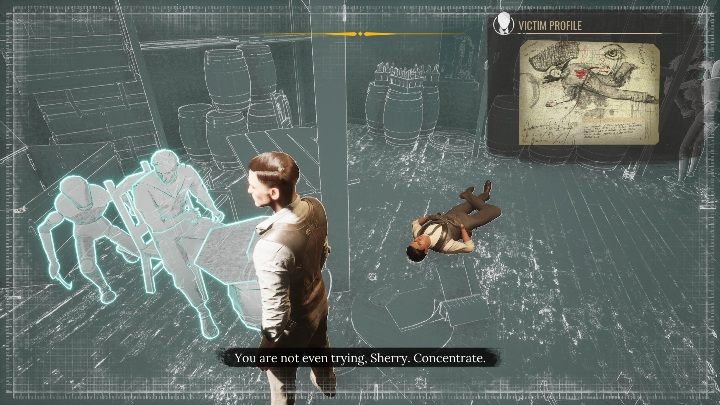
After you've gathered all the evidence, you can reconstruct the events. Start at the area next to the chest. The assailant climbed out of it and attacked the victim from behind.
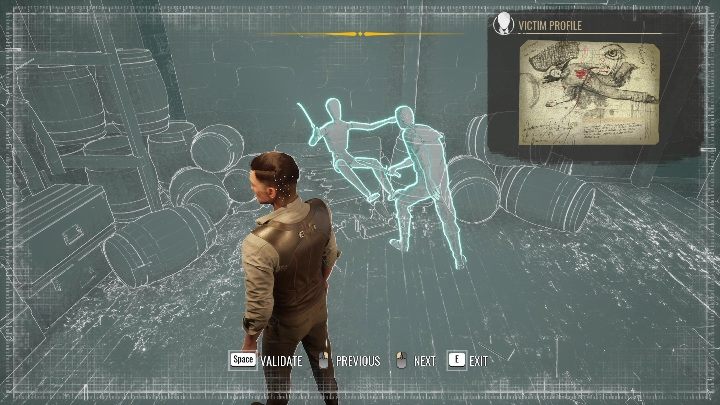
Now for the broken table. The guard pulled out a knife and began to defend himself, leading the assailant to fall on the ground.
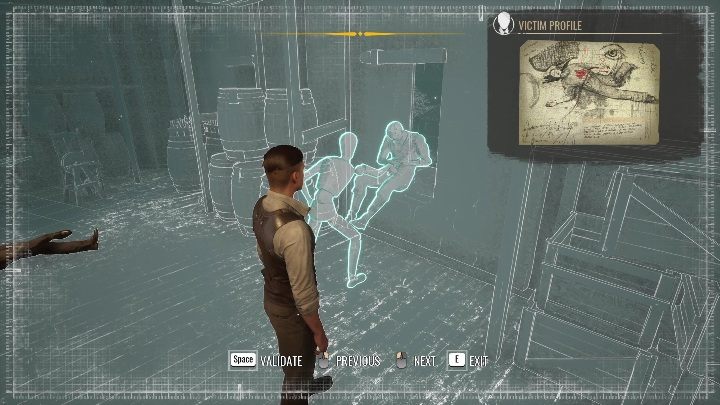
The final part of the reconstruction is a fight near the window. Pay attention to characters' postures. The victim landed on the windowsill, bent and holding his stomach.
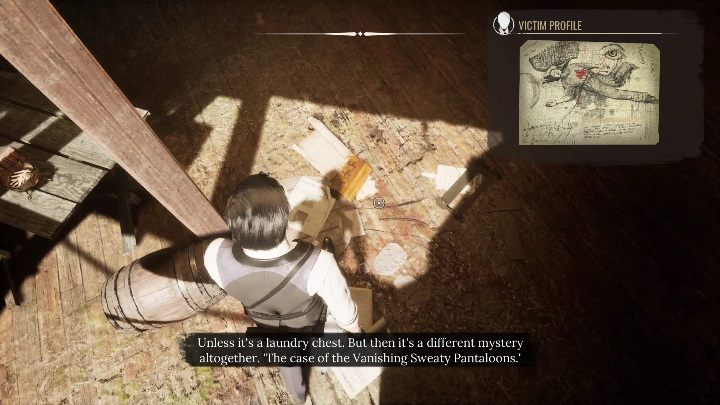
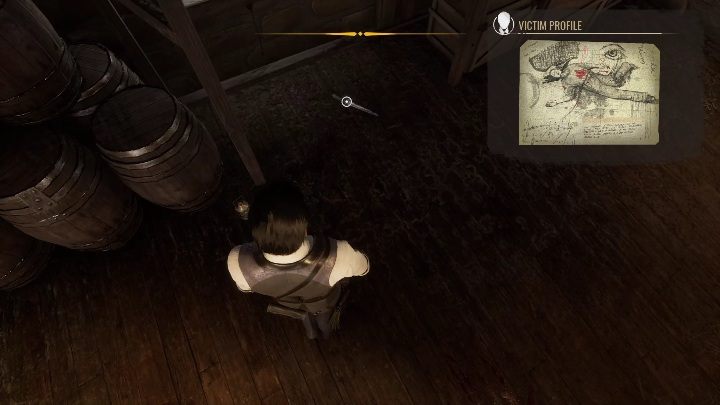
Rope
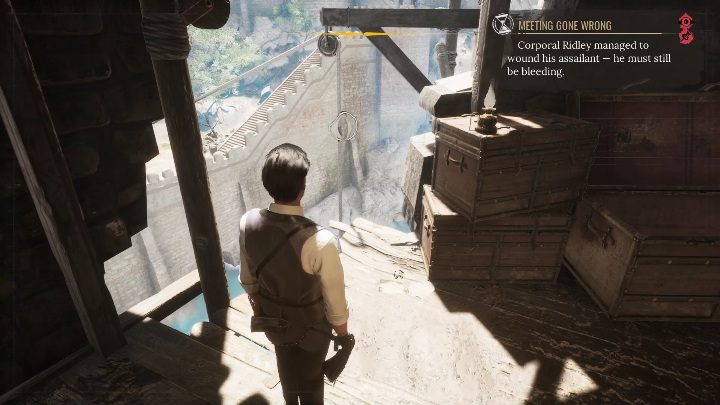
After the successful reconstruction, start tracking the new objective (shown in the screenshot above) and investigate the rope that makes it possible to descend down. Jon will want to do this, but you need to leave the tower in the standard manner and proceed to the bottom end of the rope.
Pillar of Knives
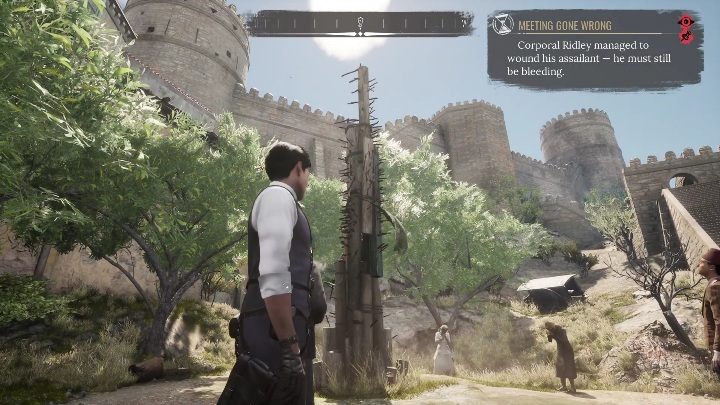
The rope ends near a pillar with knives. . Your task is to touch it, as in it there is a knife which was used as the murder weapon. Unexpectedly, once you pull out the knife, nearby tourists and residents will start screaming at you.
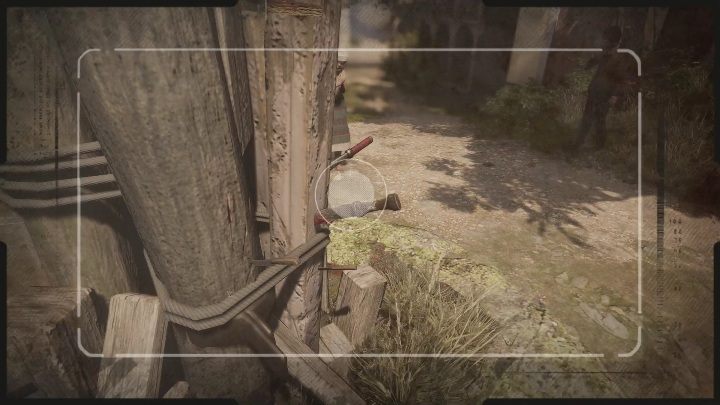
Equip your camera and take a picture so the clue lands in your briefcase. The key you need to use is E (provided you are playing the PC version). or LT (Xbox) and L2 buttons on Play Station) The complete control layout can be found on a dedicated page of the guide.
Barracks
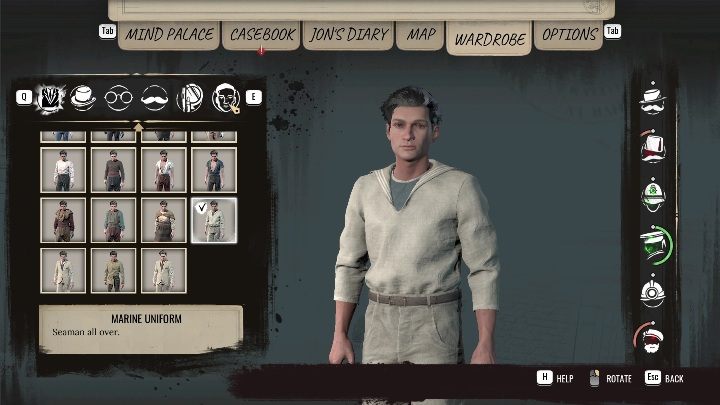
The next objective requires you to change into an outfit worn by sailors and stevedores. .
. You can buy or rent the Marine Uniform from one of the vendors.
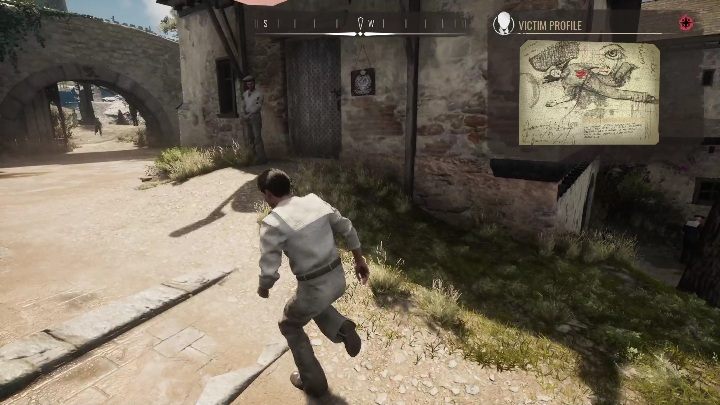
The barges are located nearby, right by the river bank. Use the single gray door to enter.
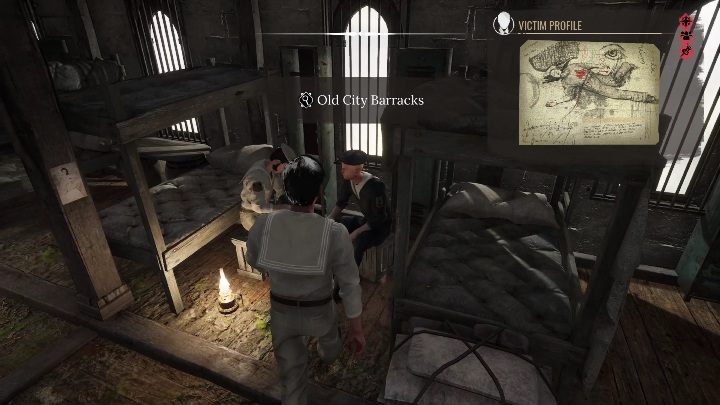
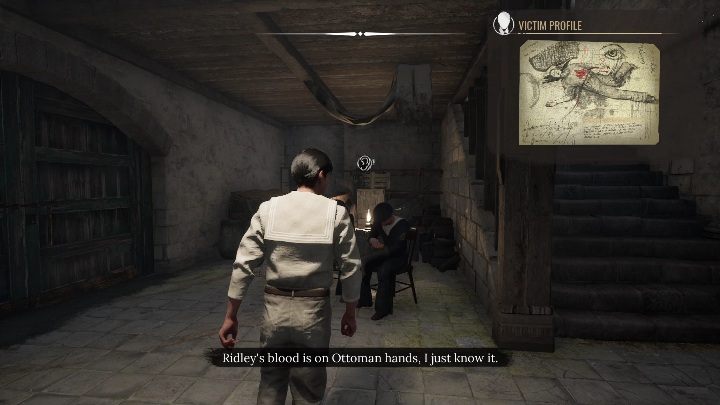
Once inside, talk to the men playing cards. You'll receive some information regarding the victim.
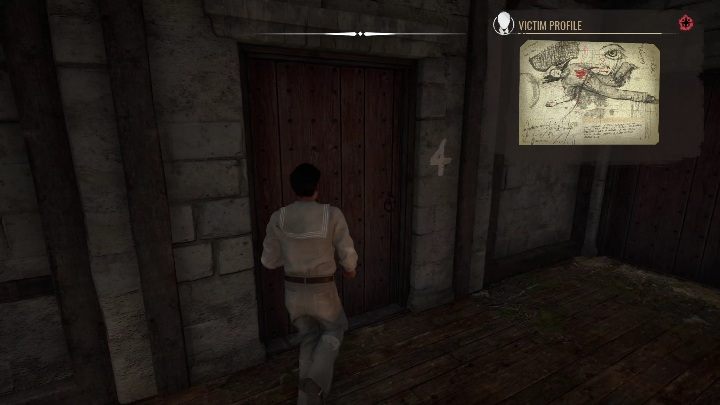
Go to Room 4, which belonged to the deceased. . Comb through his stuff and learn as much as possible.
Room 4
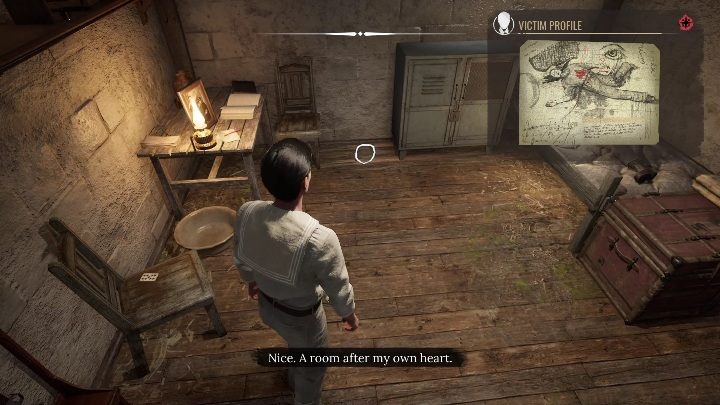
You'll immediately notice the first clue after entering the room - scratches on the floor resulting from moving the cabinet.
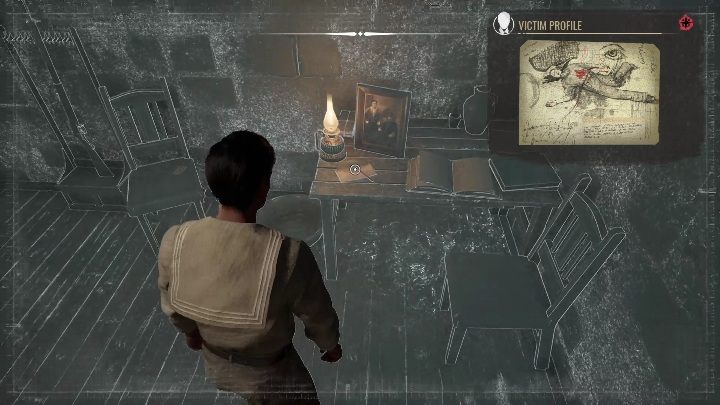
Now investigate the letters and the picture located on the table on the left side of the room.
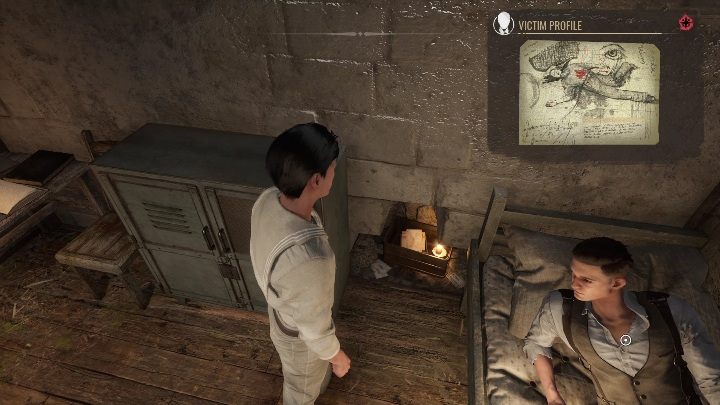
Once you got these, move the cabinet to reveal a hole in the wall that stores more private items of the victim. .
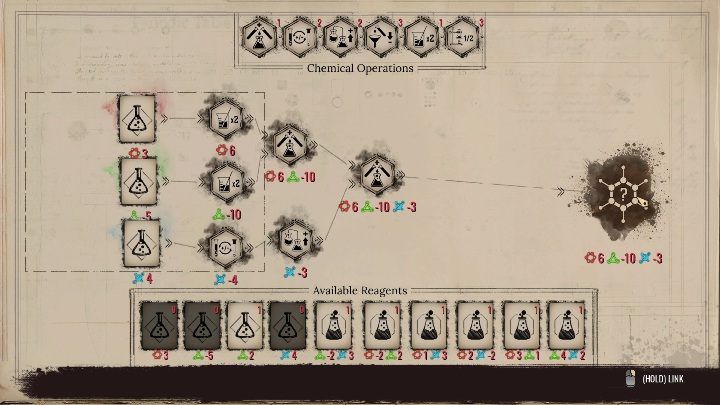
You need to perform a chemical analysis of the found substance. The difficulty of the task depends on the chosen game's difficulty level. The correct solution is shown in the screenshot above.
Eavesdropping
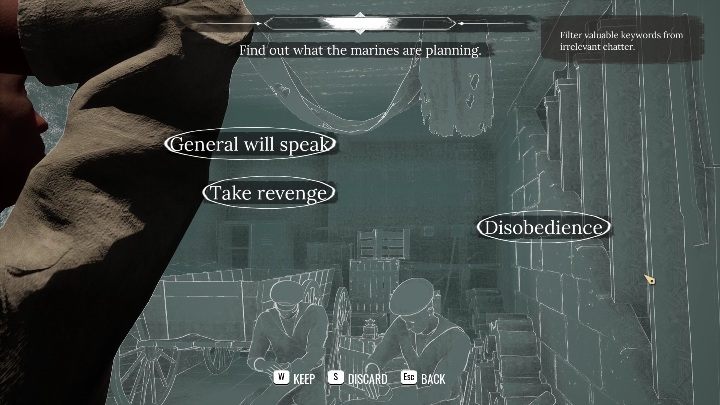
Once you got all the information from the room, proceed to the barracks. There are two men inside that you can eavesdrop on to learn further details. The correct options are:
- Take revenge;
- General will speak;
- Disobedience.
Market
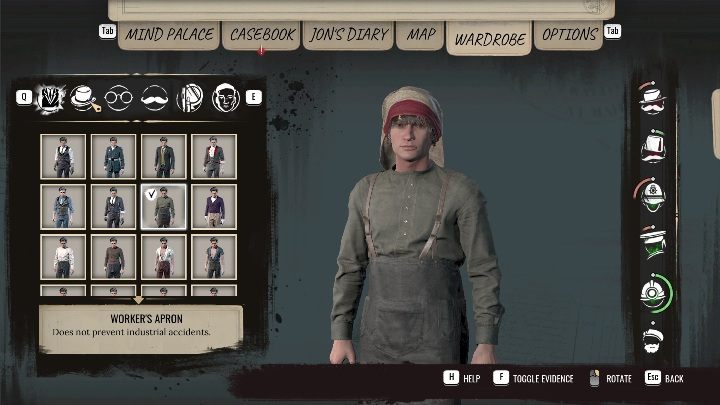
The next place you need to visit is the Old City market. Before you venture further, equip Worker's Apron which will serve as a disguise.
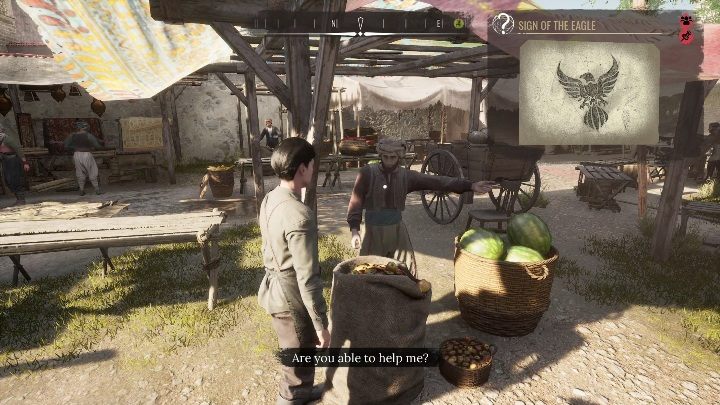
Once you're at the market, talk to the man who sells fruit and vegetables (among them watermelons, which are immediately conspicuous) The conversation willyield a new clue.
House Of The Eagle
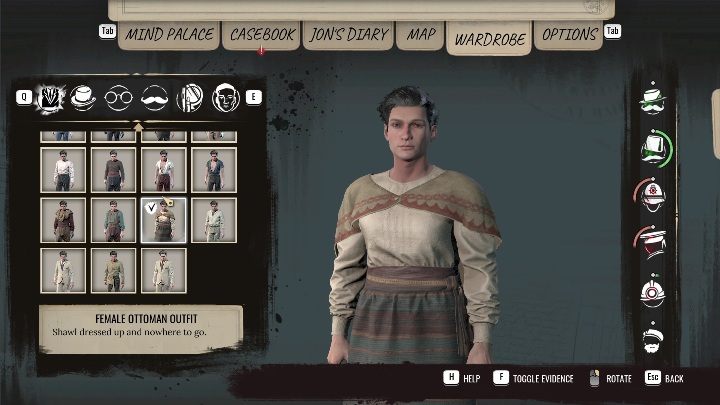
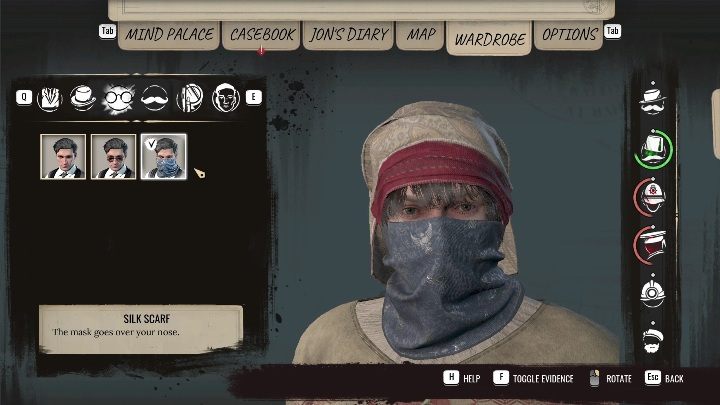
Before you can enter House of the Eagle, change your outfit. The outfit you need consists of three parts: Female Ottoman Outfit, Ottoman Headscarf and Silk Scarf. You can obtain or rent all of the above from any vendor on the island, including the one encountered at the market.
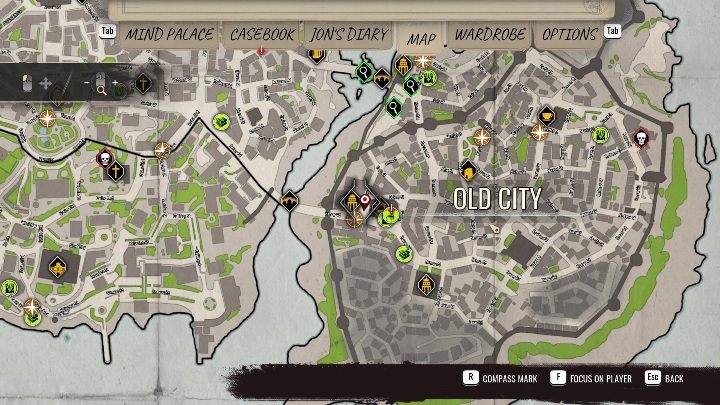
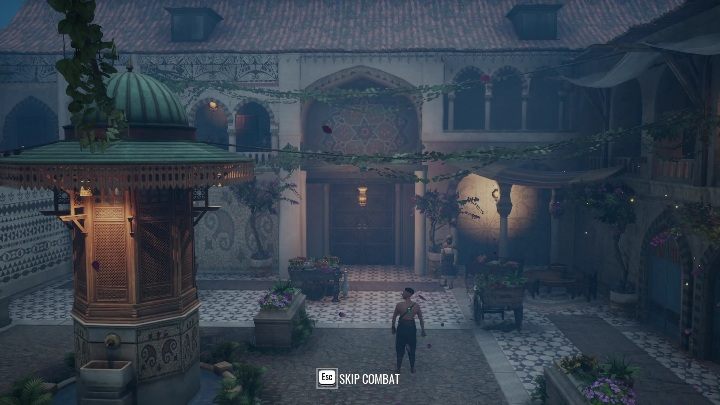
The House of the Eagle is located in the western part of Old City, right near the market. This will be a short trek. Remember - you need to wear the disguise, otherwise you won't be let in.
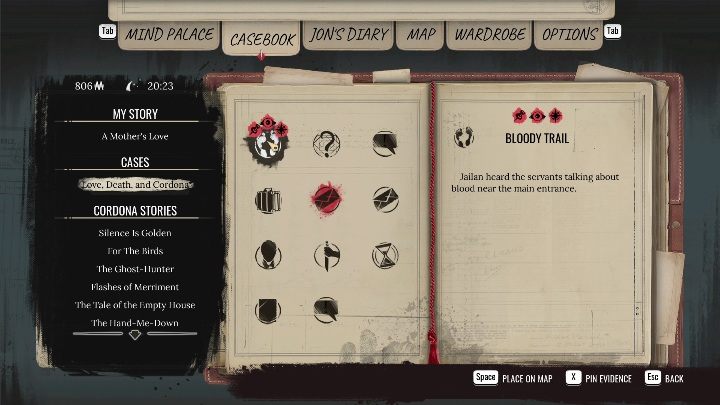
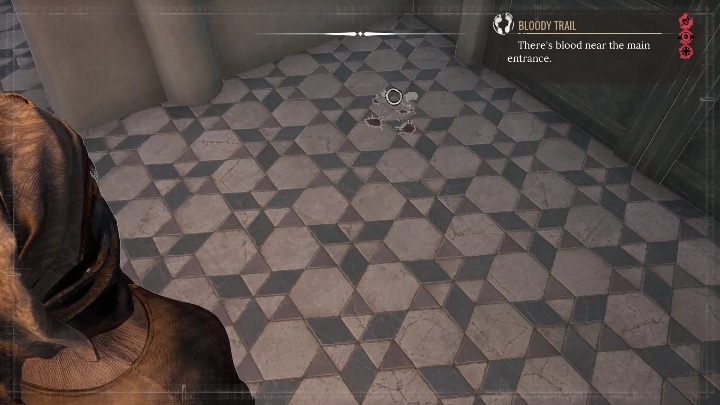
Start the investigation by tracking the objective, and checking the clues. There are bloodstains near the main entrance, in the left corner by the wall.


Follow the stains to reach a room with bloodied items. Investigate them - you're almost at the end of the case. You now need to decide upon the favored outcome of the task.
- There are two possible outcomes: collect the reward (70 coins),
- or unlock an achievement (Not His Toy) .
If you want the money, go to Mycroft's aide and tell him the identity of the killer. If you want to obtain the achievement, continue reading.
Killer
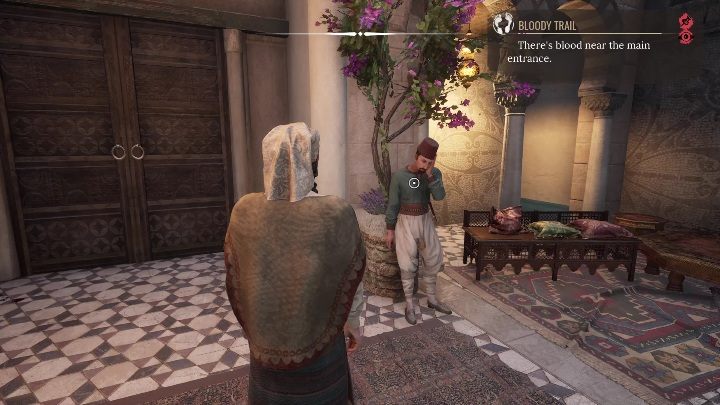
The killer is in the vicinity. He's standing by the flowerpot and covering his face with his hand.


Approach the man and examine the following clues:
- face,
- mark on the neck,
- no blade,
- hand marks,
- a bloody mark on the rib.
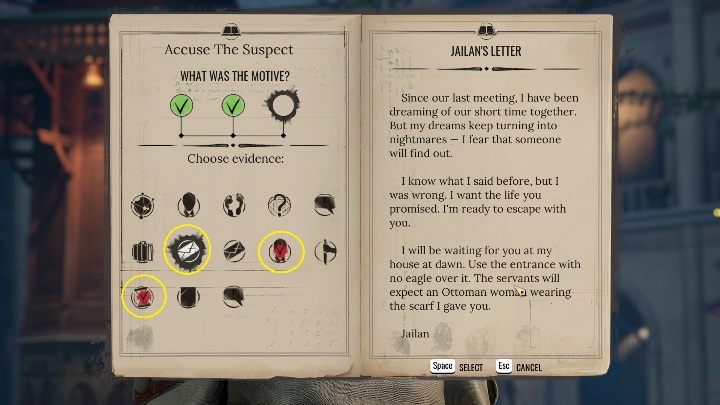
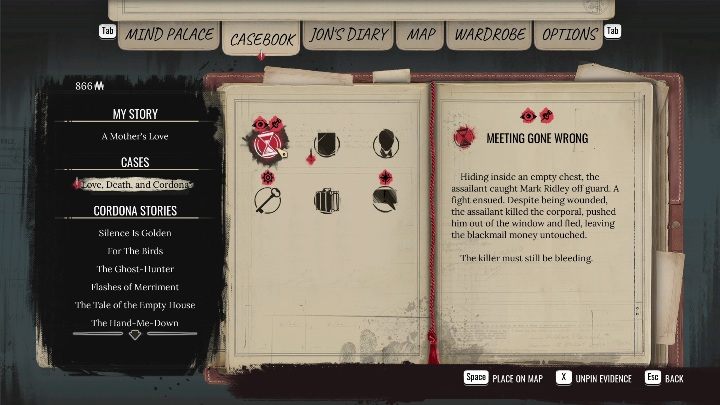
After examining the clues, you can accuse the man. To successfully complete the action, you need to choose the correct order of accusations: In order, these are:
- Victim Profile;
- Meeting Gone Wrong;
- Jailan's Letter.
Whether you've answered correctly or not, you'll have to face a few opponents in a gun fight.
After that, you can make the arrest. To finish the case, talk to Mycroft's man who is at the police station. If you've made the arrest by yourself, you won't get a reward (aside from the achievement).