Combat | Tips and hints Shadowrun: Hong Kong Guide
Last update: 11 May 2016

It is not always necessary to start a fight. If you are short on health or you see that you may have difficulties defeating the opponents (and if they do not attack you), it is not necessary to step into the battle. The only thing that you can obtain from an unnecessary fight (outside of a quest), is a hidden object, if there is one nearby. The game does not add the experience points that you would receive for the fight and you cannot search the bodies of the defeated opponents.
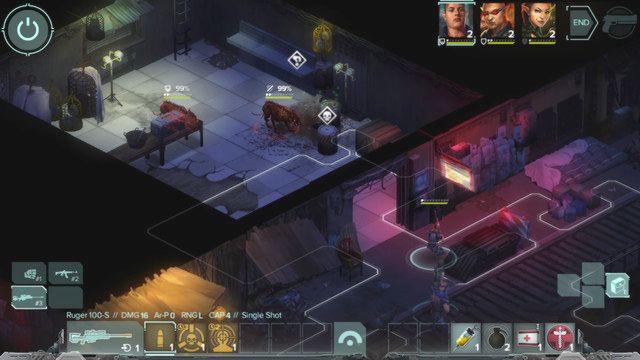
Both you and the rest of the party members can carry around more than one weapon. It is a good idea to have a secondary, special weapon on you, be it a melee weapon or an AoD grenade launcher.
Ammo - sooner or later, you will notice that your firearms use up ammo. However, you do not need to replenish it in any way. This is only an indicator of the weapon - if you use up ammo in the clip, you need to sacrifice one action point to reload it, which may be frequently a requirement, in the case of some (e.g. the grenade launcher - you can fire it twice, before you need to reload the weapon).
First of all, eliminate the opponents that may pose the greatest threat, not necessarily the easiest targets. What we mean here is mainly opponents with shotguns and grenades, who may deal damage to multiple targets. It is a good idea to leave the leader of the group for the very end - they have the most health points and often, a first-aid kit or the ability to heal themselves.
If your chance of hitting the opponent is below 65%, come closer. It makes no sense to waste ammo, and the turn, on ill-aimed shots. You can always come closer or change the angle at which you shoot.
Do not let yourself be surrounded. In the game, there is a flanking system, i.e. you can attack the opponents from several sides simultaneously (preferably front-back). Do not let the opponents change their positions when they are going to flank you. This is why it is a good idea to spread your party members over a larger area, close to the boundaries of the area in which you are fighting.
Do not let units fighting with melee weapons attack the ranged enemies. If you see that one of the opponents is heading towards one of the ranged party members, have them eliminated in the first place. In a 1 on 1 encounter, he is defenseless against tough melee opponents that have a high melee statistic.
Remember to distribute your party members properly. If it requires you to spend one, or two, turns to distribute them properly, do so. It is key to maintain the distance between each other (in case of an AoD attack, such as a grenade/shotgun), but not in a straight line - if the opponent approaches you from the side, he may have no problems eliminating you. At the same time, use all covers as much as you can (columns, crates).
If an enemy mage summons a creature, eliminate him in the first place. The reason is that as soon as the mage dies, all of the creatures summoned by him die as well. You should keep your wits about yourself here, because the same applies to you. This also goes for the characters that control drones.
Dying. There is no concept of death as such for your party members. If one of them is lethally wounded, you can revive them using the, so called, "trauma-kit". If this fails, up until the moment of leaving the area (until the end of the quest) you will have to do without him, but he is then transported to the "intensive care unit" and he will be fit and ready for the next mission. Still, it is a good idea to have at least one trauma-kit with you, in the case of a critical situation.
When you realize that a conversation has taken a wrong turn, even though you wanted to resolve the conflict at hand in an amicable way - try to soothe things down. There is a chance that although you fail to reach your goal (e.g. walk around guards without fighting them), they will not attack you - thanks to this, it is possible for you to take initiative and strike first, or even to distribute your party members around convenient spots.
After each fight ends, those of the party that have not died, receive their health back to the extent to which they lost it from the opponent's last attack (partial regeneration). This is why, in the case of the last fight of a quest, it makes no sense to lose your first-aid kit to heal a companion that is at the brink of dying. It is way better to hide that character away from the heat of the fight and wait until it ends.
