Fountainhead Palace | Sekiro Shadows Die Twice Walkthrough Sekiro guide, walkthrough
Last update: 12 April 2019
Fountainhead Palace is the last location with a free exploration in Sekiro: Shadows Die Twice. Not as developed as other locations, it contains a large number of interesting bosses - often repetitive, however they drop cool loot. Below you will find a detailed description of the area: where to find interesting places and how to get to the main objective of the game: Divine Dragon boss.
- How to get to the location?
- Boss: Corrupted Monk
- Location description - Fountainhead Palace
- Optional Boss: Sakura Bull of the Palace
- Boss: Okami Leader Shizu and swimming in the lake
- Pot Noble Koremori
- How to get around the Great Colored Carp
- Battle with the Divine Dragon
- What's next?
How to get to the location?
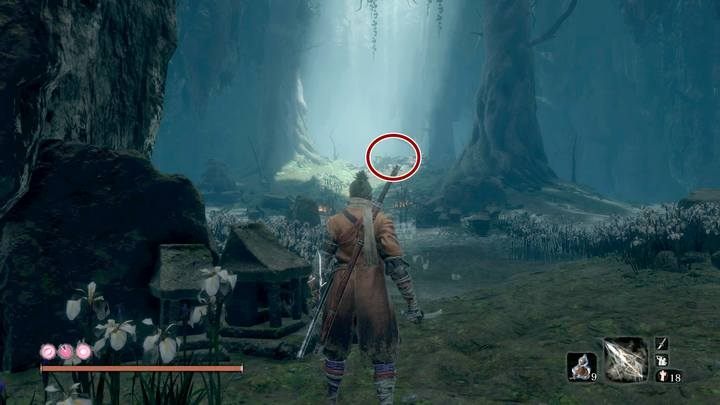
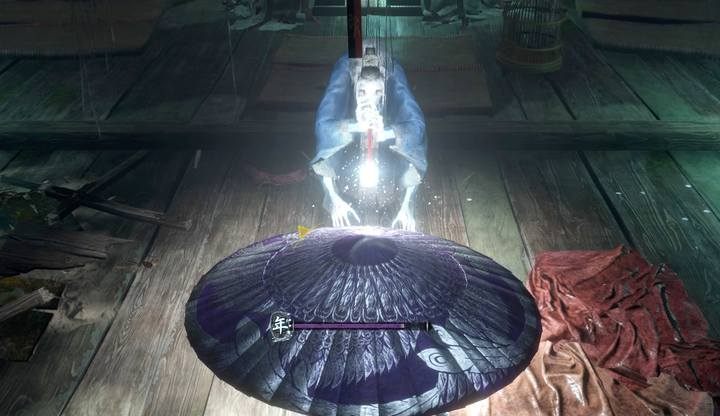
The Fountainhead Palace becomes available only after the battle with the Owl boss on the roof of the Ashina Castle (after a decent progress in the main story). Then, after talking to Kuro (three times), you will be directed to the Mibu Village and exactly to the place where you fought the Corrupted monk's boss. In the cave, where you found a stone for Kuro (near the sculptor idol: the Entrance to the Wedding Cave), go to a small gazebo in the middle of the cave and start praying. Thus, you will move to the Foundtainhead Palace.
Boss: Corrupted Monk
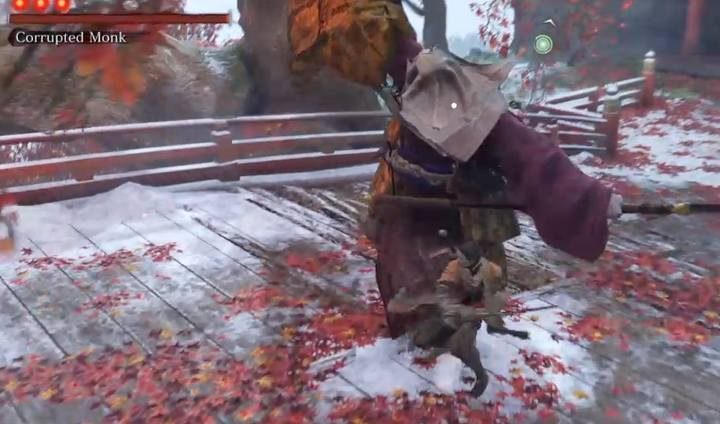
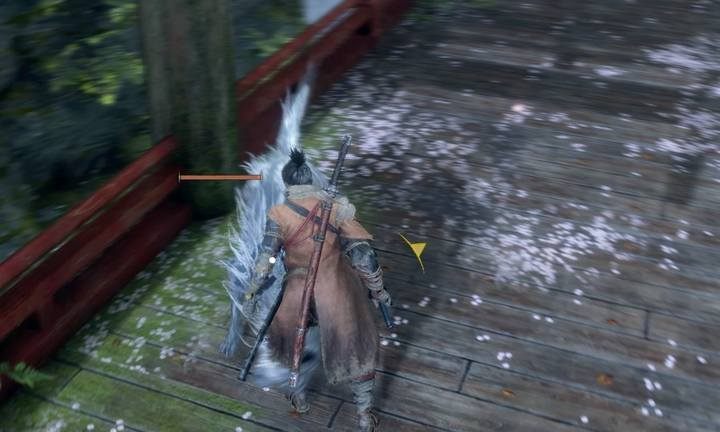
The first thing you will find in the new location is a bridge that protects the improved version of Corrupted monk - this enemy has even 3 health bars, oh dear. It's a boss that has to be killed due to the game's story. It appears in the arena when you are in the middle of the bridge. The battle is divided into three stages:
- The first health bar is basically a counterattack of blows and light damage to the back of the boss to inflict damage to its posture bar. Battle tactics are the same as in the battle with the standard version of the boss.
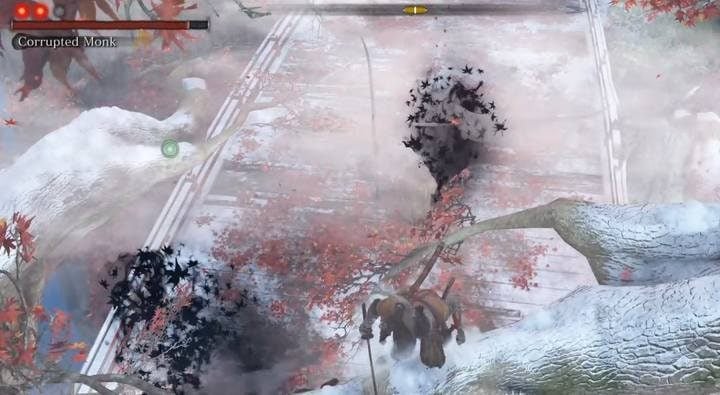
- The second stage becomes a bit more difficult because the boss uses a phasing technique and appears behind you three times dealing damage like a shadow. Solution: please use the grappling hook to get to the highest branch above the bridge. There you are untouchable; wait until the boss takes the original form.
- A third duel may be the most difficult. The boss uses all the methods he used in the basic version, primarily the "meat grinder". At this point you can try to eliminate its health bar rather than posture, because the enemy receives much higher damage in this stage. Especially beware of a special attack: then the boss throws insects at you, which may increase your Terror status. Therefore, it is essential to have Mottled Purple Gourd / Sedative / Phoenix Umbrella (prosthetic tool).
A good strategy is to use Shinobi Firecrackers and move to the back of the enemy - from behind, you can strike him with a lot more hits before he even manages to dodge or counter them.
Location description - Fountainhead Palace

After the battle, you can see the entire area of this site. Your first goal should be to get to the next sculptor idol (Mibu Residence) as soon as possible. Move along the lake, do not dive into deep water, and run all the time to the left. If you decide to fight with all the opponents on the way, you can die and it will be difficult for you to get to the checkpoint - it is better to bypass them.

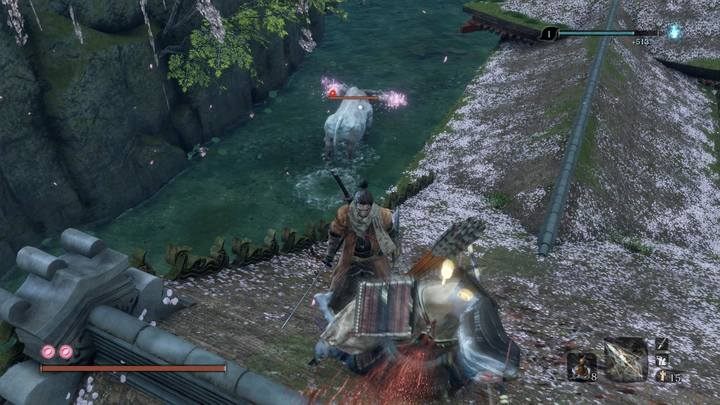
In the Foundtainhead Palace there is one rule: you cannot enter the lake. Mini-boss visible in the distance that resides on a huge tree will attack you with lightning as soon as you enter the water. You can hide behind objects, but you won't get far. A dedicated road runs approximately by land. Then you can get rid of the boss and use the lake.
Opponents that you will encounter in the Foundtainhead Palace:
- Fountainhead Palace Noble - these creatures suck the life out of you. Although the amount of their health makes them opponents for "one hit" when they see you - a bar will appear on the bottom of the screen. If filled (when the enemy sees you), you will lose the ability to move and climb. The only way to restore this state is to kill the rest of the monsters that sucked your life energy.
- Animals - white monsters resembling wolves; apart from simple attacks can also attack with lightning, which can be fatal if not repelled. They should be completed by using the tools of the prostheses like Shuriken or Spectral Kunai.
- Units fighting with weapons - these enemies own swords, pikes, bows and throw bullets. The latter are the most dangerous: thrown fireballs can bounce off the walls and can easily hit you; a precise hit at Wolf causes instant death.
Optional Boss: Sakura Bull of the Palace
Now, going through the building, you will encounter a sculptor idol Flower Viewing Stage. Turn left, and move behind the buildings, there you will encounter an additional boss: Sakura Bull of the Palace. This is a simple fight in which victory will allow you to gain a passive skill, increasing with the number of Spirit Symbols by 1 that you can use during the fight. To easily defeat the boss, fight him in the corner - over time his charges will cause a swift decline in his posture. Then, blow him a critical hit, even if he has a lot of health points. Keep close to his back to blow a simple cut - boss cannot turn in one movement.
Boss: Okami Leader Shizu and swimming in the lake

Heading from sculptor idol to the Flower Viewing Stage across the bridge, the easiest way would be to pass under the buildings between the beams of the woods or the rear side of it, where it is also relatively safe. You have to get to the bridge of the central building that leads to the tree.
You can try to run through, bypassing all the enemies and getting to sculptor idol Great Sakura at the end of the bridge - when you rest at it, the enemies will calm down and you can fight with the boss.
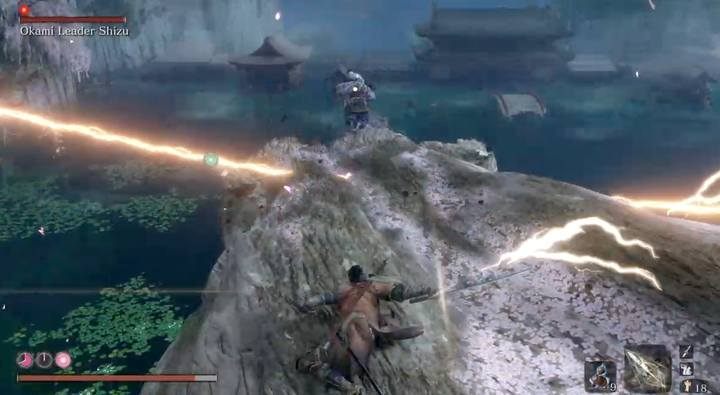
Defeating this boss, you get the opportunity to enter the lake. This requires you to be able to cross the underwater sewer to the foundation of the sacred mountain. Fight with the boss is a piece of cake. The key is to get close to him quickly because your hits instantly reduce his health bar. Perhaps the boss will be able to cast a single lightning strike - jump for a moment before you get into the air to repel a lightning strike at the enemy.
Pot Noble Koremori

In this place you will also find one additional trader. Of the interesting items, he offers the third and last piece of the Mask (it allows you to replace 5 skill points by 1 point of attack power). In addition, he has Lapis Lazuli stones in the offer, which are necessary to create improvements to the higher level prostheses - for all items sold you have to pay in Treasure Carp Scales.

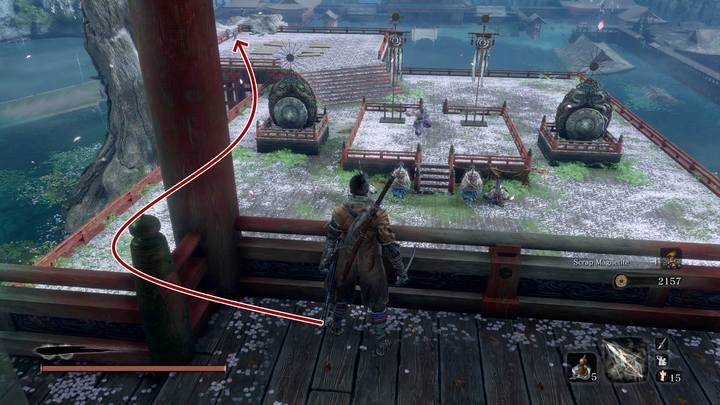
To get to the merchant, climb to the top of the stairs behind the lake, in a closed gate. From here you will get to the next level, the cave, by using the grappling hook.

How to get around the Great Colored Carp

To continue the journey, you need jump into the lake and swim under water towards the rocks after defeating the Okami Lord Shizu boss. There you will see an underwater cave, which is guarded by the Great Carp. To pass by, use structures and buildings underwater - stay unnoticed and get to the end of the canal where you will find a sculptor idol of the Palace Grounds on a hill in front of the hut. Inside the cottage you can open the door to allow yourself to travel quickly between areas.
Battle with the Divine Dragon
Remember to save the game and preferably make a copy of the save before this fight. This is a key point in the story, after which you will not be able to perform actions that lead to other endings of the game.

Go up the hill to the Church. When you pray at it, you will find yourself in another dimension where the battle with the Divine Dragon takes place.
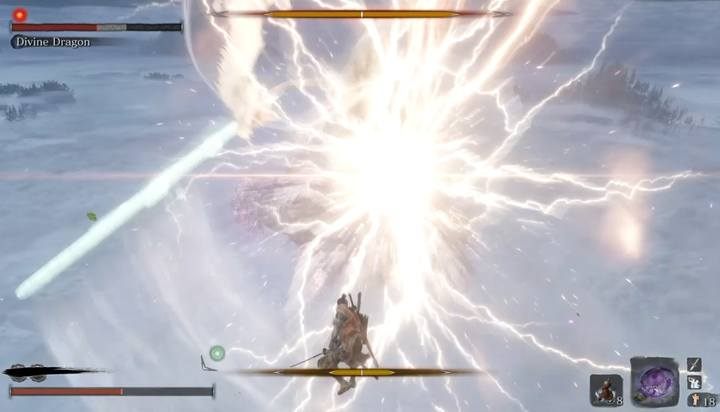
The battle is divided into two parts. First destroy the creatures that appear around you by jumping on the branch and dealing critical hits by attacks from the air. You must perform this attack at least two times.
The second phase of the battle - use the electrified branches to reflect the lightning in the direction of the boss. Do not forget to set the boss as the target, so that each volt falls directly at him. The boss will use vertical, oblique and horizontal cuts against you not letting you to perform any attack or move.
What's next?
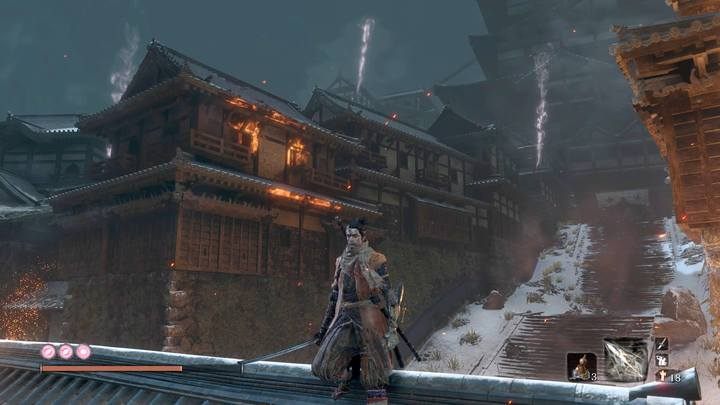
After defeating the Divine Dragon, you can return to Ashina Castle. Again, the situation will change. Once more, you must activate all the sculptor idols to use them. Not available and all Ashina Outskirts. The site also has some new treasures (including valuable craft materials) and powerful new enemies. After talking to Kuro in her room, you will go outside using the open window in the library; your next target will be in the sewer below the Ashina Tanks outside the door where you guided Kuro outside the castle in the Prologue.