Ashina Depths | Sekiro Shadows Die Twice Walkthrough Sekiro guide, walkthrough
Last update: 08 April 2019
On this page of our guide to Sekiro: Shadows Die Twice you can find a detailed walkthrough for Ashina Depths. This is an important place that you should visit to progress further the main storyline of the game. Our step-by-step guide tells you where to descend into the Ashina Depths, as well as what sights and threats to expect in this place.
- Where is the entrance to Ashina Depths?
- Mini boss: Snake Eyes Shirahagi
- Getting to the huge cave
- Additional boss: Headless Guardian Ape
- Optional boss: Shichimen Warrior
- Get to the Hidden Forest
- Journey through the first part of the Hidden forest
- Additional boss: Headless
- Journey through the second part of the Hidden forest
- Optional boss: Tokujiro the Glutton
- Boss: Mist Noble
- Exiled Memorial Mob
- Passing through the Mibu Village
- Boss: O'Rin of the Water
- Pass through the last part of the village
- Boss: Corrupted Monk
- Getting The Shelter Stone
- Moving to the Fountainhead Palace
Where is the entrance to Ashina Depths?

Ashina Depths is a very well hidden zone and consider it worth the wait until your character becomes a little stronger. On the way to Ashina Depths and during their subsequent exploration you are going to fight with some bosses.
Journey to Ashina Depths you may begin in the Ashina Castle. As a starting point, select the specific sculptor idol Ashina Reservoir, located to the left of the castle. Turn left, go to the edge and catch up with the protruding tree (in the picture above).

Get to the wall you need to climb. Opponent will stand under the hero that is able to warn his friends - ignore him or kill him.
Go to the left and stand near the gap. Attach your hero to the place shown in the image, or carefully walk along the narrow edge. The purpose of this action is to get to the left side area.
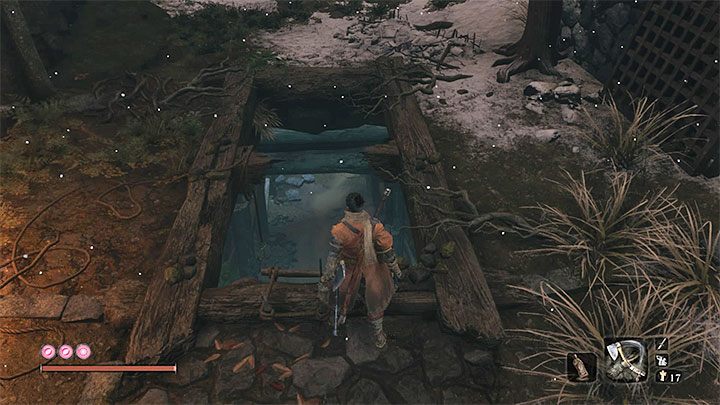
Go straight and get to the dungeon. A boss awaits downstairs - Lone Shadow Longswordsman. If this is your first visit to this area, it is worth to check our guide chapter called Bosses. From our description of the boss fights, you will learn how to surprise him (you have to get to the second hole that allows you to track him and land on him), as well as how to defeat him after starting from direct blow without the surprise option. If the boss is already dead, you can move on.

Swim through the partially flooded part of the cave and catch the upper hitch. You will enter the Abandoned Dungeon.
Move straight ahead. You can ignore all the lizards along the way. In addition, do not jump to the left side of the arena, where one of the bosses is standing (Shichimen Warrior). Go to the end of the stone shelf and jump to the next one. You can already get to the new sculptor idol - Bottomless Hole.
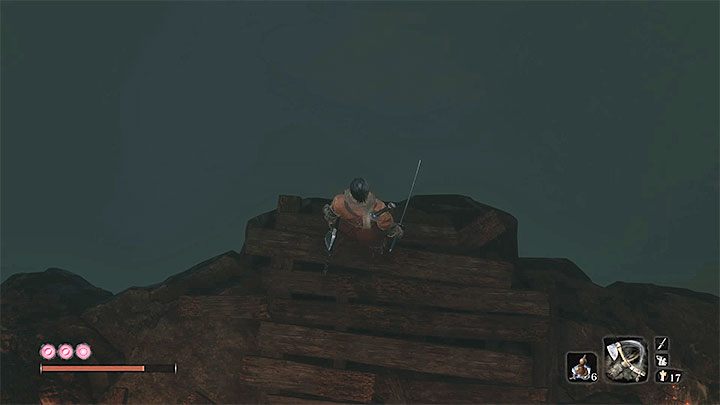
Take advantage of the passage that's next to the bonfire. Along the way you will pass two NPCs, but you do not need to communicate with them. Get to the Bottomless Hole, that is, to a huge abyss with no visible bottom.
Jump into the abyss. The flight will only take a few seconds and be ready to press the use the grappling hook button as soon as a special marker will appear. The hero grasps on a rock and lands safely on a tiny stone shelf.
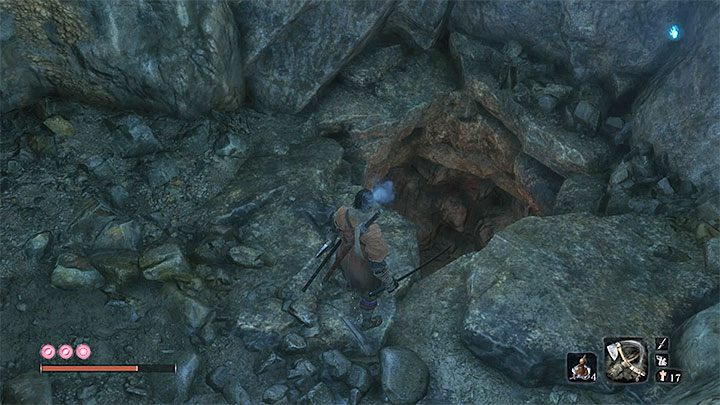
Start the linear ascent and jump into the lower cave. There's a zombie living here, but you can ignore him. Turn right and find a small hole in the ground that you can jump in as shown in the attached picture.
After landing at a new location, follow a few steps to unlock the first sculptor idol in Ashina Depths. The game will receive a confirmation of arrival at a new location immediately after the entry to the first large cave with opponents (Poison Pool).
Mini boss: Snake Eyes Shirahagi
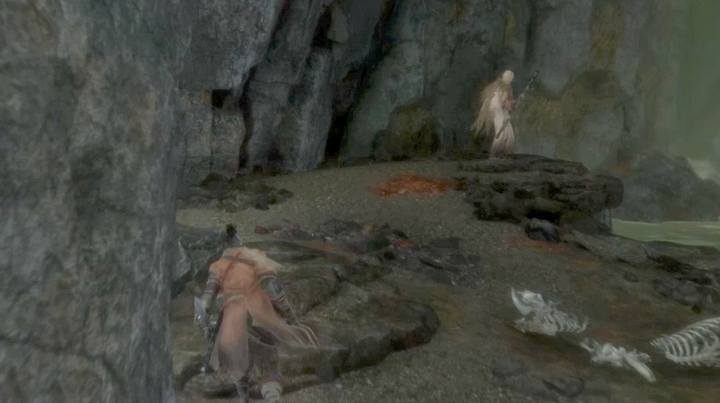
You will encounter a new boss in the first zone in Ashina Depths, that is, in a Poison Pool. This is Snake Eyes Shirahagi, which by default is located in a straight line from the entrance to the area. This meeting can be played out two main ways:
- Get behind the boss. You will need to bypass this area on the left and avoid any detection by normal opponents equipped with remote weapons. Once you find yourself behind the boss, you can simply bypass it and sneak to the next location or use the opportunity to hit him with the first mortal blow (of the two necessary).
- Start a direct fight with the boss. In this case, it is advisable to deal with all other surrounding enemies in advance, as the attack from their side can seriously complicate the progress of battle.
If the battle with the boss is has started in the first place concentrate on avoiding its projectiles. He uses gunfire which also occurs directly after the sequence of the attacks. The key to winning is to weaken its posture bar, and this can be easier with a Loaded Axe. For defeating the boss you will get a Prayer Bead. Full description of the fight with Snake Eyes Shirahagi can be found in the Bosses section of the guide.
Getting to the huge cave
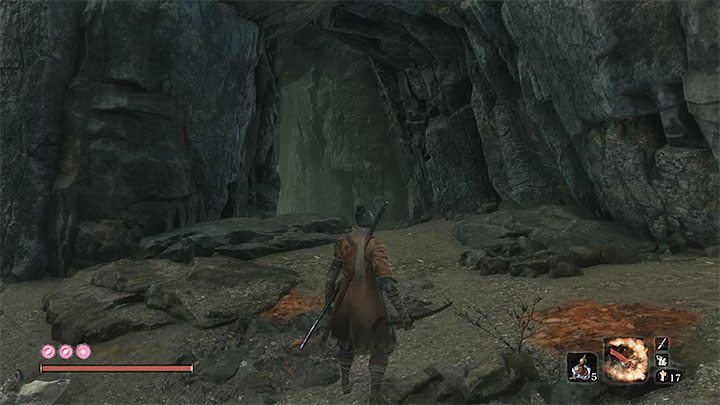
Exploration of the Poison Pool can be partially solved before the attack of the mini-boss or only after you kill him. In both cases, avoid getting into the green water because it will slow down the hero and you may get poisoned - you may start slowly losing health points. Behind one of the statues on the left is a hidden sculptor idol Poison Pool.
To continue the exploration of Ashina Depths you need to reach the pass, located in the place where originally stood the Snake Eyes Shirahagi. He's on the other side of the pool. Along the way, you can meet an NPC and talk to him if necessary.
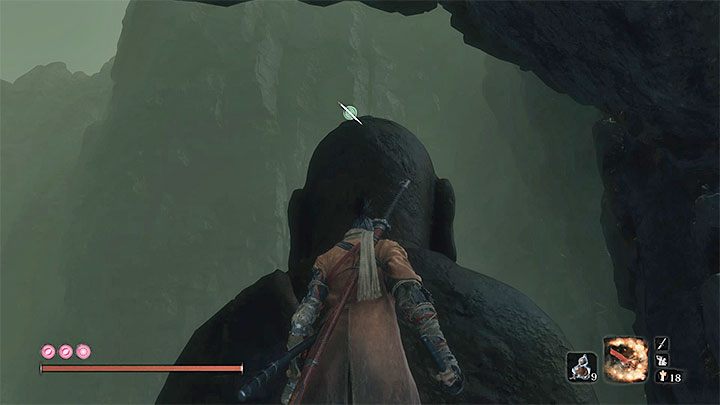
After entering a new area you will meet an NPC (talking to him is optional) and find a place to mount with a hook high on the left. Go there. This way you will reach a narrow passage. After you squeeze through it turn to the left, and start the climb, which involves, among other things, jumping and bouncing of the opposite walls.
The goal of the ascent is to get to the place shown in the image, which means a high stone shelf located behind one of the statues. Get to the head of the statue (be careful not to slip) and open the container which contains Prayer Bead. You can immediately resume your trip to the next big site or continue exploring nearby additional areas.
Additional boss: Headless Guardian Ape

The first optional boss will only appear in a large cave if you have visited the Sunken Valley, and defeated Guardian Ape. It will be pretty much a repetition of that fight. This time you have to eliminate Headless Guardian Ape. The boss guards the passage to the next zone of Depths and you can't get around it.
The first phase of the duel in the Depths is a repetition of the second phase of the previous battle in the Sunken Valley. Parry the blows of the boss and weaken his posture after the his failed attacks. In addition, as soon as possible escape from it when he prepares to scream, which may impose Terror status on the hero. In the second phase of the fight in the cave there is a second monkey. Focus your attack on her. We recommend you to use Shinobi Firecrackers to quickly weaken its posture and to launch a fatal blow. Only when the "normal" big monkey dies, go back to attacking the right boss.
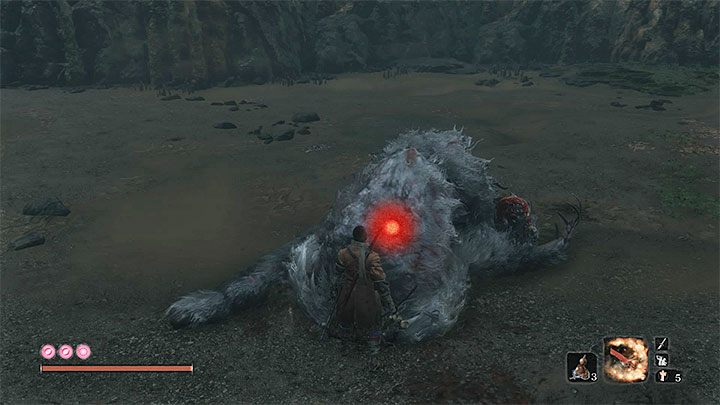
Headless Guardnian Ape leaves behind a memory and 2x Prayer Beads. It has to be additionally slashed with Mortal Blade to win the trophy and unlock the Bestowal Ninjutsu technique. Full description of confrontation with boss can be found in Bosses section. A method of obtaining the Mortal Blade was described in turn, among other things, on the section of our guide related to Special Items.
Optional boss: Shichimen Warrior

The second additional boss will appear in the same large cave (when you re-visit the Ashina Depths), only if you have already dealt with the Headless Guardian Ape. Confrontation with him is optional. If you don't want to fight the boss, you can cross the other end of the cave and jump to an interactive hook.
Before you attack the boss, take:
- Pacifying Agent or Mottled Purple Gourd - the should lower the Terror status
- Divine Confetti - is used to increase the damage done the boss
Start to weaken the boss and try to avoid his attacks based on Terror at the same time. In particular, watch out for flying bullets and energy beams released by the boss. Do not forget about the re-application of these specifics, after they stop working. Boss drops the Malcontent''s Ring that improves the Whistling Finger prosthetic tool. More information about the battles with Shichimen Warrior monsters (they appear in several places in the game) you will find in the Bosses chapter of our guide.
Get to the Hidden Forest

Regardless of the number of bosses encountered along the way (none, or the Headless Guarded Ape, and Shichimen Warrior after him) you should end up grappling the first hitch from the above image. Again, use the grappling hook to get out of the cave. In the next location you will meet a little important NPC, as well as two ghostly opponents. This is a great place to get a lot of experience points. If the strongest ghost enemies have appear, killing each of them guarantees 620XP. This topic is described in more detail in the XP and gold support section of our guide.
After dealing with ghosts or after avoiding them you must use your grappling hook. You will soon reach the sculptor idol Hidden Forest.
Journey through the first part of the Hidden forest

In the Hidden forest rises thick fog, which makes it difficult to search the area. You can spend more time on exploration or postpone this activity for later, because after the destruction of Mist Noble boss (the description of the battle with this boss is described in the further part of this chapter) the fog will disappear. Loot in the hidden forest are not only disposable items, but also useful crafting materials.
Regardless of the chosen tactics, search the places to use the grappling hook, thanks to which you can jump on selected trees and high rocky shelves. In the vicinity there are hypertrophied chickens and, above all, ghostly opponents. They are characterized by the fact that once they are defeated, they can return to the same site before you even take the opportunity to rest. We advise you to deal with them only if they directly threaten the hero or make it difficult for him to access the interactive containers with the loot. It is worth adding that even if you knock out the enemy, which regenerates, you will get XP for defeating it.
Additional boss: Headless

You can encounter the Headless boss on the left side in the first part of the Hidden Forest. Duel with this boss is optional. You can completely ignore him and focus solely on further exploration of the Hidden Forest. If you're going to attack him, then deal with the surrounding ghostly opponents, so they do not interfere.
Before you attack the boss, take:
- Pacifying Agent or Mottled Purple Gourd - the should lower the Terror status
- Divine Confetti - is used to increase the damage done the boss
After the fights start, focus on avoiding or blocking strong boss attacks. Look for opportunities to attack him from the side and use it fairly slow motion. Do not forget to retreat to a safe place if any of the above specific stops working. As a reward for defeating the boss you will receive a unique item Gachiin's Spiritfall, which increases sneaking (through the use of Spirit Emblems). More tips about the battles with Headless (in the game there are several such creatures) can be found in the Bosses chapter.
Journey through the second part of the Hidden forest
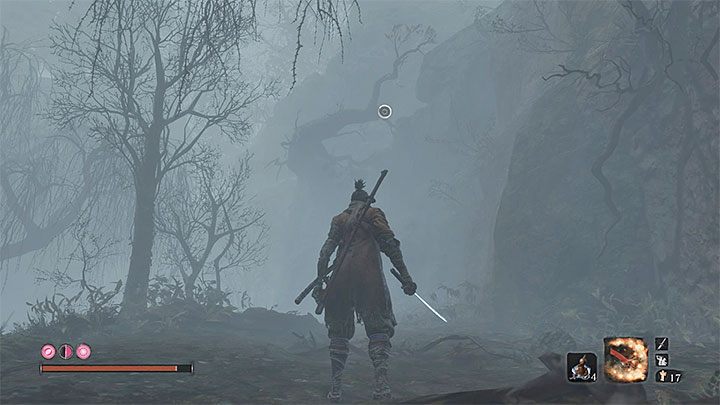
In the second part of the Hidden forest you need to cope with the thick fog, as well as chickens and ghostly opponents. During the exploration of this part of the forest, check out the closed building on the right. You can't get in right away, but you have to remember this place, because soon you will be able to enter the building through the roof.
Hidden forest gives the impression of a closed location. The solution to this problem is "hidden" above your head-you can use grappling hook on interactive hooks. This will allow you to reach small side areas with a small loot. One of the top shelves also leads to the next place with the mini-boss described below.
Optional boss: Tokujiro the Glutton
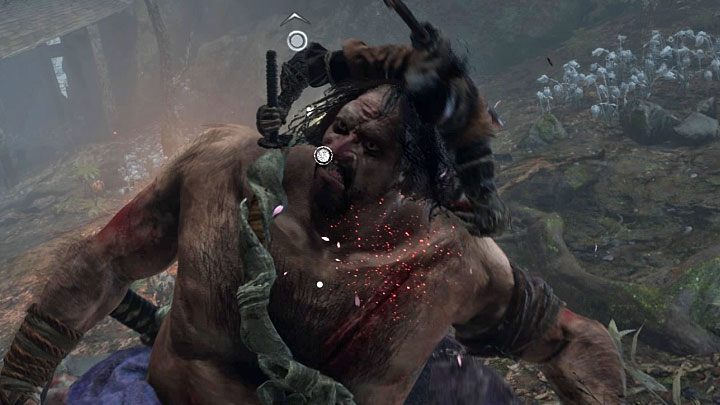
Tokujiro the Glutton is the boss located in the side section of the forest. Fighting with him is not mandatory, and if you don't want to waste your time, you can smoothly skip it along the way to the mandatory boss described below. Tokujiro, is a "clone" of Juzou the Drunkard boss, with whom you fought in the Hirata Estate.
The only change is that, Tokujiro is accompanied by a group of monkeys. It would be good to deal with them in the first place (in particular, the one that attack from a distance). After killing the monkeys, you can escape for a while from Tokujiro to jump on him and perform a surprising first fatal blow. During the duel avoid strong attacks of the boss performed with his long arms. Run away from him every time he spits poison or puts it on his blade. Defeating Tokujiro will reward you with a muddy sake and prayer beads. Full description of the fight with Tokujiro the Glutton can be found in the Bosses section in our guide.
Boss: Mist Noble

For a change, this is a mandatory boss in Ashina Depths, but dealing with him is pretty easy. Start in place where Tokujiro the Glutton was residing (or still is), and continue to explore this part of the forest. Along the way you need to use a grappling hook to get to the top shelf.
The purpose of the trip is shown on the attached picture. Here you can move to the upper branches of a large tree and jump from them to the roof of a closed house.

Run on the roof from all sides to find a hole in the roof. After going through it, you will find yourself over the boss Mist Noble. Keep sneaking up to get to the place where you can jump on the boss (as on image above). After making the first fatal blow to the boss, bring out the attacks without any downtime to deprive him of posture and health, and perform a second death blow. The fight with Mist Noble boss have been described in detail in our Bosses chapter.
Defeating Mist Noble brings together two important events:
- Removes fog from Hidden Forest. Makes it easier to find loot in this location.
- Unlocking the entrance to the Mibu Village. You will find it in the back of the hut where the boss was located.
Exiled Memorial Mob
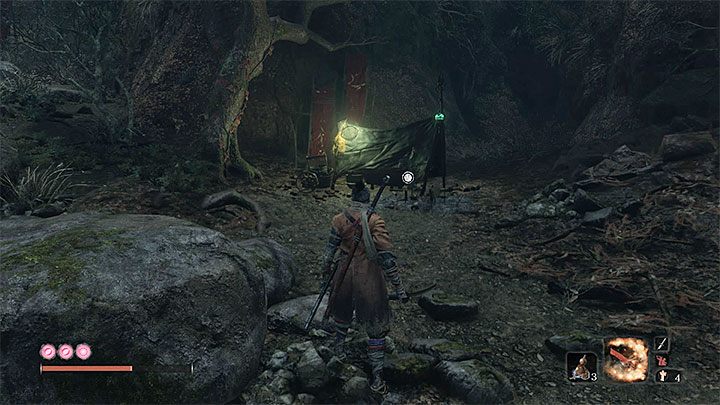
Soon after arriving in the new area, you will discover first sculptor idol Mibu Village. The Exiled memorial Mob camp is also located in the area. He offers for sale, among other things, 2 Treasure Carp Scale, materials for crafting, purse and Mottled Purple Gourd, which is a renewable item that protects you from Terror status. We advise you to buy it and immediately put it on the quick access items panel (its stock is restored during the rest).
Taking the opportunity, you can also explore the small stream that flows in the area. There is a treasure in the form of Treasure Carp Scale, which is guarded by a new strong opponent in a mask - you can defeat him in a direct fight or steal the treasure and escape from this place.
Passing through the Mibu Village
Mibu Village - is being watched by next part of lesser enemies that can be avoided or eliminated for easy XP. If you want to focus only on the mission objectives, stay on the main path and head to the top of the village. This path leads to the next sculptor idol - Water Mill.
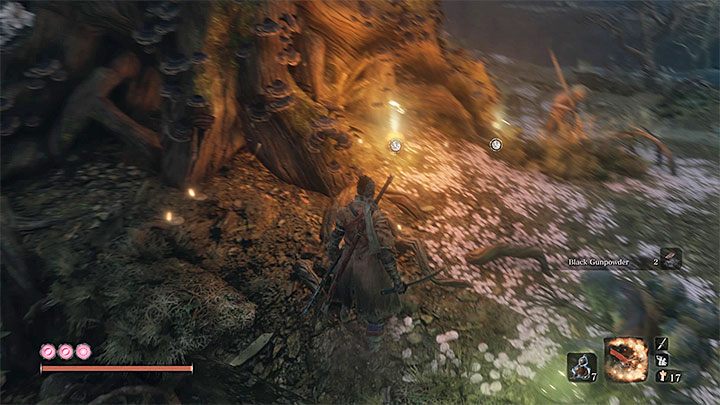
Before you leave the village, you should have a good look around. It is especially important to explore the areas to the left of the track. Find a container from the above image, which is the basis of a large tree - it hides the Gourd Seed. It is necessary to immediately return to Emma to get another Gourd Seed.
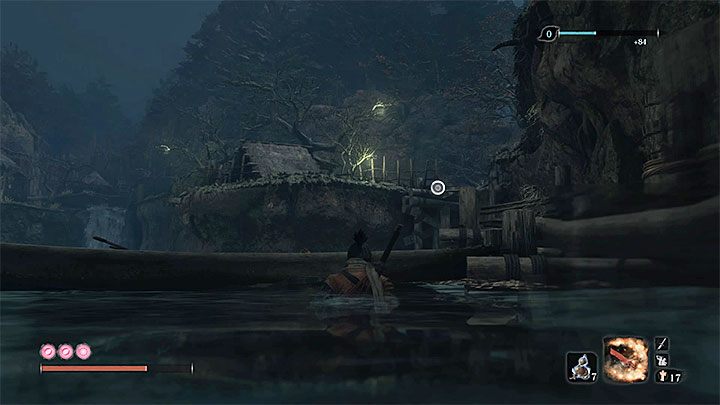
We also recommend jumping into the right reservoir and getting to the new rocks shelves located on the opposite bank. There is a path leading to a unique treasure - Pine Resin Ember. This is craft material to improve the Fire Vent.
After you defeat the Corrupted Monk in further exploration of Ashina Depths, you can return to the village and dive into the tank for the first time. This will allow you to, among other things, obtain the red Carp Eyes after a killed fish (a quest item) and a Prayers Bead (a box lying on the bottom).
Boss: O'Rin of the Water

To the lair of the O'Rin of the Water leads the path that starts at the sculptor idol Water Mill. Overcoming the spirit is a must. Even before entering the meadow, it is necessary to take a sedative and Mottled Purple Gourd, cause the spirit is able to cause damage that creates Terror.
Attack the spectral opponent immediately when you approach her. Mortal Draw is useful to significantly weaken the boss (as shown in the image). It is equally important, however, to counter the blows of the rival. Wait for the moment when he will launch an attack marked with a red symbol. Then jump on O'Rin of the Water. You will not only jump over her missed attack, but also immediately attack her and thus significantly weaken her posture. If you need to heal, rely only on the gourd and quickly block O'Rin hits after starting your self-treatment. Defeating the boss gives you reward - Prayer Beads and a passive ability Breath of Life: Shadow ((restoration of health by performing fatal blows). A full description of the battle with O'Rin of the Water can be found in the Bosses chapter.
Pass through the last part of the village
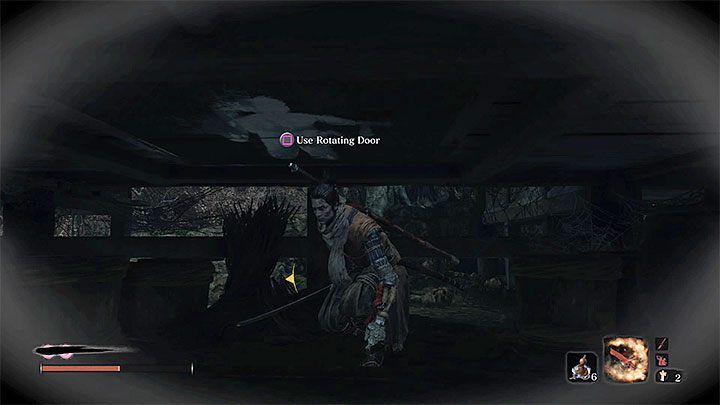
The journey can be continued only after the murdering O'Rin of the Water. You need to go on a narrow bridge, where a spectral enemy resides. If you want to fight you should retreat to the meadow. You can also quickly jump over the enemy. Fortunately, even if you fall off the bridge, you will fall into the water and only lose time.
In the new part of the village there are another lesser opponents. They can be easily bypassed by grabbing the hitch directly from the hero, after descending from the bridge. If you want to explore the area, find a passage that allows you to be under a large building. In its floor there is a hidden rotary mechanism of the above image, allowing you to get inside the house. You will find here the Divine Confetti, Red Cane ("death" and transition into fury mode) and the NPC, with which you can chat.
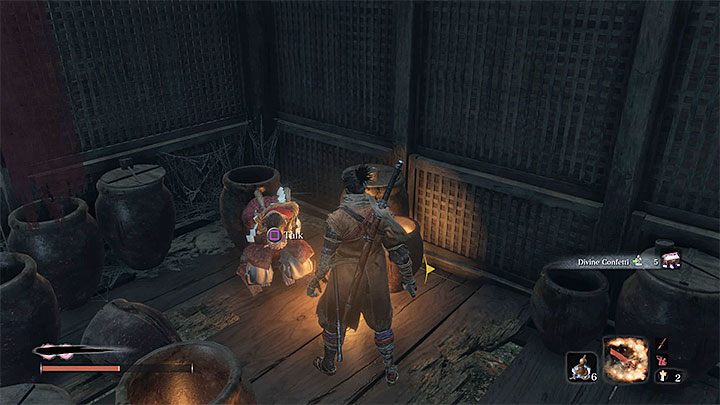
In the main room of the house you will find Divine confetti, Red Cane ("death" and transition to rage mode) and NPC, with whom you can talk. It's worth returning to this NPC in the further parts of the game after you visit Fountainhead Palace, where you can find Water of the Palace - it is in a secret room in one of the buildings investigated on the way to the main part of the Palace. You can give this NPC some water. Then go back to the bonfire and rest. Meet the NPC again and attack him. Defeating him will grant you 5 Treasure Carp Scales.
Before leaving the building, go through a large hole in one of its walls. Turn 180 degrees and attach to the top of the lead to get to the attic. You'll find a Prayer Bead.
Boss: Corrupted Monk
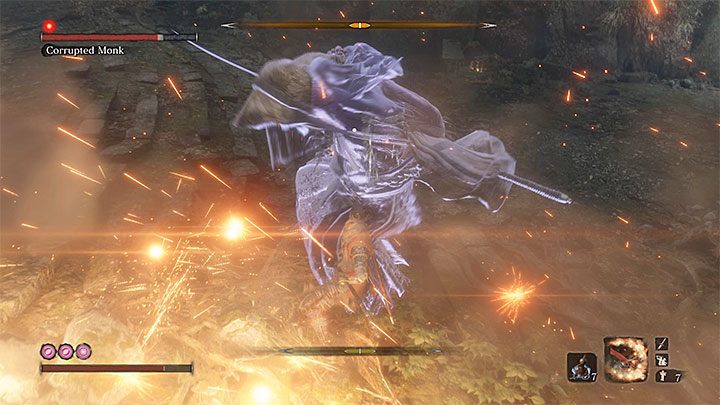
Corrupted Monk - is the last boss to defeat during the first visit to Ashina Depths. A ghostly opponent will appear when you reach a larger place with wide stairs.
Just like the previous boss, it is advisable to take a Mottled Purple Gourd with you. This battle pays great attention to repelling the attacks of the boss. Monk attacks in series and if you get confused with block button you can fall out of rhythm and take damage. Attack every time when the Monk will end a series of her attack. You can again rely on the Mortal Draw, although Shinobi Firecrackers will also do the trick. The defeated boss leaves behind the memory and skill of Mibu Breathing Technique. Thanks to this ability, you can now dive into rivers and ponds to get to new treasures or monsters. Full description of the fight with the Corrupted Monk boss can be found in the Bosses section of our guide.
Getting The Shelter Stone

In the place, where Corrupted Monk resided, there is a new sculptor idol near the entrance to the Wedding Cave Door. Explore the cave. The most important finding in this location is the Shelter Stone, lying on the altar. This is one of the artifacts that you have to give to Kuro and necessary to get to the final part of the game's main storyline.
Moving to the Fountainhead Palace
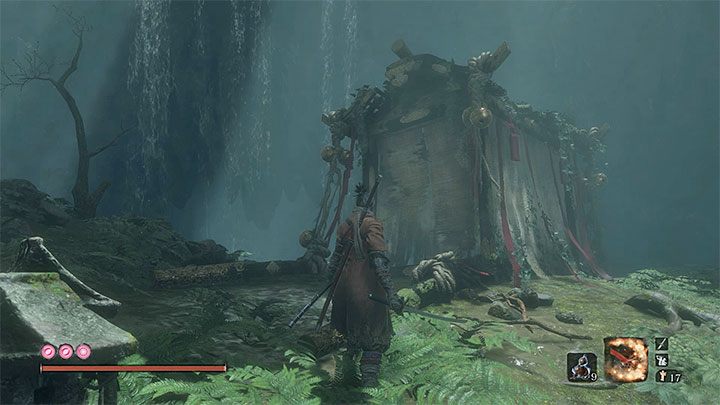
You can visit this place during the game's finale. This last big location is called the Fountainhead Palace. Check How to enter the Fountainhead Palace? page to learn about all the steps you have to complete to reach that place. The most important steps are - staying loyal to Kuro, defeating Great Shinobi Owl and speaking to Kuro and Emma a few times.
Once all the steps are complete, go to the Wedding Cave (the Shelter Stone was there). Find the tent presented in the picture. Enter inside it and pray. This will trigger a cut-scene after which you will reach the Fountainhead Palace.
