Ashina Outskirts | Sekiro Shadows Die Twice Walkthrough Sekiro guide, walkthrough
Last update: 26 March 2019
In this section, you will find information on how to complete the stage of the game called the Ashina Outskirts - this is the first place you visit in Sekiro: Shadows Die Twice after you finish the prologue and visit the Dilapidated Temple. The purpose of your trip - the Ashina Castle, where the main thread continues. Here you will find general tips on how to fight or avoid enemies and what dangers and interesting places to visit.
The following solution does not contain a detailed description of boss fights - they are described in detail in the dedicated chapter titled Bosses.
- Ashina Outskirts and Ashina Castle Ground
- Boss: General Naomori Kawarada
- Crow's Bed Memorial Mob
- The Chime: Story Item
- Outskirts Wall - The Stairs
- Boss: The Chained Ogre
- Underbridge Valley / General Tenzen Yamauchi
- White Snake in the Valley
- Boss: Gyoubu Oniwa
- Gourd Seeds and Merchant
- Side quest - Ashina Style, new skills
- Boss: Blazing Bull
Ashina Outskirts and Ashina Castle Ground
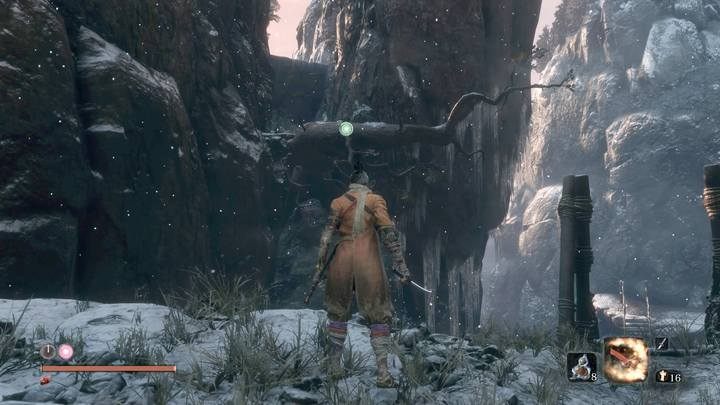
First of all, you have to leave the Dilapidated Temple, leaving through the main gate. According to the tutorial, use the rope to catch the tree and jump over the precipice. Then use the double jump (bouncing off the wall) and press the grab key immediately to hold onto the edge. You can only grab white, even edges.
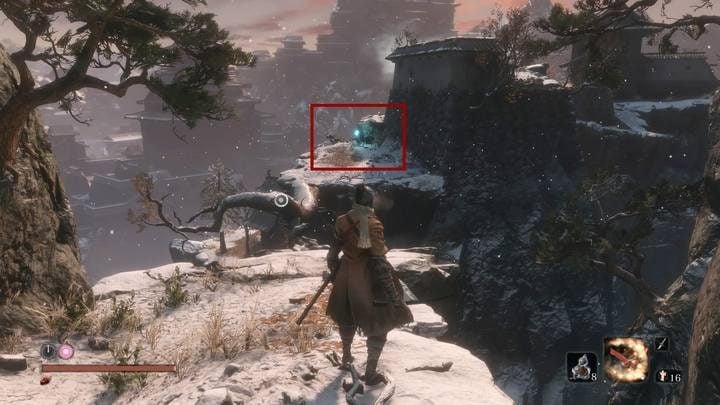
Jump over another ruin and unlock the first Sculptor's Idol ("bonfire") called the Ashina Castle Grounds. This is a checkpoint: if you die, you will be resurrected here. Also, use it to rest (restore health and reload the resurrection; respawn all enemies on the map). From here, you can also quickly travel between other discovered points.


Go further, keeping to the right side until the second house; there, on the slope, you will find another checkpoint - Outskirts Wall - Gate Path. Go now up to the gate: come in, there you will find a Shuriken Wheel. Take it to the Sculptor in the Dilapidated Temple to unlock the first prosthetic improvement: The Loaded Shuriken (you can use it to inflict damage to enemies at a distance; the prostheses consume Spirit Emblems, the small crosses visible in the lower right corner, which you can buy at the Sculptor's Idols).
Boss: General Naomori Kawarada
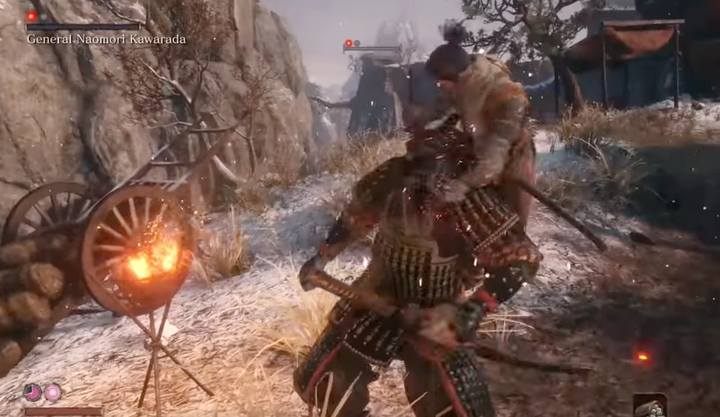
Now you will face the first miniboss in Ashina Outskirts - General Naomori Kawarada. This is an optional enemy. Sneak up on his back to reduce his entire health belt with a surprise critical backstab. The subsequent fight boils down to dealing damage, dodging and parrying. If you're having trouble, you can always go back to the checkpoint to regenerate - the boss also restores health then.
Crow's Bed Memorial Mob
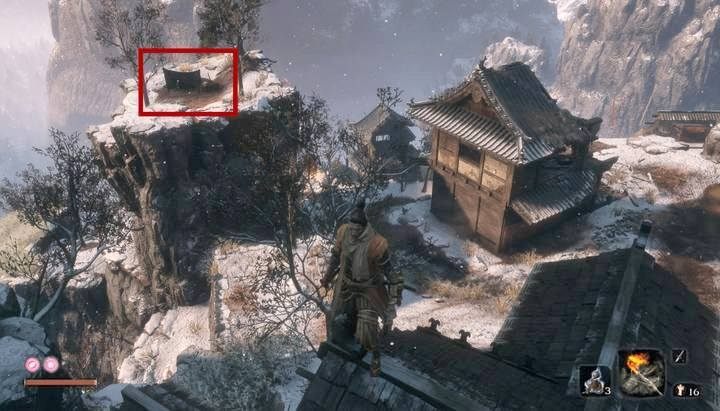
On the hill behind the gate, you will encounter the tent of the first merchant: Crow's Bed Memorial Mob. To get there, you need to go around the mountain and use the hook on the opposite side of the slope. You can trade usable items with him. Buy the Firecrackers Robert to unlock new prosthetic tools: The Shinobi Firecracker (when you get the item to the Sculptor).
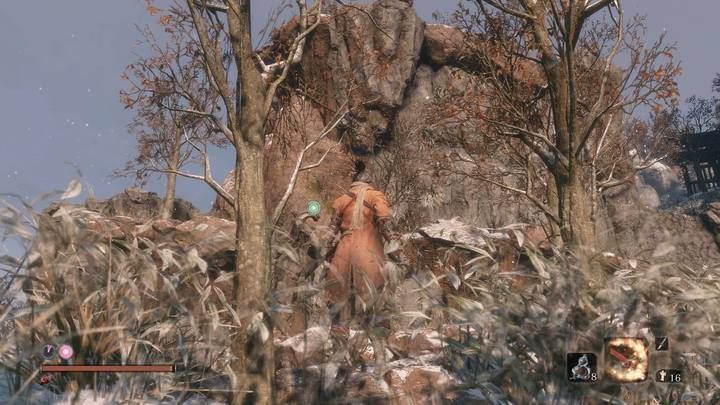
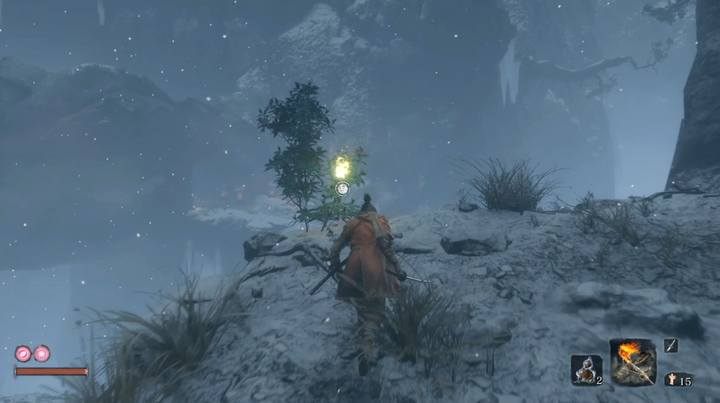
The Chime: Story Item

Below the cliff with the merchant, you will find a ruined building and a dying man nearby. Talk to him, then to the woman - you get the chime from her, which should be taken to the Dilapidated Temple - in the room where the Sculptor is, you will find an Idol of Buddha. Come to interact with it to open the side-region, the Hirata Estate. You don't need to go there right away, however, this is recommended because you will find their new prosthesis improvements and some more "profitable" enemies (when it comes to loot and experience).
The building's basement has a few useful items. To get there, you have to destroy chests blocking the passage. Many secrets in Sekiro are hidden in this way.
Outskirts Wall - The Stairs
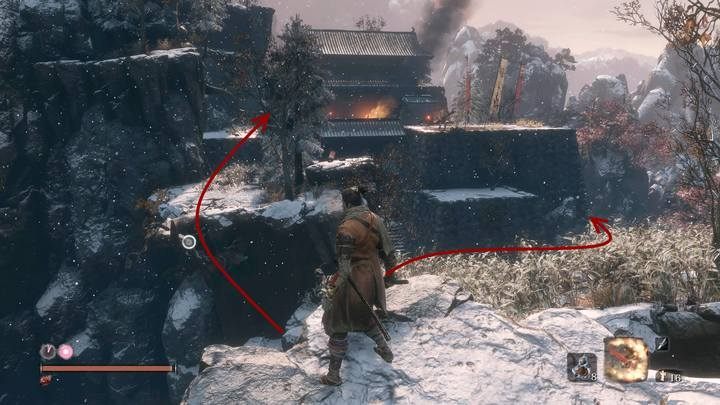
There's a fortified gate in front of you. You can walk around it on the left side by going to the slopes, or jumping from the right side to a distant stone, where you will also find some useful items. Beware of the guard on the wall: he's equipped with a powerful firearm.
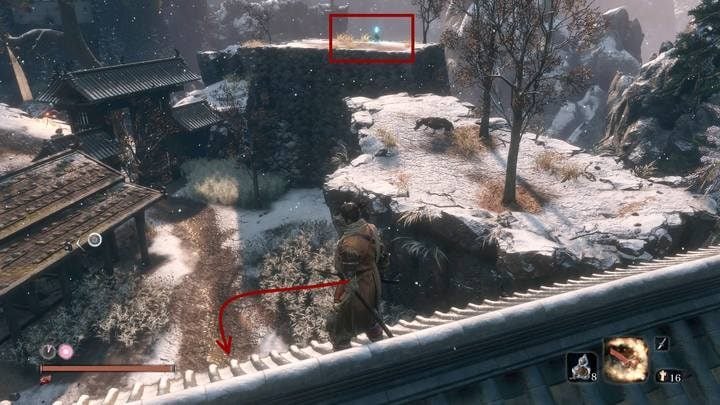
On the other side of the gate (where it is safe), you will find the Anayama Merchant. He will become available only when you pay him 50+100 sen and wait until he rebounds the business. The Phantom Kunai, which he has in offer will not be useful to you for a long time, so do not spend money on it just yet. On the wall on the right, you will find another Sculptor's Idol: The Outskirts Wall - The Stairs.
Note - Anayama the Peddler won't appear if you have killed him during your visit to Hirata Estate (the part of the game that takes place in the past). You will encounter this looter on the way to the estate (before you cross the bridge and face the first boss). He tries to enter a house on the left. If you kill him, you won't see Anayama ever again (you will lose the chance to purchase an upgrade for Phantom Kunai).
Boss: The Chained Ogre
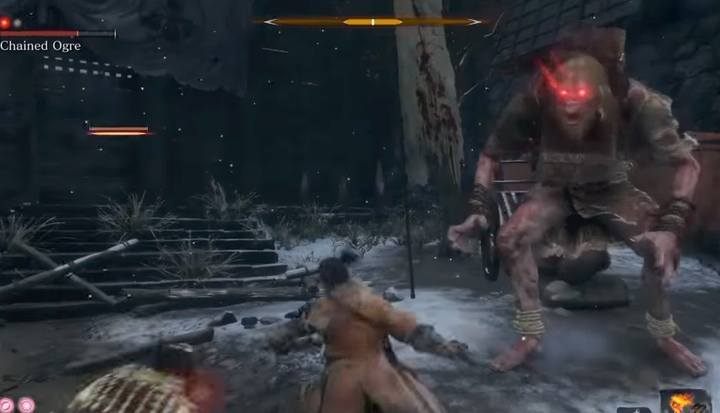
On the stairs in the further part of the map, near the unlocked bonfire, you will find another boss, a chained Ogre. He's a bigger challenge than the previous mini-boss, and in addition, you can't deal critical damage with a backstab. You must defeat it to continue. Beware of his grabbing attacks as they're lethal. Also, most of the attacks are body slams. For safety, wait for the enemy's attack and bring out a series of strikes only when it's not ready to attack again. There are some gadgets that will be particularly useful, including the Flame Vent (you can get it in the Hirata Estate; more in the section covering the prosthetic), and the Shinobi Firecracker.
Underbridge Valley / General Tenzen Yamauchi
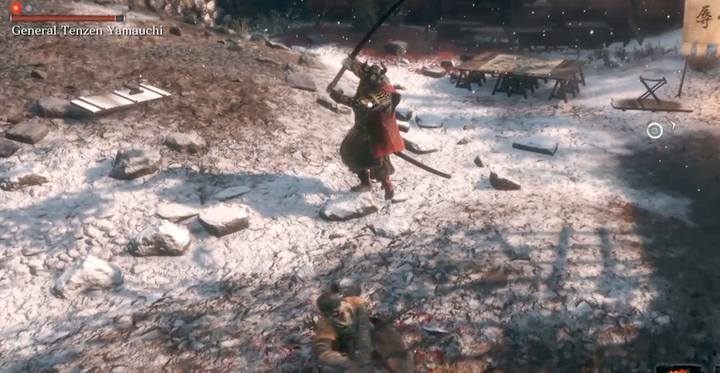
Go through the gate using the rope. There will be another (optional) mini-boss: General Tenzen Yamauchi. Before you start to fight him, get rid of his minions, so as not to let them interfere. Then wait for the boss to return to his seat and start the fight by backstabbing him. Then, counterattack and avoid getting the thrust - a special attack (you can counter it with the Mikiri Counter if you unlocked that ability). The Shinobi Firecracker and the Fistful of Ash can also come in handy.

Before the fight, break your way through the square and get to the edge of the bridge. When you look down, you will see that there is another Sculptor's Idol - the Underbridge Valley. You should unlock it before the boss fight - when you die, you won't have to backtrack a lot.
Passing through the gate to the right of the boss, you can get to a remote cave over the rocks, where the next boss is waiting - the Headless. Don't go there yet - you can't win without a few necessary items.
White Snake in the Valley
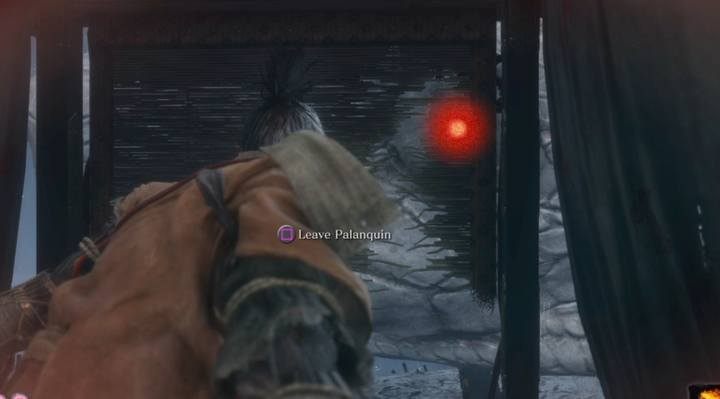
To continue, go down the valley, from the unlocked Sculptor's Idol downward. Here, you will encounter a formidable boss - the White Snake. You can't fight it, you have to avoid it. At subsequent stages:
- Hide in the grass until the boss turns - then go to the other wall and go down the tunnel.
- Hide in the grass again; when the Snek comes out of the grass make your way to the edge of the rocks, where you can pass further on by clinging to the wall.
- Get out from under the rock when the enemy is not looking, and hide in a small wooden hut in a clearing nearby.
- When the Snake will direct its eye next to you (it will begin to pulsate in red), hit it with the sword and start running.
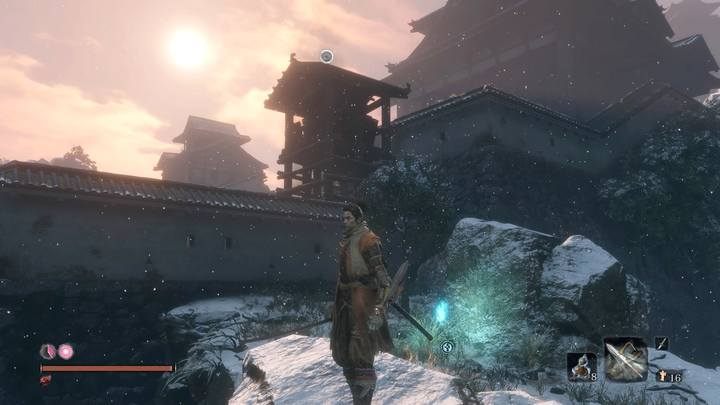
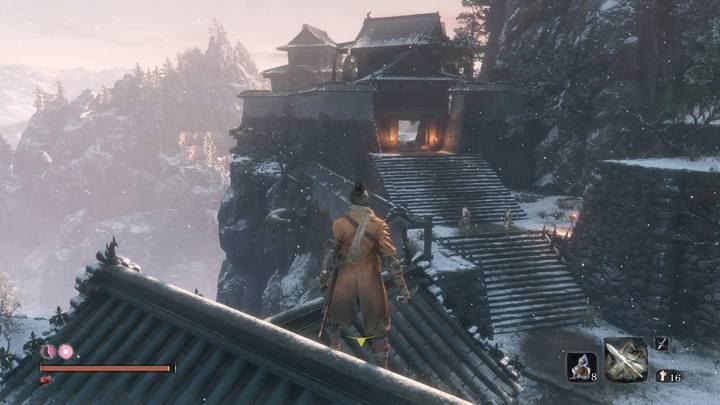
When escape, after passing through the cave, you will see the fortress. Make your way over the abyss, climb over the wall, climb the rock on the right - there you will find another checkpoint: Ashina Castle Gate Fortress.
Tip: go back to the place where you were running away from the Snake - you will find a Snap Seed. This item won't be useful to you right now. It will be useful, e.g. during the fight with Lady Butterfly in Hirata Estate.
Boss: Gyoubu Oniwa
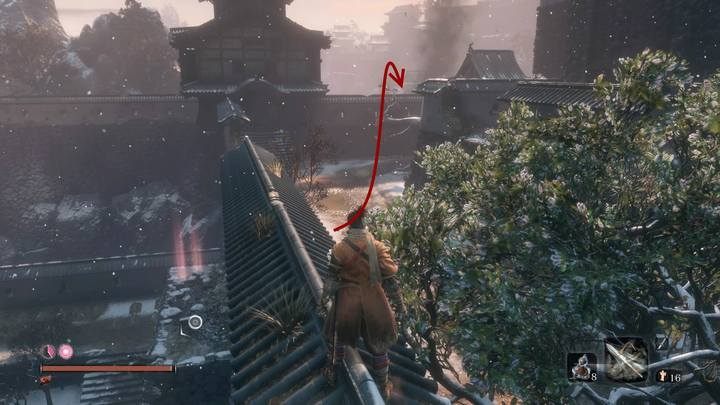
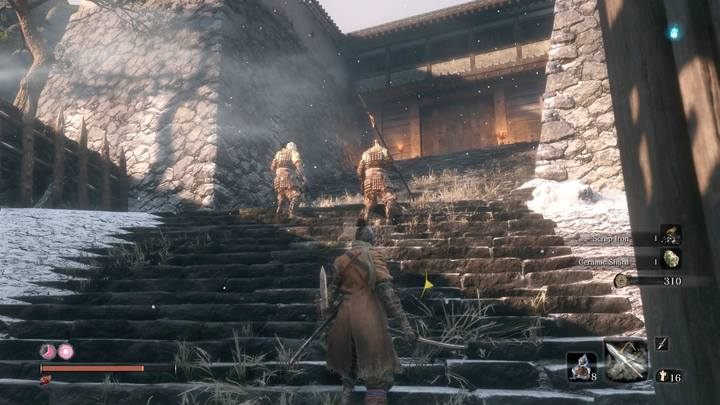
Go through the fortress. Keep the right side of the wall, move up the stairs, then left, and jump over the wall onto the battlefield. On this arena, you will face a real boos: Gyoubu Oniwa.
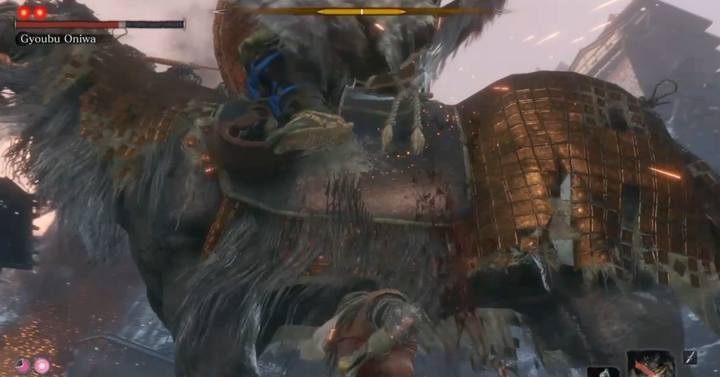
This is a very strong opponent riding on horseback. The key to victory is the use of ropes, when the green icon becomes apparent above the head of the boss, as well as using the Shinobi Firecrackers (and the Fistful of Ash, optionally). Thus, you scare the horse and can freely damage the enemy. When the boss is rushing at you, just hold block to avoid injury. The more difficult part happens after taking his first health bar. The enemy becomes fiercer and uses long-range attacks more often. Try to fight slowly and carefully; if, after a few tries, you run short on items such as the Spirit Emblems, it is worth going back and killing some minor enemies to get extra money.
Gourd Seeds and Merchant

After the battle, go to the gate from which the boss walked out. There, you will find the latest in this place of the Sculptor's Idol: Ashina Castle Gate. Your task is to walk away straight ahead, but before you do so, you can by turning behind where access to the fortress was unlocked,
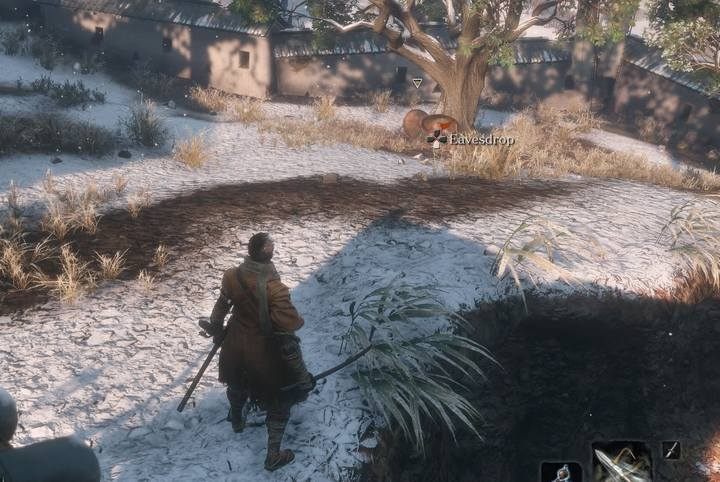
- visit Battlefield Memorial Mob (the place shown in the picture; behind the wall of the fortress) - buy from him a Gourd Seed (more free healing after giving it to Emma in the Dilapidated Temple),
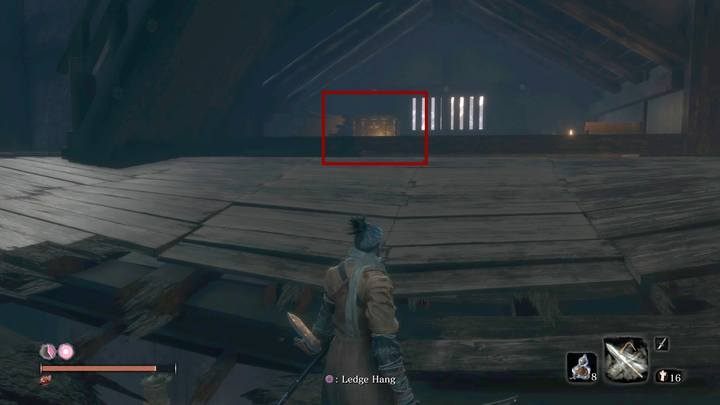
- Enter the fortress: navigate the beams in the attic to the closed box to find another free Gourd Seed.
- Talk to the man in the fortress, he has a side quest for you.
Side quest - Ashina Style, new skills
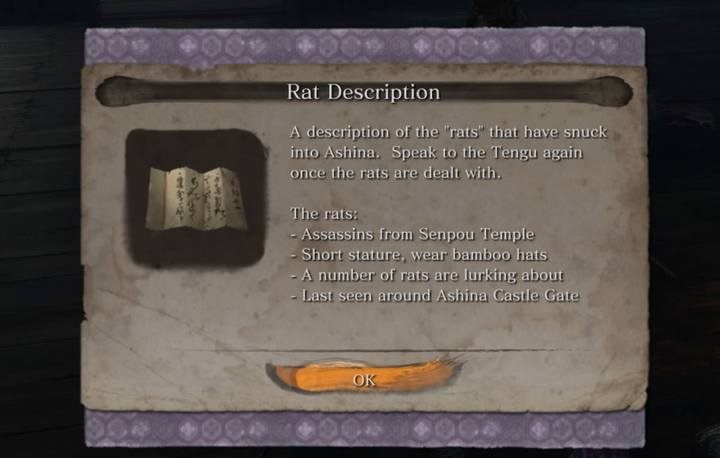
The job is to crack down on two small ogres, which you will find just outside the gate, on the right, among the trees. You will hardly be able to win with them if you don't have the prosthetic tool called the Loaded Axe (you will find it at the Hirata Estate). If you do own it, you will be able to one-hit them ogres easily.
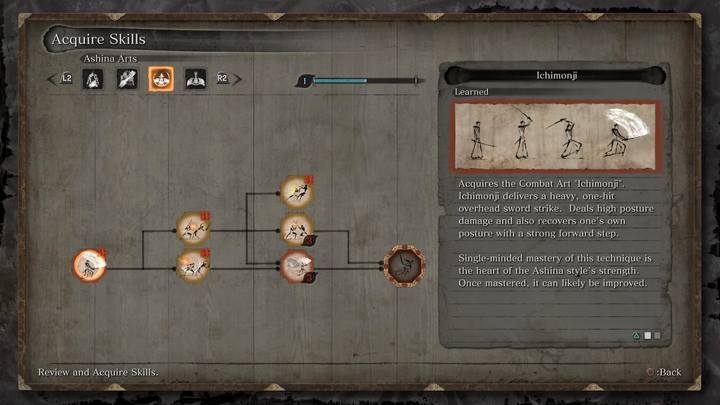
As a reward for completing the quest, you unlock a new fighting style (a skill tree that you can develop for points earned) - the Ashina Style. This makes it a very important side quest.
Boss: Blazing Bull
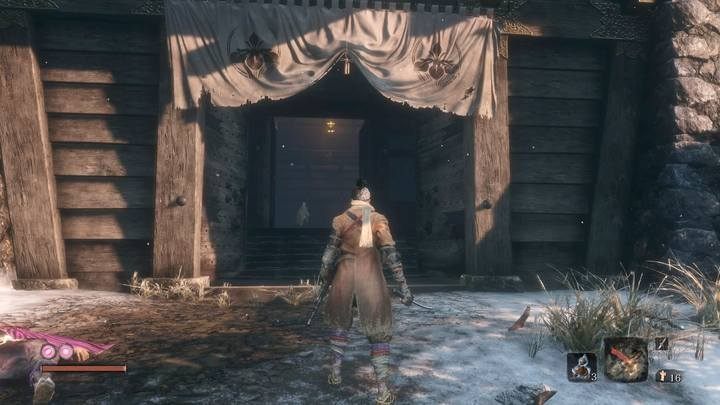
Before you can enter the Ashina Castle, you will have another short walk up the stairs from the gates of the castle of Ashina.

Boss fight with Blazing Bull is rather on the middle level of difficulty. Bring Shinobi firecrackers (optionally a Fistful of ash) and Dousing Powder (which you can use before the fight - it protects you from fire for about a minute). In addition, the whole fight comes down to several actions:
- Charges of the bull should be blocked by a sword, don't make any dodges - cause you will get hit (really hard),
- Try to drive the bull into a corner,
- When it moves and his charging will be limited, try to get to his ass and blow all hits you can (this opponent can't immediately turn 180 degrees),
- Use firecrackers to bring your opponent out of balance and freely apply a series of blows.
After this battle you will unlock the healing skill, which improves the performance of medical items & devices; go through another gate to get in the Ashina Castle (the sculptor idol can be found just after the bridge).