
Return to Monkey Island: Sail to Monkey Island - walkthrough Return to Monkey Island walkthrough
Getting to Monkey Island is the overarching task of part 2 of Return to Monkey Island. From our walkthrough you will learn, among other things, how to escape from the hold of LeChuck's ship, how to get the flattened skull and how to steal LeChuck's map.
Last update: 23 September 2022
While completing Part 2 of Return to Monkey Island, you will find yourself on board LeChuck's ship and have to find a way to get to Monkey Island. The walkthrough will tell you, among others, how to escape from the hold, how to get and flatten the skull, how to figure out an alternative way to find the island and how to steal the map of the Monkey Island's secret from LeChuck's cabin.
- Find a way to escape the hold
- Get a flattened skull
- Put the flattened skull in the cauldron
- Figure out alternate way to Monkey Island
- Tell Iron Rose my great idea
- Steal LeChuck's Secret of Monkey Island map
Find a way to escape the hold
Part 2 will start after you get on LeChuck's ship while in a disguise. Your goal is to find the Monkey Island.
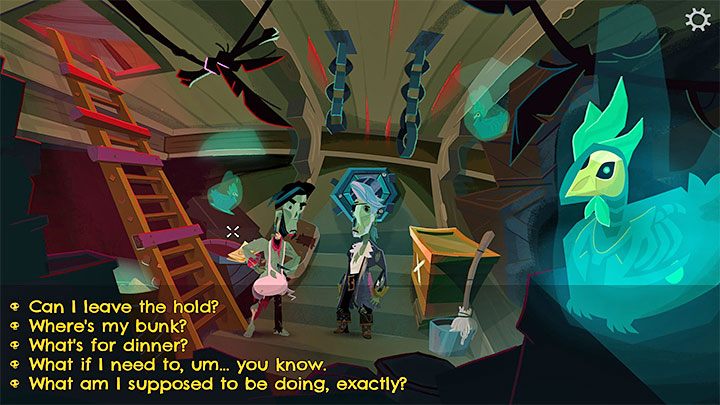
A conversation with your supervisor Gullet will start. The choice of the dialogue option does not matter - you will not be able to leave the hold. Your order is to clean it.
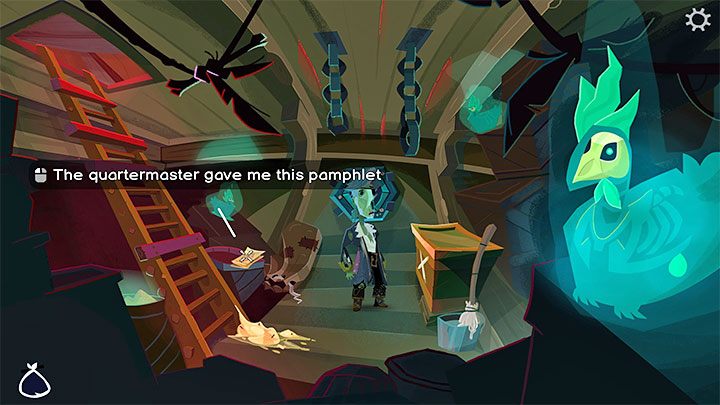
There you will find a Pamphlet that you received from the Quartermaster. Take it right away, but it will not come in handy until later. You can also read it after selecting it from the inventory.
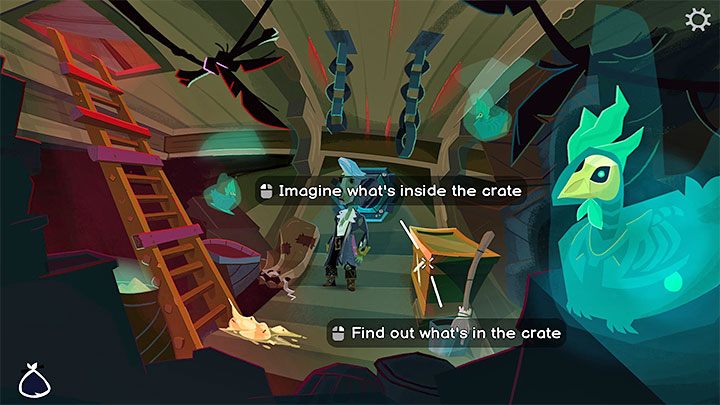
The next step is to look inside the Crate. Inside you will find Murray, the talking skull known from previous parts of Monkey Island. From now on, Murray will be lying on the chest.
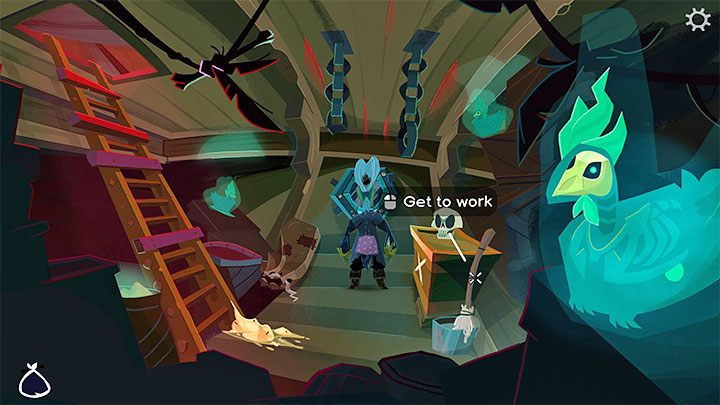
You will use a mop to get out of the hold - take it out of the bucket.
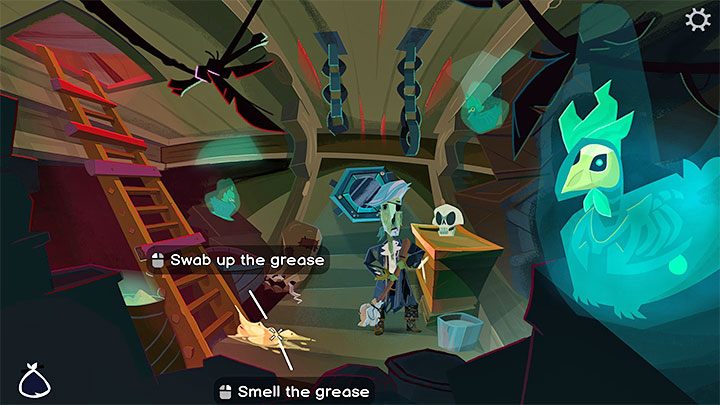
You have to use the mop on the grease by the stairs. Every time you get rid of grease, Gullet will throw down a new batch of it. This is good news because you will need more.
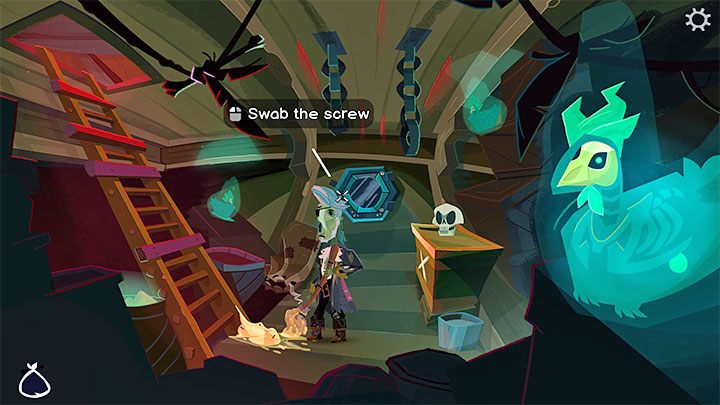
You must use a greased mop on the Screws around the Porthole. There are 3 screws and this means you have to interact with the grease on the floor three times first and then with a screw.
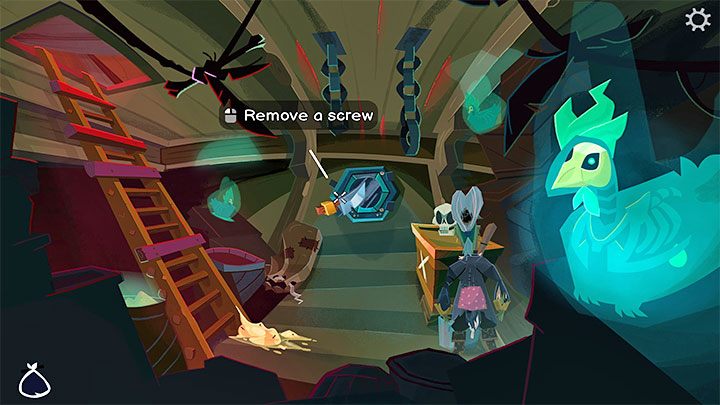
Use the Knife to unscrew the 3 greased screws. You have to select it from the inventory and click on a different screw each time. The screws themselves will be added to your inventory.
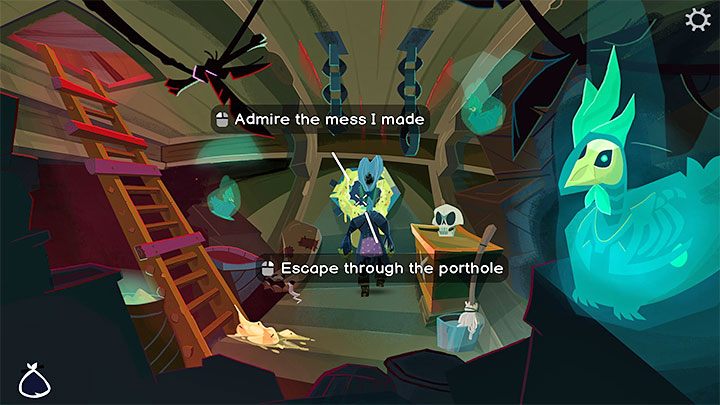
The Porthole will fall off, but Guybrush can't squeeze through it right away. You have to use greased mop on the hole 3 times - use the mop on the grease from the ground first and then on the window. Then you can go through the opening and get out of the hold.
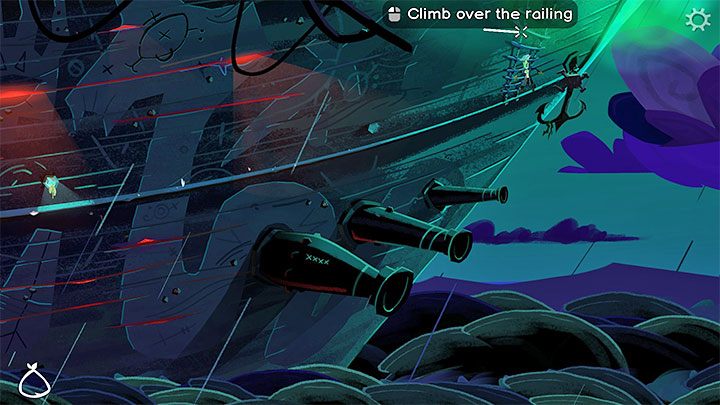
You'll be on the side of the ship. Go all the way to the right and climb the ladder to the main deck.
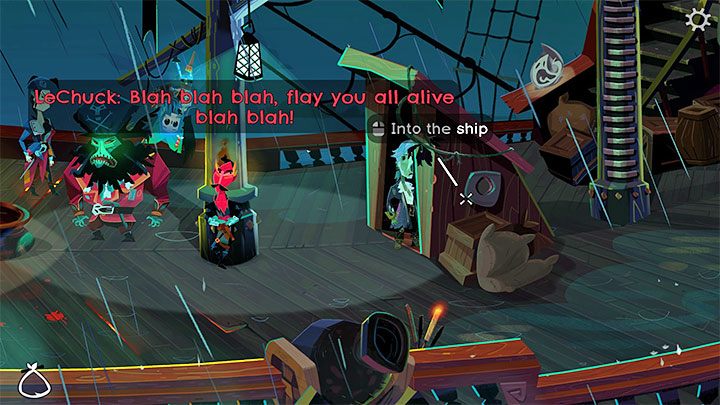
Go right. You'll watch LeChuck's briefing. You can choose whatever reaction you want after LeChuck's question, because there is no risk of you being exposed now.
Get a flattened skull

Use the descent below deck (Into the ship). Examine the Laundry machine shown in the picture above. It will fall apart when you touch it. Fix the object with Screws from the inventory (those obtained in the hold).
You must now go back to the hold. The easiest way is to go left - Gullet will catch you and order to return to the clean-up area.
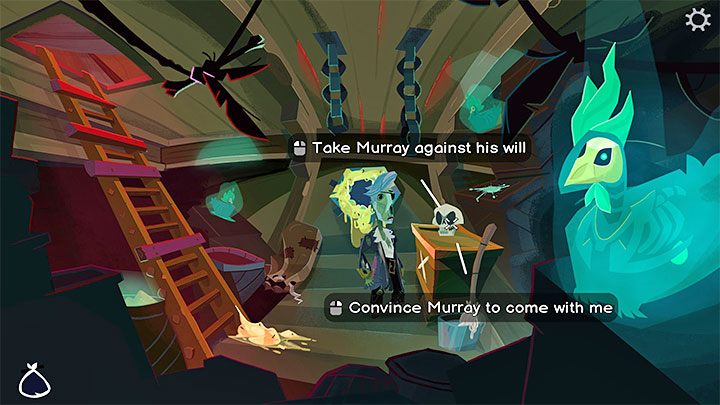
In the hold, find and take Murray with you. You can choose the brute force method or convince Murray to cooperate during the conversation (as the reason, choose e.g. that he will be able to get closer to LeChuck).
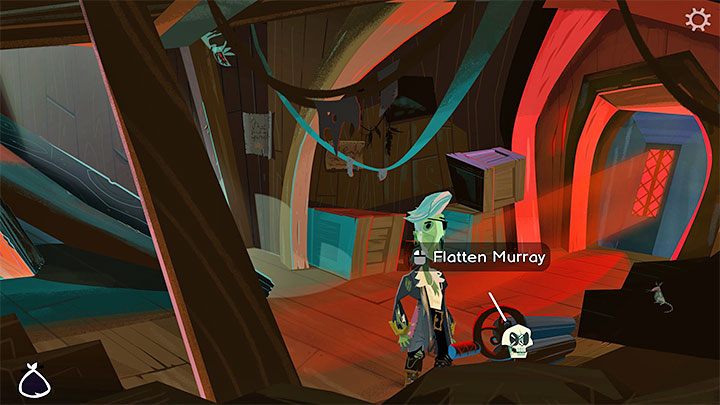
Get out of the hold through the window, reach the main deck and go back below deck. Approach the previously repaired device and use Murray on it to obtain Very Flattened Murray.
Put the flattened skull in the cauldron
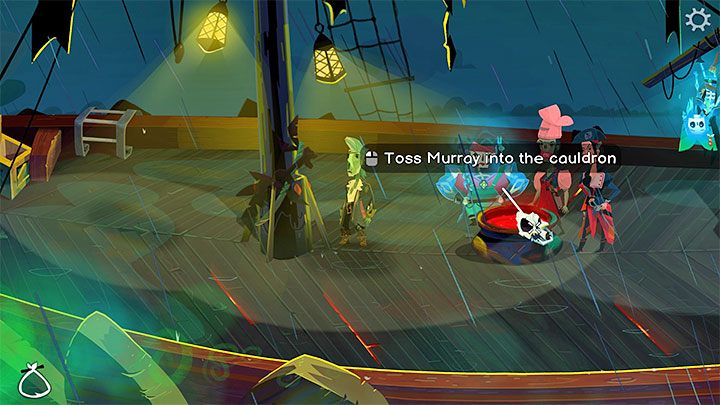
Return to the main deck. The Cauldron is in its central part. Use flattened Murray on it. This will trigger a cut-scene.
Figure out alternate way to Monkey Island
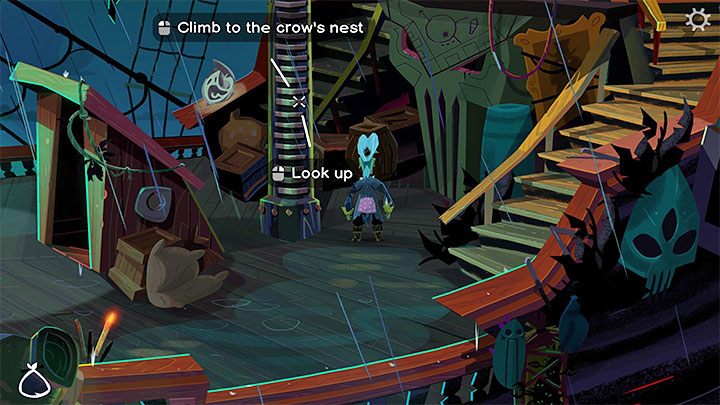
Go to the right and select the option of climbing the Crow's Nest, which is no longer guarded.
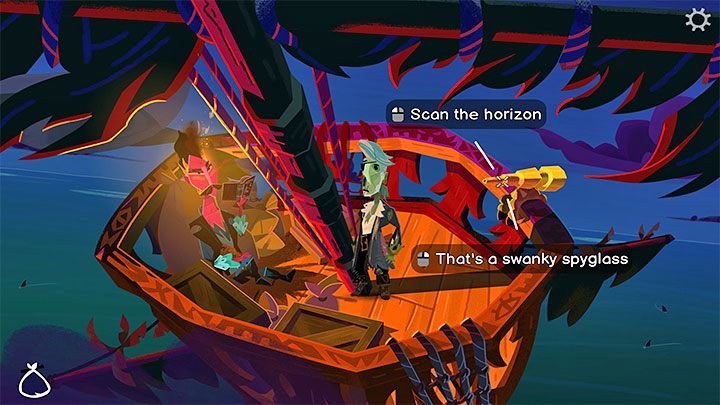
After you reach the top, use the Spyglass to start looking around the area.
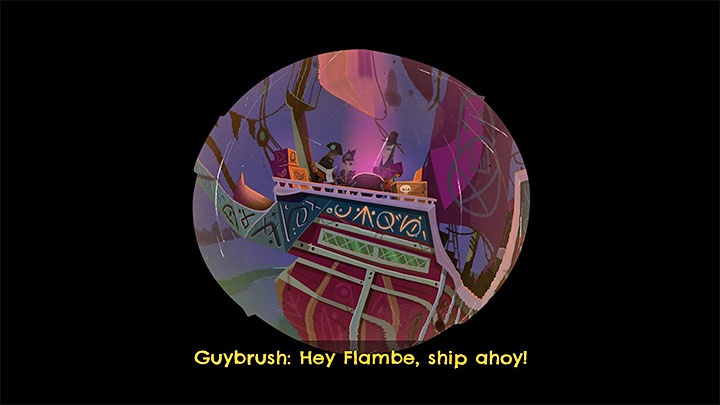
You will look through the spyglass. Keep moving the camera to the right until you spot the pirate leaders ship in the distance. Guybrush determines that they have all the ingredients except the skull.
Tell Iron Rose my great idea
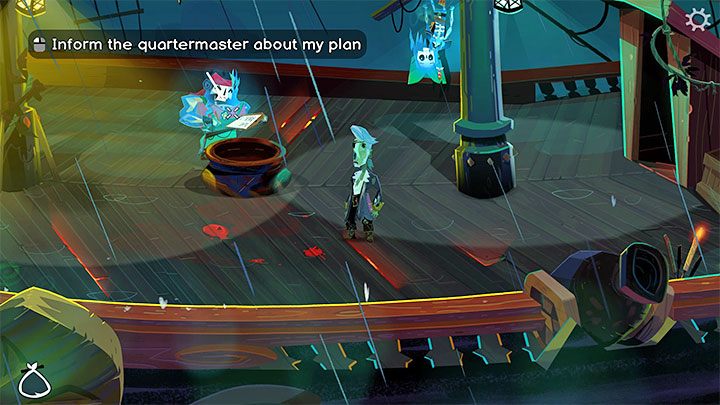
Iron Rose is a Quartermaster and you will find this character on the main deck. Unfortunately, other pirates will not share your enthusiasm (the choice of dialogue option does not matter) and everyone will vote against you. You will have to convince each of them to change their minds.
The requirements for convincing all pirates are described on the next page of the walkthrough - Get a unanimous vote.
Steal LeChuck's Secret of Monkey Island map

You can do this either before or after winning the second voting.
Start on the main deck and head right, reaching the location with the steering wheel and the bell. LeChuck won't be here - he is in his cabin since the cauldron was knocked over. Ring the bell twice.
LeChuck will reappear on the main deck and start harassing the crew. Sneak under the deck and take the passage on the right to LeChuck's Cabin.

There is a document on the table, but you cannot steal it. You have to swap it with another one. Select Map to the Mop Tree from the inventory and use it on Le Chuck's Map. The maps will be swapped. You can optionally read the instructions on how to get to the Monkey Island treasure in the inventory.
After returning to the main deck, LeChuck will finish his speech and return to his cabin.