
Resident Evil 3: Underground Storage walkthrough Resident Evil 3 guide, walkthrough
Last update: 09 April 2020
On this page of our guide to Resident Evil 3 Remake you can find a detailed description of the Underground Storage area. The Storage is located underneath the Hospital and can only be reached after the vaccine has been successfully delivered to Jill. During your stay in the Underground Storage you have to solve the three missing fuses puzzle. Our walkthrough describes it very accurately.
Head to the underground facility

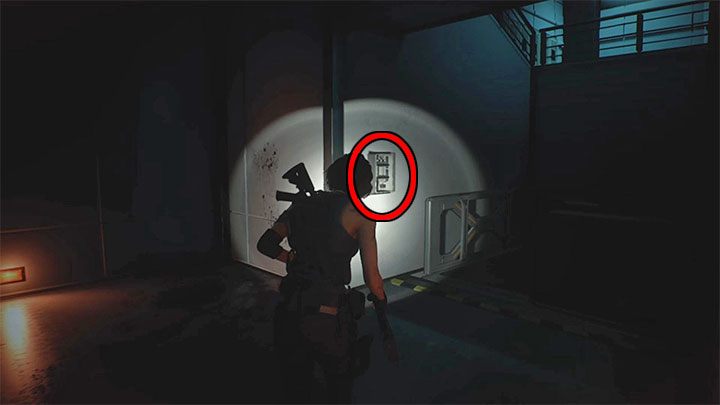
After using the elevator in the first area of the Underground Storage you can enter the Office. Save the game and replenish your supplies, and pick up a new hip bag (+2 additional slots in your inventory). While solving the puzzle, you will be attacked by many types of monsters. Take a lot of shotgun ammo and some rounds for your grenade launcher. Also, some frag grenades and magnum ammo may be useful. In addition to all that, remember to pick up some strong healing items (like the First Aid Spray).
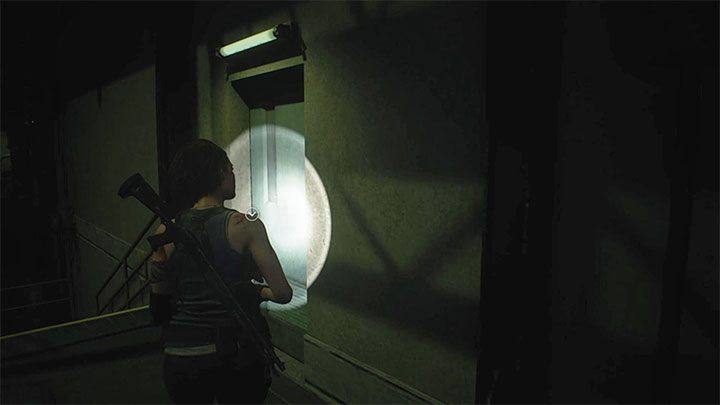
Enter the large storage. Walk a bit on the balcony and turn right. Nicholai will be standing in the (temporarily unavailable) upper Surveillance Room.
Restore power to the elevator
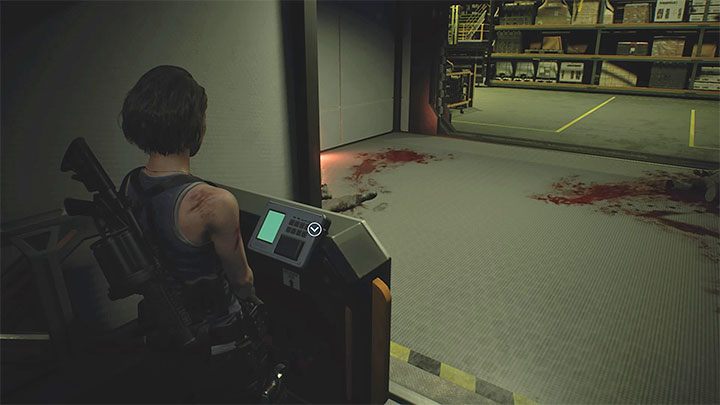
Jump to a lower level and head towards a small elevator. Using it fails - Nicholai has turned off the supply of electricity to the warehouse. Your task will be to find 3 fuses in a dark storage and place them in a box located next to the inactive elevator.
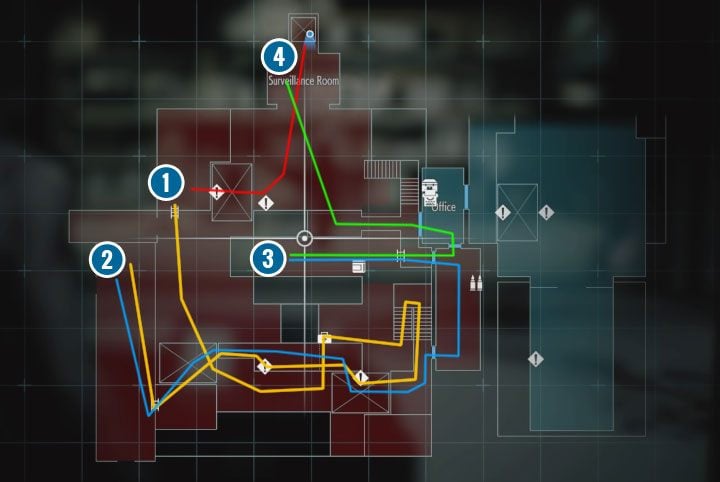
On the map presented above you will find information about the location of the fuses and the recommended path to reach each of them. Here is a detailed description of the markings used on our map:
- Points 1, 2 and 3 are fuses that Jill must obtain. The route we have shown is the shortest, but of course, you can choose another one.
- Point 4 is the box into which the fuses 1-3 must be delivered. Only then can the northern elevator be activated.
- The red color marks the route from where the puzzle began to Fuse 1.
- The orange color marks the route from Fuse 1 to Fuse 2.
- The blue color marks the route from Fuse 2 to Fuse 3.
- The green color marks the route from Fuse 3 to the fuse box (point 4). Fuses 1-3 must be placed in it to restore the power.

Get out of the disabled elevator and run a little to the right. Use the switch to bring the local elevator down.
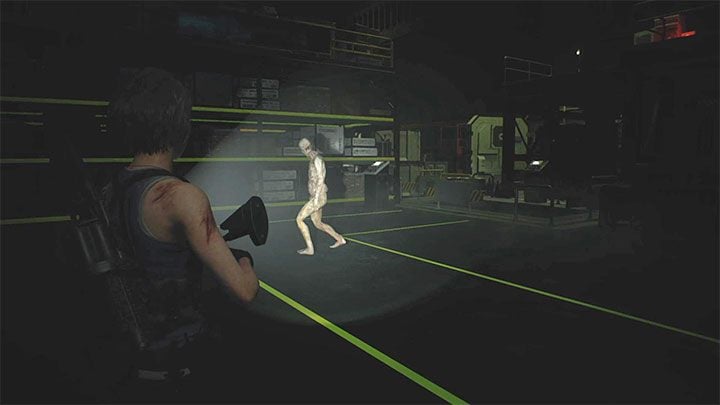
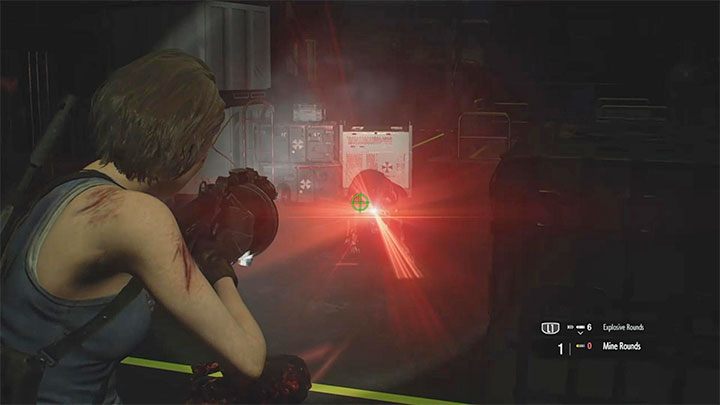
The first Pale Head zombie will appear - they are much more durable varieties of zombies, which on top of that can regenerate their health if left alone. If this type of zombie clearly prevents you from moving on, use a magnum, grenade launcher or shotgun to attack it. Always attack until the monster is finally defeated.
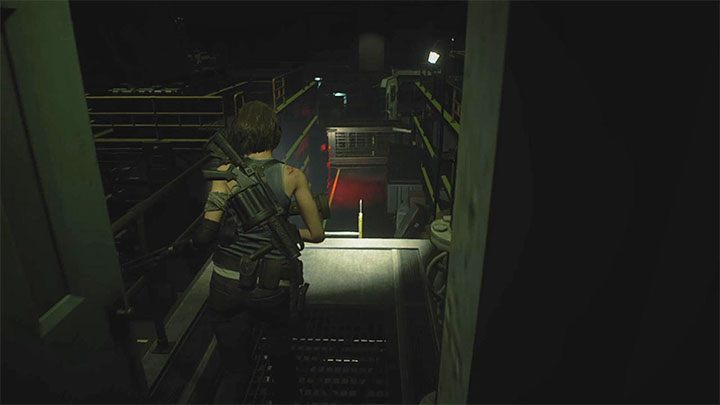
Fortunately, the first zombie can be easily bypassed - you can run straight to the elevator. Activate it quickly so that the locks are removed and that you can reach the upper level of the warehouse on your own.
The first fuse is right in front of you.
Important note - Each fuse requires 1 free slot in the inventory. So, you need to have 3 available slots in your inventory.
Turn left and use the ladder. Prepare a good weapon - preferably a grenade launcher or shotgun.
Avoid using corridors on the left, because there will be a small explosion at each one and you won't be able to go through. Go straight and wait for the appearance of two zombie dogs. Any undead dog is best treated with a quick shot from a grenade launcher or shotgun so it has no chance of catching Jill and knocking her to the ground.
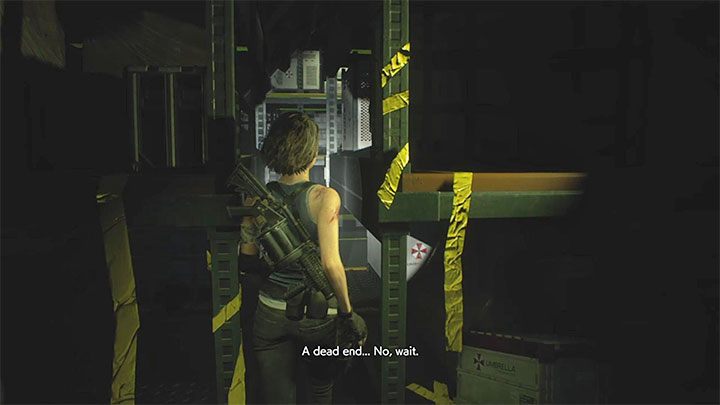
Keep going straight. Quickly knock down a single ordinary zombie (e.g. with a shotgun blast). Go in the direction of the narrow passage shown in the picture - Jill has to squeeze through it.
Head for the stairs. After you go upstairs, turn right and run along the elevated elevator (you don't have to interact with its mechanism).
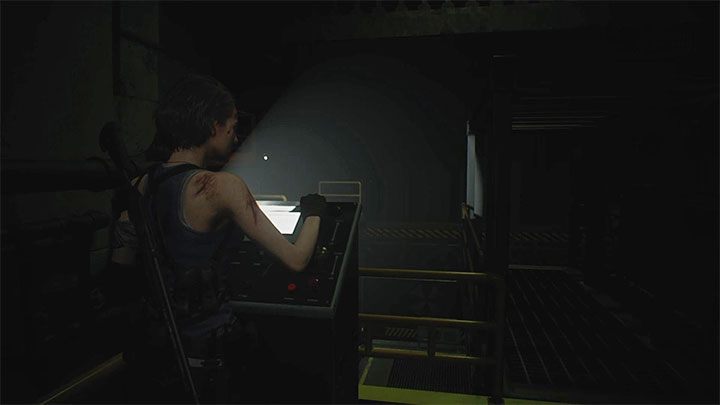
You need to reach the elevator control panel shown in the image. Use it to bring the elevator to the upper level.
Run through the newly elevated elevator and reach a nearby ladder. Use it descend to the lowest level.
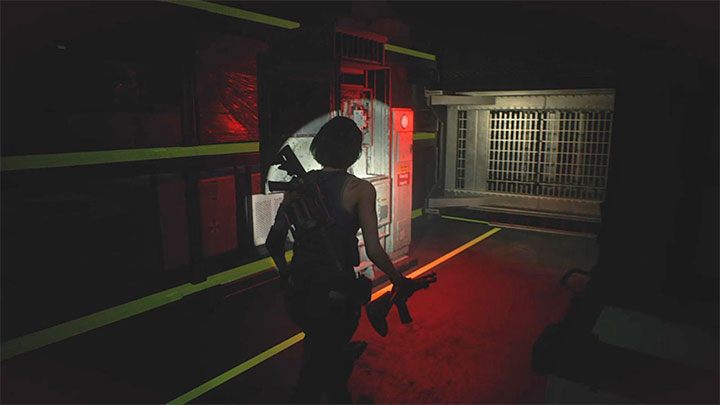
Turn right. The doors of the container will explode. A group of ordinary zombies will come out of it. We recommend using a grenade launcher to knock them down quickly. The second fuse is to the right of the open container.
You must now turn around and return to the east end of the warehouse where you used the stairs. Watch out for a toad that comes out of another exploding container. Attack it with a grenade launcher, for example. Don't waste your time trying to kill it, just use the opportunity to climb the ladder quickly.
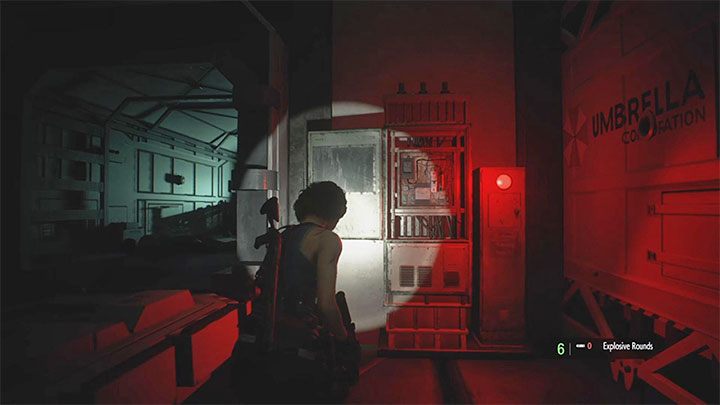
When you return to the steps, take an interest in the green door shown in the picture. They lead to a small room.
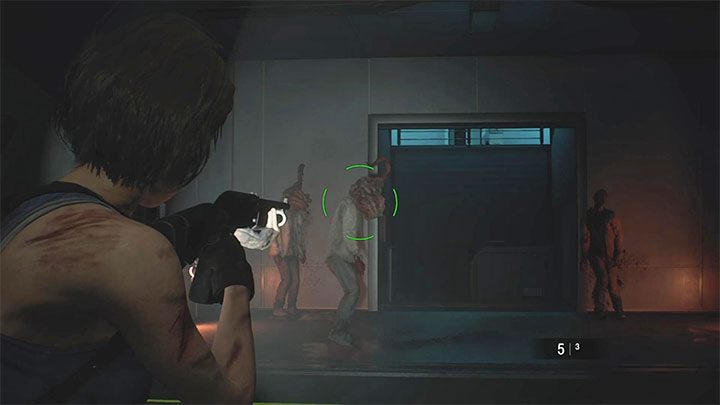
There are 3 Zombies and a Pale Head in the room. Use a grenade launcher or magnum to quickly kill all 3 zombies. Don't leave the Pale Head alive, as you'll have to return here soon. Choose the left door that will lead you to a ladder.
After descending the ladder, equip heavy-duty weapons, as Jill will be attacked by a Hunter. Try to kill the monster quickly. After the zombie is killed, go straight to where the third fuse is located.

Turn 180 degrees, return to the ladder and re-enter the room where the three zombies were. Open the lock on the left door, allowing Jill to return to the typewriter room. If you want you can save the game again.
Repeat the steps that you've taken at the very beginning of your visit to the warehouse, i.e. reach the spot with the missing railing and jump down to the lower level.
Watch out for Pale Heads and zombies with parasites on their heads. As a reminder, the parasites can hit you from a distance, thanks to their tentacles. In melee-range combat, however, the parasite can attach itself to Jill's head and attempt to kill her. You don't have to kill all zombies. Use a grenade launcher, shotgun or magnum to knock as many of them to the ground as possible.
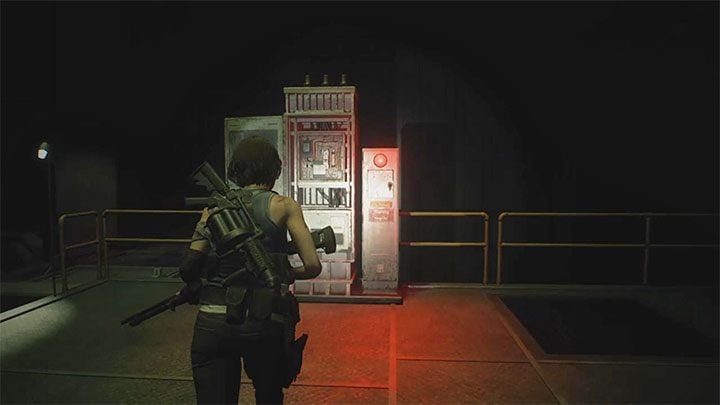
Run towards the elevator - the box is to the left of it. Place all 3 fuses from the inventory one at a time.
Re-interact with the elevator. The power supply will return and the puzzle will be completed.
The Electric Slide trophy is awarded for solving the puzzle associated with restoring power supply in less than 5 minutes.
If you're heavily weakened, you don't have to explore the warehouse at all costs. You can use the elevator right away to reach the surveillance room. But know that there are plenty of supplies in the warehouse.
Pursuit Nicholai

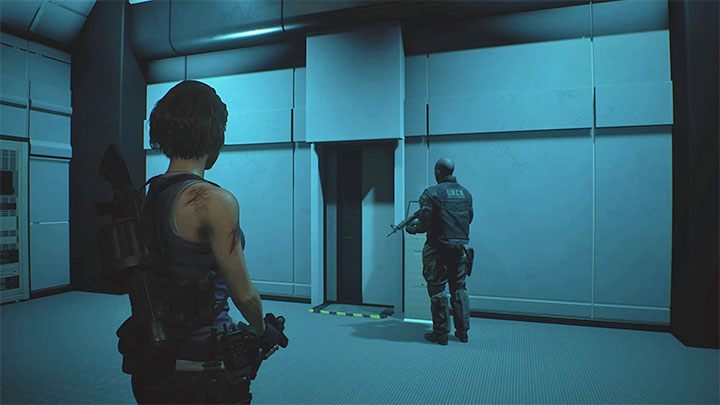
Use the activated elevator to move to the Surveillance Room. In this room, you will also find a typewriter, w magnum pistol upgrade and various supplies. Examine the central computer where Nicholai was standing.
Read the journal and talk to Tyrell.
Get the vaccine
Use the passageway located at the opposite end of the Surveillance Room. After a short walk, a cut-scene depicting the new encounter with Nemesis will be displayed. The good news is that you don't have to fight against Nemesis right away. Jill manages to temporarily run away from him during the cutscene. The heroine will enter NEST 2 - secret biotechnological facility. Also, you will earn The Pursuer trophy.