
Ratchet & Clank: Planet Nebula G34 - Walkthrough Ratchet & Clank Guide
Last update: 16 April 2022
On this page of the guide to Ratchet & Clank, you will find a description of the tasks on the sixth planet - Nebula G34. Planet Nebula G34 has several new items, as well as the first proper boss.
Nebula G34 is the sixth planet in order you visit. You gain access to this place you must first clear Rilgar planet and acquire the Trespasser gadget, given to you after completing one of the main objectives of that planet. Here you can find a new gadget, as well as the first "real" boss of the game. Below you can find a detailed walkthrough of the location.
Objectives:
- Find the top-secret Blarg research project
- Defeat the Blargian Snagglebeast
- Journey outside the airlock
- Escape the Warship
- Search the Blarg Warship for weapons
Items to unlock:
(Magneboots) - a gadget gained during the completion of "Journey outside the airlock objective".
Predator Launcher - new weapon acquired on the Blarg Warship.
- Journey outside the airlock
- Search the Blarg Warship for weapons
- Find the top-secret Blarg research project
- Defeat the Blargian Snagglebeast
Journey outside the airlock
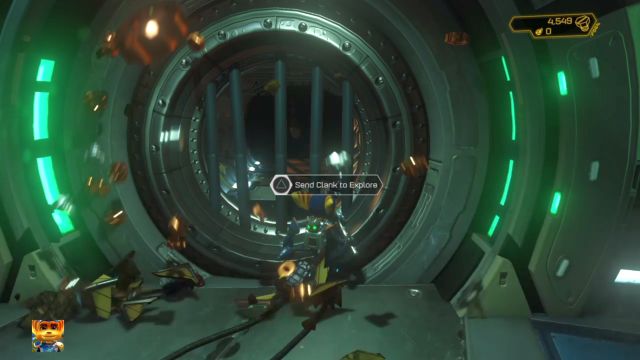
First things first, head along the ramp (north on the map) and then approach the barred entrance to the tunnel on the right side. By interacting with it you will be able to send Clank into a new location, assuming control over the small robot.
When the elevator arrives on the lower floor, leave it and eliminate a small group of enemies awaiting you in the area. Run along the narrow footbridge to the neighboring construction, hit the button and enter the next area.
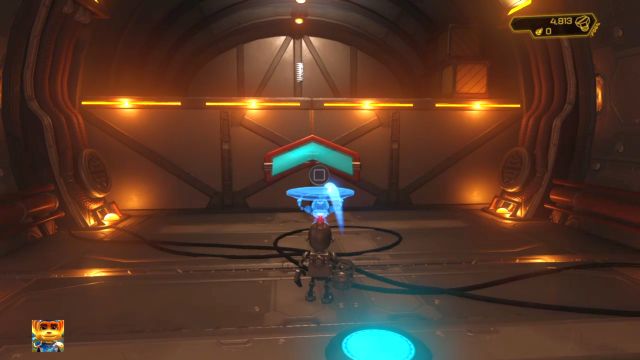
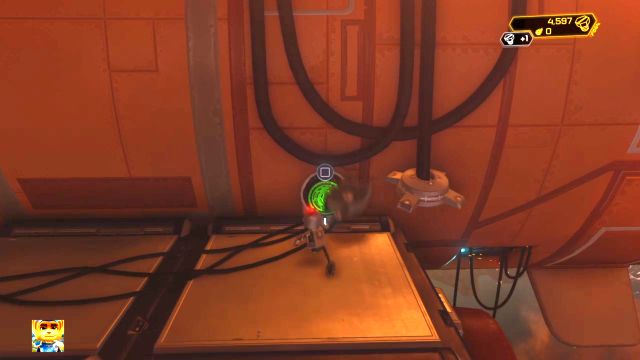
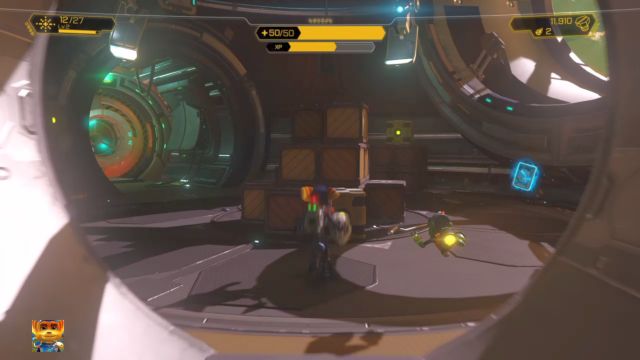
Inside awaits the Springbot you've encountered on the first planet. Pick it up and throw it next to a wall with a blue up-arrow on it. Get on top of the elevation and collect the chip. It will grant Clank access to a new ability. From now on you will be able to transform every robot you pick up into another - transforming a Springbot into a Powerbot, and so on.
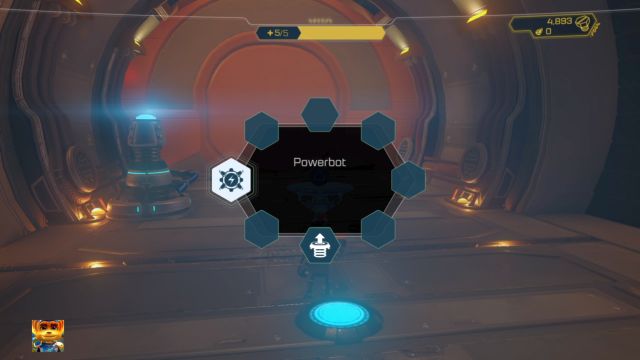
Jump to the lower floor and pick up the Springbot. Press and hold the button shown on the screen (triangle) to display the robot-changing menu. Select the Powerbot and throw it next to a coil located on the left side of the room to open the passage. Leave the room, destroy boxes in the area to collect bolts and approach the nearby robot.

It will be a new type of a robot - Bridgebot - allowing you to set up a makeshift bridge. Pick it up and direct your camera towards the platform on the other side of the abyss. A transparent outline of the bridge will appear on the screen - throwing the robot you're holding there will create a bridge to the other side. Do that, wait for the bridge to appear and use it to get to the other side.
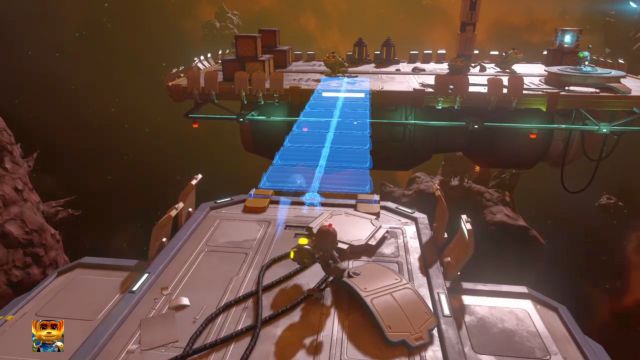
Afterwards, pick up the robot located there and transform it into another Bridgebot. Use it to get to the platform on the other side, to the left of the bridge you've just set up (there are enemies located there). Use the makeshift bridge to reach the other side, eliminate the enemies and pick up the bolts from the boxes. Afterwards, collect the Raritarium from the deposit located in the corner of this platform.
Pick up the nearby robot and get back to the previous platform. Throw the robot you're holding on the ground, pick up the one you've used to create the bridge and set it up so that a bridge connecting the platform you're standing on and the ship in the distance is created. Pick up the other robot, transform it into a Powerbot, go through the bridge and throw it next to the coil to open up the passage.
When you're inside, pick up the nearby robot, transform it into a Springbot and throw it next to the wall with the blue up-arrow. Jump to the elevation, collect another robot, transform it into a Powerbot and jump down. Throw it next to the coil to power up the door.

Get back to the Springbot, pick it up, transform it into a Powerbot and go through the passage you've just opened. There are three coils in this room - throw the robot you're holding next to the one located near the entrance. Go back to the previous room, pick up the Powerbot and use it to power up one of the two remaining coils in the second room.
After one of the two coils are powered up, get back to the robot standing near the door, collect it and use it to power the second coil located by the wall. This will open up the passage, allowing you to continue your march and enter the next room.
There's a new gadget located here - Magneboots. Those are used to climb metallic ramps (such as the one you've seen on the first planet). Collect it, go through the newly created makeshift bridge and use the elevator to go to the upper floor, which will allow you to leave the area and rejoin Ratchet.
Search the Blarg Warship for weapons
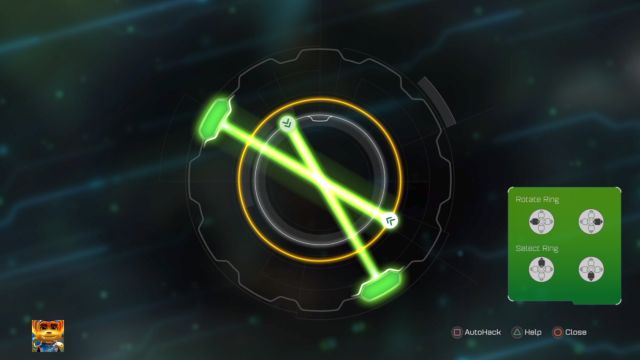
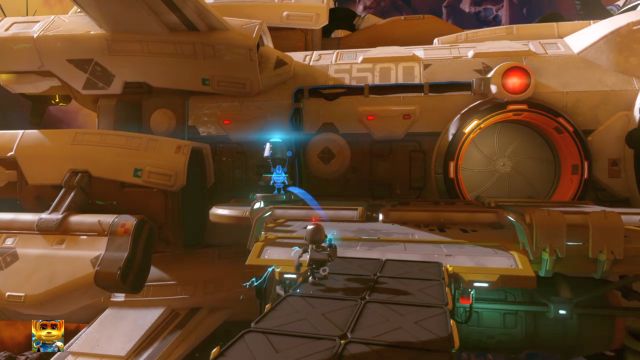
Replenish ammo and health, buy upgrades and go to the passageway located behind the store. Further passage is closed - you must complete a Trespasser Puzzle to open it. Details can be found in the "Trespasser Puzzles" section of this guide, whereas the correct laser arrangement can be seen on the above screenshot. Don't go there yet - instead, turn around, enter the neighboring tunnel and use it to board the Blarg Warship.
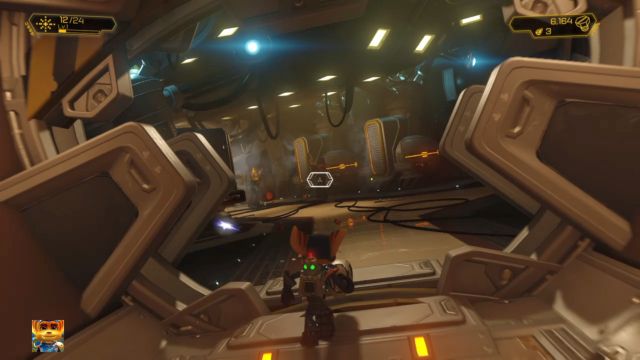
This is a rather small and linear location - there are no secrets here, no Gold Bolts, Raritarium, or unique holocards. Your task is to get to the other side of the ship, eliminating the enemies and clearing any boxes you find along the way.

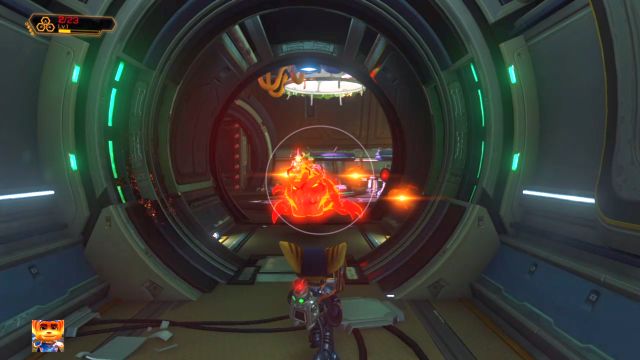
A new weapon awaits you inside of the last room of this ship - Predator Launcher. This is an extremely effective weapon, allowing you to launch up to 4 rockets simultaneously (which can be increased by upgrading the weapon). What is more, the weapon has a lock-on system - you just have to direct your crosshair over enemies you want to attack. They will be marked and any rocket you shoot will automatically fly towards them. You can target multiple enemies at the same time, or fire all of the rockets at a single foe. The weapon deals immense damage. The only problem is the ammo - you can run out of it in a matter of seconds.
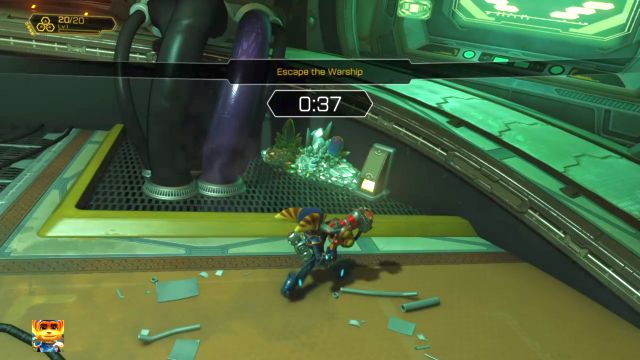
As soon as you pick up the weapon, a short cut-scene will initiate and the self-destruct sequence of the ship will begin. You must now get back to the beginning of the ship before it explodes. After regaining control over your character, collect Raritarium from the deposit located to the right of your current position. Afterwards, rush to the other side of the ship, ignoring all the enemies along the way. Interact with the airlock you used to enter the area and Ratchet and Clank will get back near the ship.
Find the top-secret Blarg research project
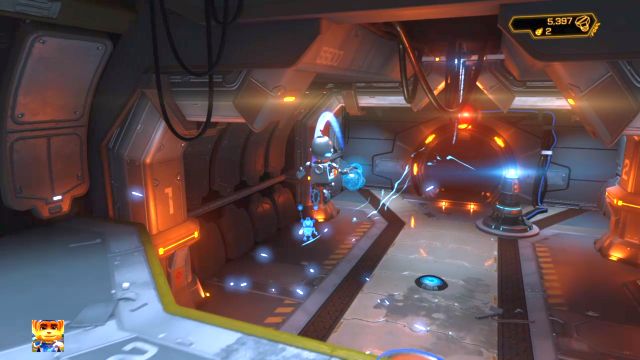
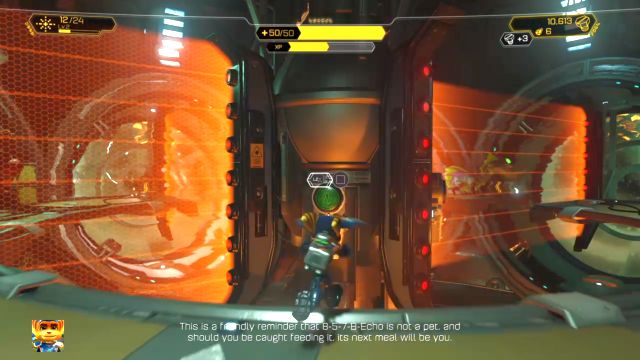
Before you venture into the passageway opened by completing the Trespasser Puzzle, go to the store to replenish your ammo. Don't forget to use those Raritarium crystals you've acquired. Afterwards, head to the tunnel. Eliminate the enemies on your way until you reach a room with a force field.
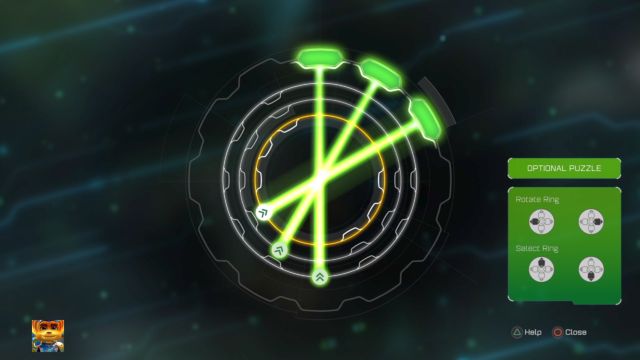
Eliminate the enemy and press two buttons on the sides of the force field to get rid of it. Head into and through the next tunnel, until you reach another Trespasser Puzzle - the correct laser arrangement can be seen on the above screenshot. Solve the puzzle and enter the small room to pick up one of the RYNO holocards, as well as to destroy a huge number of boxes.
Collect everything, leave the room and go to the right (looking from the secret room with the RYNO holocard). You will arrive at a crossing, with one route going to the left and a second one to the right. Head along the latter one, jumping above the gas streams to avoid taking damage. There's one of the regular holocards located at the end of that footbridge.
Head back to the crossroads, go to the left and climb up the scaffolding. Get to the other side with your harpoon and eliminate all the enemies in the tunnel. There will be two dinosaur-like monsters trapped in cages. You must activate a pair of buttons located at the bottom of their cages. This will free the beasts. The Predator Launcher is extremely effective against those foes.
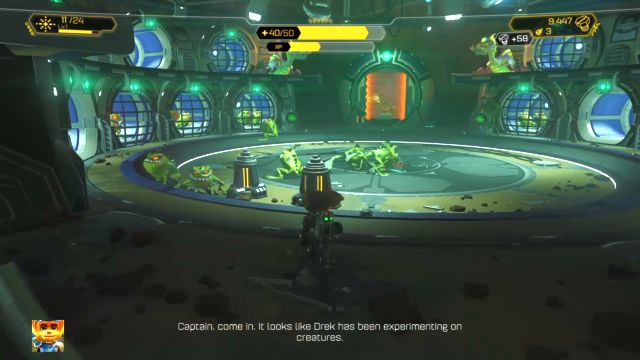
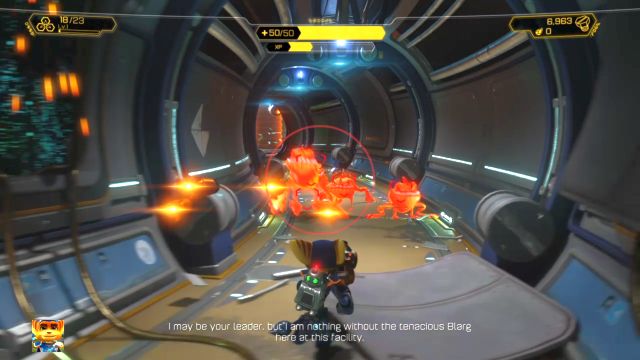
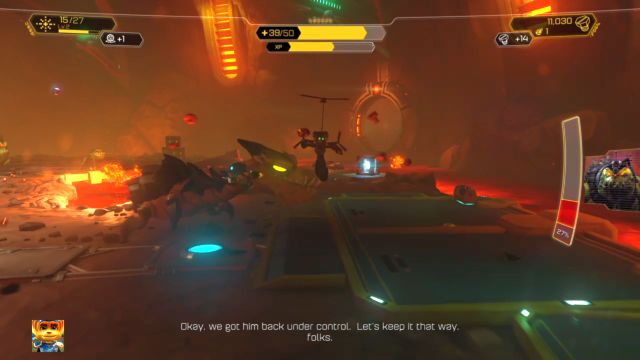
When you're done, go through the next door (there was a barrier here before) and head to the tunnel filled with enemies. After a short while you will arrive at an arena with a huge number of monsters. Proton Drum is extremely effective against them - a single shockwave generated by this weapon is more than enough for those foes.
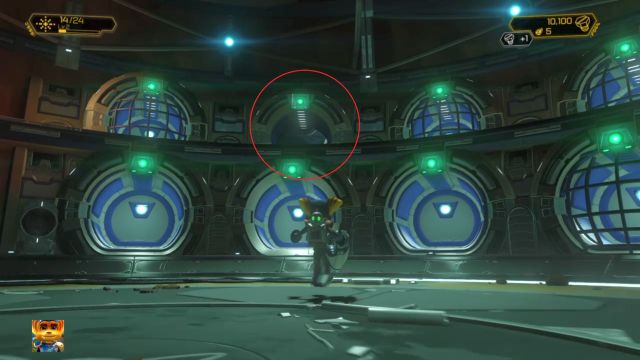
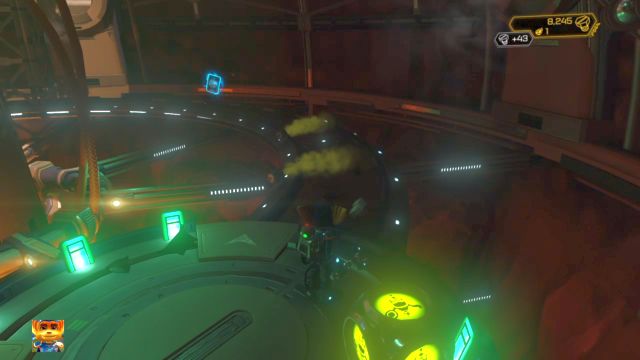
After you're done with them, stand in the middle of the arena in such a way, that you have the entrance of the tunnel you've come from behind your back. Afterwards, turn to the right and climb up the elevation that the dinosaur-like monsters where standing on. One of the cages (shown on the above screenshot) leads to a small room, where you will find a Gold Bolt.
Collect the treasure and get back on to the arena, from where you must head to the next tunnel. You will now arrive at a room with barriers on both sides. In order to take them out, you must throw your Omniwrench (by holding the L2 button and pressing "square") to hit the buttons located on the wall in front of you. When the barrier is down, eliminate the enemies that were set free, jump onto the platform they were standing on and activate the next button. Rinse and repeat until you reach the store.
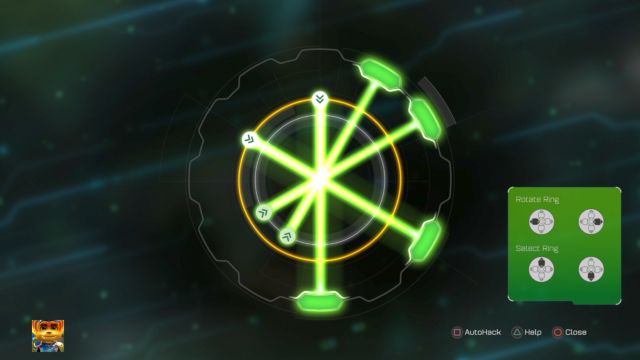
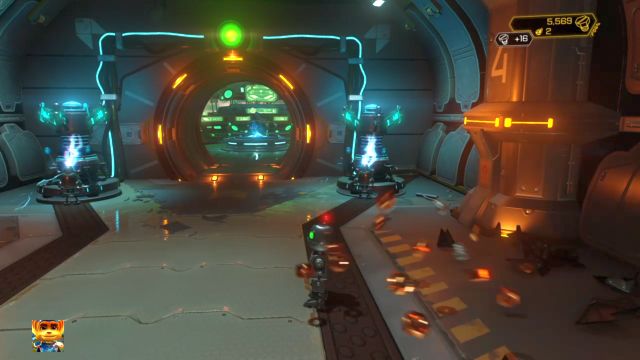
Use it to replenish your ammo and health, and use all the Raritarium crystals you've accumulated, as you will be facing a boss in the next room. After you're done shopping, activate the Trespasser Puzzle terminal - the above screenshot shows the correct laser arrangement needed to solve it. Enter the tunnel and watch the cut-scene.
Defeat the Blargian Snagglebeast
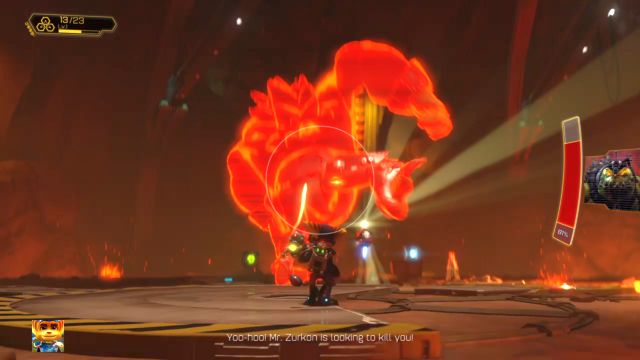
You will be now facing the first "real" boss of the game (excluding the warship from Kerwan). The encounter with the huge Blargian Snagglebeast is a rather simple one. The boss will be using two tactics during the whole fight - he will either attack you on his own, and after sustaining enough damage he will fall back, while the arena will be flooded with enemies. He will do so each time you take out 1/4 of his health.
The best method to deal with this enemy is to use specific weapons and stick to the following tactic:
- Activate Mr. Zurkon - he will be shooting at the beast while you can use any other weapon, or do something entirely different. Mr. Zurkon is also useful when dealing with the "regular" enemies that appear on the arena when the boss falls back. Remember to activate him again when he runs out of bullets.
- Use the Groovitron. The disco ball will cause the enemy to be harmless for several seconds, while you will be able to freely attack him. Additionally, when the boss is dancing he won't be able to flee the arena - you can decrease the amount of "escapes" he performs this way.
- Throw a Proton Drum near the enemy. The method is almost exactly the same as with Mr. Zurkon. The ball will damage the beast with shockwaves, and you will be able to use another weapon during that time.
- Attack the enemy with the Combuster, or with the Predator Launcher. Do so when there's a Proton Drum set up on the battlefield and / or the enemy is under the effect of the Groovitron. This way you won't waste any time and you will be able to maximize your damage output.
- Remain in motion. This will allow you to avoid the enemy's attacks, as well as strikes from the many foes that appear on the arena when the beast falls back. Don't run around the arena randomly - there are numerous chests containing ammo and health scattered around the area. When the boss starts his flamethrower-like attack, jump above the stream of fire to avoid taking damage.
By sticking to the points described above you should have no problems with the Blargian Snagglebeast and the fight should soon be over.
When the encounter is over, collect the bolts dropped by the enemies and head to the next area. There are numerous boxes and a holocard here. Pick it up and head to the nearby tunnel, which will lead you near your ship. As all of your objectives here are complete, head to the next planet - Gaspar.