
Oddworld Soulstorm: Find a Way to Level 3, the Mines - walkthrough Oddworld Soulstorm guide, walkthrough
Find a way to Level 3: The Mines
Last update: 22 April 2021
This page of the Oddworld Soulstorm guide contains the second part of the walkthrough of Mission 11 - the Mines. Our walkthrough tells you how to make your way to Level 3, how to bring back electricity, how to save the Mudokons from the tower, how to get a flamethrower and where to find the passage to the Catacombs.
Additional note: The green color in this walkthrough stands for secrets and unique locations/activities associated with the badges (challenges) in the game. Mission 11 badges have been described on a separate page of the guide.
- Power up the machines in your way
- Find a way to Level 3
- Tower with the Mudokons
- Power up the elevator to Level 3
- Descend to Level 3
- Find the restricted entrance
- Find the Catacombs
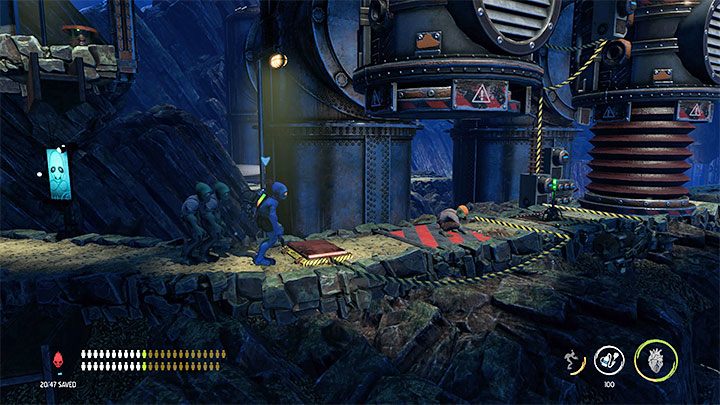
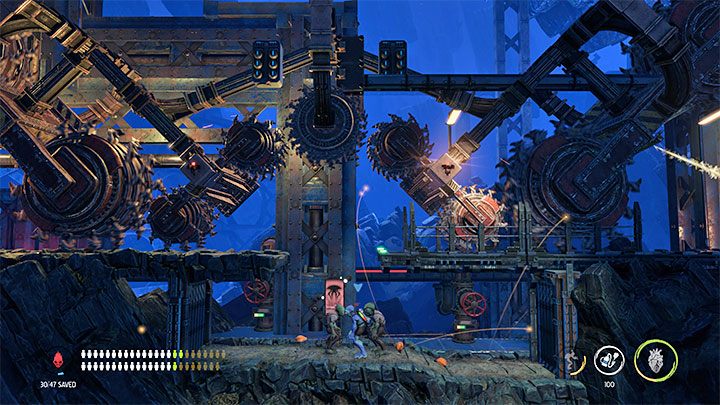
Power up the machines in your way
After reaching Level 2, Abe cannot immediately go to the right, because the road is blocked by inactive machines.
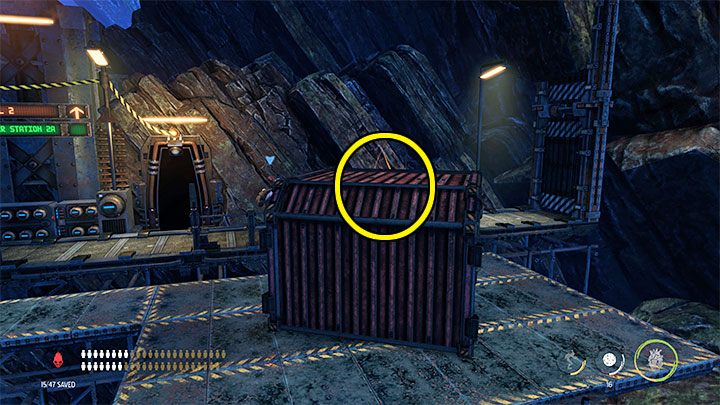
Instead, we use the left elevator. It will allow us to reach the entrance to Power Station 2A. Before we use this passage, we pick up the Royal Jelly secret hidden on the right side - it is partially covered and we marked it on the picture.
At the new location, keep an eye on the scanners and the sleeping Slig. In this area, there are 3 Mudokons to recruit. On the balcony, there are also padlocked lockers.
We order the mudocons to stay back and start climbing in the spot marked on the picture 1. Jump to the subsequent edges. This will bring us to a secret area and the Royal Jelly secret.
We jump down and go with the whole group to the left. It is important to prevent all Mudokons from touching the moving red barriers, so that we can avoid triggering an alarm. We move further to the left only when the barriers go past us.
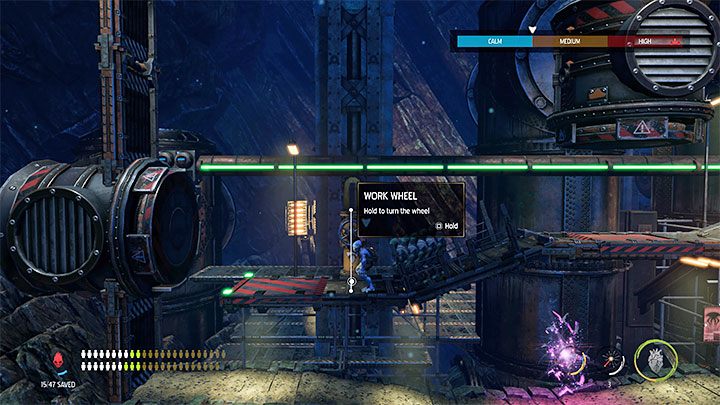
We recruit 1 Mudokon and press the button. After bypassing the first trap, you can recruit another 1 Mudokon. In the place from the image, interact with the work wheel. After performing this action, we carefully lower ourselves at the edge of the red shelf. We can activate the bird portal downstairs. We pull the lever and leave this place.
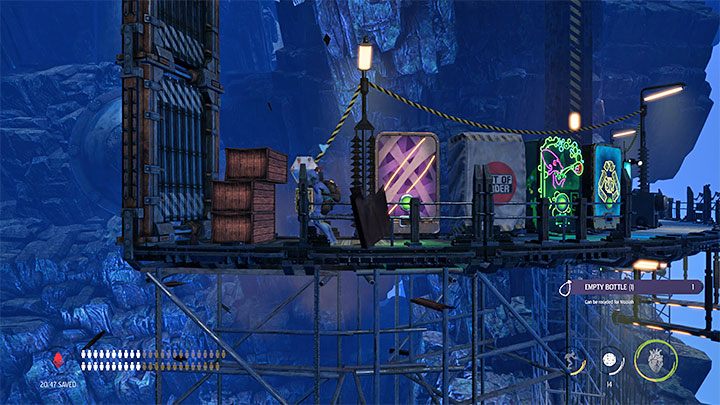
We head to the left and optionally use binoculars. Abe will arrive at recycling stations and vending machines selling Rubberbands and Brew Bottles - bottles may come in handy to produce Brewnade bottles associated with one of the mission challenges.
Find a button and boxes to destroy behind the machines.
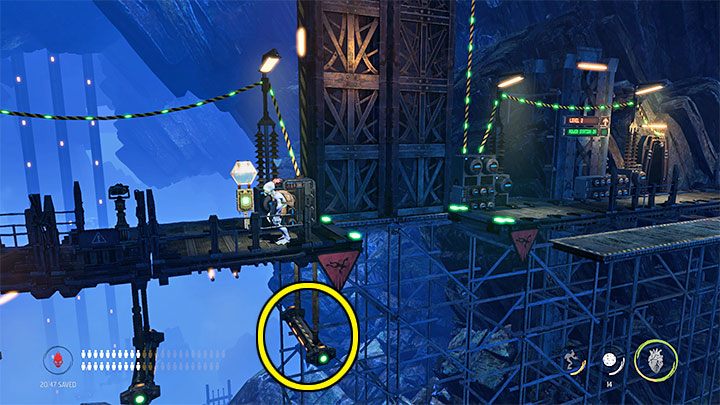
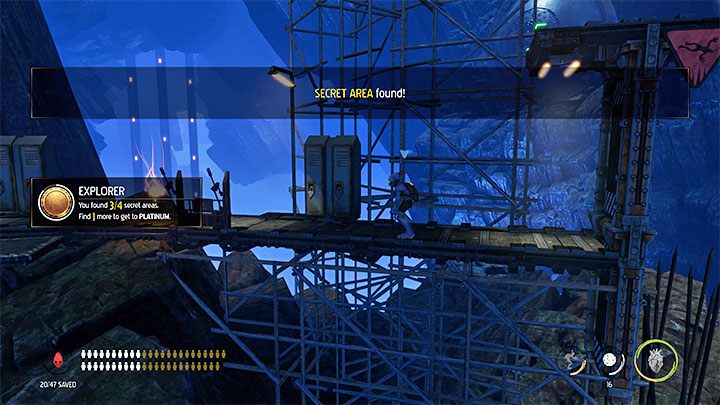
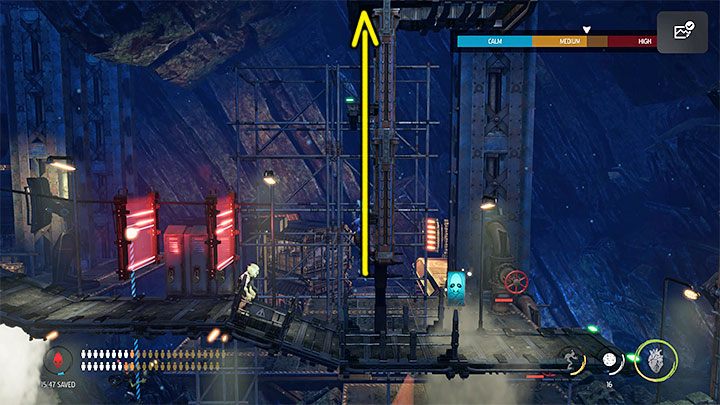
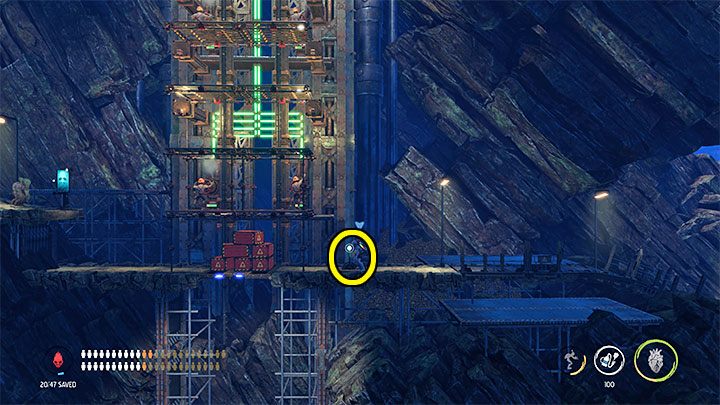
We're in no hurry to use the elevator and get back to the next level. We're taking advantage of the fact that the elevator went up on its own. In the place from the picture 1, we can descend and grab the first monkey bar. This will allow us to jump to the next left bars.
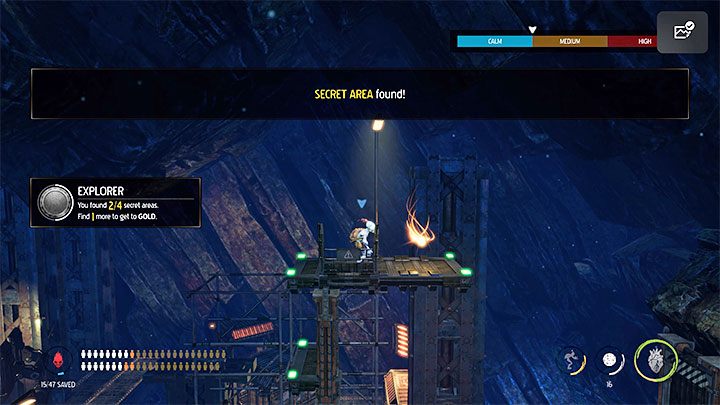
Using bars will allow us to reach a secret area. There is a Royal Jelly secret and lockers (unfortunately with padlocks).
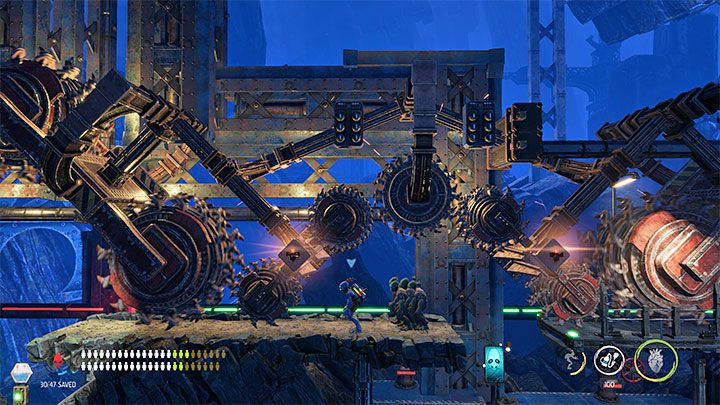
Find a way to Level 3
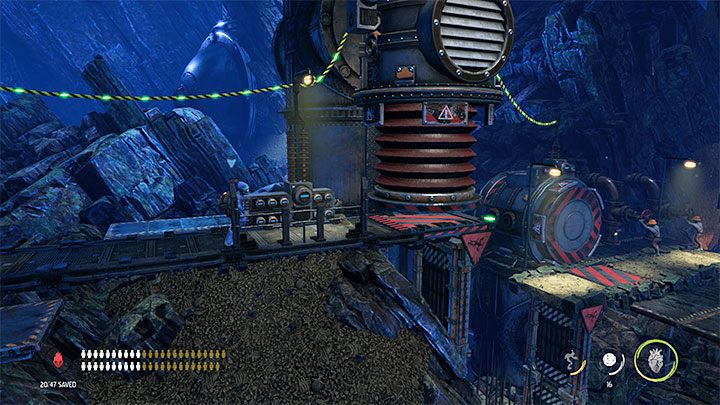
We return to the upper balcony using the bars and press the button to summon the elevator. Use it to go back to the upper level. The machines on the right are already working and we can move on, although, of course, we have to avoid all the new traps.
We look for a machine with a retractable cylinder and once we go past it, we recruit 2 Mudokons.

The flames are blocking the way and the solution to this problem will be found on the top shelf. The machine allows you to pick up a fire extinguisher for free. We select this item from the inventory, return to the bottom and use the item to extinguish the fire.
On the way, we can optionally examine another top shelf with a row of lockers. The place showed in the picture features a small environmental puzzle associated with the enemies attacking you from a distance. We recruit 1 Mudokon at a distance and set all Mudokons on the pressure plate - a cloud of smoke will appear on the right side.
We run to the right and hide in the steam zone. There is a lever inside the smoke cloud. Pulling it activates the traps in the foreground and in the background, and thus we will get rid of attacking enemies. After securing the area, we summon the Mudokons, use the lever for the last time and go further to the right.
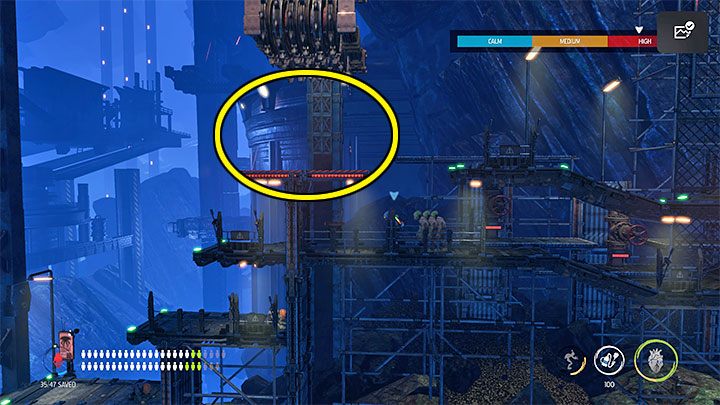
Tower with the Mudokons
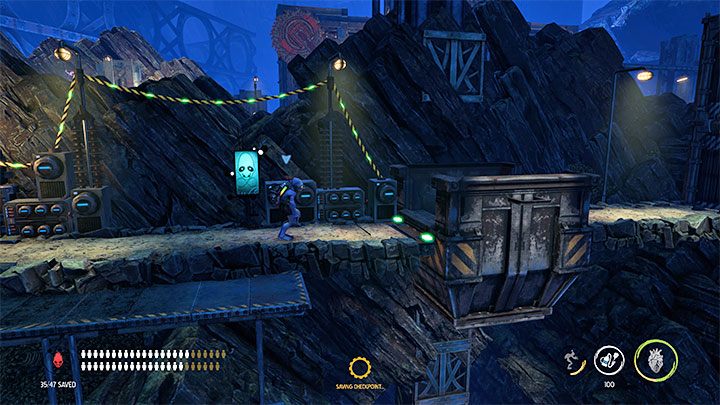
Soon we will reach the tower. There is a total of 8 Mudokons working on its balconies. Saving them all successfully is not easy, but fortunately, there's a checkpoint here, so if you fail, you can easily restart the sequence.
We order the previous Mudokons to stay back and reach the right lever marked on the picture. Using it will drop explosive crates, which will be very helpful. There is no risk that they will lead to a powerful explosion later on at the base of the tower, which could easily kill Abe or other Mudokons.
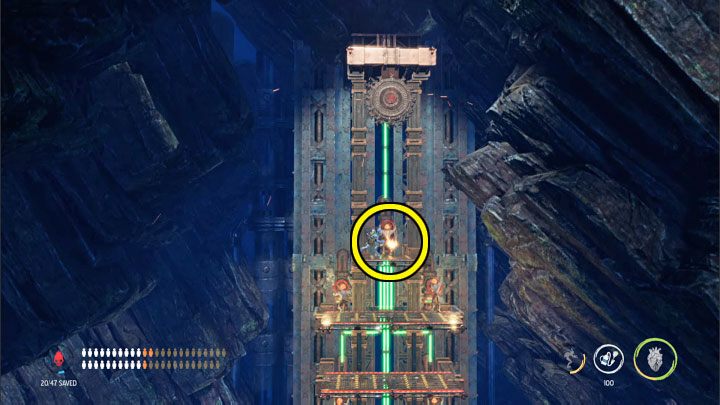
Do not recruit Mudokons from the tower too quickly. First of all, let's focus on getting to the top of the tower - there is a Royal Jelly secret.
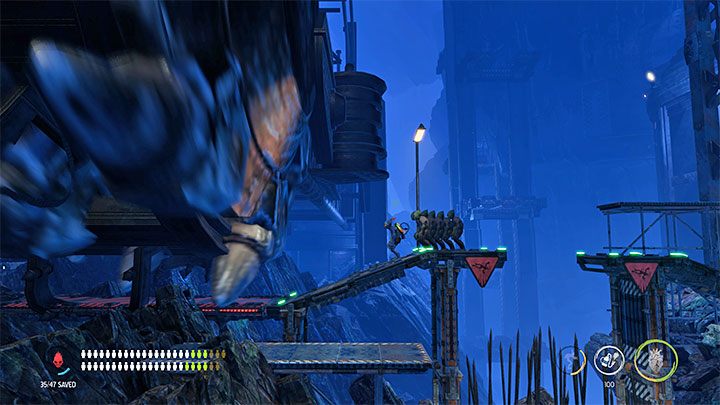
Only now shall we begin to summon the Mudokons and descend to the lower levels. At the top, a large blade will start to slide down and destroy subsequent scaffoldings. We must speed up the process of recruiting Mudokons and bringing them to the lower levels. Once all the Mudokons are joined, we line up with them on the side of the tower and let it be destroyed. With all Mudokons by your side (including those that have joined before), we go to the right where we find the bird portal.
Unfortunately, Mudokons can get stuck easily while running away from the blade. In this case, call them again and do not move away from them too quickly so as not to lose them.
Power up the elevator to Level 3
We ignore the elevator visible in the distance, because it is inactive and we must once again restore the power supply first. We use the entrance to Power Station 2B.
In the new location, there is a large mining machine. It has working blades at the bottom and a mounted flamethrower. We head to the right and keep using the fire extinguisher to get rid of the flames. We can hide in small lower areas along the way. In one of them, there are 3 Mudokons to recruit, but as soon as they join, tell them to stay here.
We need to get to the back of the boring machine. There are 2 Mudokons to recruit and a button.
We have to go the other way now. On the way, we summon the 3 Mudokons we've met before. We carefully make our way under the working machine and stop along the way in the lower areas to wait for more suitable moments to move on. In addition, we need to press the second button in the lower left area. We go to the left and press the last button. At the end of the lower path, we activate the bird portal to save the Mudokons.
Descend to Level 3
We leave the area with the boring machine and return to the main path. We follow the cable to the place where the elevator is located. We can already use it to get to Level 3.
Find the restricted entrance
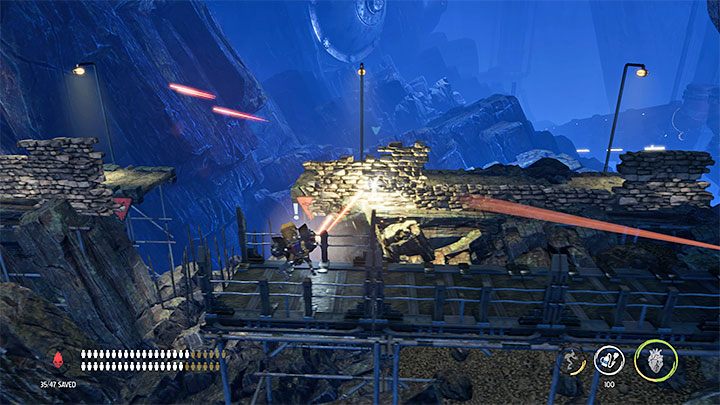
Go eft. Abe will be caught in the crossfire. He'll be attacked by Sligs with miniguns. In order to keep him alive, we rely on sprinting and rolling options in those places where we are partially covered by the lower walls. We also have to jump over the precipices on the way. Staying behind walls is not advised, because they can be quickly destroyed. Upon reaching a checkpoint, enemy fire will cease.
In the next location, it's better to sneak so as not to wake the Sligs (if necessary, we can use possession or wait until they fall asleep again). We also avoid touching the moving red barrier. In the area we can recruit 5 Mudokons (quietly).
We need to be careful in the place marked on the picture, because Mudokons can easily be crushed by the machine. After getting past it, we recruit 2 more Mudokons.
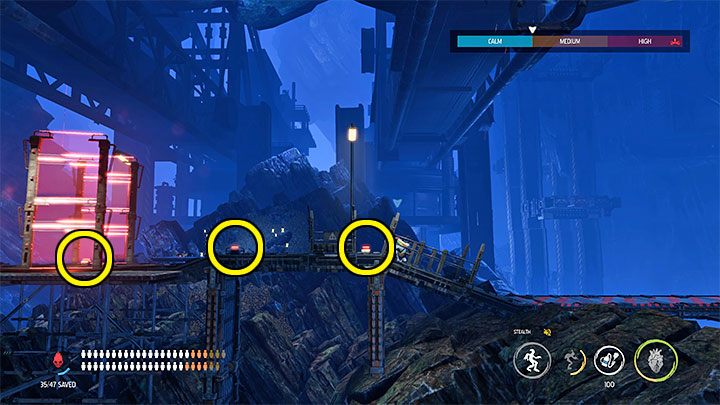
We stop after reaching the place from the picture 1, where you have to avoid giant drills for the first time. Go forward on your own in order to deactivate the four mines safely. Only after clearing the way do we return to the Mudokons, summon them and resume marching together to the left.
In the location where we've deactivated the mines, sneak past sleeping Sligs and stop before each turn of two new red barriers. There's no need to hurry here. We go past another large drill and after jumping over the precipice, we reach the bird portal.
We reach the mobile platform, which can go to the restricted area- in order to control the platform, we use the left analog stick (tilt it up or down).
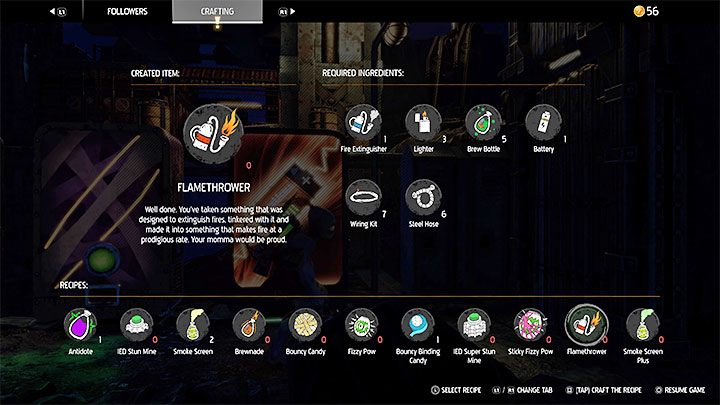
Once you reach the new location, it is worth exploring the machines on the right. There is a recycling station and vending machines with Rock Candy (free), Rubberands (paid) and Battery (paid). If you've collected enough crafting ingredients, then you'll have the chance to produce a flamethrower. However, it will not be required to complete the mission.
Find the Catacombs
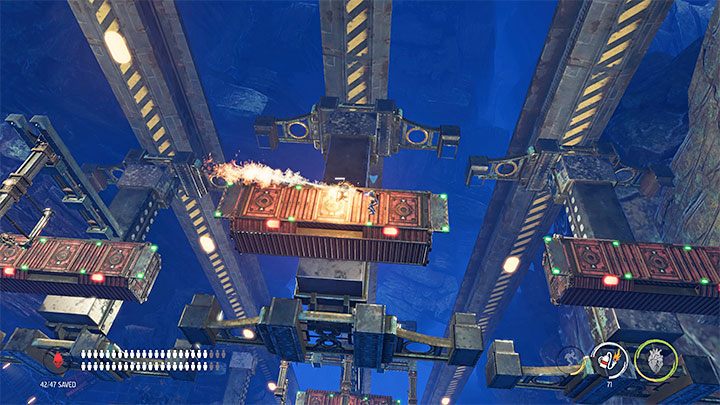
To the left, there are large platforms moving vertically. Our task is to jump to them as soon as they get as close as possible to each other so that Abe does not suffer heavy damage from falling.
On the second platform, there is a single Slig and we can deal with it immediately after landing using, for example, a flamethrower or candy.
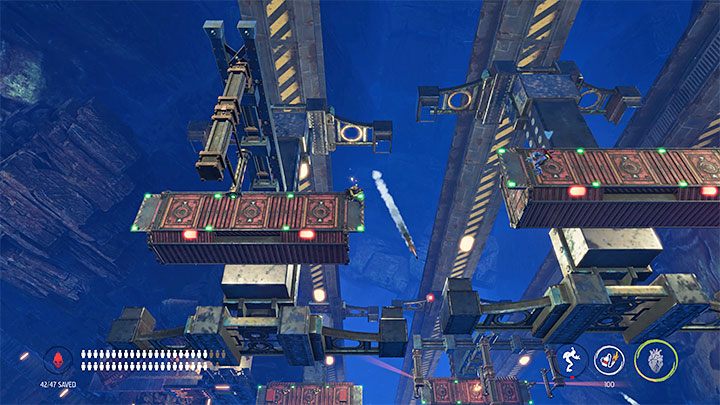
In the case of enemies from lower platforms, using a flamethrower would be very risky. A better idea is to rely on possession in order to make the Slig fall into the abyss or attack other enemies.
While making our way across the platforms, we will find a total of 2 Royal Jelly secrets. They are hard to miss.

In the end, we have to take the lower left path. Before we use the exit, we go to the very end of the path. There's the last Royal Jelly secret. We can already use the passage to the Catacombs.