Oddworld Soulstorm: Crossing the valley again, Sorrow Valley - walkthrough Oddworld Soulstorm guide, walkthrough
Last update: 12 April 2021
This page of the Oddworld Soulstorm guide contains the second part of the walkthrough of Mission 5 - Sorrow Valley. Our walkthrough tells you how to cross the minefield, where to find the Phatoline canister in the second mine and how to defend yourself against the flying Sligs and the blimp while crossing the valley for the second time.
Additional note: The green color in this walkthrough stands for secrets and unique locations/activities associated with the badges (challenges) in the game. Mission 5 badges have been described on a separate page of the guide.
Get to the second crossing
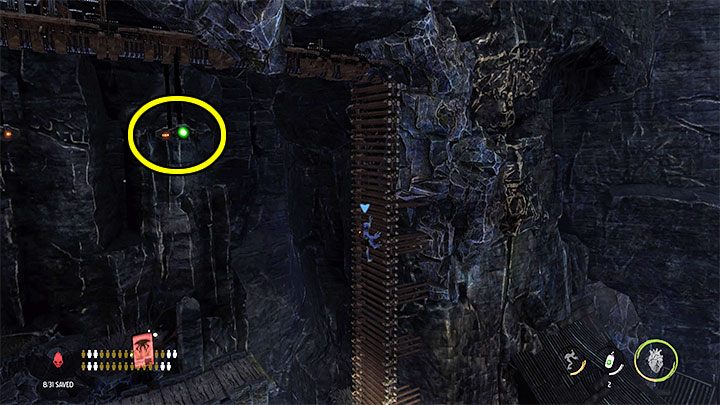
There's a long crossing to the right ahead of us, during which we will have to climb to the higher shelves. We start a long climb up the ladder, we reach the very top and jump to the monkey bars shown in the picture 1.
Jumping to the next bars and then jumping to the higher shelves will allow us to reach the secret area. Here, Abe will find some crates to destroy, the third binoculars (it is hard to notice, it's on the left end of the shelf), the Royal Jelly secret and 3 Mudokons to save (two on the left, one on top). We can also open a bird portal here.
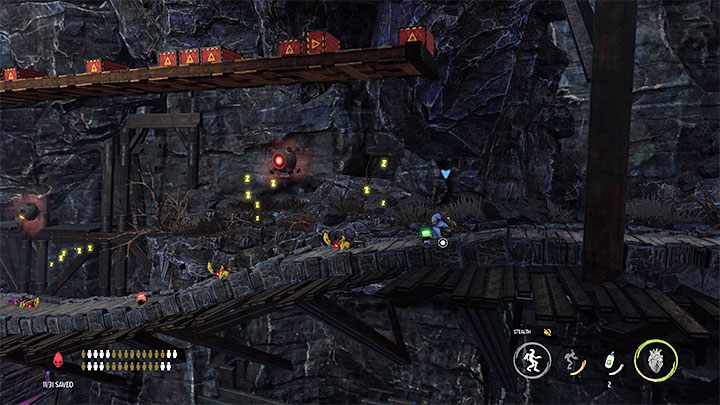
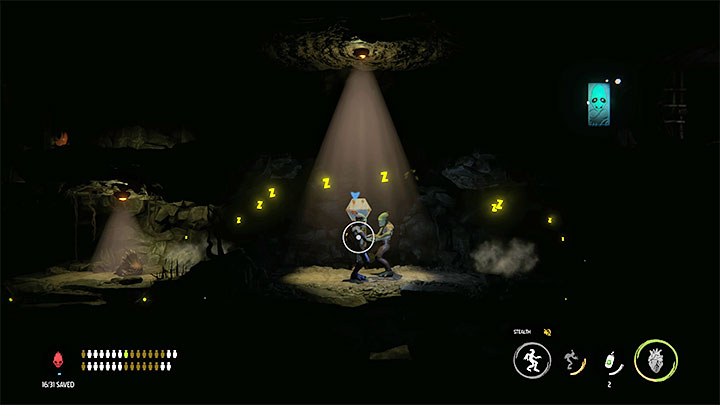
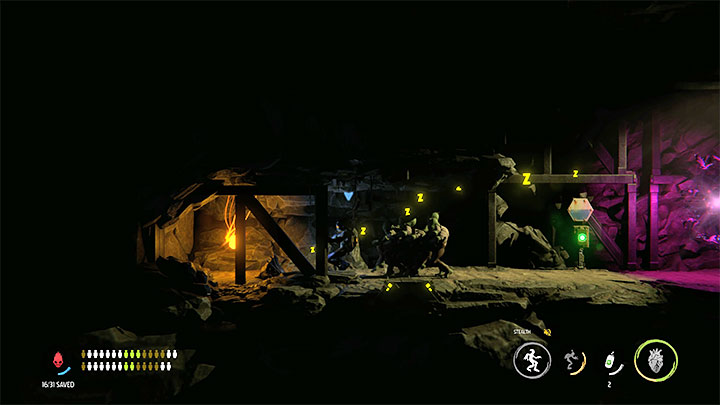
We go back down and go left. We will reach the location with mines and sleeping Sligs. For a start, we should head to the right. We'll find three Mudokons to heal, and they'll start following us.
It's recommended to disarm the mines. For the record: we slowly approach them in a crouched position and press the interaction button (Square) once the green lamp lights up for longer. We sneak along with the Mudokons next to sleeping enemies, whom we can rob and, if we have a tape, tie.
We unlock the checkpoint and only then make an attempt to activate the right bird portal. There is a risk that the last Slig may attack the Mudokons, but if we have activated the checkpoint, then just reload it and try again.
We move forward and explore the lower path to the right of the entrance to the new mine. It will lead us to a location with a secret area, a Royal Jelly secret and new sick Mudokons. We heal 2 Mudokons and send them back by opening the bird portal.
We can go back upstairs now and go into the other mine.
Find Phatoline in the mine shaft
Our primary task in the second mine will again be to find the Phatoline canister. As in the case of the previous mine, we will be able to help a few Mudokons and get a collectible. The crossing will be much easier if we use flares. Otherwise, try moving more slowly and carefully.
The first sick Mudokon is right next to the starting point. We have to keep sneaking around, because it won't be long until we encounter first sleeping Slogs. We jump down to the lower shelf and press the button.
We're going left, but we're not using the bird portal yet. Instead, we jump to the top right edge. We heal another Mudokon and move on.
Start climbing and jumping to the upper shelves. The Phatoline canister is located on the top shelf.
We need to jump down carefully. We don't let go of the stealth button and try to land as close to the right wall as possible. It's about not waking up a creature that's sleeping here.
We heal three new Mudokons and go with them to the left. We're going all the way down.
We're investigating the optional left tunnel where a Royal Jelly secret can be found. We return with all the Mudokons to the button, press it (this will close the side gates) and only now we activate the bird portal so that the Mudokons can safely escape.
All we have to do is sneak back to the mine exit.
Cross the valley again
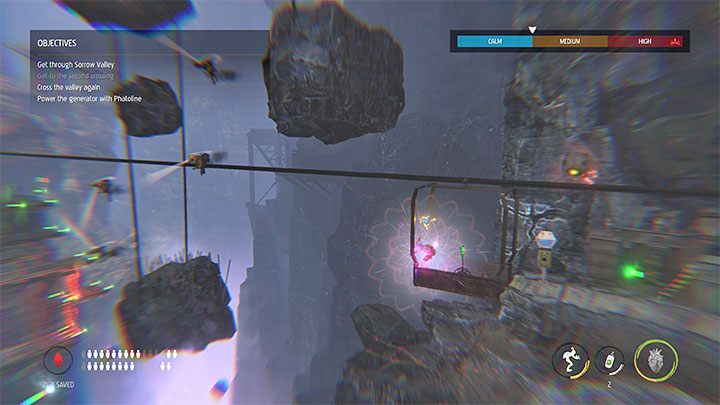
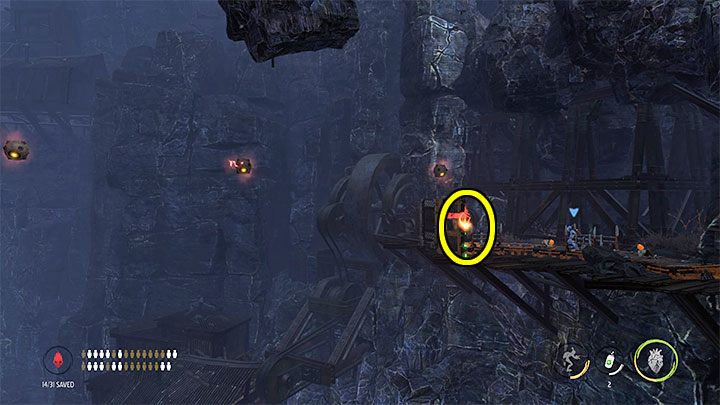
We're going left. We can immediately use Phatoline to power the generator or position ourselves at the left edge of a moving platform and possess one of the flying Sligs. Just like before, we can attack other flying Sligs to ensure Abe's safe journey.
Optionally, we can also fly around the area. Try to shoot at the lower-left tank from the above image, but do not fly too close to the Chant Suppressor not to cancel the possession. The destruction of the tank will unlock access to one of the secrets (we described it later).
Regardless of when you choose to get rid of the flying Sligs, we switch on the generator, pull the lever and wait until the lift reaches the left part of the valley. During the ride, we neutralize 2 more flying Sligs from the left area.
Soon after reaching the left platforms, Abe will have to start avoiding the blimp shelling, which appeared in the distance. Along the way, we can hide behind covers (unfortunately, they can be destroyed quite quickly) and it is equally important to stay on the move.
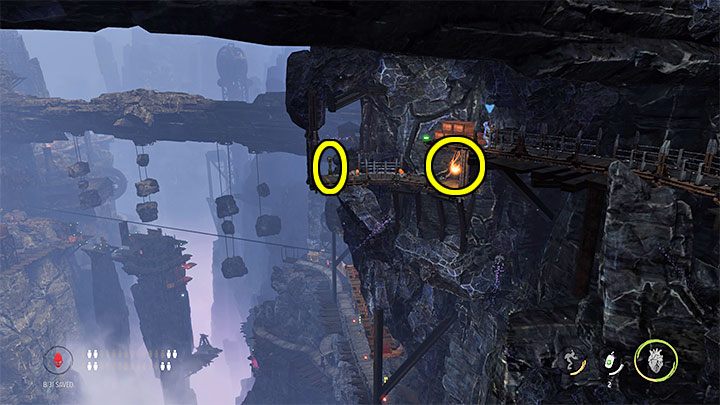
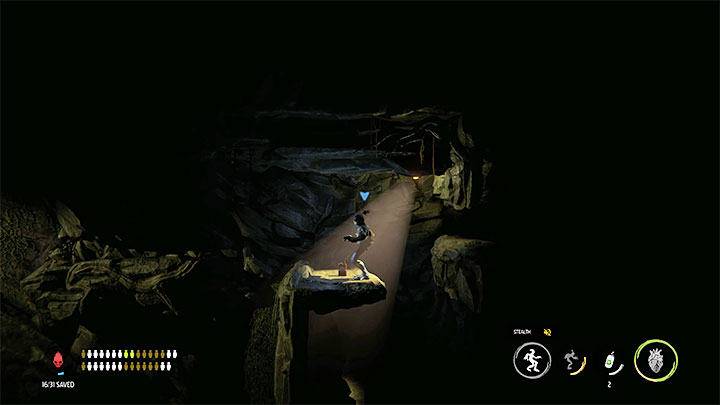
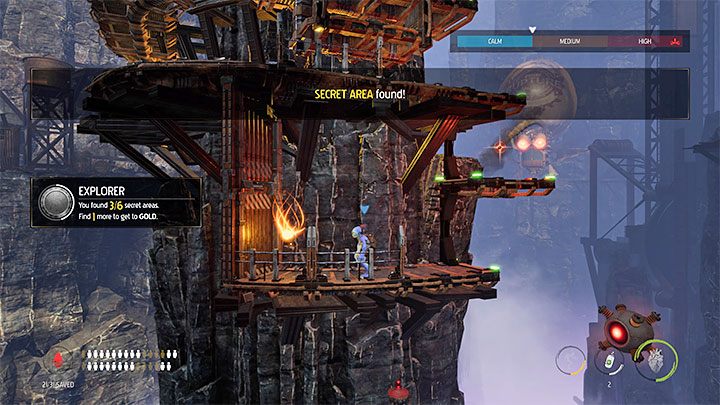
During the escape, let's make sure to descend several times and explore the secret area shown in the picture. A Royal Jelly secret is located here.

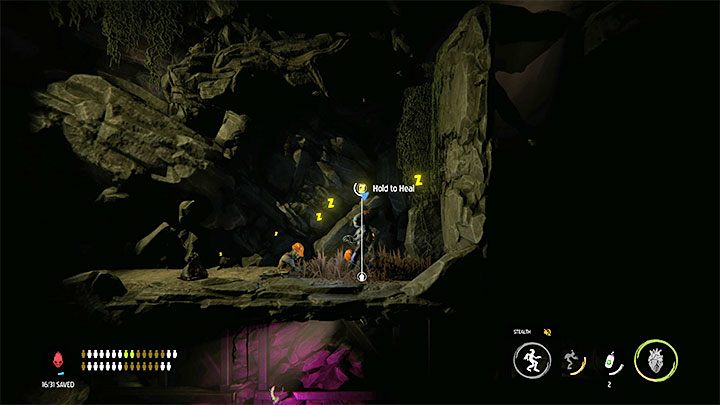
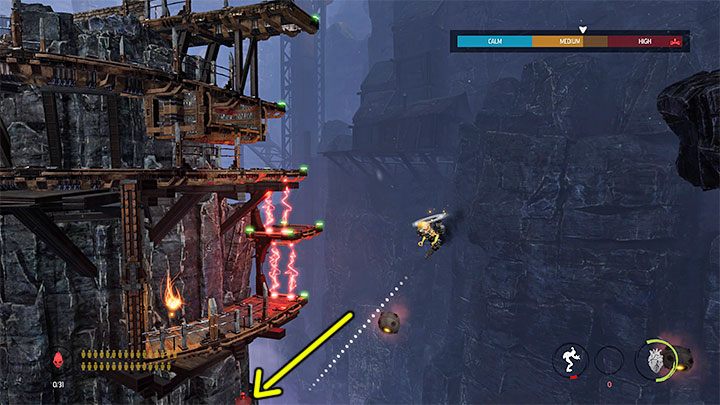
We continue to escape and evade blimp shelling. As an exception, let's stop for a longer time in the spot as in the picture. It is recommended to wait here until the planks are set on fire and destroyed. This will guarantee us the possibility to collect the Royal Jelly secret.
We climb to the top, which will end the shelling. We must now head to the location with the snipers.