Oddworld Soulstorm: Healing sick Mudokons, The Funicular - walkthrough Oddworld Soulstorm guide, walkthrough
Last update: 09 April 2021
This page of the Oddworld Soulstorm game guide contains the second part of the walkthrough of level 4 - the Funicular. Our guide explains where to find all the sick Mudokons, how to cure them and optionally how to save the healed Mudokons.
Additional note: the green color in this walkthrough stands for secrets and unique locations / activities associated with the badges (challenges) in the game. The badges in level 4 were described on a separate page of our walkthrough.
Heal a Mudokon with the antidote
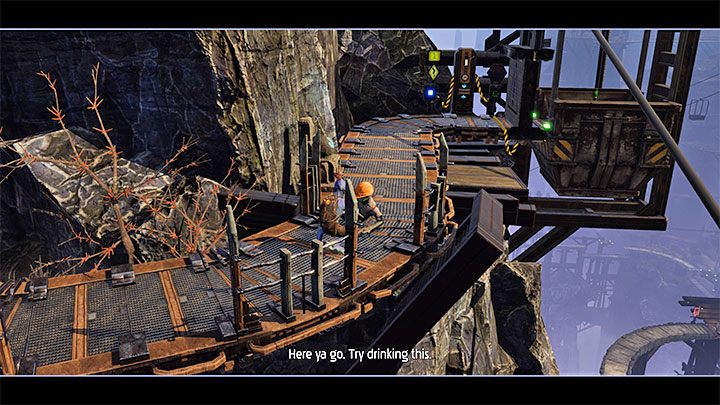
This can be done once you collect the 5 ingredients needed to craft an antidote (a single antidote bottle will do). Start with exiting the mine where we found the last ingredient of the antidote.
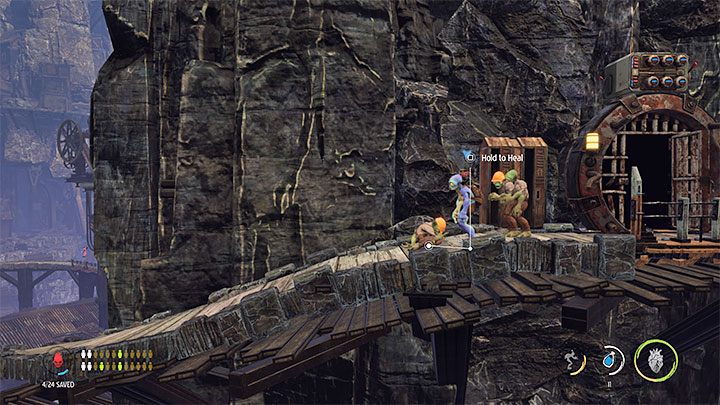
Abe will automatically heal the first Mudokon he encounters on the mountain path. This will make the rescued Mudokon follow us. It is worth noting here that:
- Abe can give commands to the other Mudokons - the most important orders are Wait (down on the d-pad) and Follow Me (up on the d-pad). This will be useful in the next part of the stage as it will allow you to explore dangerous places alone.
- Other Mudokons may die - this is portrayed by the red Mudokon icon in the lower left corner of the screen. If we want to save 100% of the Mudokons, then we'll need to load the last checkpoint and try again if one of our buddies ends up accidentally dead.
Heal all the sick Mudokons
Preliminary note - In order to progress beyond this stage, Abe "only" has to heal 7 Mudokons. However, our walkthrough explains how to find and rescue the optional Mudokons in order to reach 100% completion in this stage.

Take the first healed Mudokon with you and use the nearby mine cart. After a short ride, you will arrive near the second sick Mudokon. This and the subsequent Mudokons can be healed by holding the interaction button (Square). Each such interaction will result in a new buddy following the protagonist.
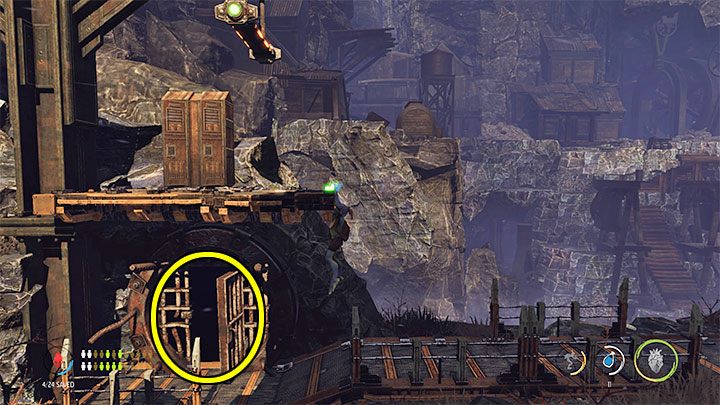
Head to the left, that is, near the previously explored third mine. This time we're going all the way down. The screenshot above pictures the location of the Secret Area's entrance. Abe will examine it alone.
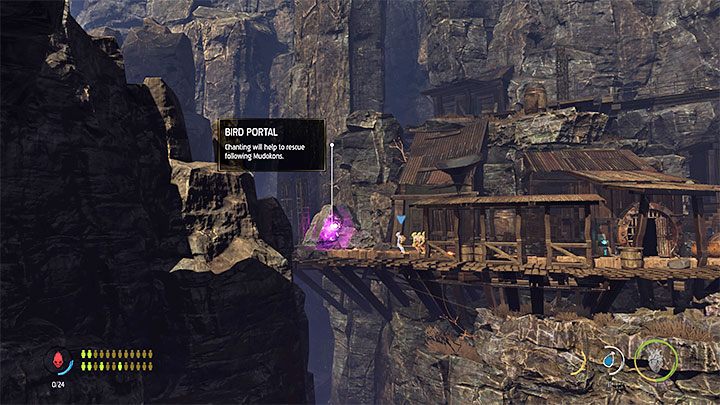
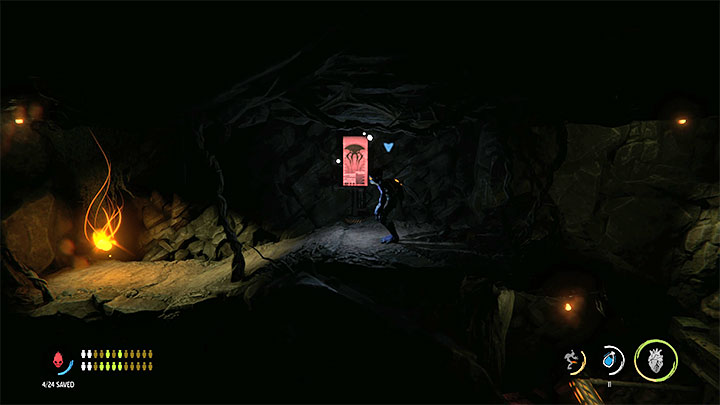
In the Secret Area you will find a hidden Royal Jelly and 4 optional Mudokons. These Mudokons can be healed with the antidote. After the Mudokons are restored back to health, head as far to the left as possible to the location of the Bird Portal. Abe can activate this portal by chanting and pointing the Chi Orb at it. Once the portal is activated, the 4 Mudokons will escape through it and be considered liberated.
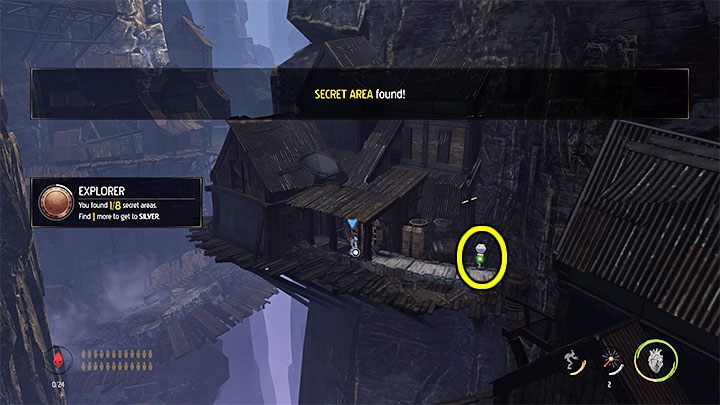
Note - since the camera is panned out, it may be difficult to spot certain Mudokons. Let's check in the pause menu that we have saved 4 of our buddies (the Saviour challenge).
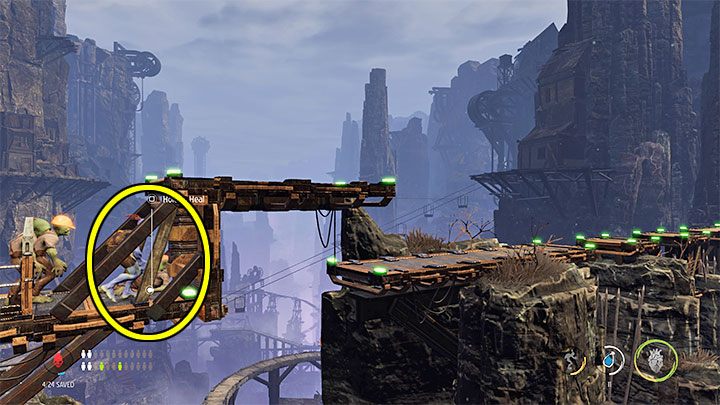
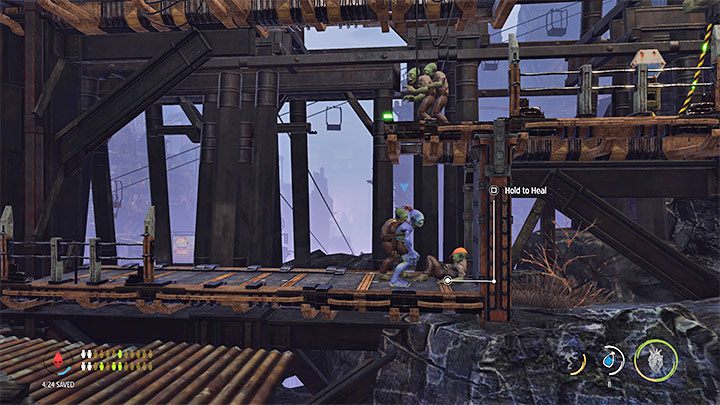
Return to the previous location of the second sick Mudokon, then head to the right. The third sick Mudokon (related to the main task) is in the pictured location, that is, right next to the bridge where Abe previously escaped from a rolling object.
Let's continue to the right, but on the way, let's jump into a hole without spikes. This is the Secret Area showcased in the picture where we can find a hidden Royal Jelly and some cabinets with copper padlocks. This location was previously unavailable, because Abe was busy running away from a large rolling object.
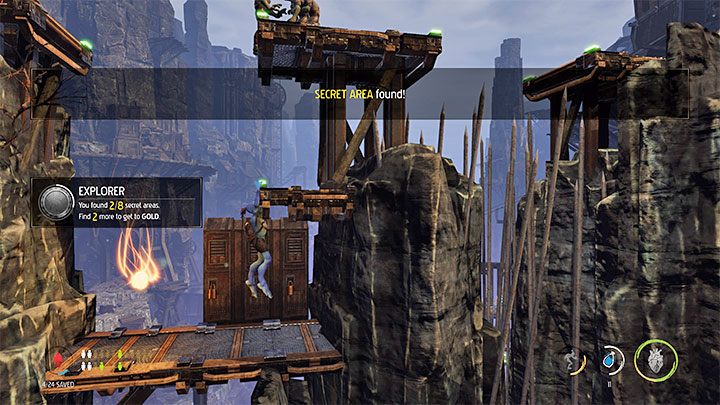
Keep going right until we reach the elevator. This time, take the elevator down to the lowest level by pressing the button to go down a level twice. This will allow the protagonist to reach the entrance to the Secret Area shown in the picture. Abe will investigate this location alone.
In this Secret Area, in addition to the new cabinets, the interactive panel highlighted in the above screenshot is important. Interacting with it will unlock access to another secret location near the beginning of this stage. This area is described later on in our walkthrough.
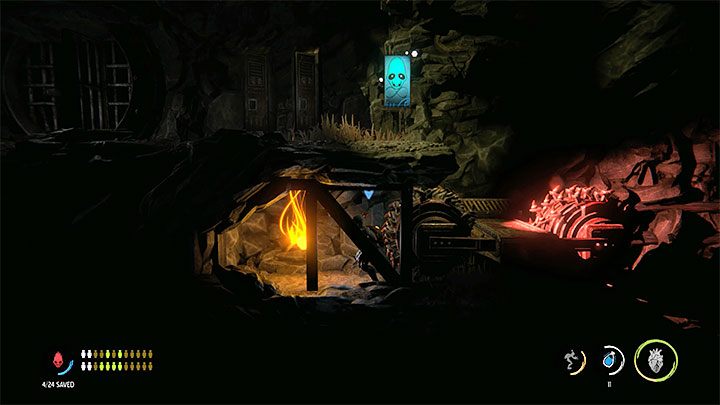
Leave the secret area, then use the elevator again and head to the middle level. Once there, go to the left, passing the mine from earlier on the way. We will encounter the fourth sick Mudokon to the left of the mine entrance.
Continue on to the left. The fifth sick Mudokon is easy to find. You might have spotted him near the beginning of the level.
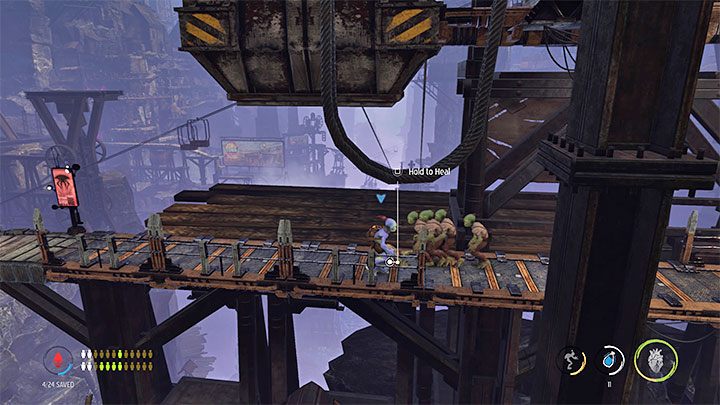
The sixth sick Mudokon is located on one of the upper platforms. Finding him isn't much of an issue, either. It's a metal balcony to the right of one of the checkpoints.
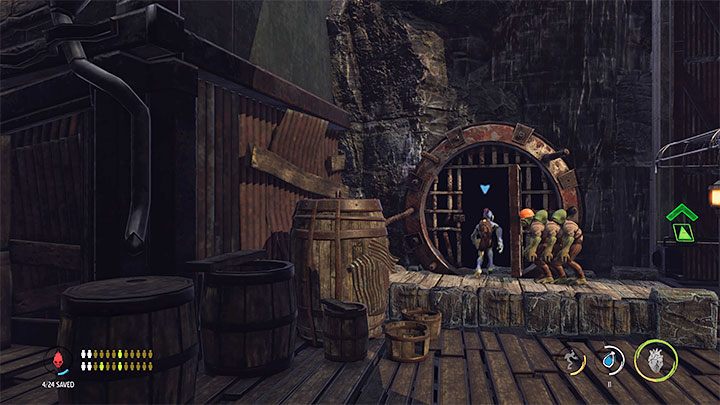
Now head to the left, that is, return to the starting area of the level. At the first possible opportunity, jump to the lower level. Interacting with the switch in the secret area (described earlier) unlocked the lower passageway showcased in the picture. Abe can explore this optional location alone.
In this new location, we should head to the right. This will allow us to reach the entrance to a new, much larger Secret Area.
Using flares and Chanting is helpful while exploring the optional mine, because Abe can die here and there are several different areas to discover.
The first hidden Royal Jelly is under the path where we began our exploration. We need to be careful around the activated machine and grab the collectible when it's safe. To bypass the machinery and continue on exploring, we will use the bars near the ceiling.
Leaping between the bars and edges will allow us to continue climbing, but we need to watch out for the moving blades and only continue climbing and bouncing to the right when the path is safe. After making the last jump to the left, we reach the checkpoint and the hidden Royal Jelly shown in the picture.
Now, we should return to the bottom, specifically to the area with the first large machine. We have to wait until it moves to the left and squeeze your way to the right to continue exploring the optional mine.
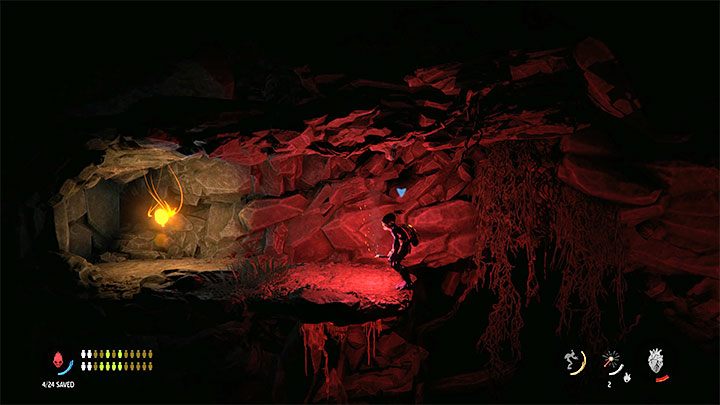
Mind the gap and climb up in the dark cavern to reach the location of another hidden Royal Jelly.
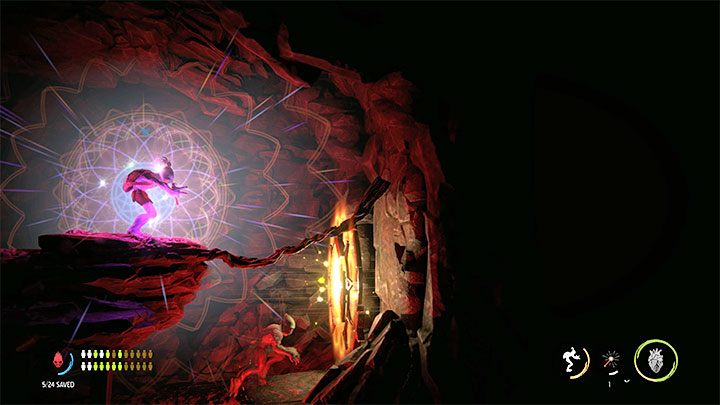
Finally, let's examine the right side of the mine. We will reach an area with 3 optional Mudokons. Heal our companions and Chant to activate the Bird Portal.
Now we can (CAREFULLY!) return to the exit of the optional mine, and then to our main buddies waiting for Abe outside.
Bring the whole Mudokon gang to the right, to the area associated with the current main task of this stage.
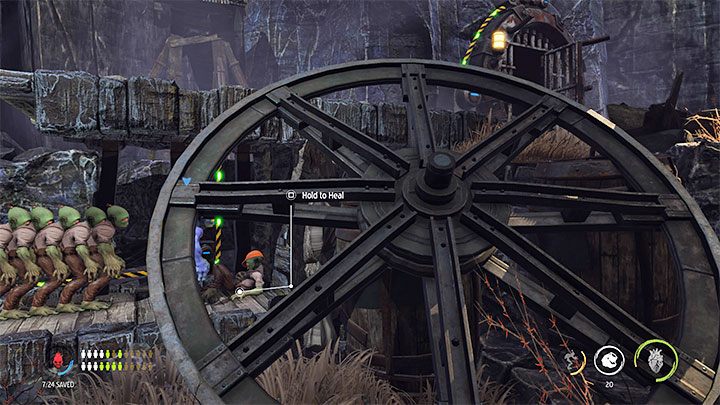
The seventh sick Mudokon (related to the main task) is leaning on the wall located behind the big wheel shown in the picture.
Find enough Mudokons to work the elevator
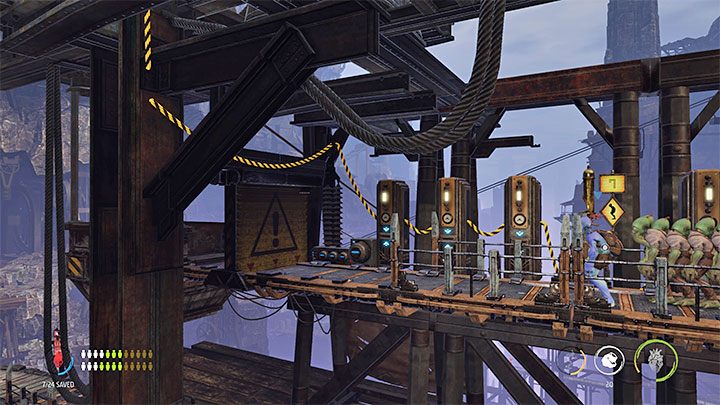
This task goal can only be completed once the seven "mandatory" sick Mudokons have been found and healed. Stay in the area where the seventh Mudokon was found and reach the row of interactive panels. Abe, with the help of his 7 buddies, will be able to activate them all at the same time and complete the mine cart ride.
Before we start the journey, make sure that we have rescued 7 out of 24 Mudokons - this information is displayed in the lower left corner of the screen. These are the Mudokons from the two optional areas described earlier. This does not include the Mudokons that are still following the protagonist. They will be considered saved only later, once we open a separate Bird Portal for them.