
Oddworld Soulstorm: Escape Molluck's Blimp, The Blimp - walkthrough Oddworld Soulstorm guide, walkthrough
Last update: 08 April 2021
This page of the Oddworld Soulstorm guide contains the first part of the walkthrough of Mission 3 - the Blimp. Our walkthrough explains how to avoid mortar attacks of the blimp and detection by snipers, as well as how to deal with Sligs while escaping from the blimp.
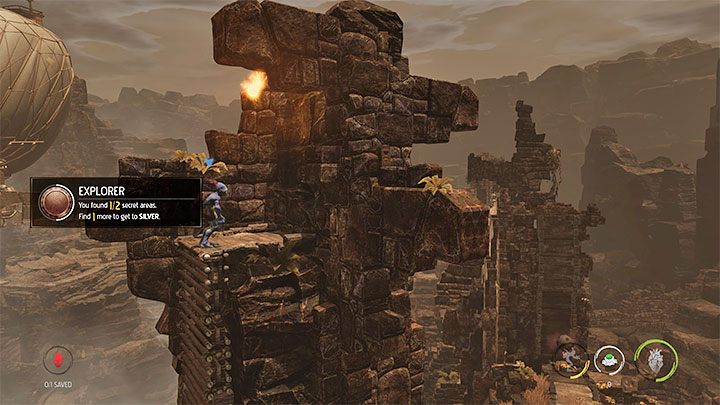
Additional note: The green color in this walkthrough stands for secrets and unique locations/activities associated with the badges (challenges) in the game. Mission 3 badges have been described on a separate page of the guide.
Escape Molluck's Olimp
Note - This stage has a door leading to a secret location - they close a few minutes after the mission starts. If possible, try to quickly run through all the initial areas to have time to search the secret place. For more information, see Opening the gate page.
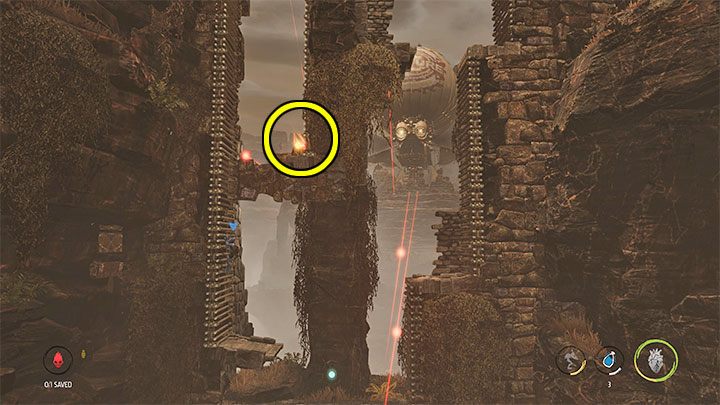
Just after the start of this sequence, we will find the first Royal Jelly secret. Take it, activate the checkpoint and move to the left.
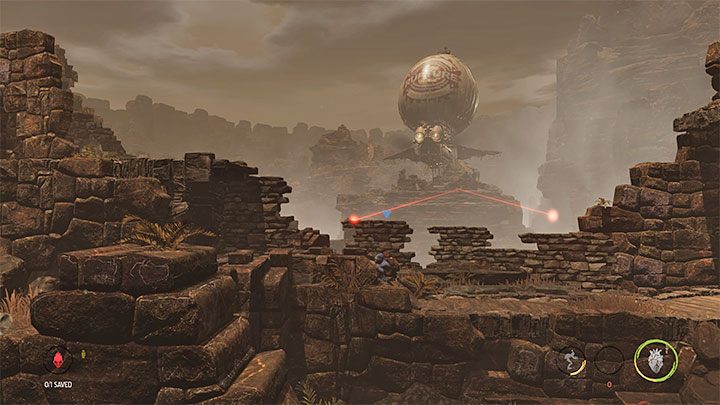
Abe will soon be forced to avoid enemy snipers- the area they are checking is symbolized by red beams. We must move in a crouching position and use the low walls as covers. As we move on, we always have to wait for the red beam to go the other way. We can't go wrong here, because a single sniper shot will always kill Abe.
Abe will soon encounter the first Slig on his way. We can easily neutralize it by using possession to stun it or kill it (suicide).
A little further from here there is another Slig and in this case, possession is not possible, because there's a Chant Suppressor right next to it. The solution is to plant a stun mine. After setting it, we can alert the Slig by running or trying to sing.
During the further crossing, it is important to search the containers and get a few water bottles. After avoiding new snipers (we have to hide behind low walls once again), water bottles can be used to extinguish the fire on one of the shelves. Aim high enough so that the bottle can get to the target without you having to lean out from behind the cover.
Putting out the flames will allow us to reach the new checkpoint. Abe can also possess the Slig from the higher shelf.
From this point, we must again avoid snipers and red laser beams. First, let's do a double left jump to get Royal Jelly secret.
Now, we need to head down. In order to avoid detection by snipers, you should alternately use ladders and hide behind low walls near the left shelves.
There is a checkpoint at the bottom, so if you fail the second climbing sequence, you will not have to repeat it all from the beginning. This time we have to climb.
During the climb, let's make sure to land for a while on the small right shelf marked in the picture: there's a Royal Jelly secret in there. You can avoid snipers by jumping from left to right ladder and vice versa. There's a new checkpoint up there.
Open the slam door
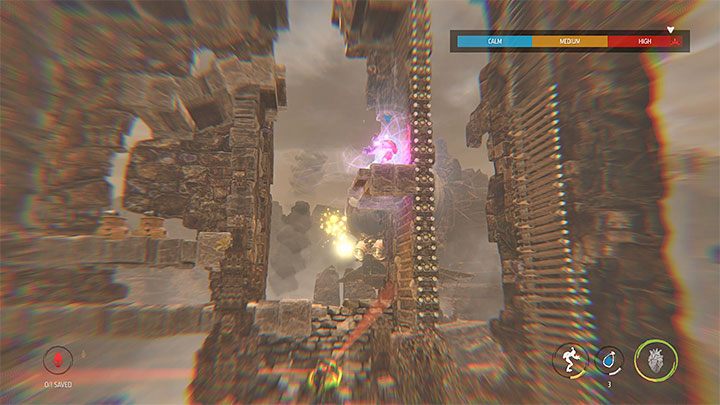
Starting from this sequence, the mortar shelling will be more intense, i.e. mortar fire from the blimp seen in the background. We must remember two things:
- Keep looking for opportunities to hide behind covers. Unfortunately, many covers that protected you from snipers will not necessarily protect you from shelling.
- Keep moving except when using possession. Before you activate chanting, you should look for a safer spot.
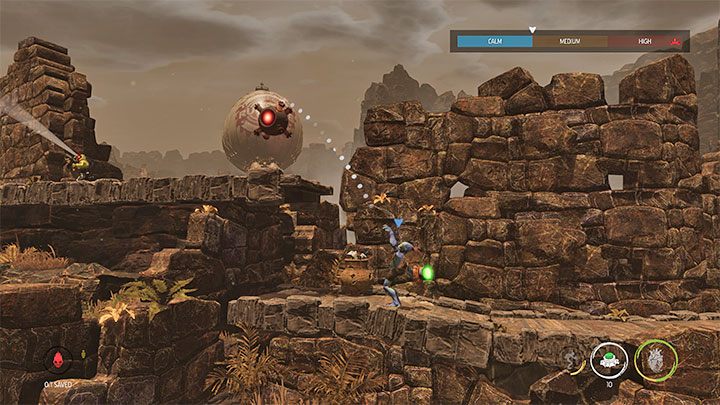
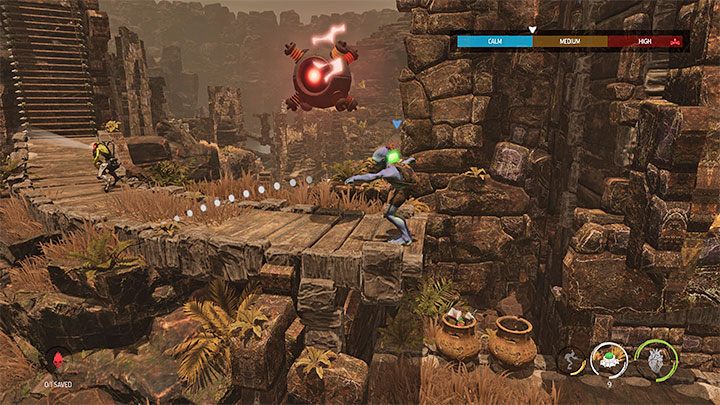
There's a group of Sligs all over this area. We can attack the enemies from the lower shelves with possession. We can stun them, use them to kill others, or blow them up.
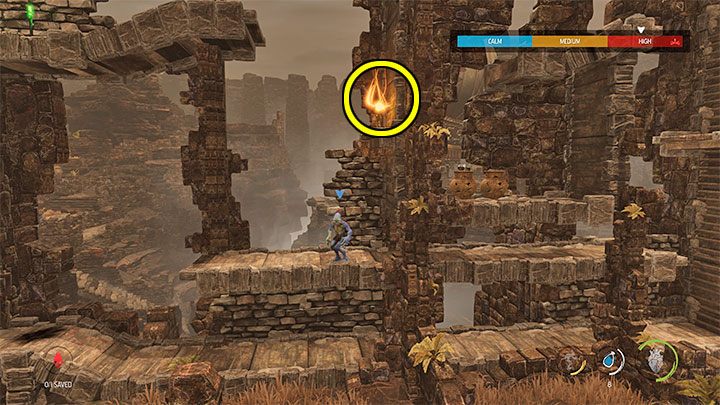
In the left part of the ruins, there's a shelf with a Royal Jelly secret (see the attached image). There is also a Slig, which cannot be possessed due to the Chant Suppressor that's nearby. We need to use stun mines and then alert the enemy, for example, by trying to activate chanting.
Next to the stunned Slig, there is a lever. Pulling it will unlock the lower passage.
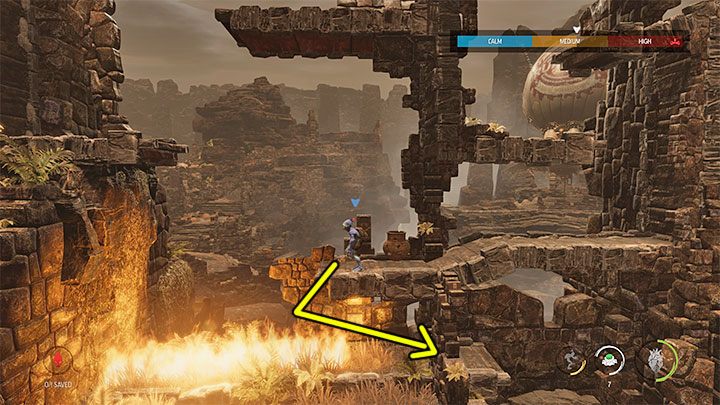
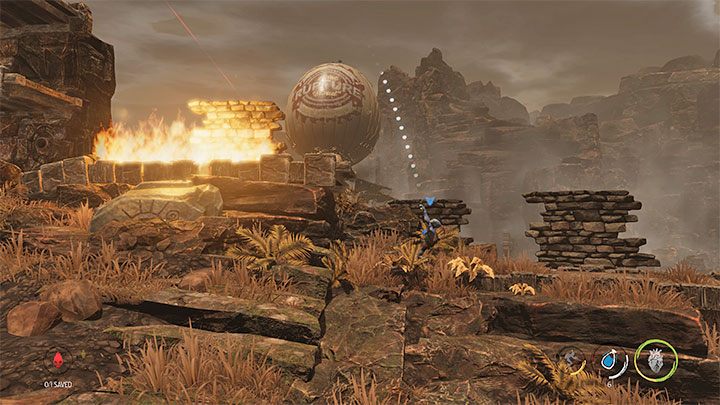
Stay on the lower level and go to the left. Check out the lower area marked on the picture - you can extinguish the flames first or try to quickly roll through them.
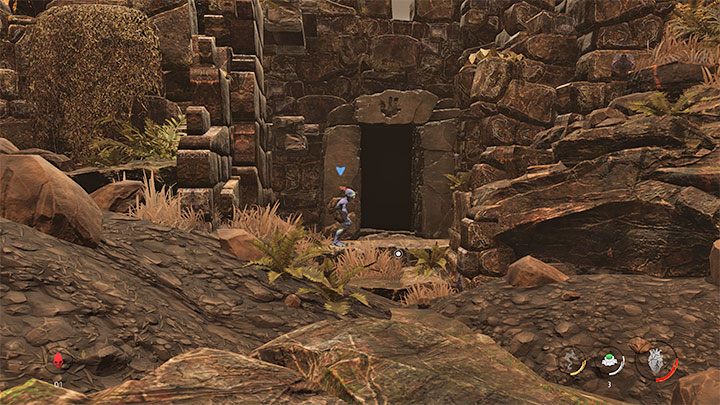
Get to the door to the Secret Area shown in the picture. There are two possible scenarios:
- The door is open (image above) - This will happen if you go through the first part of the mission quickly enough.
- The door is locked - This will happen if you spend too much time on getting here. If you want to get 100% of the secrets, restart the entire mission and go through the initial locations faster (remember to pick up the other secrets).

The secret area has the only Mudocon of this stage. Making him join you and then release it by activating the Bird Portal to complete this mission with a positive Quarma.
In addition, you will also find a Royal Jelly secret.
Survive Molluck's mortal shelling
There are new Sligs in the newly explored area, and we can deal with all the enemies we encounter with the help of possession. Because of the constant shelling, as in the previous location, we try to put Abe in more obscure places.
After going past the next checkpoint, we will encounter a single Slig, which we are not allowed to possess. Throw a stun mine exactly like you did before (note: it cannot fall off the shelf, because the mine will simply go to waste) and draw the enemy's attention to yourself, for example, by chanting.
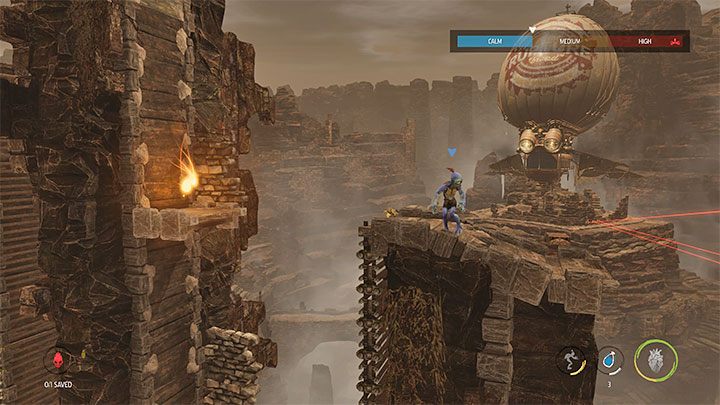
There's another location ahead of you and you will need to use ladders and, at the same time, avoid snipers. As in the previous place of this type, we need to go down first and then up. Unfortunately, this time you need to pass the whole thing in one go.
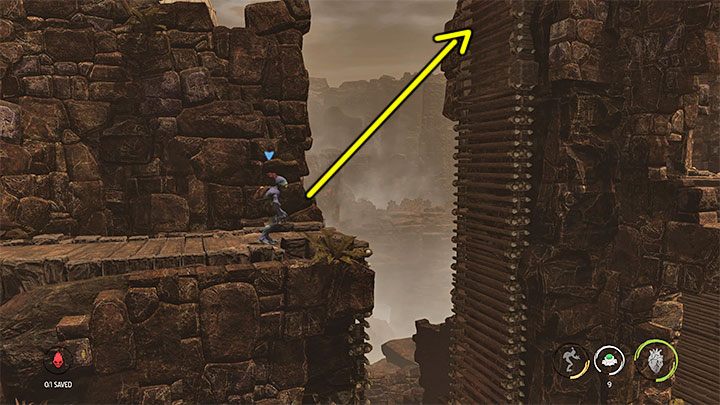
After reaching the top, we can immediately go to the left checkpoint or go up the right ladder marked in image 1, which leads to a secret area. There's a Royal Jelly secret here.