
Observation: Second space walk, transmitting the message - walkthrough, level 5 Observation guide, walkthrough
Last update: 25 June 2020
In this part of the walkthrough for Observation, you will find advice related to the second spacewalk. We will show you how to use the device called Astrophysics Terminal. You will also learn step by step how to broadcast the first message (COMMUNICATION - BROADCAST).
Emma will ask you to go outside and help Mae return to the station. Switch to the SPHERE device. You will find yourself in module RUS-02. Login to EAS AIRLOCK CONTROLS. Even the pressure and open the hatch to the outside.

Go straight and turn a little to the right. May should be visible from afar. Drive up to her.
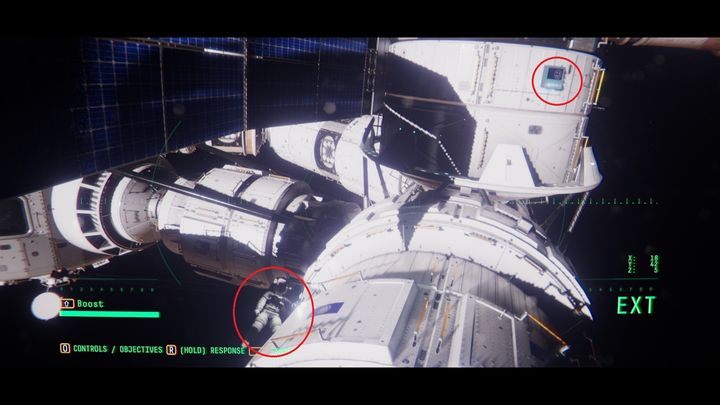
After a short conversation Emma will ask you to find HATCH CLAMPS on the nearby module CN-01. Drive a bit down, then to the right. Log into the device and act similarly as with the previous clamps. Go back to Mae.

Watch the short cutscene. Then, hold R and respond to Emma. She will once again ask you to authorize her voice. You have to help her contact a nearby station. Go to alerts in SAM's systems. Inform her about the malfunctioning cameras in EAS-07. After a while, Emma will give you access to them.
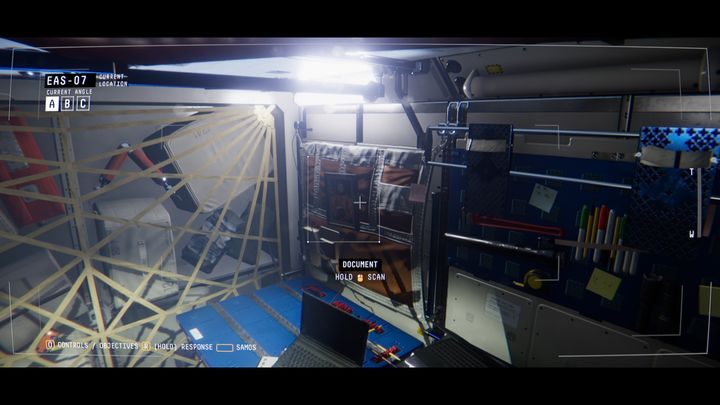
Once in EAS-07, scan the picture above the desk (GRADUATION PHOTO) and connect to the device called MELFI UNIT. Read the file MELFI UNIT LOG.
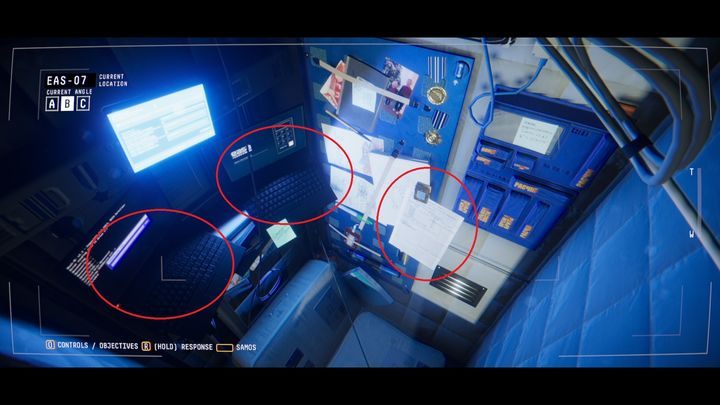
Switch to camera B, scan the document on the wall (MARKER OBSERVATION) and connect to the laptop on the left. Read the message from Jim (JE-HOME - GOOD LUCK). Once connected to the laptop on the right, enter the pin: 2008. You will see a screen with the password. Hold R and select the word Precursor 1.
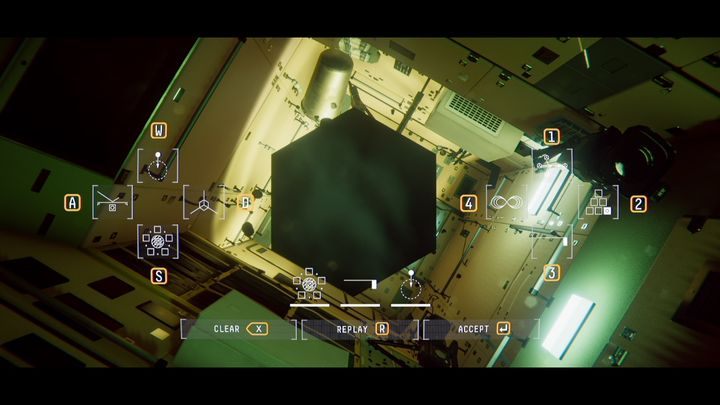
Go to RU-04. Again, there is a black hexagon there. Repeat the symbols after him like last time.
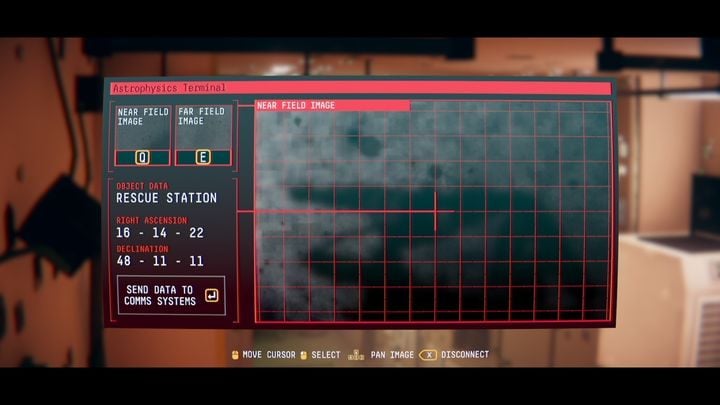
Inside module ENG-04 you will find a device called ATROPHYSICS TERMINAL. There are two panels to the right: in the upper part of the NEAR FIELD SERVER, in the lower part of the FAR FIELD SERVER. Click on them to enable them. Connect ASTROPHYSICS to the TERMINAL. Press Q again to zoom. Use AWSD to move the cursor until you find an object named RESCUE STATION. Press enter to load the data into the system.
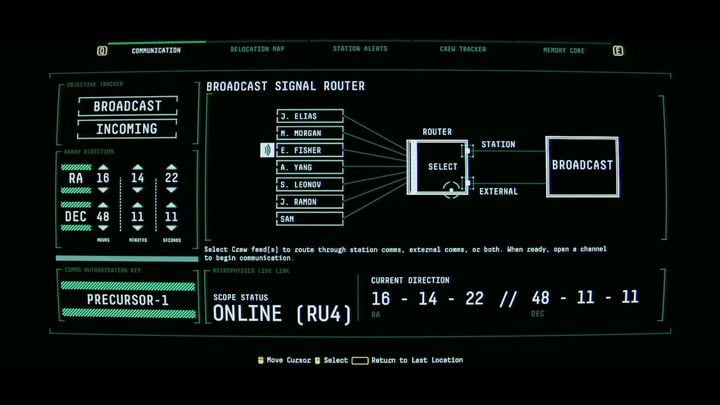
Go to SAM's system and open the COMMUNICATION tab. Set the required digits (16-14-22 at RA , 48-11-11 at DEC). Click on Emma Fisher, then twice on SELECT, and on BROADCAST. Emma will send the message. After a while she will receive a response.
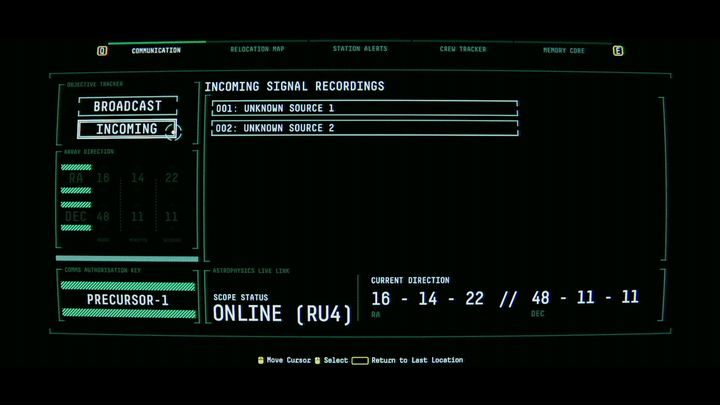
Go back to SAM's system and open the COMMUNICATION tab. This time, click on INCOMING. Click on the first and then on the second message. They'll be coded.
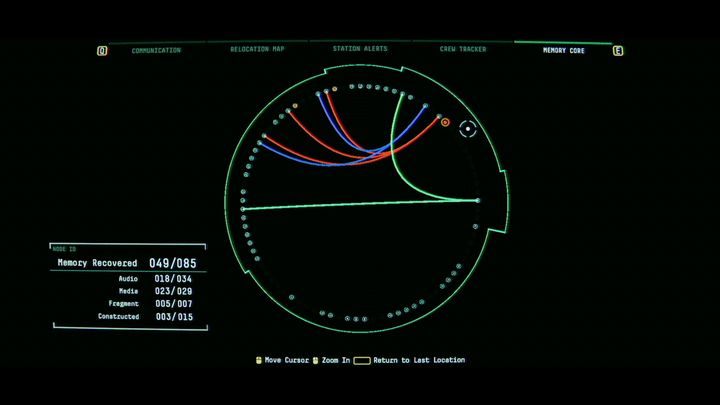
Go to SAM's memory and click on the blinking point. Use the right mouse button to connect this file with 2 files named CORRUPT AUDIO DATA. Emma will say that you must go to the newly arrived station.
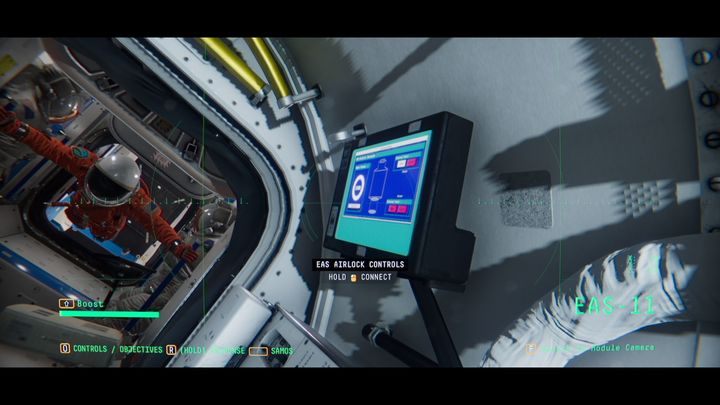
Connect to the SPHERE and go with Emma to module EAS-11. Login to EAS AIRLOCK CONTROLS. Close the hatch, even the pressure and open the hatch to the outside. Leave the station with Emma.