NiOh 2: Cherry Blossom Viewing in Daigo walkthrough NiOh 2 guide, walkthrough
Last update: 27 May 2020
Cherry Blossom Viewing in Daigo is the third main mission of the sixth region in Nioh 2. This page of the guide contains a walkthrough for this mission.
First Shrine
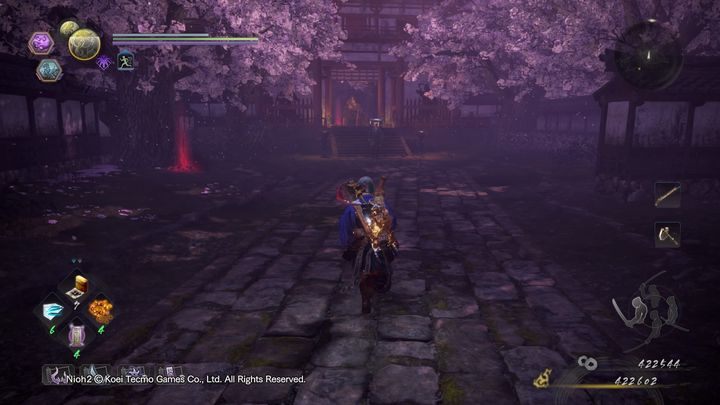
Go straight ahead from the first shrine, then turn left and take the stairs. There you will encounter two human opponents. Try to fight them one by one. After defeating them, enter the building in front of you.

There are several rooms available to explore in the corner on the right. At the end of the corridor you will come across one enemy which patrols the area. In the room on the left side there are two opponents. There are three human opponents in the next area. Defeat them one at a time.
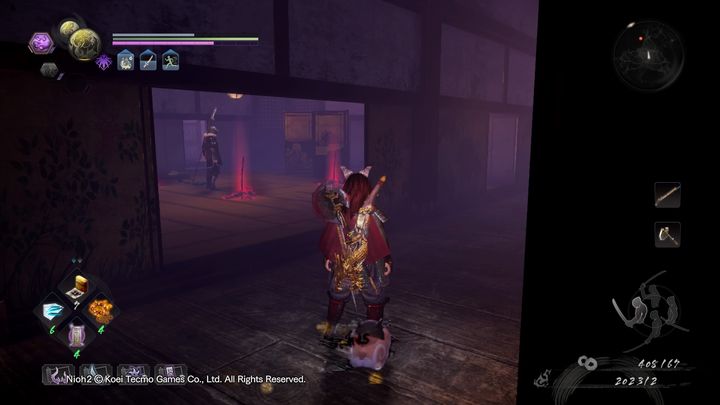
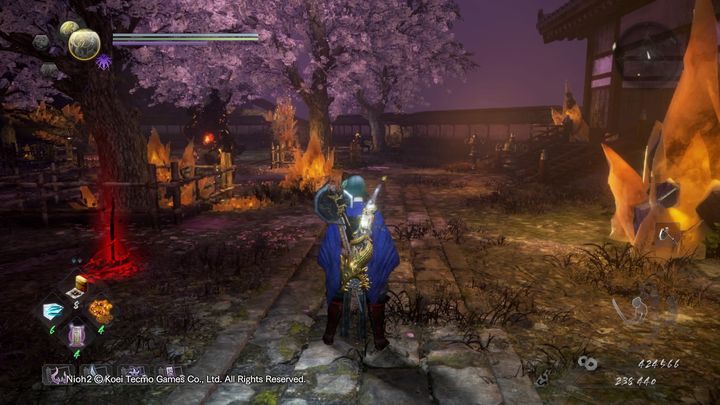
Keep moving forward, you'll encounter an enemy with a spear (check the screenshot). By killing him you will get a bit closer to earning the trophy - you have to defeat 7 enemies equipped with spears. These are unique human enemies who are stronger than ordinary human foes. Not only do they use most of the common attacks, but they can heal themselves and launch additional strikes. Keep this in mind while fighting them.
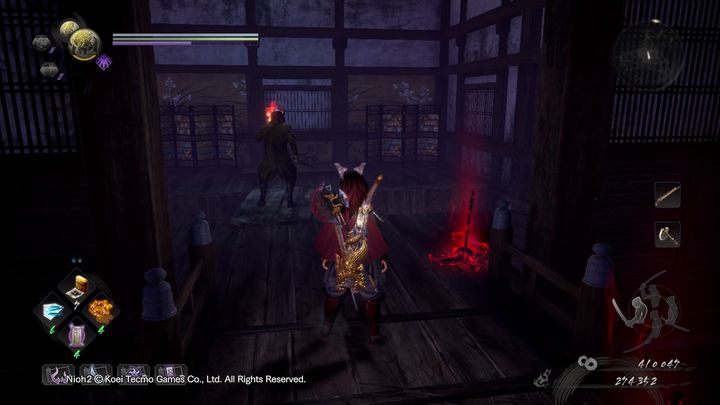
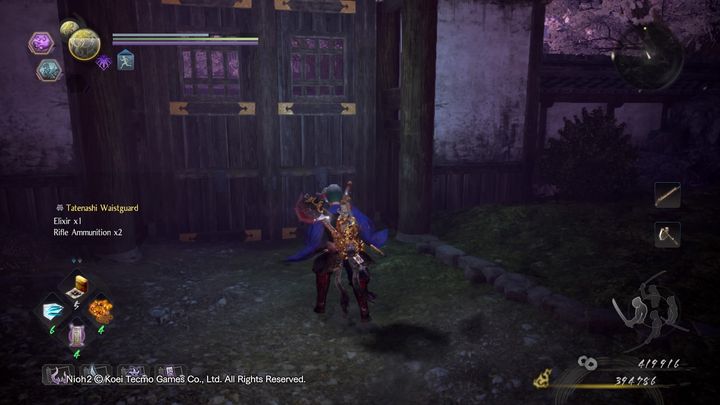
After you defeat a warrior with a spear, stick to the left side. There you will find another room (visible in the picture) and an opponent which is facing the opposite direction. Kill him, open the chest, jump down and perform an aerial attack on an unaware enemy. Once you've done that, turn left and walk ahead.
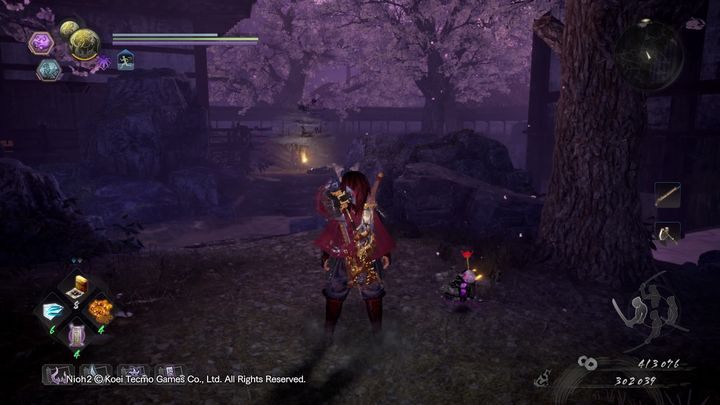
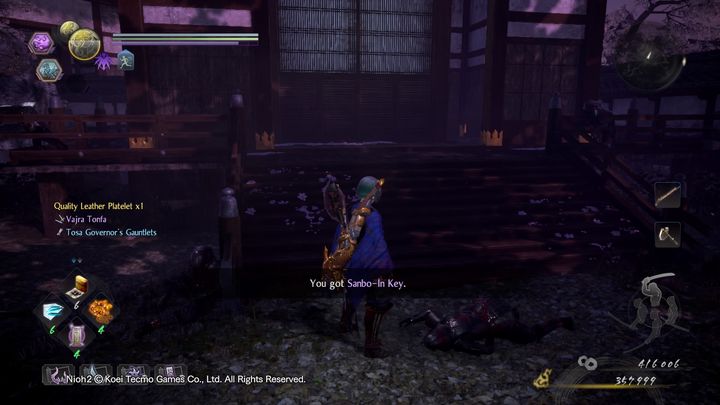
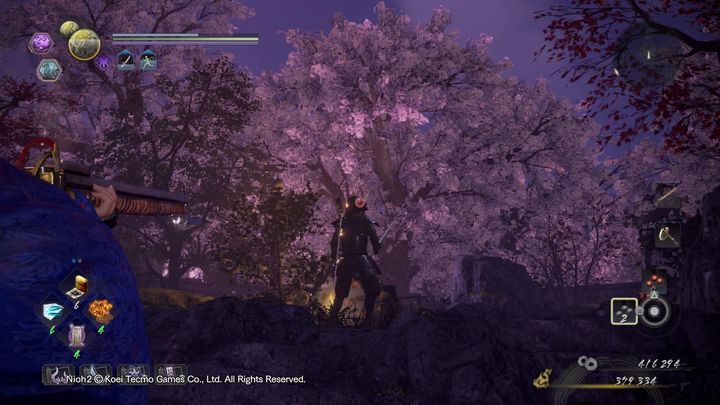
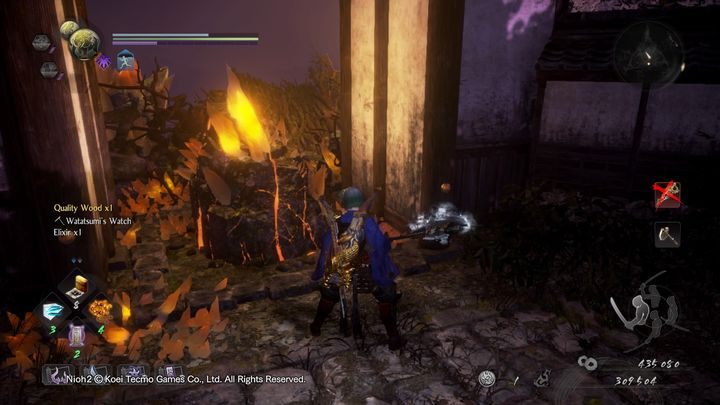
Behind the tree you will find Sudama. Give her an item to get another loot. A Yokai fog will appear in front of you. A Magatsu warrior will spawn from it. Hit him in the back and don't let him strike you. Even though it's a one-on-one duel, this Yokai is one of the most dangerous enemies. Once you have defeated the enemy, there is a loot near the corpse - collect it. It's a key needed to open some passages.
Enter the building and open the chest. Then exit the room. Walk forward, but stick to the left side. You'll encounter several enemies patrolling the area, lure them one by one in order to make it easier to defeat them.
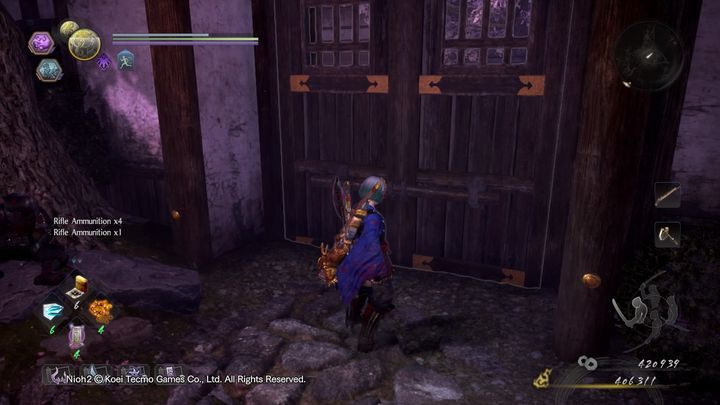
Stick to the left side, you will see a large wooden door. Open it with the key you have collected earlier. However, don't go that way yet. Instead go further ahead, defeating more enemies. As you move on, you'll encounter another door that unlocks the shortcut from the first shrine.
Once you have opened the shortcut, you can return to the locked door, which now can be unlocked by using the key. However, you can go deep into the location, eliminate all enemies and collect the entire loot.
In this case, it is worth shooting down all enemies one at a time, as you are a long distance away from them. Also, watch out for minor Umi-bozu in the water. Once you've defeated them, go to the door and open them by using a key.
There is a small chest in the sanctuary. After that you can go to the left to find Sudama. Then go back across the river, kill a human enemy and a couple of Umi-Bozu. After that, use the door to leave the area. After opening the door, come up to Mumyo and talk to her so she can join you and provide support in combat. Go on ahead until you see some enemies at the great Amrita stone.
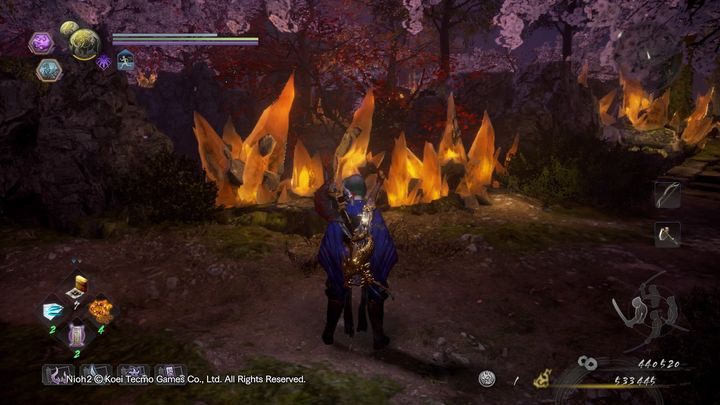
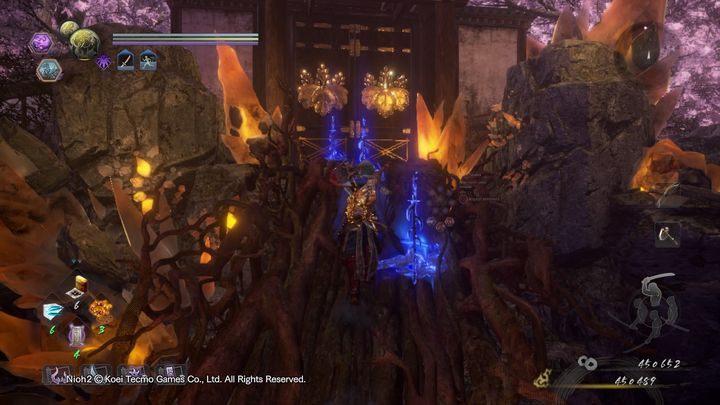
The area is patrolled by another warrior with a spear and a ranged enemy. Shoot them from a safe distance, and then take care of the warrior with the spear - a shot to the head will only knock him down to the ground for a while. After defeating human opponents, destroy the stone. Then go up all the way forward until there is a special road created from Amrita.
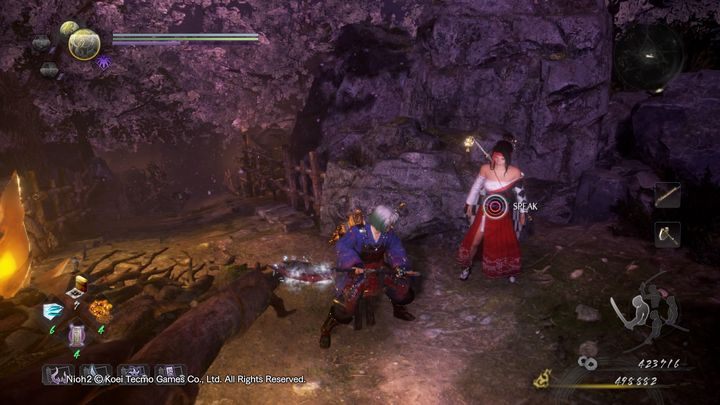
Once you get to the top, you will come across an NPC woman there, talk to her twice to get the Amrita crystal. Then go up again.
A Yokai soldier and a warrior skeleton will be waiting for you at the upper level. Kill them and don't fall down. Once you've defeated them, you will find the second shrine.
Second Shrine
After praying at the second shrine, walk ahead until you reach a place full of enemies.
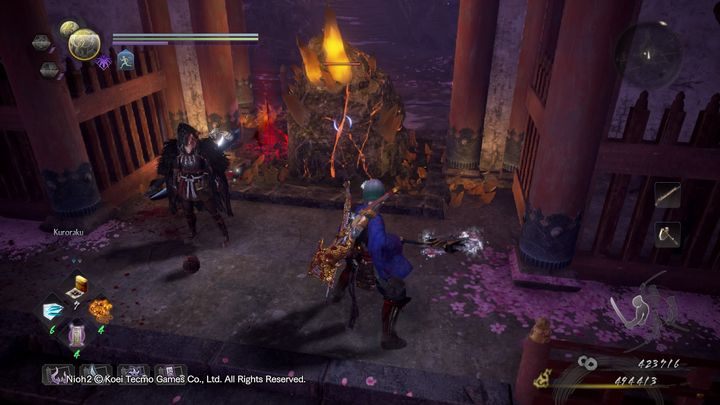
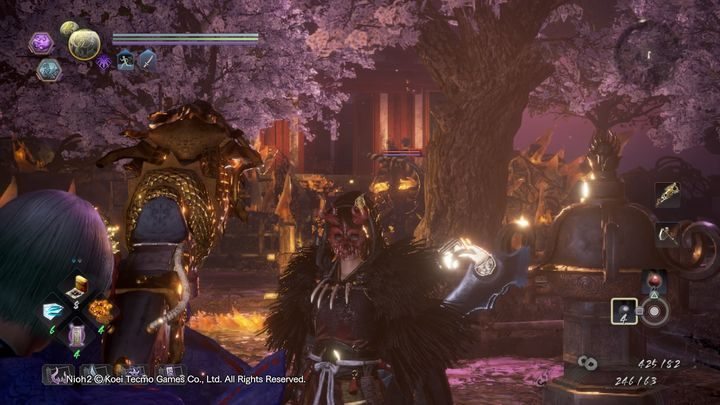
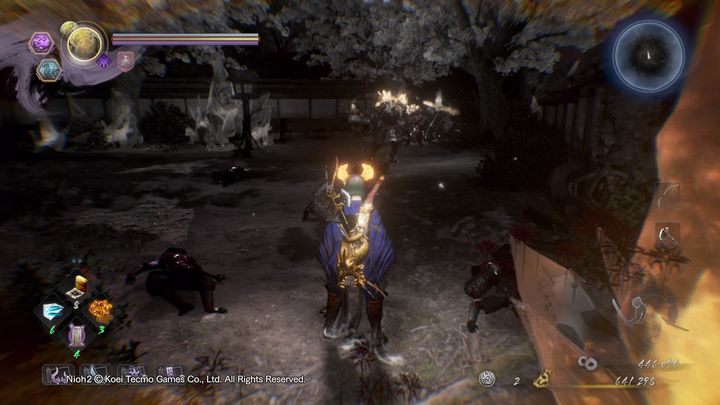
In this area you will face many opponents. Gozuki is one of the most dangerous enemies wandering in this area. But before you begin fighting them, go to the building on the right. There, behind the wall, is a Yokai soldier. Kill him and pick up the item. Then leave the room and stick to the right side. By the tree, you'll encounter another Yokai soldier. The best tactic is to kill the weakest individuals, so that you don't have to fight them all at once. Then, a soldier with a torch in his hand will appear - it is actually a Rokurokubi. Lure him to your hero, defeat him and then take care of Gozuki.
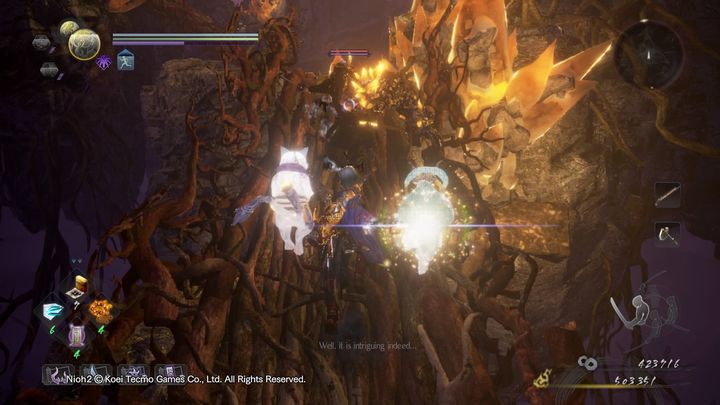
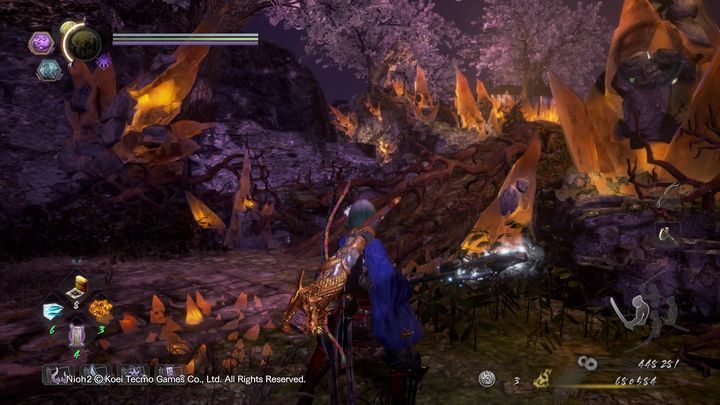
Remember that you have Mumyo who can help you. She won't kill a large number of opponents, however she does distract them pretty well. Once you've defeated all your enemies, instead of going into the building, turn right. There you will find another path through the roots of the tree, surrounded by Amrita crystals. You'll find yourself at the top of the building. Beware, as there are several enemies on the roof, including Enki and another soldier with a spear, who resides in the middle of the upper floor of the building. After defeating them, use a ladder to go down and open a passage. This path will get you to the middle of the building.
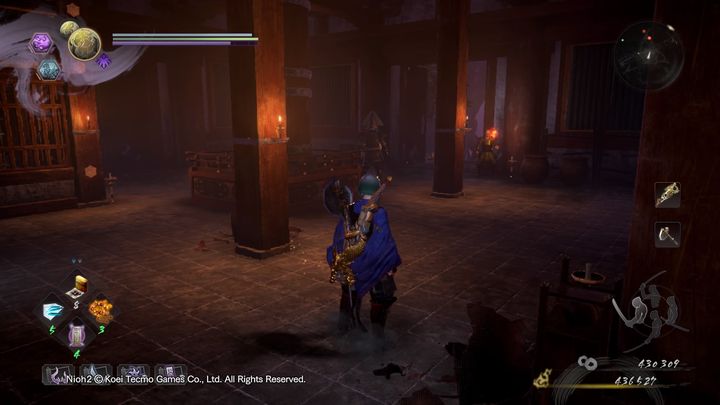
In the middle of the building there is another powerful soldier with two swords. Defeat his sidekick and then get rid of him. Mumyo will continue to help you in combat, which is why the fight shouldn't be that hard. After defeating them, come out of the building on the other side and pray at the third shrine.
The Third Shrine
If you're at the third shrine, then head to the left and walk through the next tree roots.
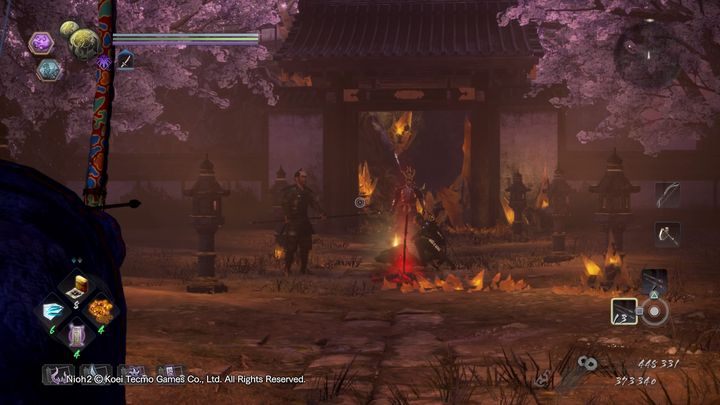
Once you walk through the tree, you'll see the area where the Yokai fog is located - there are piles of bodies lying on the ground. Some of these bodies are living enemies who will stand up and start attacking you when you get close to them. It's worth equipping a bow and target the bodies to check which ones are alive. Enki will emerge from the fog. Once you defeat them all, destroy another Amrita stone.
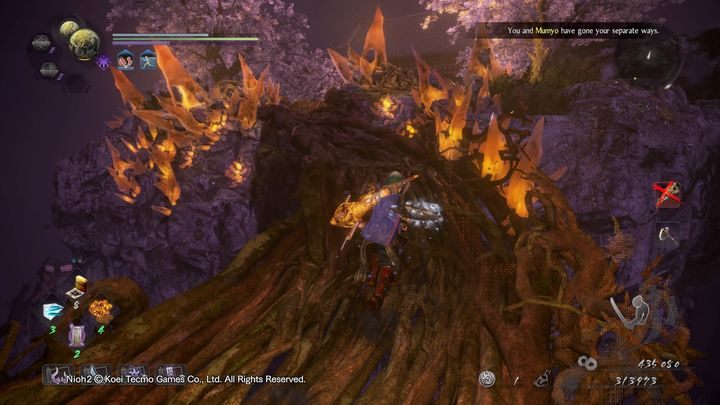
After you do that, Mumyo will separate from you. Talk to her and she'll give you another Amrita crystal. Then go further the road, it will lead you up to more soldiers with spears.
One of them is outside, while the other is near the building. Enter the building, turn right and you should see the enemy by the railings. In the middle of the building on the left side there is a large chest, which is a mimic. Walk towards the soldier by the railings and follow a path made of roots.
As you travel through it you will fight Rokurokubi and a skeleton warrior. Be careful not to fall down. Once you get to the top, stick to the left side and jump down.
Sneak quietly to an opponent who stands over the chasm, this is a Rokurokubi. Try to push him into the abyss. Collect all items, climb down the ladder and jump down. Now you'll be in a place near the first landing on the lower platform.
Continue going up, but be careful, because there's a Yokai soldier on the tree branches. Shoot him down and go straight ahead. You have to defeat more soldiers. Turn left, walk ahead to the building where the Yokai fog is visible. Enki is standing in it. Open the crates after defeating him and move back. There is a passage on the left side of the building, follow this path. Jump down and kill more opponents.

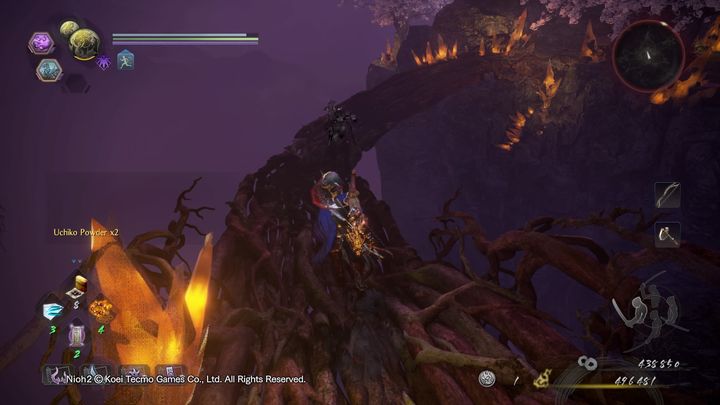
Watch out for the smaller Umi-bozu under a wooden bridge and Rokurokubi. After defeating them, go ahead, then climb the ladder. To the left of the ladder there is another path made of tree roots. Just follow up this path until you get to the area where Yokai land is located.
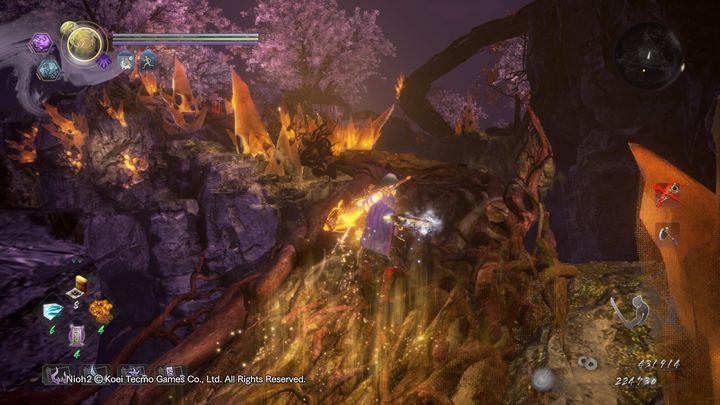
The area is guarded by a Magatsu warrior and a Yokai soldier. You have two solutions, slow or fast, but less safe. You can either fight them in the land of Yokai, trying to deal with them one by one, or you quickly run to the Amrita stone, which is on the right side, close to the Yokai soldier. This way you can get rid of the land of Yokai, and the Ki bar of your opponents will drop down to zero. Combat is easier then, but the risk is that your opponents may attack you when you destroy the stone. After defeating your opponents, follow a path that was blocked by a stone.
Pray at the shrine, then follow the roots up. This road leads to a boss. However, before you start this boss fight, the last soldiers have to be defeated.
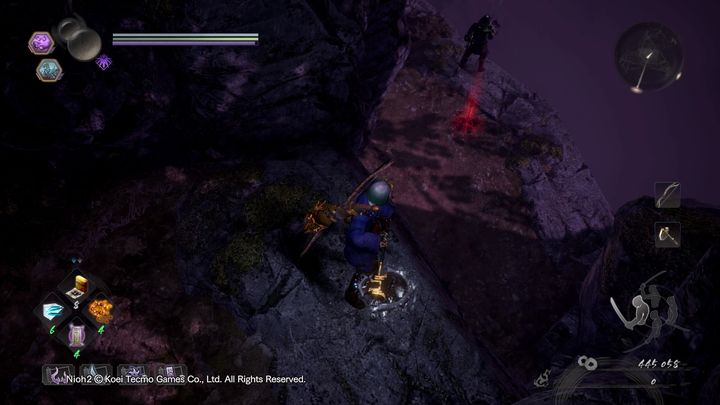
Shoot down the first two weaker warriors, then take destroy the last and more powerful soldier who uses a spear. After killing them, go up.
Before you start the boss fight, it is important to know that after defeating the first boss - Tokichiro in the final form, there will be a second boss fight with Kashin Koji. You will fight him with your current health and other items. Only death will reset your health, items and potions. Don't worry, if you die while fighting Kashin Koji, cause you won't have to fight Tokichiro again. The description of the boss fight can be found in a separate chapter of this guide.