
NieR Automata: Desert Zone - walkthrough, side quests NieR Automata guide, tips
NieR Automata: on this page you will find walkthrough for the side missions in the Desert Zone
Last update: 19 August 2021
On this page of the guide to NieR Automata you will find the walkthrough of the side quests in the Desert Zone. You will find out when you can unlock the optional quests in the Desert Zone, what they look like, what possible important choices you will have to make, as well as what rewards are provided for completing quests in the Desert Zone.
Unlocking the Desert Zone
The Desert Zone is adjacent to the City Ruins and you will visit it for the first time shortly after you visit the Resistance Camp - this is Chapter 3 of the campaign.
Note - Not all quests described below are available right away. Some become available later in the game or once you meet specific requirements.
Jackass's Research
Quest giver: Jackass (Desert Camp)
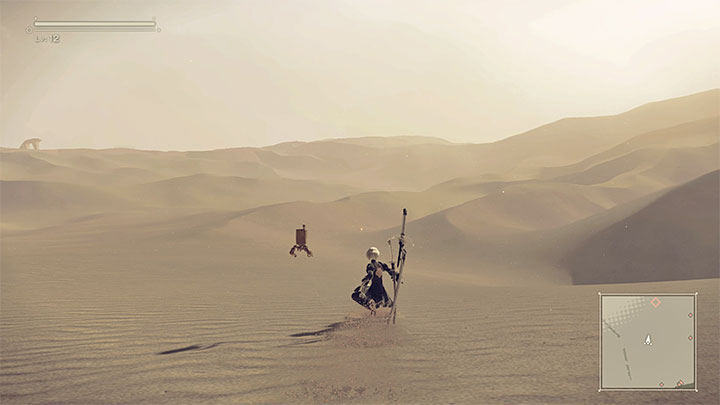
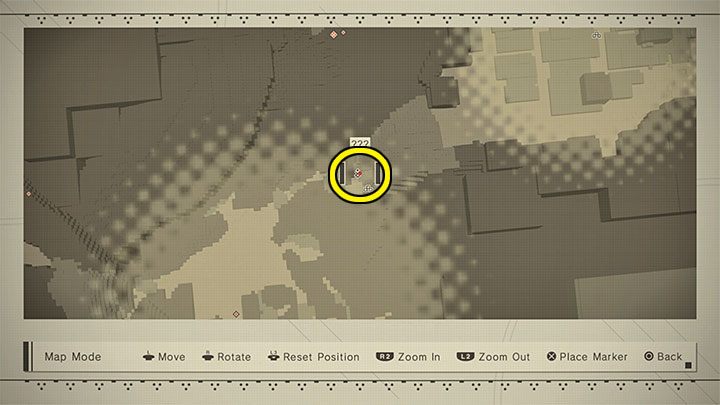
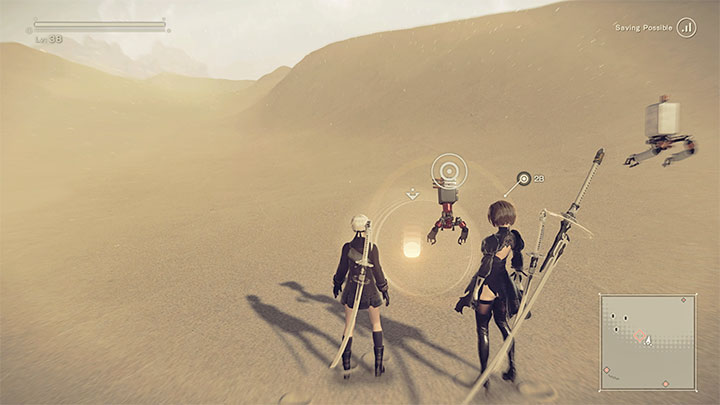
Jackass is in a small camp on the border between the Desert Zone and the City Ruins. This is the same location where the Desert Supply Trader and the Access Point are. After you advance to Chapter 5 of the campaign, you'll see question marks in that place (picture above).
Note - We suggest leaving this quest for later and not dealing with it right away in Chapter 5. Its two most difficult parts force you to eliminate enemies on a time limit, and you can have a huge problem with this if you play with a weak character with weak weapons and mod programs. Alternatively, you can set a low difficulty level where the machines will be destroyed more quickly. Fortunately, if you fail a fight, you will still be able to repeat it without problems (immediately or at a later stage of the campaign)

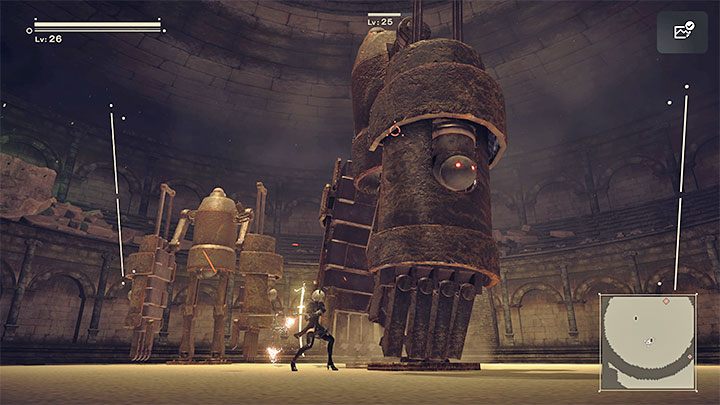
Quest description: Jackass will tell you about the research, and therefore, you will have to take part in four fights against machines in controlled conditions:
- Fight 1 - The fight is extremely simple and there is only 1 machine you have to defeat.
- Fight 2 - You have to defeat a group of machines without taking any damage. The easiest way to achieve this is to use only ranged attacks, but since your enemies are so slow, you can also evade.
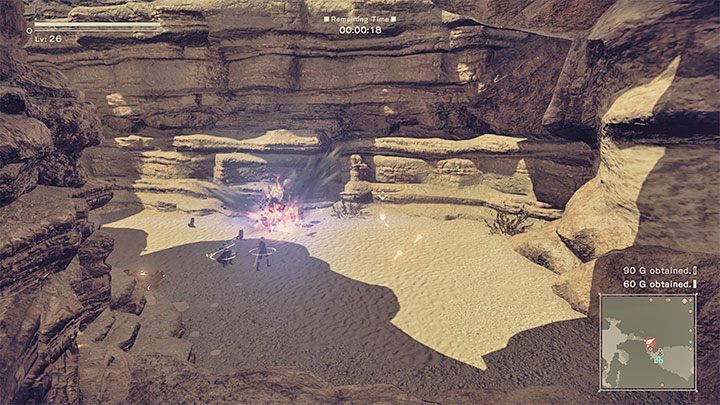
- Fight 3 - It is much more difficult than the previous ones. You have to defeat a group of enemies (all of whom are on level 20) in less than 30 seconds. This means that you need to play aggressively, have good weapons and a good mod program to weaken them quickly.
- Fight 4 - This one is even more difficult. You must defeat a group of machines in less than 30 seconds and not take any damage on top of that. Unlike fight 2, you can't play conservatively because you don't have enough time. You must use evades perfectly and combine it with melee attacks and a strong Pod program.
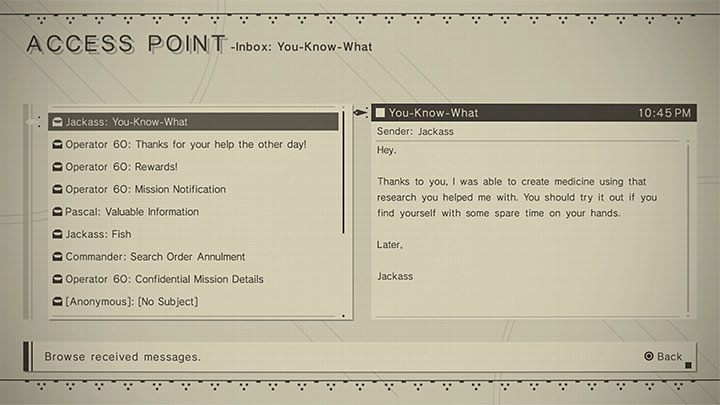
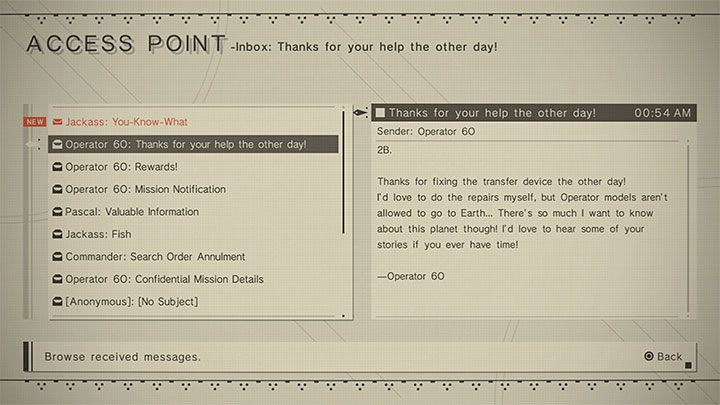
After winning all 4 fights, talk to Jackass and do other things. Wait for until you receive an email (You-Know-What) and read it at any Access Point. Return to Jackass in the desert camp to receive rewards for completing the entire quest.
Rewards for completing the quest (rewards are granted after each won fight, and a separate one is granted at the end of the entire quest):
- Medium Recovery x1 x1 x1 x1
- 1000G 1000G 1000G 1000G 5000G
- 100XP 100XP 100XP 100XP 500XP
- E-Drug x5 is a unique item that will improve your combat skills for 30 seconds, but the image on screen will be distorted.
Trial of Sand (DLC)

Quest giver: unlocking the quest Mysterious Letter - you will get the letter during your visit to the Bunker
You must install the 3C3C1D119440927 DLC. You need to buy it separately if you have the basic version of NieR Automata. The DLC comes with the Game of the YoRHa Edition. Even if you bought the GotY edition, you will probably need to install this DLC separately. We described this in more detail on the page Game of the Yorha Edition in the appendix to our guide.
As a reminder, you may have received an anonymous letter when you were in the bunker at the beginning of Chapter 6. From the moment you read it, a new explorable marker will appear on the map of the Desert Zone - it is the main part of the desert.

Quest description: Upon reaching the site you will encounter a Masked Machine and you'll be allowed in. Take the elevator to the underground complex and reach the meeting point with the Masked Receptionist. This quest is about taking part in challenge fights. You have to approach them one at a time.
Each battle has a recommended level of experience, and since you can also complete this quest in the following Routes, you should never rush to start fights with a character that's too weak. In addition, try to get your hands on the best weapons (preferably those for which you have purchased a higher level) and the best chips (they must include those that enable some form of automatic healing). Also remember that you can lower the difficulty level in the options for the duration of the fights in the arena.
Subsequent battles have additional restrictions or difficulties (e.g. you can't use the Pod's features). If you ignore the restriction or make a mistake, the fight will be stopped, but you will be able to play it again.
- Trial 1 - recommended level 25 - you cannot use the Pod during the fight. Therefore, use only melee attacks.
- Trial 2 - recommended level 35 - you can't use evades during the fight. It's good to fire from a long distance and use double jumps.
- Trial 3 - recommended level 50 - you must win the fight in less than 3 minutes. Try to enter the fight with a high-level character with good equipment and strong Pod programs (preferably three different ones that you can quickly switch through).
- Trial 4 - recommended level 60 - during the battle you have to fight in the dark.
- Trial 5 - recommended level 70 - you can't touch the ground during the battle.
- Trial 6 - recommended level 80 - you can't let the enemies hit you during the fight.
- Final Trial - recommended level 90 - during the fight, you must try to eliminate as many enemies as possible in 5 minutes. You will win the main prize if you eliminate at least 50 enemies.
Find a Present
Quest giver: Reading an email (Desert Zone)
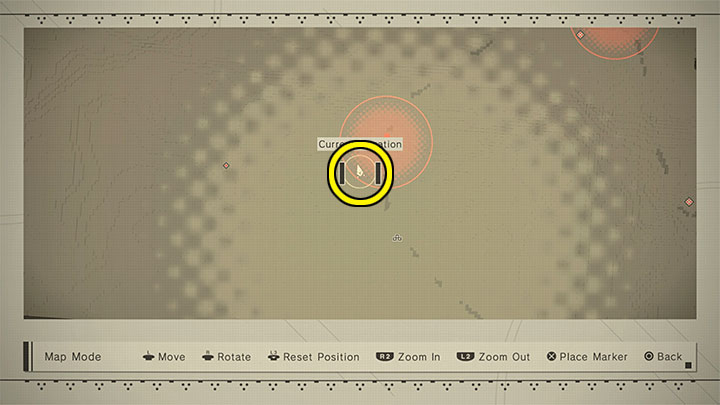
The opportunity to play this small mission should appear in Chapter 7 or later. You will receive a notification about a new message from Operator 6O and after reading it, the idea of preparing a gift for the Operator will appear.
Your task is to find the Desert Rose in the spot marked on the map. It's also possible that you already have the Desert Rose in your inventory - you could get the flower as you collected desert loot (glowing objects). After you've found the Desert Rose, listen to the conversation with Operator 6O. To complete the mission, visit the nearest Access Point and read the new email, which will have prizes attached.
Rewards for completing the quest:
- Amber x4
- Type-4O Sword
- A130: Bomb - this is a new and very useful Pod program, which allows you to perform bombings, which are great for area attacks
- 5,000G
- 800XP
Heritage of the Past

Quest giver: Resistance Researcher (Desert Zone)
The Resistance Researcher icon will appear on the edge of the desert no earlier than in Chapter 8 of Route A, but you can also do the quest in Route B. After meeting with the quest giver, you will be sent to search for artifacts from the past, and you must first find 3 artifacts.

Quest description: You must equip a scanner which is unlocked when you advance to Chapter 8, because you will use it to find buried objects - you need to scan the area (hold L1 when you select this Pod program) in different places in the desert.
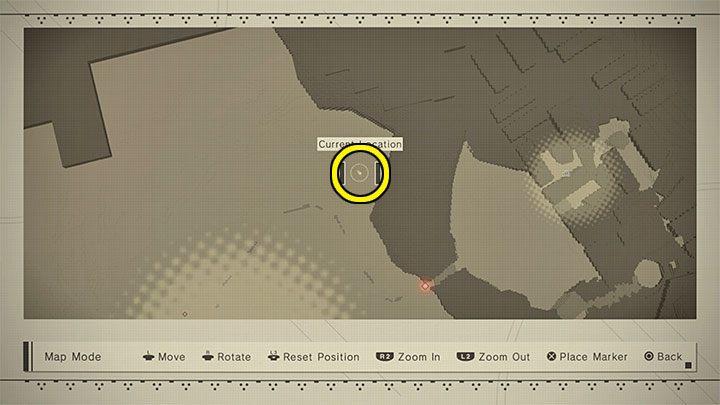
The first artifact - Aged Stick is roughly between the quest giver's marker and the Access Point in the desert.
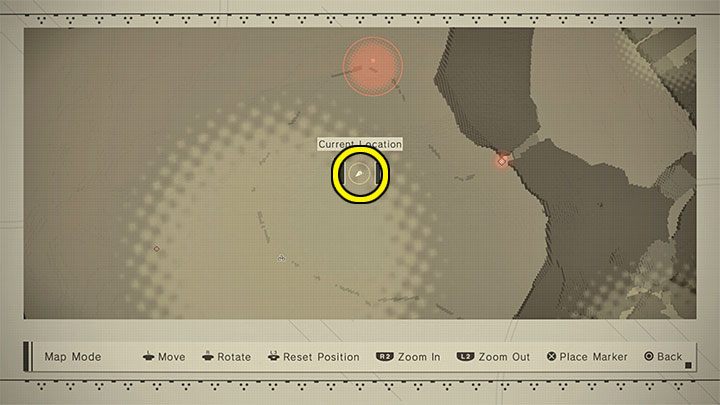
The second artifact - Commandment Slab is roughly between the Access Point in the desert and the path to the Desert Housing zone.
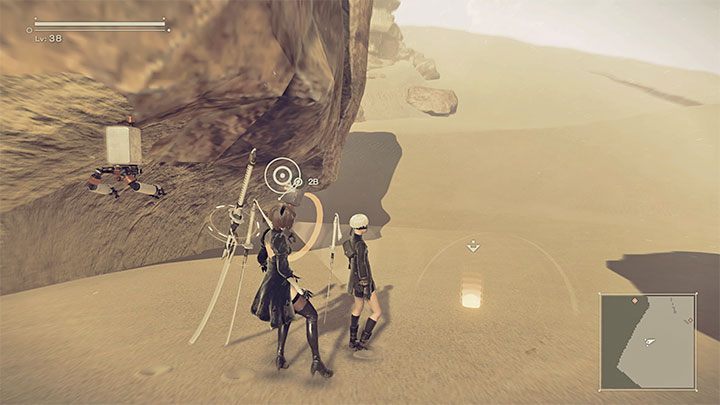
The third artifact - Filthy Mask can be found on the outskirts of the main desert area. Investigate the area to the left of the path to Desert Housing. The secret will be next to the big rock.


Return with the three artifacts to the member of the resistance. Only now can you start searching for the fourth artifact - Statue of a Girl which is located not that far away from the quest giver.

Expect that taking the fourth artifact will make a group of machines in cowboy hats appear. You can escape the "bandits" or start a fight - the latter option is better, because you will get data for the Intel tab about these unique opponents.
Delivering the final artifact will allow you to complete the quest.
Rewards for completing the quest (you will receive separate rewards for 3 initial artifacts and a final reward for the 4th artifact):
- Tech Manual
- Torn Book x2
- Thick Dictionary x3
- Unique weapon Spear of the Usurper
- 5000G 5000G 5000G 10000G
- 100XP 100XP 100XP 750XP