
NieR Automata: Chapter 12, A2 - Route C, D - walkthrough NieR Automata guide, tips
NieR Automata: on this page you will find the walkthrough of the 12th chapter of Route C, D - A2
Last update: 21 August 2021
This page of the guide to NieR Automata contains the walkthrough of Chapter 12 in which you control A2 for the first time. The following walkthrough explains e.g. how to use A2's unique skills, how to get rid of the Goliaths in the Desert Zone, how to defeat the Hegel boss, and how to complete the sequence in A2's memory bank.
- Android A2 - key information
- Destroy Machines - attacking the machines in the Desert Zone
- Boss Hegel
- The sequence in A2's memory
- Selecting the next chapter
Android A2 - key information

- A2 is the third playable character of the game and in Route A and Route B, she appeared only as the boss. The game allows you to play as A2 for the first time after completing Chapter 11 and selecting the option Support A2 but alternatively, you can first play the new chapters related to 9S. No matter the circumstances, you can't skip the stages linked with A2.
- A2, like 2B, can use two varieties of melee weapons simultaneously. The weapons used by 2B will be assigned by default. You can also use the same Pods.
- A2 starts with the same level and equipment that you had at the end of the previous chapter. This allows you to play and fight right away without having to upgrade your character. You can also use all chips, and manage or use items in the inventory without any restrictions.
- A2's unique skill is Berserk Mode, which you will learn about during the boss fight with Hegel (described further down the page). It allows you to deal much more damage, but at a cost of health points. For more information and tips on how to use this ability effectively, please see the page Berserker mode - how to use?.
- Several new side quests are available for A2 and we described them in a separate chapter - Side quests. It is best to do them as you go.
Destroy Machines - attacking the machines in the Desert Zone

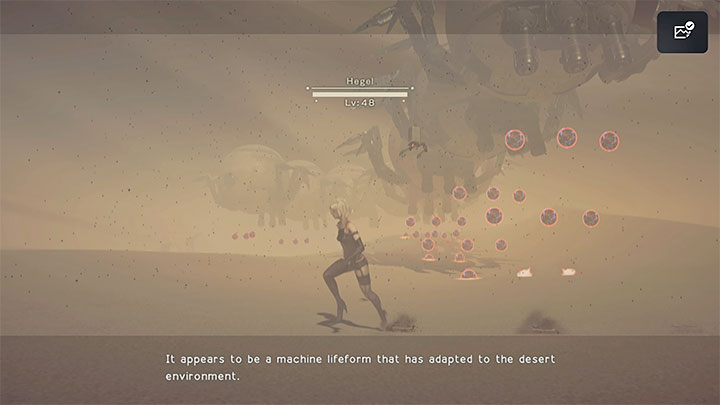
After A2 wakes up, listen to the conversation with the Pod. You will receive the first mission objective shortly after gaining control over A2. The machines are located in the Desert Zone, specifically in its largest part - choose the Desert: center Access Point as your fast travel destination.
You have to eliminate several Goliaths. By default, try to attack these machines one at a time, but also jump away from your current opponent if you see an incoming group of missiles. After you deal with the Goliaths, the boss will appear.
Boss Hegel

The boss fight can be quite problematic and annoying, because his attacks can happen quickly one after another, and prevent you from performing attacks of your own. If you get hit by a stream of energy, then always try to get away from it first, so that you don't get hit by more attacks.
The boss initially flies over the desert and bombs the area with regular missiles. It is best to lock the camera on Hegel and use your own long-distance attacks, including the offensive Pod programs.
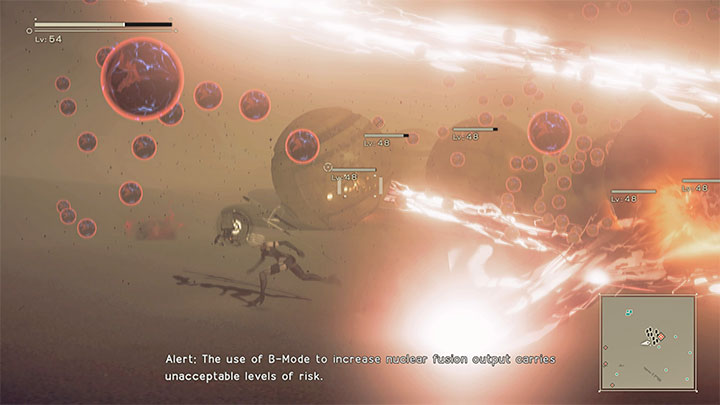
Every now and then, Hegel disintegrates into single spheres that land in different places on the sand. The spheres can shoot large beams of energy which can not only inflict heavy damage, but also knock A2 off balance and expose her to further attacks. Try to jump to the sides a lot in order to avoid the beams from the currently attacked sphere and others located in the area. Unfortunately, the beams often cross, limiting your area of movement.

We recomment attacking the spheres with melee weapons to quickly deplete their energy points.
After some time, the Pod will inform you about the Berserk Mode, which you can now start using - it is activated by pressing both analog sticks (L3 R3) and allows you to inflict much more damage for a certain time. Unfortunately, this happens at the cost of health points and you need to protect yourself (preferably with appropriate chips) from suddenly finding yourself on the verge of death.
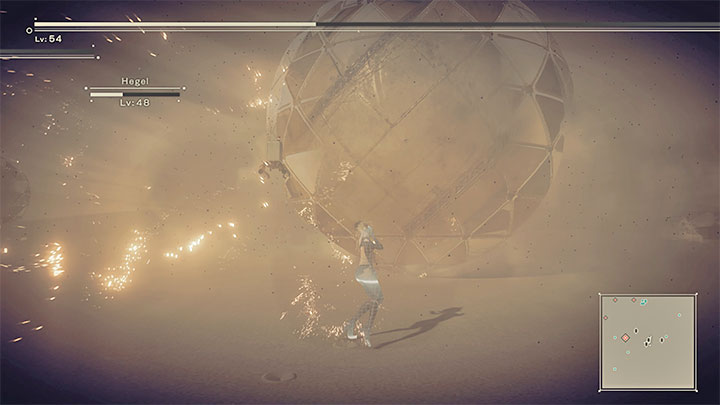
Attacked spheres surround themselves with a protective shield after some time - an example of such a situation is shown in the picture above. Each time you do this, finish attacking a given sphere and get to another (unguarder) sphere to start weakening it.

You have to repeat all of the above actions (attacking the "whole" boss in flight and single detached spheres) until a cutscene will play, in which the spheres will surround A2. Due to the boss's overall high resistance (even after using the Berserk Mode), winning the fight can take you even up to a few minutes.
The sequence in A2's memory
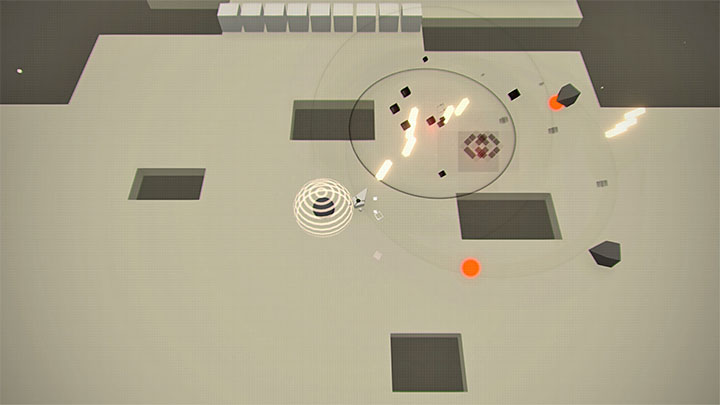
You will enter virtual reality. Start going through the subsequent areas where you need to play the standard hacking mini-games - you have to destroy the black objects to reveal the black balls and unlock access to the next section by destroying them.
Eventually, you will reach the place where the cutscene will play, and the chapter will soon end.
Selecting the next chapter
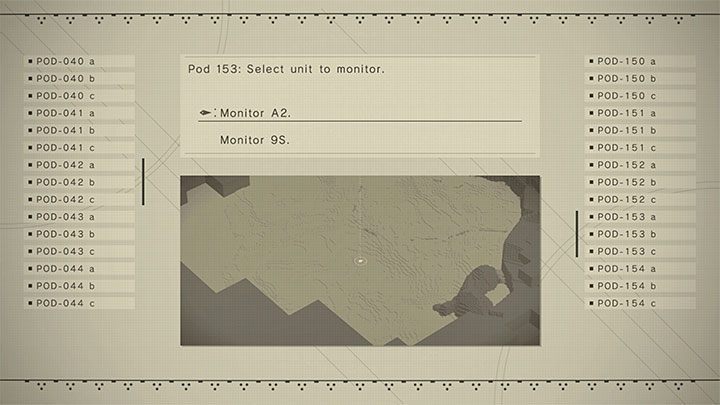
As in Chapter 11, you will be able to make a choice:
- Support A2 - This option will allow you to continue playing as A2, and you will move on to Chapter 14.
- Support 9S - This option will allow you to switch to 9S, but it will only be available if you haven't played as 9S yet after Chapter 11. You will move on to Chapter 13.