
NieR Automata: Chapter 11, 2B and 9S - Route C, D - walkthrough NieR Automata guide, tips
NieR Automata: on this page you can find the walkthrough of the 11th chapter of Route C, D - 2B and 9S
Last update: 21 August 2021
This page of the guide to NieR Automata features a walkthrough of Chapter 11 where you control 2B and 9S interchangeably. From our guide, you will learn e.g. how to hack into enemy systems in the ruins, how to win all the big fights with the machines, how to get out of the Bunker, how to bring 2B to the mall and what does the character choice at the end of the mission involve.
- Route C and D - general information
- Onward to War - weakening enemy systems
- Taking Control - fights in the city
- Report - visit the Bunker command center
- Loss - escape from the Bunker
- Getting 2B to the mall
- Getting 9S to the mall
- Choosing the playable character and the next chapter
Route C and D - general information
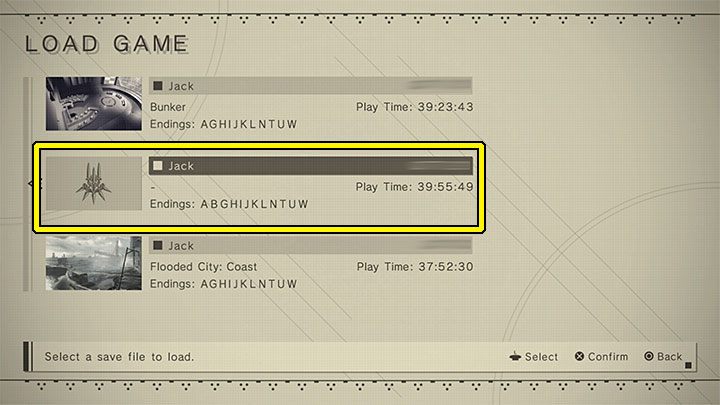
You can only access Route C and Route D after completing 10 chapters of Route B, i.e. those in which you controlled 9S and played through the main part of the campaign for the second time. After you watch the end credits, create a save file with all your progress (as the game suggests), namely one that has ending B on the list of unlocked achievements. You can now choose Continue from the main menu and then the save file with completed Route B.
Route C and Route D contain completely new content and you can treat them as the second part of the campaign. You will play them in parallel, i.e. you will do things that in the end will unlock C and D endings. Fortunately, you don't have to be very careful with important choices, as the ending is chosen only at the end of the game, and in addition, by unlocking Chapter Select, you will be able to easily watch the one that you initially missed. It is still worth saving often to easily unlock other, smaller endings on a regular basis.
As you play through this content, you must switch between 3 playable characters - 2B, 9S and A2. Chapters related to 9S and A2 can be completed out of order, but ultimately, you need to play through the whole content of the main storyline. The information about who is playable during a given chapter can be found in the subsection title in our guide.
Onward to War - weakening enemy systems
You start at Bunker playing as 2B in combat gear. Go to the hangar to take control of the Flight Suit and start flying.

The action will switch to 9S and you will have to sabotage enemy defense systems. 6 red circles associated with the mission objective will appear on the map, and you can explore them in any order.
Each time you have to reach the highest point of the location within the red circle. This can be, for example, the highest platform of the defeated Goliath, a building roof or an upper balcony of a radio tower.

In each of the marked locations you will encounter a single machine. Don't destroy the machines, just hack them. In most cases, simpler hacking mini-games will appear. Fortunately, even if you fail the mini-game, you can try again.
After all machines have been hacked, go to the red circle, which will appear near the bridge leading from the City Ruins to the Abandoned Factory. When you get there, you'll see a cut-scene.
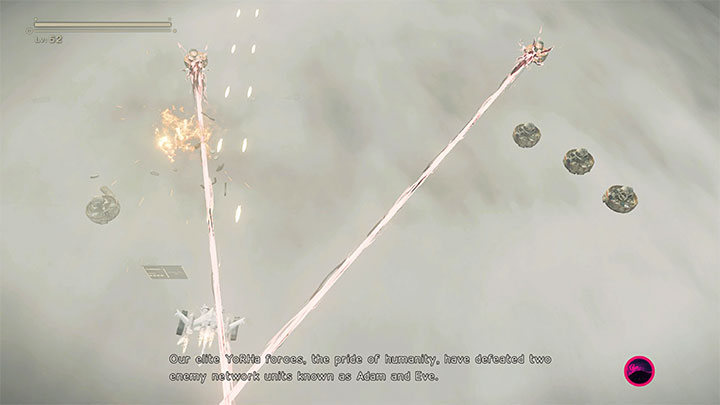
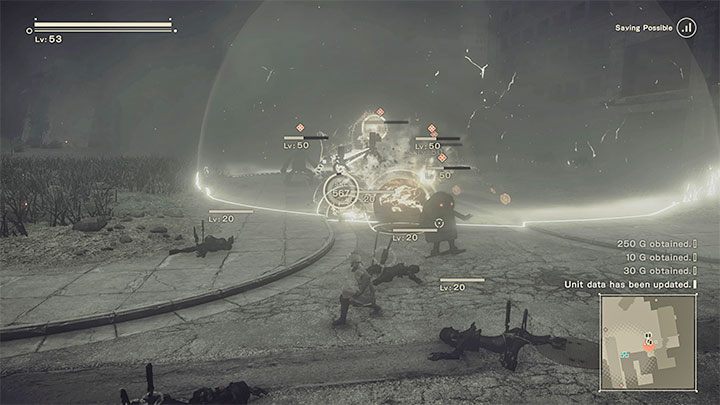
You will regain control over 2B and you'll be using the Flight Suit. When fighting watch out in particular for the machines that shoot energy beams. Stay between the beams and destroy these enemy units first.
Taking Control - fights in the city

When you land, you will be within range of one of the Access Points, so use it to save the game. Immediately, you will have the opportunity to unlock the hidden ending O. To do so, ignore the fights and run in the opposite direction - to the factory (see picture above).
When the game resumes, head towards the central part of the City Ruins. There are 3 markers on the map and you can visit them in any order.
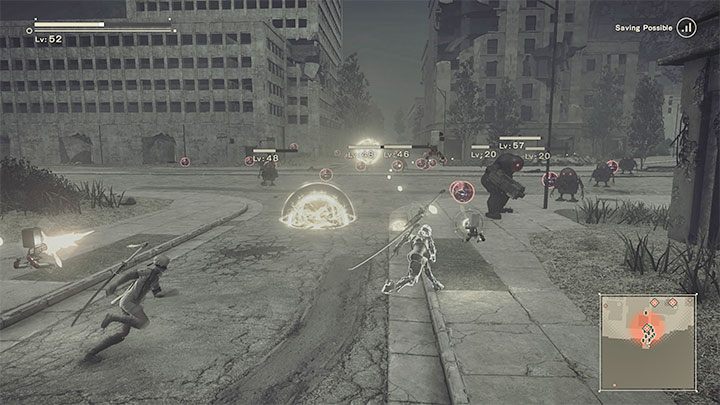
In each of the 3 locations, you will encounter a large group of machines and you can attack them using any of 2B's main attacks and Pod programs. In the meantime, you may be receiving reports that more YoRHa troops have been lost. You don't have to worry about that, because you're not gonna fail the mission.

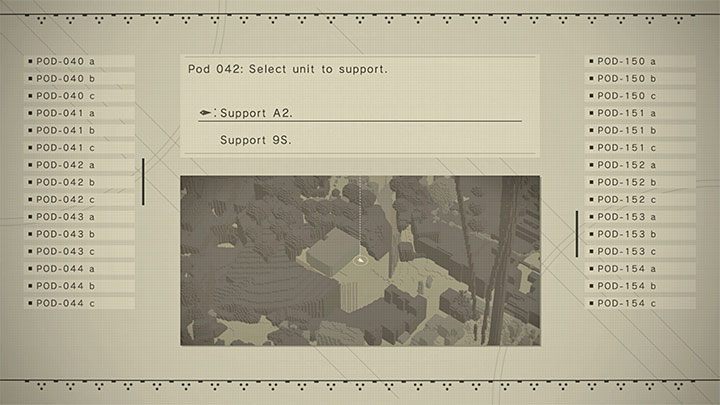
After winning all fights, you will receive a message from the Operator asking you to support the Omega Squad. To do this, you need to go to the part of the city located near the bridge to the factory. Fight the machines here and fight until a cutscene starts.
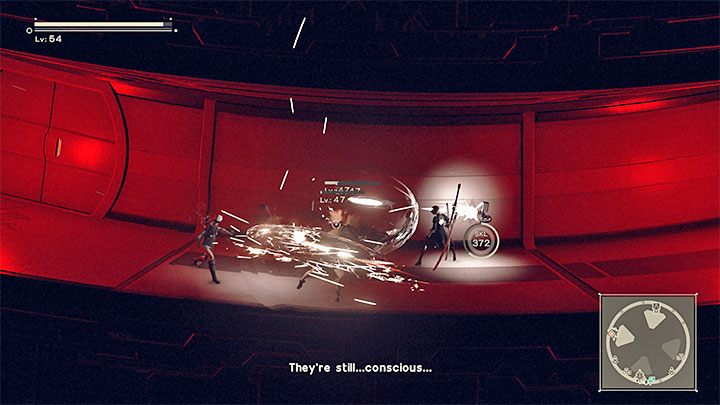
The game will switch to 9S. Jump off the bridge and start fighting again. The enemy will use camouflage to make themselves difficult to identify. You can still hack them at first, but then both hacking and evades will be blocked. Keep attacking until another cutscene plays.
After the fights use hacking on the kneeling 2B and complete a simple hacking mini-game.
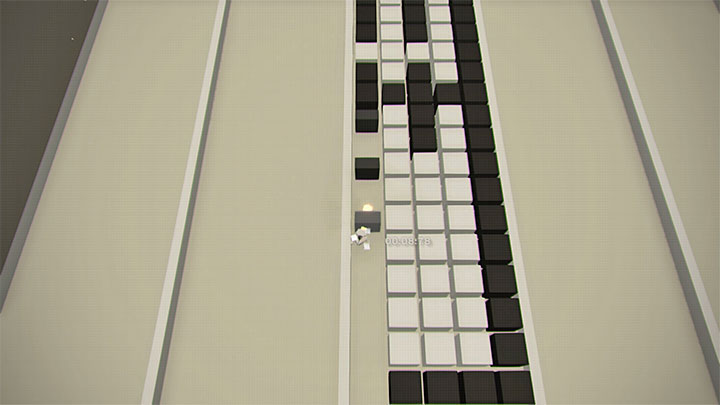
You will be attacked by members of the YoRHa squad who were infected with a virus. The local system will not allow you to attack them directly, but you can hack them instead - the hacking mini-game requires getting through an obstacle course within a time limit. Remember to plan your moves in advance and avoid dead ends or the need to destroy too many black blocks.

Look forward to receiving an update about the mission objective regarding finding an opponent that interferes with the signal. Ignore the current fights and head towards the new marker on the map of City Ruins (playing as 2B again).
You have to defeat a Goliath. Focus your attacks on it and ignore other YoRHA members if possible.

You will receive further instructions, this time about protecting 9S while he is busy hacking. Start fighting the YoRHa forces. Long-distance attacks will be useful here. If you find yourself in close-combat, expect that the enemy will react quickly and evades will be difficult.
Fight until another cutscene appears - 2B and 9S will move their consciousness to the Bunker.
Report - visit the Bunker command center
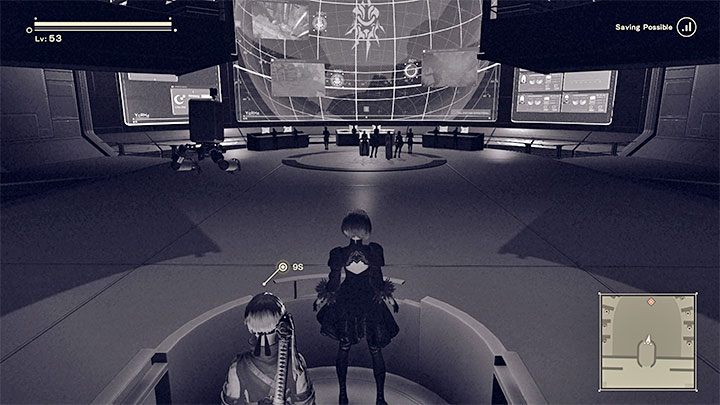
You will wake up playing as 2B in her room. Go to the Command Center and talk to the Commander.
Loss - escape from the Bunker
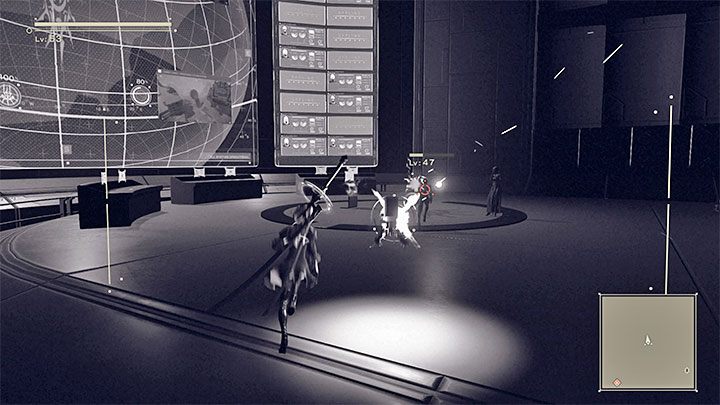
After the local androids are infected, you will have to start getting out of the Bunker.
Begin by fighting the infected YoRHa members. Area attacks and strong Pod programs in general should work well here.
Once you deal with the enemies, the station will go into a state of emergency. Go back to the elevator. Once you're in the main corridor of the station, the left passageway will be blocked and you will have to go right. Expect to fight other infected androids along the way.
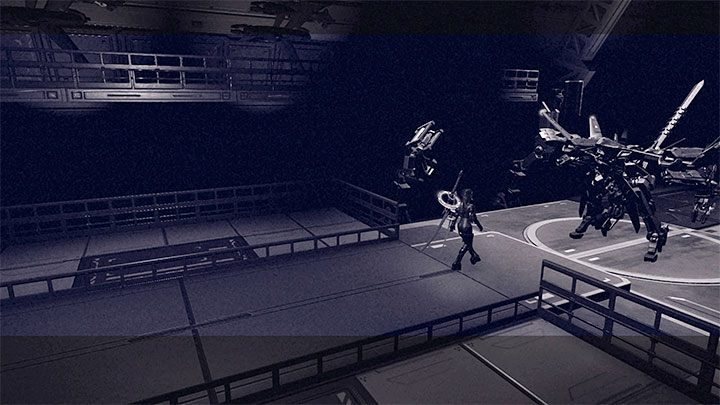
Your target is the elevator that goes to the hangar. Get close to the Flight Suits to trigger a new important cutscene.
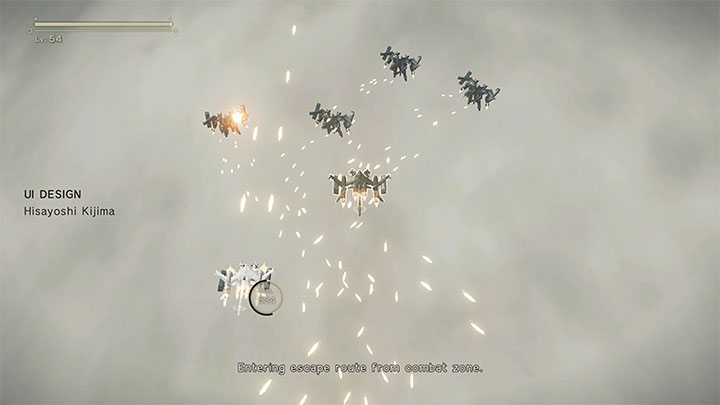
When you're in the air, the Flight Suit-wearing androids that will appear on screen. Instead of shooting single large bullets, they conduct steady fire, which means you should fly around the whole scree to avoid it. This sequence has a pre-determined ending where 2B will take damage and perform an emergency landing in the Flooded City.
Getting 2B to the mall

You start on the waterfront in the Flooded City, and there will be two big obstacles:
- 2B has been infected and the virus is gradually taking control of her. You'll have to make it to your destination before the infection rate reaches 100%. Fortunately, the whole sequence is strongly scripted, which becomes clear e.g.when the infection suddenly spikes at specific moments. Regardless, you still need to put in some effort to not fail the mission.
- 2B is injured and slows down every now and then. Wait the moments when the game will allow you to sprint.
First, you need to reach the tunnel connecting the Flooded City with the ruins. It's best to ignore the enemies nearby and do not waste time trying to attack them (at a distance).

When you reach the City Ruins, we recommend that you take the way around, shown in the picture. This way, you will bypass a large crater in the central part of the ruins. Since your sprint is limited, you could get into big trouble in there, especially since you could encounter a Goliath that can impede 2B's further journey a lot.
You don't have to worry about running out of time even if you choose the way around. Generally, you should move along fairly stable ground, without climbing or additional jumps.
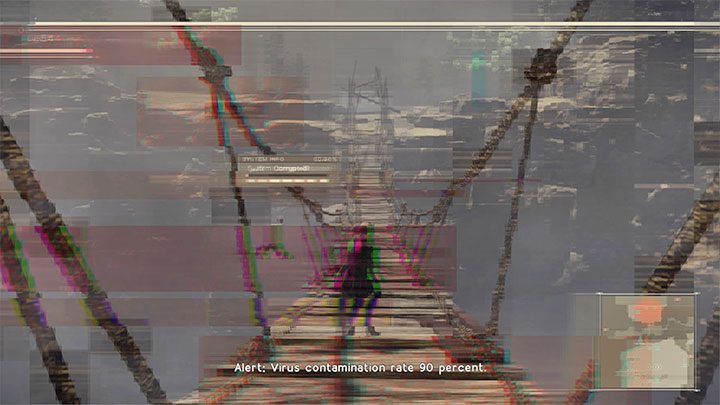
You must aim towards the drawbridge that connects the ruins to the mall. Image distortion will increase along the way, but keep going.
After entering the drawbridge, the level of infection should surpass 90%. This is a good opportunity to unlock hidden ending P - stop and let the virus prematurely take control of 2B (i.e. reach 100%). Watching this ending will unfortunately force you to replay 2B's whole sequence, starting from the waterfront.

When you arrive near the entrance to the abandoned shopping mall, you will see a cutscene that shows the meeting with A2, and you will take control of A2 for the first time. If you want to unlock the hidden ending X, then you must ignore your enemies and move away from the dying 2B.
To proceed, defeat the YoRHa squad, and then walk up to 2B with A2.
Getting 9S to the mall

After watching the cutscenes, you will regain control of 9S. You have to go to the same area in front of the mall. You can choose any path through the city; fighting machines along the way is optional, too.
Instead of reaching 2B, you can also try to unlock the hidden ending Q - you'd have to ignore the mission objective and run any other way.
Choosing the playable character and the next chapter
After watching the new important cutscenes, you will choose the next chapter. You can:
- select A2 and proceed to Chapter 12,
- select 9S and proceed to Chapter 14.
It's very important that this choice does not have irreversible consequences. Ultimately, you will have to play all A2's chapters and all 9S's chapters in order to reach the final Chapter 17 for Routes C and D. The described choice is only about determining who you want to play first.