
NieR Automata: Chapter 8, Route A - walkthrough NieR Automata guide, tips
NieR Automata: on this page you will find walkthrough of the 8th chapter of Route A - Copied City
Last update: 19 August 2021
This page of the guide to NieR Automata contains a walkthrough of Chapter 8, which is a part of Route A and features a visit to Copied City. Our guide explains, among other things, where to use the scanner, how to unlock access to the Copied City, how to defeat a boss called Adam, and how to save the 9S.
- 9S MIA - getting the scanner and searching for 9S
- Adam boss - the first phase of the fight
- Adam boss - the second phase of the fight
- Adam boss - the third phase of the fight
- Rescuing 9S
9S MIA - getting the scanner and searching for 9S
You will begin this chapter in Flooded City right after dealing with Grun. 2B will wake up on the shore alone, and your first task will be to get a scanner that can help search for the missing 9S.
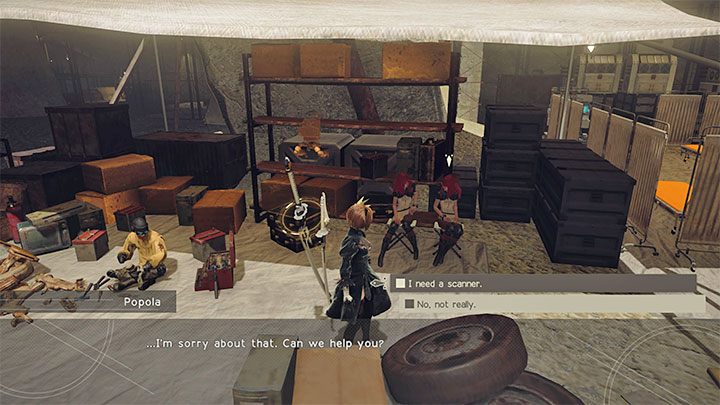
You have to return to Resistance Camp and since fast travel temporarily doesn't work at some stations (you can fix Access Points by approaching them), go through the tunnel to the City Ruins. At the Resistance Camp, talk to Anemone, then with Ashes and Devola. Ask them to hand over the scanner.

The scanner is a pod program called A170: Scanner. You have to go to the system menu and the Pod Programs tab and set the scanner as an active program. We recommend having two pods unlocked at this stage of the campaign, so you won't have to give up any offensive pod skill when choosing a scanner.
For more information, see All pods - how to unlock? and Scanner - how to use it?.
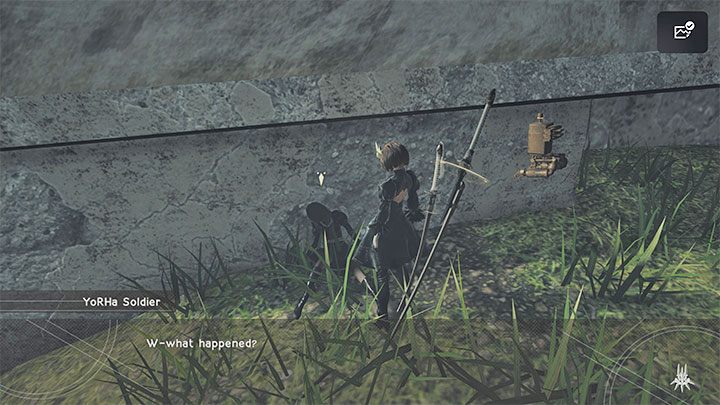
With the scanner, you can return to the coast and use it (hold L1) on defeated YoRHa squad members and a few dying soldiers you'll even be able to question. However, this is optional.

Return to the crater in the ruins of the city, that is the place where the Access Point is located - City Ruins: Cave. You can use the fast travel to teleport to the underground caves immediately or reach the crater and jump into a large hole in the ground.
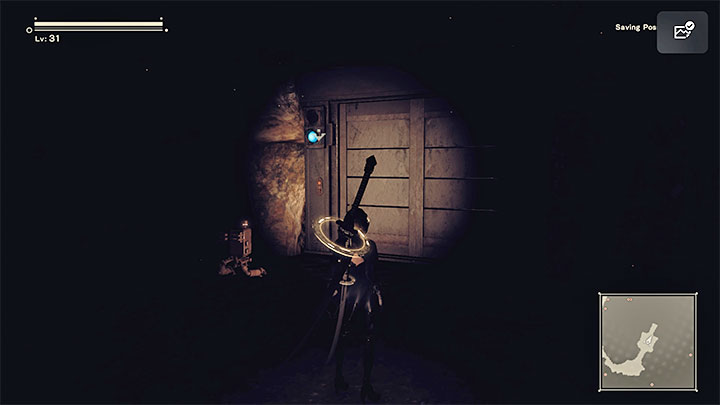
While exploring the caves, go towards the entrance to the spaceship where you previously met Adam and Eve. However, this time choose the previously ignored right path. It will lead you to an elevator that was previously unavailable. Using this elevator will allow you to reach the Copied City for the first time.
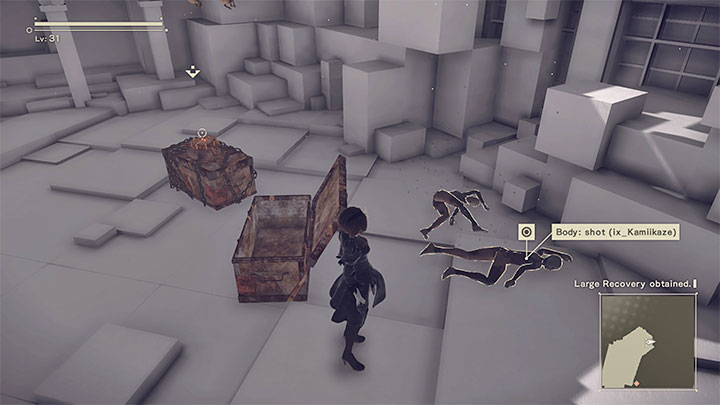
On the territory of the Copied City, you will not meet any ordinary opponents. You can find the bodies of other players (if you play online) and the usual loot.
You can focus on a thorough exploration of this location or follow the main path that will lead you to where the boss, Adam, imprisons 9S.
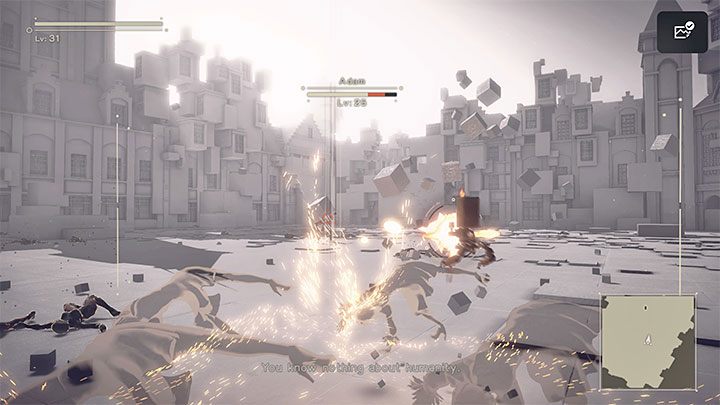
Adam boss - the first phase of the fight

The fight with Adam won't start until he's finished his monologue. You can take advantage of this and resurrect the corpse of one of the fallen players to gain a temporary ally in the initial phase of the fight (in case of the death of the resurrected player, you can bring other corpses back to life).

It's better to attack the boss from a safe distance, although close combat attacks can also work, especially right after he misses. However, in a close combat fight, the boss can use kicks that can deal more damage.
The Boss will be able to teleport during the fight, and it would be a good idea to lock the camera on him so that you don't lose him easily.
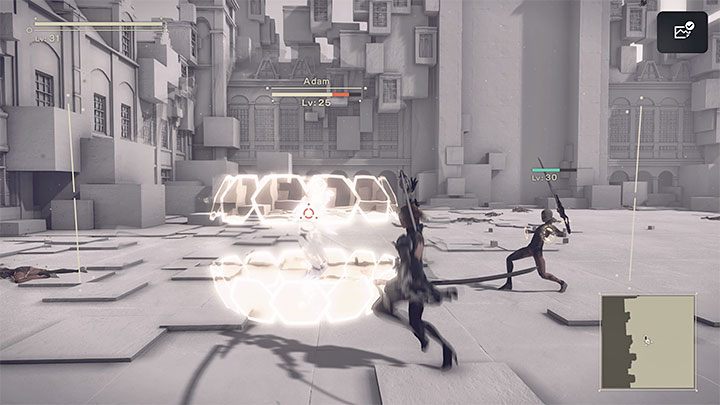
One of Adam's most commonly used skills is hiding behind a wall made out of blocks. You have to be aware that this ability is also offensive because, after a while, Adam pushes the blocks towards the your character. Dodge to avoid damage by these types of attacks.
Adam can also throw a single block or series of blocks using telekinesis, and you should dodge them too.

The Boss is also able to explode the controlled blocks. It's an area attack you can avoid by staying very close to Adam or by moving far away from the boss.
Adam boss - the second phase of the fight

Before advancing to the second phase of the fight, you will watch a cut-scene with Adam's next speech. The Boss can now activate an attack involving summoning vertical energy columns after he kneels. To avoid damage, you should keep moving and use sprint or dodge.
Adam can surround himself with an energy sphere that can stop your attacks (even ranged ones) and ultimately launches the wave of energy. This is another of the boss attacks, which you should avoid in the right moment.

A less commonly used boss' skill is catching 2B and launching a major energy attack. You can receive a lot of damage, so you should move away from the boss when he is attempting to do it or use dodge to avoid being caught.
Adam boss - the third phase of the fight

The third phase of the fight starts with a cut-scene showing the imprisoned 9S. Fortunately, you don't have to rush to finish the fight. You can gradually deprive the boss of health points.
Boss will start using range attacks involving large projectiles. You can avoid them by running sideways and using dodge if there is a risk of being hit.
The rest of the attacks you already know. Do not forget to resurrect another player's corpse if the revived android has already fallen.
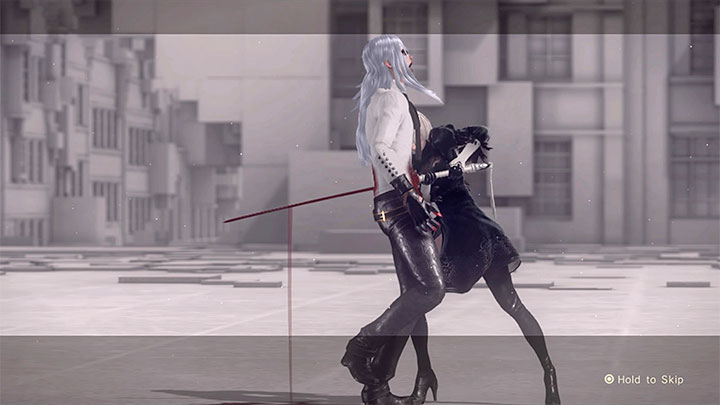
Depleting Adam of his entire health bar will result in a cut-scene showing his defeat.
Rescuing 9S

There are two ways you can act now:
- Unlocking hidden ending I- You'd have to ignore 9S and head back to the elevator. Unfortunately, after watching the mini-ending, you have to repeat the entire stage of going through the caves and the fight with Adam.
- Approach to 9S - You will watch a cut-scene from a meeting with a companion. You will move to Resistance Camp.