
NieR Automata: Chapter 7, Route A - walkthrough NieR Automata guide, tips
NieR Automata: On this page you will find the solucja for the 7th chapter of Route A - Flooded City
Last update: 27 August 2021
This page of the guide to NieR Automata contains a walkthrough of Chapter 7, which is a part of Route A and features the first visit to the Flooded City. From the following walkthrough, you will learn: how to reach the Flooded City, where to find flight suits, and how to defeat the boss - Grun.
- Report on A2 - meeting with Pascal
- Resupply - visit to the Resistance Camp
- Missile Supply Mission - travel to the Flooded City
- Fight in the air using Flight Suits
- Mini-boss Goliath Flyer
- Grun Boss (colossus attacking the coast) - the first phase of the fight
- Grun Boss - the second phase of the fight
- Grun Boss - the third phase of the fight
Report on A2 - meeting with Pascal

Your task is to return to Machine Village, and you do not have to go through the forest again or use fast travel. Return to the courtyard of the castle, where you will meet friendly machines. They will open a large gate. The new shortcut will allow you to quickly reach your destination (by the way, you can also find a new side quest in the area).
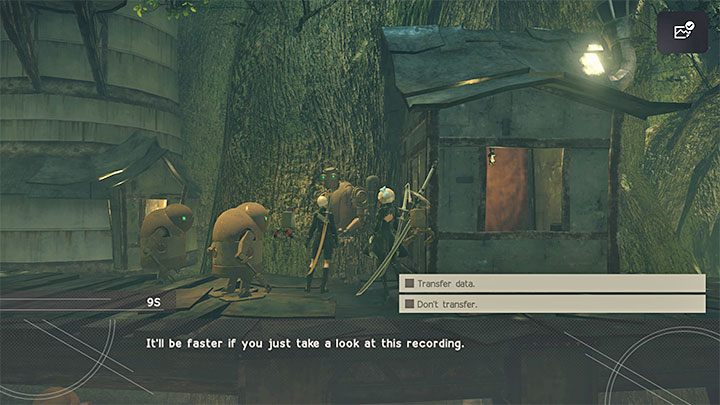
In the village, talk to Pascal and decide to transfer the data.
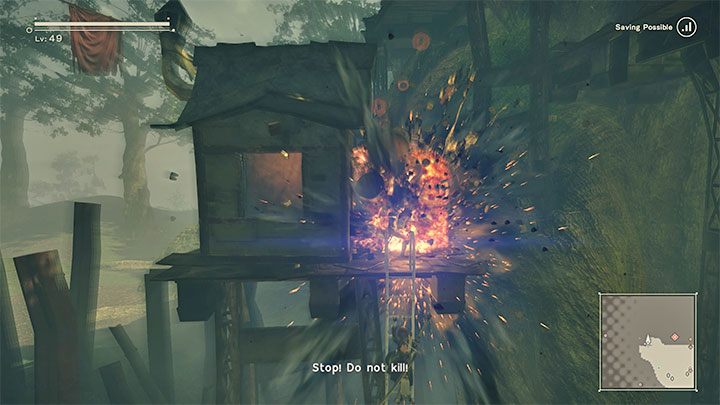
Additional information - during the visit to the Machine Village for the first time, you will have an opportunity to unlock hidden ending N, but first, save game status. The ending involves attacking friendly machines from Pascal's Village. You will have to eliminate them all, and locating some machines may be problematic. Look around: behind the single huts to which the ladders lead or shelves, on which you can jump. Examine the area around the entrance to the village and get rid of the machines that are there. After killing them all, the ending will unlock.
After the mini-ending, you will return to the previously saved state and will be able to continue playing.
Resupply - visit to the Resistance Camp
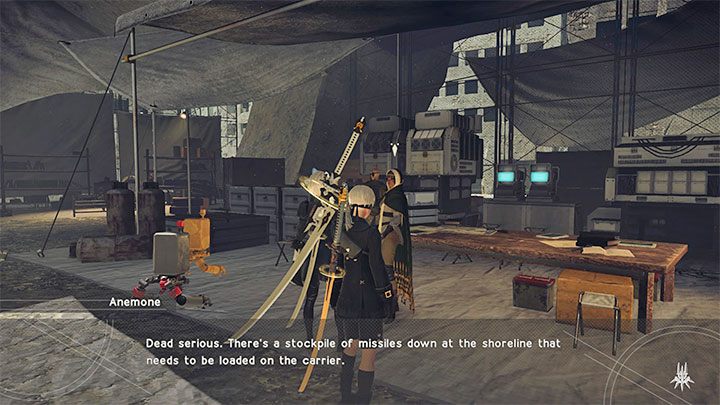
After reaching the Resistance Camp listen to the conversation on the radio and meet with Anemone. You can't influence the course of this conversation.
Missile Supply Mission - travel to the Flooded City

Go to the place marked on the map. It is newly unlocked tunnel you have to explore. You can focus on the main objective or optionally explore the forks you pass and collect a small loot. This path will lead you to Flooded City.
In the area, you will find an Access Point. It's worth unlocking it after dealing with the machines so you can return to this part of the map later. In the Flooded City, you can also start or finish some side quests (also those started from the previous chapters).

You have to reach the coast marked as the next mission objective. Avoid falling into the water because the characters can't swim. If you do, you will be revived at the shore with a slightly reduced health bar.
Use double jumps, dash in flight (R2), and ejecting from the pod (R1 X) to pass larger water tanks. You do not have to eliminate all machines you encounter, although eliminating flying ones can make the journey easier.

After reaching the designated place, you will witness a new conversation with the Operator, and Flight Suits will appear
Note - you have reached an unofficial point of no return. Interacting with one of the Flight Suits will cause joining a series of fights on the coast, but at the same time, this will prevent you from completing some side quests from the journal, which can be unavailable after returning to the land.
If possible, try to complete as many quest as you can. However, do not worry too much if any tasks will be too difficult, for example, because of high-level opponents. You will be able to deal with them during Route B or later when you unlock the Chapter Select option.
Fight in the air using Flight Suits
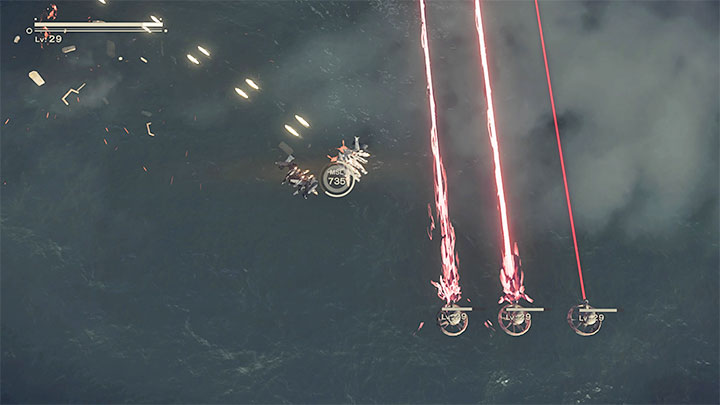
The initial flight will not surprise you with anything special. You have to eliminate the machines appearing on the screen and dodge their ranged attacks in the air. Every time a larger group of machines appears, activate rockets to weaken and/or destroy them more effectively.
Watch out for machines firing red lasers. It's a good idea to get rid of them first.
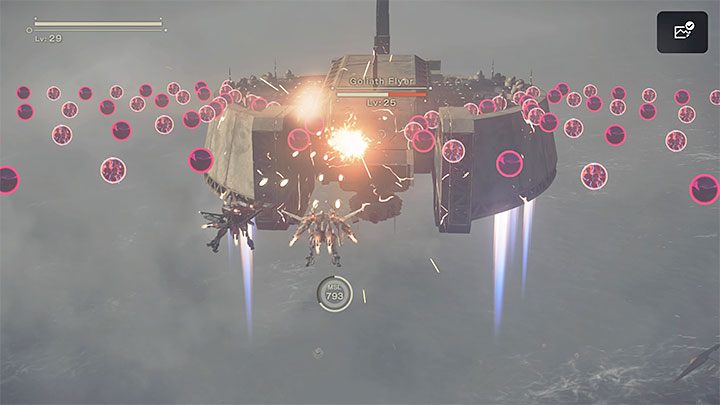
Mini-boss Goliath Flyer

Ultimately, you will have to destroy a much larger flying machine, Goliath Flyer.
Immediately after joining the battle, start firing and use rockets (L1) as soon as they are charged. Try to destroy the projectiles flying in your direction or skillfully maneuver between them.
From time to time, Goliath Flyer will also fire large homing rockets at you. You can try to destroy them in the air or quickly change position and let them fly past the controlled Flight Suit. Rockets can turn back in flight, but they will not track you forever - they can be avoided without destroying them or causing a collision with the Flight Suit.
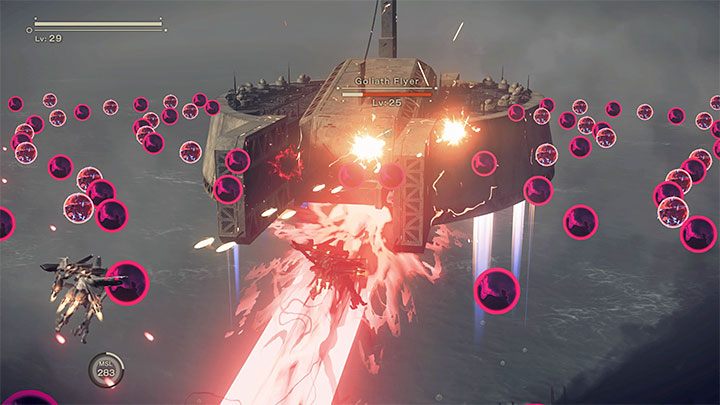
Goliath Flyer can also shoot a wide red beam of energy. This attack is indicated in advance, and the beam is moving. So moving out of the shooting line can be not sufficient. Avoid the beam for a few seconds, even after the boss starts firing again.
Keep firing until Goliath Fyer loses his entire health and explodes.
Grun Boss (colossus attacking the coast) - the first phase of the fight
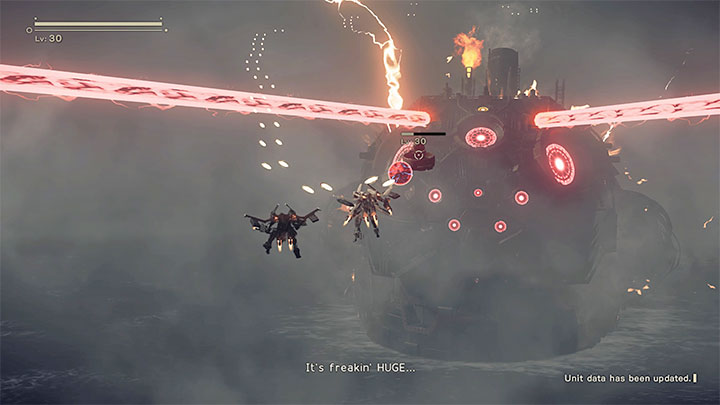
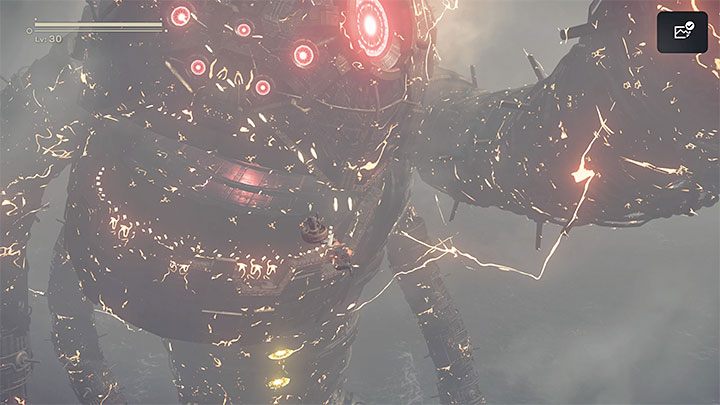
Goliath Flyer was just an appetizer to the main course, which is a giant colossus, Grun. It's a large fish-shaped machine, which you will fight a longer and more demanding battle.
Start the fight by dealing with a few smaller machines that will appear. Unfortunately, you will be bothered by similar enemies for most of the fight, and you cannot ignore them.
Soon, first EMP generator on the Colossus body will be marked as an objective to be destroyed.
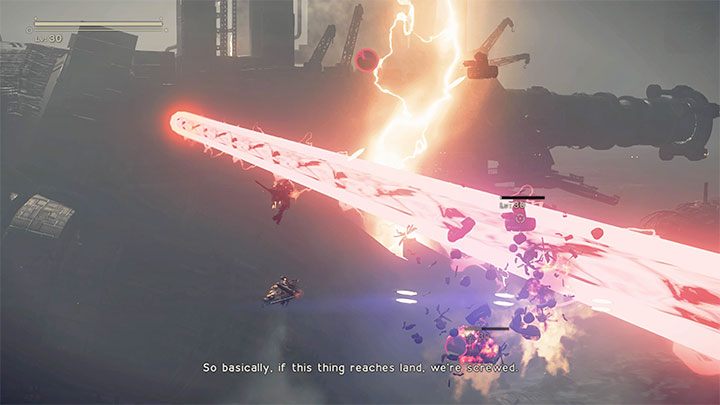
You will slowly begin to move towards the generator. In addition to eliminating smaller machines, avoid contact with red energy beams fired by the boss.
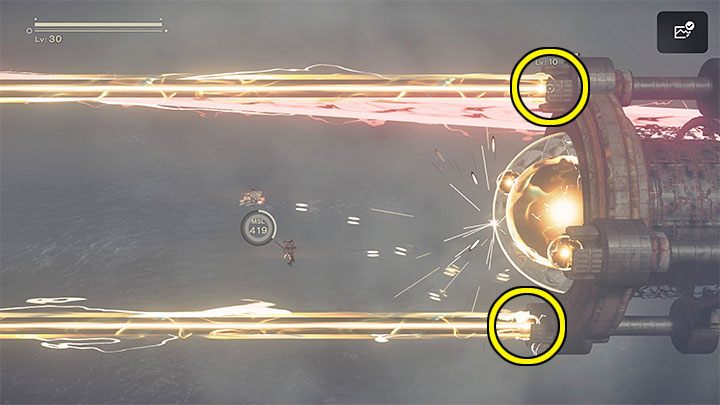
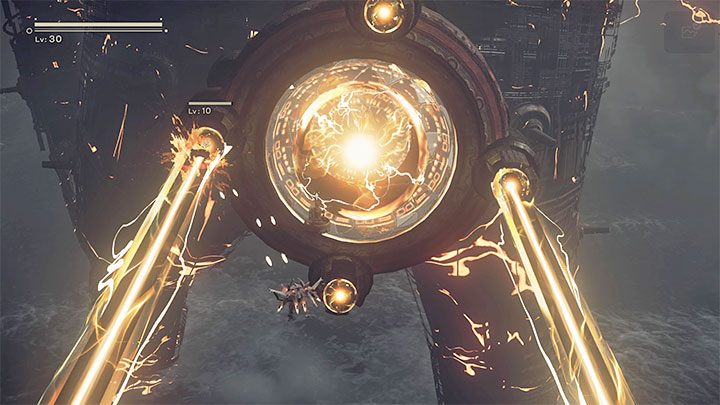
When you approach the EMP generator, aim for the smaller cores first - those shooting yellow energy beams.
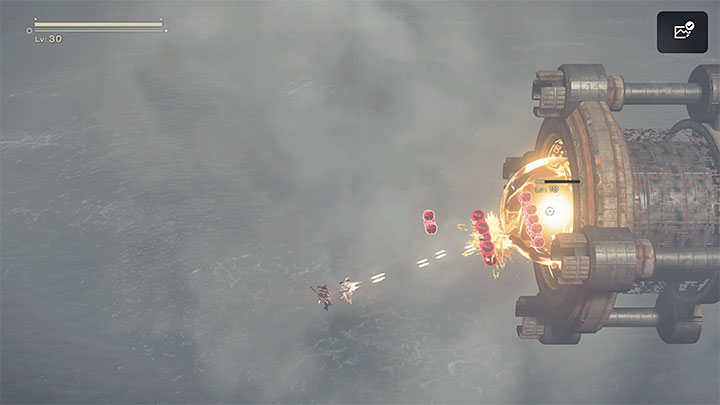
After destroying all the smaller cores, the main EMP generator will be exposed, and you can shoot at it. Try to fire continuously to get rid of the missiles flying in your direction. Destroy the EMP generator.
Grun Boss - the second phase of the fight
Watch the cut-scene, after which you will advance to the second part of the fight with Grun. You'll learn that the colossus is surrounded by an electromagnetic barrier.
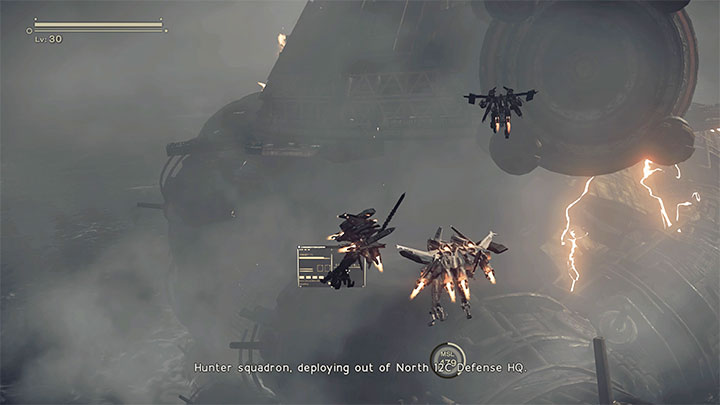
Just as before, you will initially have to destroy smaller machines and avoid the red beams of energy. Fight until 4B with the YoRHa squad appear.
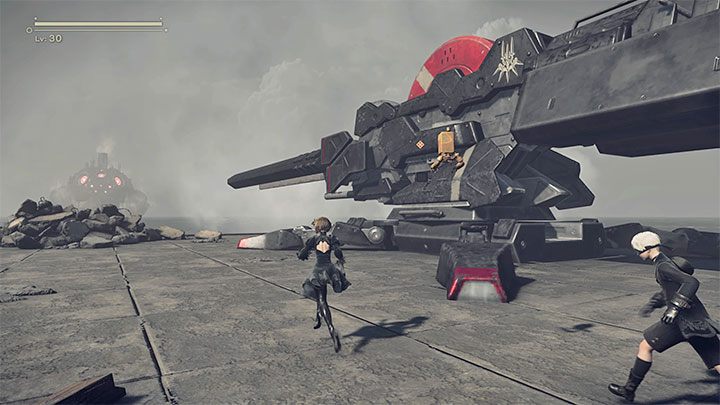
Another cut-scene will be displayed, and you will land on dry land for a while. Interact with the big canon installed on the shore.

Your task, of course, will be to attack Grun but wait for the colossus to open its mouth. It's the machine's weak point, and you have to aim in such a way that the missiles fly into the mouth. Repeat this pattern several times.
Grun Boss - the third phase of the fight
In the third phase of the battle, you will use the Flight Suits again. As before, deal with the next machines that appear on the screen and wait until 9S pull out to implement his action plan.
Keep fighting and watch out for the boss' large limbs. Position yourself in a way you don't get hit by any of them.
You will receive an objective to destroy another EMP generator on the back of a colossus. You have to defend yourself and wait patiently until you approach the generator.
The tactic is identical to the first phase of the fight - first, track and destroy the smaller cores (remember to avoid yellow energy beams!), then, after blowing them up, attack the main generator to deprive it of its entire power bar.
The next part of the figth is to repeat the steps described below:
- you have to destroy small machines and avoid Grun's attacks,
- when you get to a generator, you have to get rid of its small cores and then the large core while avoiding the yellow energy beams.
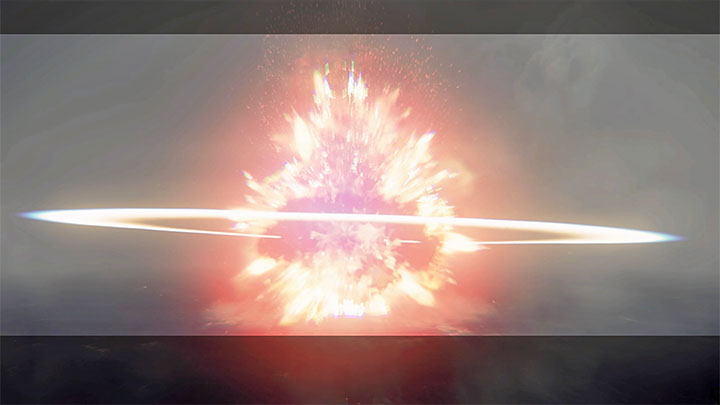
Your efforts will be rewarded with a cut-scene during which the defeated colossus explodes. 2B will return to the coast, but 9S won't join her, and determining what happened to them will be the theme of the next game chapter.