
NieR Automata: Chapter 5, Route A - walkthrough NieR Automata guide, tips
NieR Automata: On this page you will find walkthrough for the 5th chapter of Route A - The Machine Village and the attack on the city
Last update: 19 August 2021
This page of the guide to NieR Automata contains a walkthrough of Chapter 5 which is a part of Route A and features the first visit to the Machine Village, as well as the return to the attacked City Ruins. From the walkthrough, you will learn e.g. what awaits you in Pascal's village, as well as how to defeat the new bosses - Goliath and Adam and Eve.
- Machine Recon - explore the Machine Village
- Machine Request - delivering packages
- Assault - reach the attacked City Ruins
- Boss - Goliath
- Flooded City Recon - explore the underwater cave
- Bosses - Adam and Eve
Machine Recon - explore the Machine Village
This chapter will begin when you first get to the Machine Village by following the friendly machine encountered in the Amusement Park.
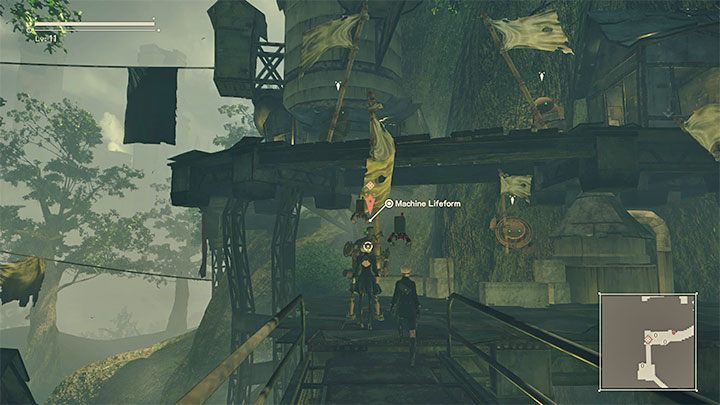
When you get there, talk to Machine Lifeform which will introduce itself as Pascal - the leader of the village.
You will have the opportunity to look around the Machine Village. You can:
- pick up side quests that we described on the page Machine Village in the Side quests section,
- activate an Access Point in order to save the game (you will also unlock fast travel soon),
- meet with 2 dealers from the village - they offer new weapons, consumables, chips and bait for wild animals,
- look around for loot.,
- talk to the villagers - this will allow you to add new data to the Intel tab.
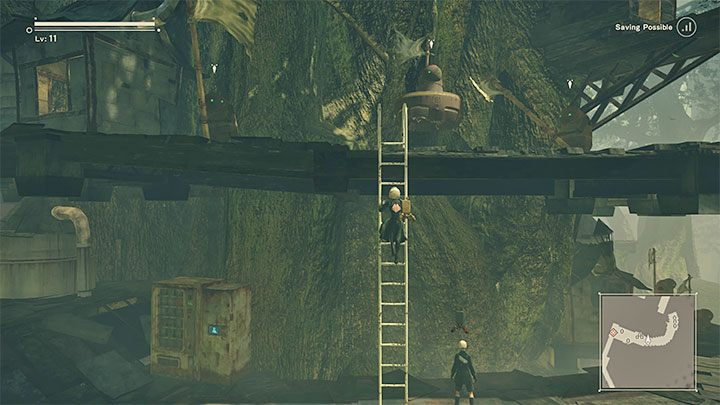
Additional note - the village consists of several levels and you must use ladders to move around between them. Check the mini-map as well, because in some places you can deviate from the main balconies and, for example, explore an offshoot with a unique loot or other machines you can talk to.
Machine Request - delivering packages

In order to continue the main storyline, meet Pascal in the Machine Village again. You will be asked to deliver Fuel Filter to the Resistance Camp.
It is worth noting that the Machine Village has two main exits, located in the area shown in the picture - at the same level where the two traders are. The left path leads back to the Amusement Park, while the right (shorter) one will take you straight to the City Ruins. After reaching the Resistance Camp, hand over the Fuel Filter and pick up Viscous Oil from Anemone.
Assault - reach the attacked City Ruins
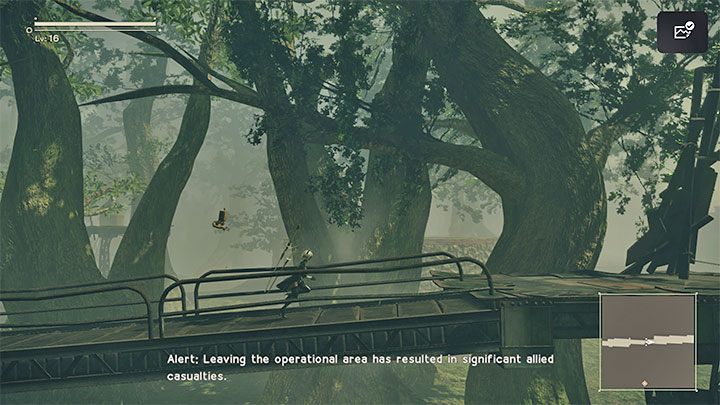
Right after you give the Viscous Oil to Pascal, you'll hear about the attack on the city over the radio. Save the game status at this point and head towards the exit from the village. Choose the left path first - the one that leads to the Amusement Park instead of the city. After a short while, you will unlock the hidden ending H related to not helping the people in the city.

After you resume the game at the Access Point, this time choose the correct right path to return to the City Ruins, and you will see a massive invasion of enemy machines, including a Goliath.

From the new radio message you will learn about the planned delivery of Flight Suits, and you must reach the delivery zone. You can ignore the ordinary machines and the Goliath on your way there.
You must climb to the roof of one of the buildings. You have to use the stairs and perform double jumps near the large holes in the ceiling.
Boss - Goliath
After reaching the lower part of the roof, the first part of the fight with Goliath will begin, which will look similar to the fight with the poss from the prologue that had an identical name.
Attack Goliath with Pod weapons and remember to activate its program (special ability) as soon as it becomes available. Try to run to the sides a lot to avoid bullet groups fired by the big machine.

This Goliath, just like the previous one, can hit you with its upper limbs ended with working saws. These attacks are quite slow, and you can evade or sprint to the side in advance. After each missed attack of the Goliath, you can attack his limbs with a melee weapon to reduce his health faster.
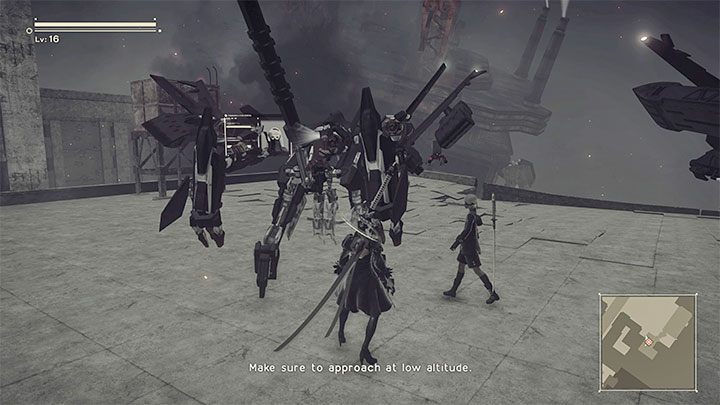
Watch out for the double upper limb attack though, and always try to stand exactly between them (example in the above picture).
Continue your attacks until the Goliath loses his entire health bar. This will allow you to go to the neighboring roof where the Flight Suits are located. Interact with the one reserved for 2B.

The second part of the fight with Goliath will happen in mid-air. You will be able to attack the boss from a distance (remember about the rocket fire activated with L1), and also in close-combat, if you have the opportunity.
During the fight, pay attention first of all to the Goliath's strong laser attack. Move to the side in advance and take advantage of the fact that you can easily attack the boss when he misses with his laser attack.

The boss can activate a rocket fire of its own. They are very clearly signaled, so you can easily evade them or try to shoot some of the rockets don in mid-air.
Goliath's upper limb swings are dangerous, though. If you want to avoid taking damage, you have to evade just before the limb nears to your Flight Suit. The Goliath won't surprise you with anything else. Keep fighting until you take away all of his energy bar for the second time.
Flooded City Recon - explore the underwater cave
You will receive a new mission objective to investigate the Flooded City. At the same time, you will witness a lot of destruction in the central part of the City Ruins - a kind of a crater appeared there, and you have to go there to continue the storyline.
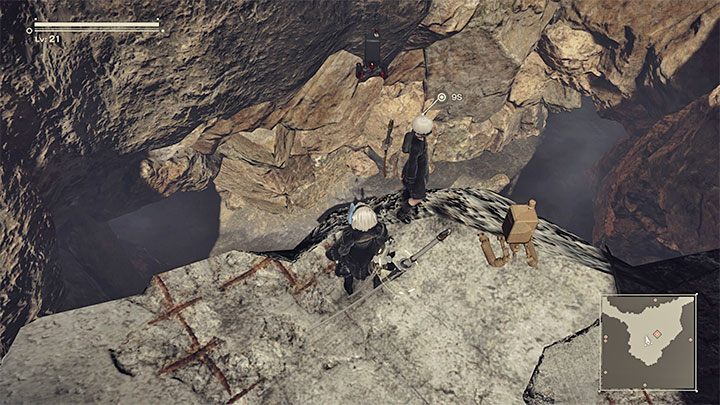
Your destination is the large hole in the crater, shown in the picture. Jump into it and start the slow fall.
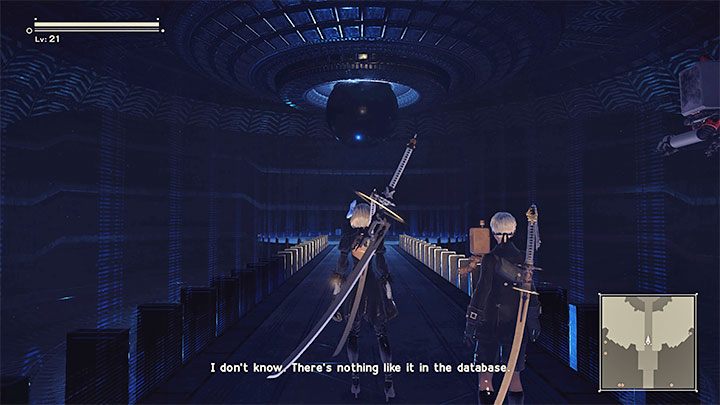
While exploring the caves, use the flashlight (press the left analog stick) and defeat some small machines along the way. The only available route in the caves will lead you to the path to a spaceship. New bosses appear in this location - Adam and Eve.
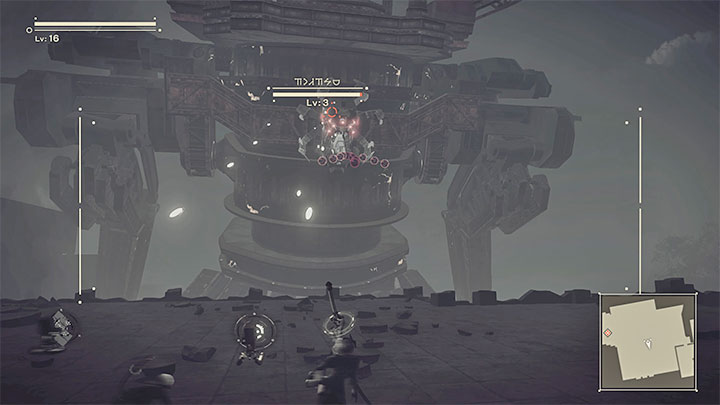
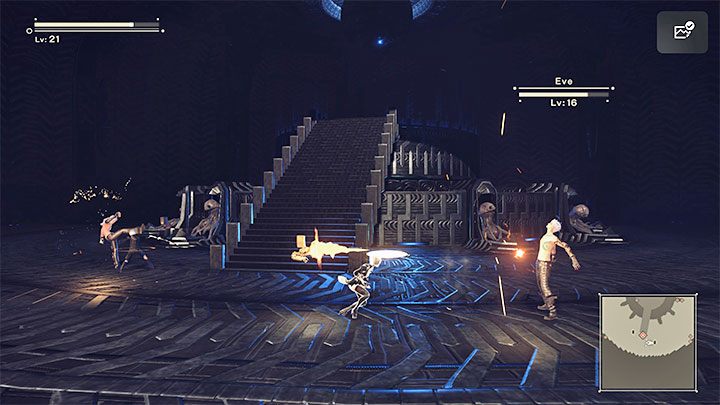
Bosses - Adam and Eve
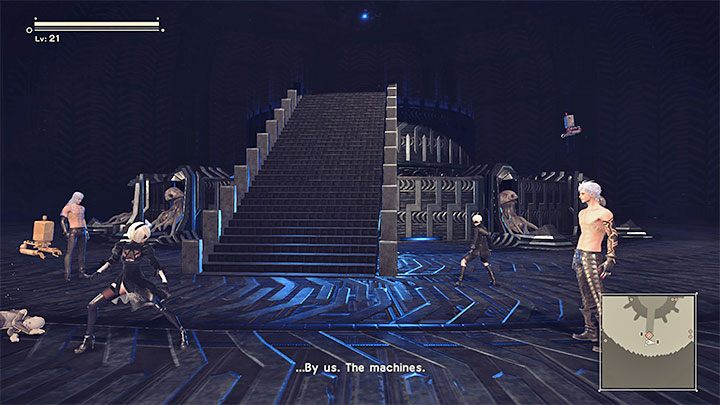
This boss fight has two important features:
- 2B has to defeat Eve. You don't have to worry about fighting two bosses at the same time. 9S will be busy in the background fighting Adam, and this confrontation is completely independent of yours.
- This fight has a forced side camera view which can unfortunately make it much more difficult to play, because naturally, you will have a lot less room for maneuver. Focus on frequent evades, but also look for opportunities to jump over the opponent if she back you up in the very end of the combat area, where you will not be able to withdraw further.
Additional tip - if you are playing with Network Features turned on, you should notice at least 1 body of another player in this place. It is worth reviving and healing them in order to gain a temporary ally in the fight against Eve.
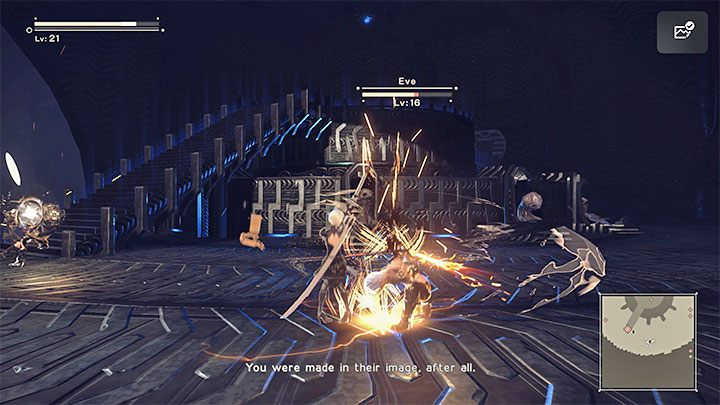
To attack Eve, you can use ranged weapons (be sure to use the Pod program as well) and close-combat weapons. In the latter case, flawlessly activated evades will work very well, and you can perform a strong counter afterwards. It may even allow you to throw Eve into the air and attack the temporary defenseless boss in flight.
Eve can try to pull 2B to her. Once you know this attack, try to move away from the boss in advance as soon as she starts to perform it.
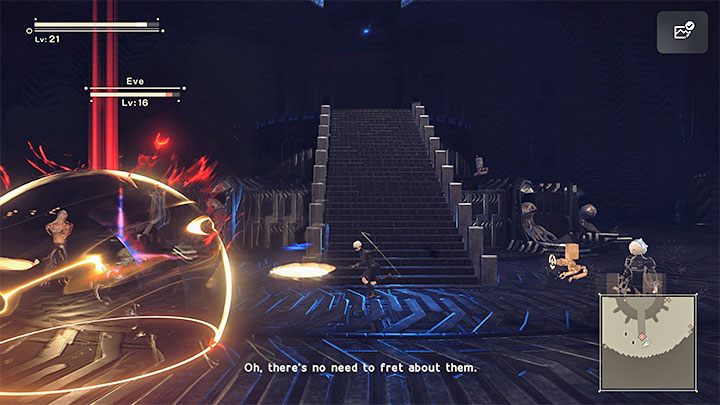
One of the boss's more serious attacks is surrounding herself with a protective barrier that can send a wave of energy in your direction. You have to evade at just the right time to protect yourself.
Eve is able to respond to your actions. If you are fighting in close-combat, expect especially dangerous kicks from the boss, which you obviously need to evade. If you want to fight at a distance, the boss may shoot bullets at you. Use the evade or a quick double jump.
You will not be able to defeat Eve in the end, but this will make the fight relatively short and should end when the boss loses about a half of her health bar. A new cutscene will play automatically.