
My Time at Sandrock: Abandoned Ruins My Time at Sandrock guide, walkthrough
In My Time at Sandrock you will sometimes have to venture underground in search of necessary materials. In the Abandoned Ruins of Eufaula Salvage you will not only find resources, but also parts of Relics and useful items.
Last update: 07 July 2022
This page is dedicated to Abandoned Ruins. We show where to find them, what items of note can be found there, and what dangers may lurk in these areas.
- How to access Eufaula Salvage Abandoned Ruins?
- How to access Gecko Station Abandoned Ruins?
- Preparing for the expedition
- Navigating Abandoned Ruins
- Scanning objects
- How to upgrade the Scanner?
How to access Eufaula Salvage Abandoned Ruins?

First Abandoned Ruins are encountered in Eufaula Salvage, a few steps southeast from your workshop. You can explore it only after completing Picking Up the Slack story mission. The first entry is free, but you'll have to pay for the subsequent entries. A weekly entrance ticket costs 200 Gols.
How to access Gecko Station Abandoned Ruins?

The second Abandoned Ruins are located west of the city. Gecko Station Abandoned Ruins become available for exploring after completing In Trusses We Trust story mission. The fastest way to reach it is by using Yakmel Station. A weekly entrance ticket costs 300 Gols.
Preparing for the expedition
Although Eufaula Salvage and Gecko Station Abandoned Ruins are not that dangerous to explore, there are a few things to keep in mind before heading there:
- Have space in your backpack - the ruins contain various resources, Relics, and Relic parts that can be picked up, so having inventory space is recommended. Stash everything you don't need in your boxes.
- Reserve some time - before you set out on an expedition make sure you've got some in-game time to spare. We recommend reserving an entire day for it. Make sure you don't have any timed tasks the expedition could cause you to miss.
- Take a Pickhammer - you'll need to dig your way through the Abandoned Ruins. Without any of the Pickhammers you won't get far.
- Take some stamina restoring items - digging depletes stamina quickly. You must have a way of restoring it to stay in the ruins.
Navigating Abandoned Ruins

As you enter the ruins, you need to choose what level you want to explore. Unfortunately, the lower levels are unlocked along with your progress exploring them.
On the left side of the screen there is information on the resources, items and materials available on the given floor. This section is worth checking when you're looking for specific crafting ingredients.
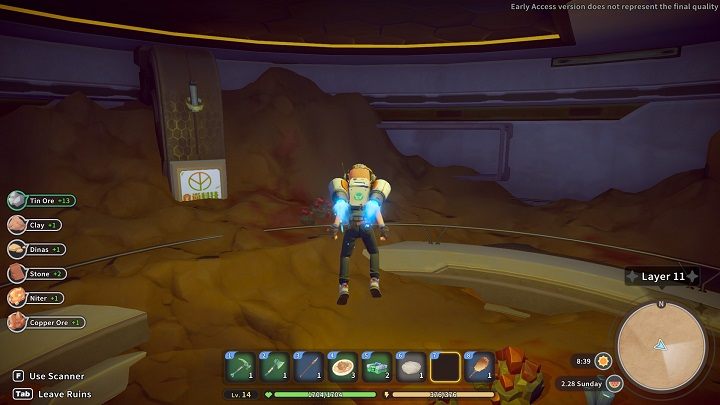
The ruins are covered with sand and rubble, meaning you'll have to do a lot of digging. You'll often find yourself at the area's lower floors, which can be escaped from with a jetpack. It allows you to hover in the air for a short time. Simply hold down the jump key to use it.
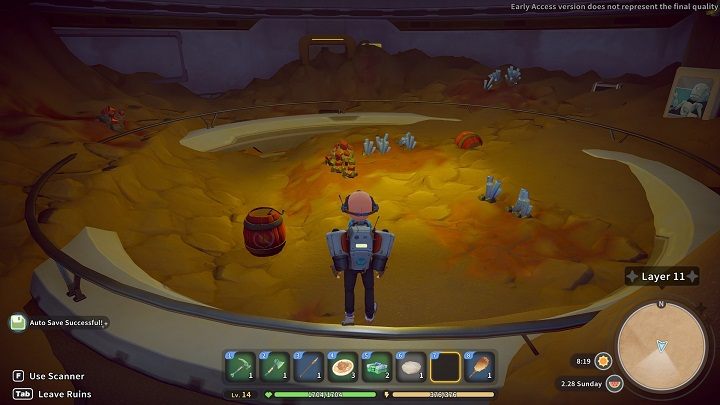
You can encounter red barrels in the ruins as well. Getting close to them triggers a fuse. Hearing the distinctive sound of a ticking clock should signal you to immediately move to a safe distance before the barrel explodes and injures you.
We recommend blowing up the barrels on purpose. Their explosions can clear the way for you and grant you some easy resources. However, before detontaing, take a few steps back.
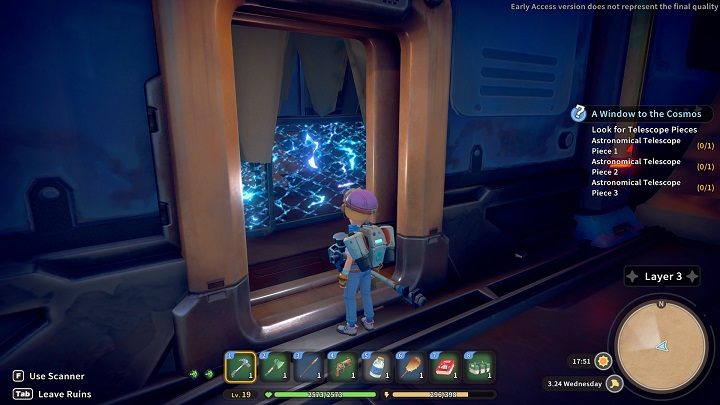
At Gecko Station, there are electrified floors and fences. Avoid touching these, as contact can result in paralysis and losing health points.
Scanning objects

Scanner is essential in order to make progress when exploring Abandoned Ruins. It makes finding items and floor exits much easier.
To use the scanner you must press the F key on your keyboard. Remember it only works for a certain period of time and has to be reactivated when it turns off.
The scanner points out objects of interests and exits with icons.
- Yellow rhombus - shows Relics or their fragments which can be reconstructed at the Museum.
- Green arrow in a circle - shows an exit to a different room on the same floor.
- Green arrow in an unclosed rectangle - shows an exit to the next floor.
- Blue gears - show traps, switches and devices. The icon only appears after upgrading the scanner's Focusing Lens.
How to upgrade the Scanner?

The Treasure Detector - your scanner - consists of four components, each of which can be upgraded twice. While upgrading it shouldn't be necessary when exploring the Eufaula Salvage Abandoned Ruins, it still makes searching for Relics and exits much more convenient.
You can modify your scanner at any time while inside the ruins, as long as you have the necessary resources and currency, by clicking the button in the lower left corner of the floor selection screen. Then you must select the component you want to upgrade.
Scanner CPU:
- Level 1 - default level.
- Level 2 - increased scanning speed. Price: Old Parts x10, 200 Gols.
- Level 3 - increased scanning area. Price: Microchip x2, 500 Gols.
Focusing Lens:
- Level 1 - default level.
- Level 2 - displays the outline of a scanned object. Price: Glass x10, 200 Gols.
- Level 3 - displays traps, switches and treasures with a blue gear icon. Price: Tempered Glass x6, 500 Gols.
Analysis Chip:
- Level 1 - default level.
- Level 2 - analyzes objects quicker. Price: Old Parts x10, 200 Gols.
- Level 3 - analyzes objects even quicker. Price: Microchip x2. 500 Gols.
Super Battery:
- Level 1 - default level.
- Level 2 - scanner lasts longer. Price: Power Stones x10, 200 Gols.
- Level 3 - scanner lasts much longer. Price: Condensed Power Stone x5, 500 Gols.