
Mr Prepper: Rocket construction - list, walkthrough Mr Prepper guide, walkthrough
Last update: 21 September 2021
The main missions in Mr Prepper consist of the rocket construction series of tasks, during which the silo and the rocket are built. This is the main storyline, which is loosely connected to the tasks from the quest-givers. On this page, you will learn the requirements, stages and parts necessary to complete the rocket.
Ultimate Plan

The Ultimate Plan is the first mission in the rocket construction series in Mr Prepper. At the beginning of the game, head upstairs to the bedroom. Check out the pinboard above the bed. Remember to cover the pinboard to hide it before the Agency's inspection.
Self-Reliant
Self-Reliant is the second mission on the path to building a base and later, a rocket. The first stage requires you to build a way to descend to the bunker in the basement and place 5 patches of soil there (you don't have to plant anything at this stage). The soil patches can also be planted outdoors, which provides them free light and occasional watering. You'll find the seeds in the cupboards in the kitchen. To create the soil patches, you need to upgrade your workbench to level 1.
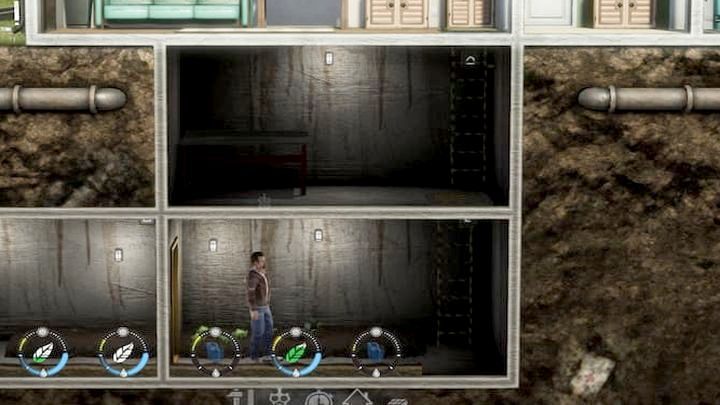
First, dismantle the two barrels behind the house (it's not legal to have this many, anyway), then collect some wood from the forest or buy pallets from Sergey the trader, which can be disassembled into wood (this requires 15 units). To create soil patches, you will also need soil. You will have obtained some from digging up the rooms (if you don't have enough, dig additional rooms). Finally, moisten the soil patches with water from the kitchen tap and place a few lamps to illuminate the plant beds in the bunker.
Digging rooms underground is the only way to get free soil. You can destroy unwanted or poorly laid out rooms without using up soil.
New Escape Plan
After completing the Self-Reliant task, return to the pinboard. You need Inspiration - the photo of the rocket, which you will receive by mail the next day, will be your muse.
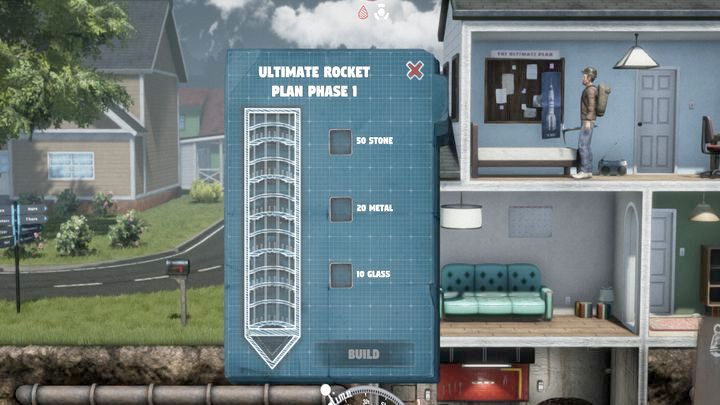
To complete the first stage of the rocket, you need:
- stone x50,
- metal x20,
- glass x10.
There's no need to hurry; it's a good idea to complete the rocket-building tasks over time, between completing NPC missions. After you get the raw resources, you will be able to place the rocket silo in the bunker.
The Countdown
The task will formally begin when you find the plane in the forest during the Air Crash Investigation mission for Jenny and build a silo in the previous quest: the New Escape Plan.
As part of this mission, you will need to build subsequent stages of the rocket. Each of these stages has different requirements - there is always a special item that you will need to obtain in one of the side tasks from one of the 3 quest-givers.
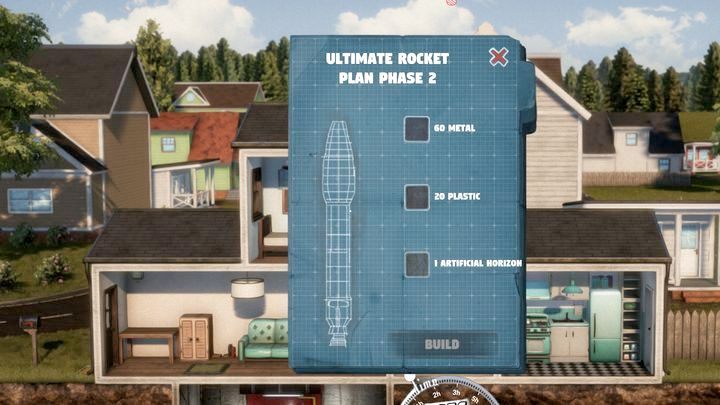
For each stage built you will also receive room improvements, which give you bonuses to "thematic" rooms (such as a greenhouse). The upgrade only applies to one specific room, so building large multi-purpose rooms isn't recommended. Subsequent stages require:
- Stage 2: metal x60, plastic x20, the Artificial Horizon (obtained during the Air Crash Investigation task).
- Stage 3: metal x40, electronics x20, hydrogen x1 (hydrogen can be found in the mine at level -5).
- Stage 4: plastic x50, electronics x20, textiles x10, Rocket Control Module x1 (can be obtained in Fort Observer during the Who Observes The Observer? task).
Build all stages of the rocket to prepare for launch. Completing the Minuteman's final two missions is optional, but they can earn you The Perfect Ending achievement.
The Launch
Once you build the last stage of the rocket during The Countdown task, The Launch mission will be initiated. You will then be visited by all the NPC quest-givers (the Minuteman will only appear if you complete all his missions) and you will receive the switch from Bob. Install it in the bedroom on the floor and press it when you are ready to launch the rocket - this will complete the game.