
Mortal Shell: Fallgrim walkthrough Mortal Shell guide, walkthrough
Last update: 25 August 2020
After your first fight with Hadern, you will be taken to an entirely new location, known as Fallgrim. This location is a link between three other major locations that lead you to individual bosses. It's worth noting that you can take any path, sooner or later you'll get access to other ones thanks to the holes in the caves that you pass through.

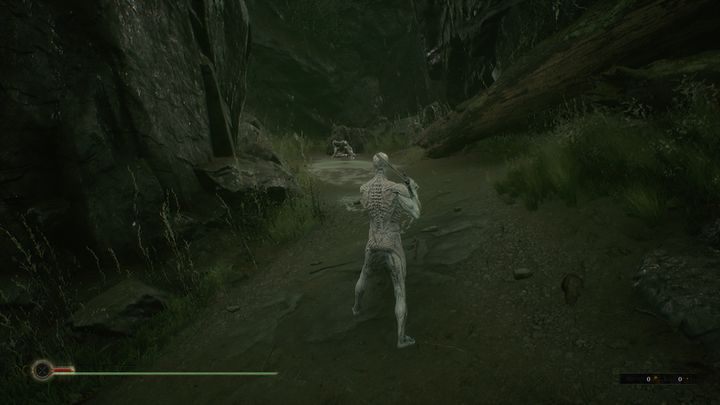
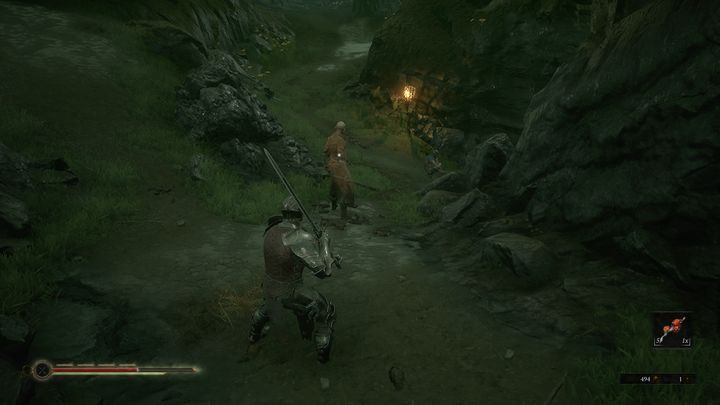
You start the game without any Shell. This means that receiving one minor injury will end in your death. Time to start moving.
After a while, you can turn left or right. To the left is your first Shell, Harros. Approach the armor and interact with it. Note - if you want to win the platinum trophy, you have to complete the entire game without equipping any Shell - if you want to do that, don't interact with the armor. Once you've done it or haven't done it, turn the other way.

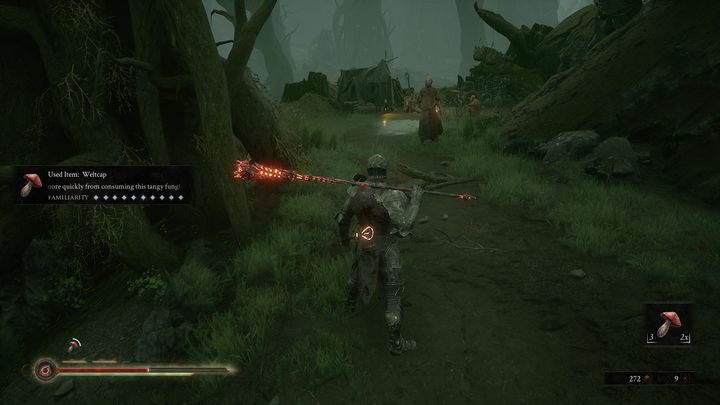
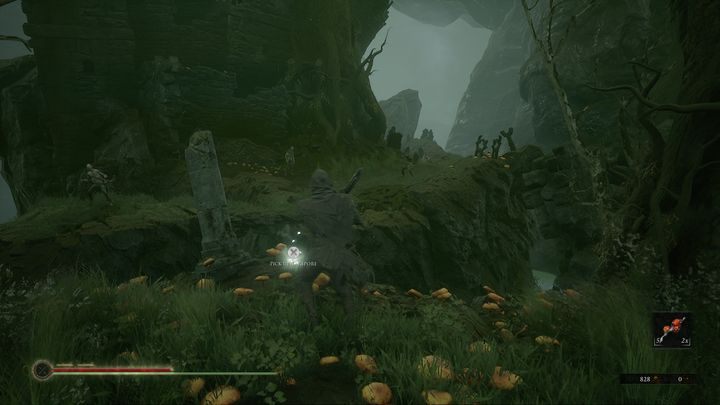
Further down the path, you'll find some mushrooms by the trees - pick them up. At first, you won't know their effect, but once you eat them, you'll find that they replenish your health over time.
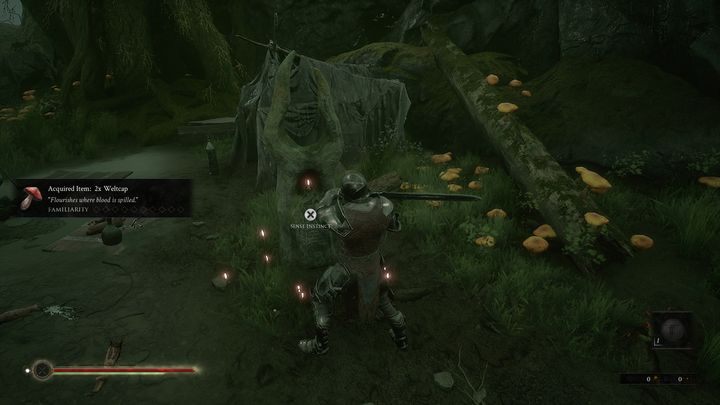
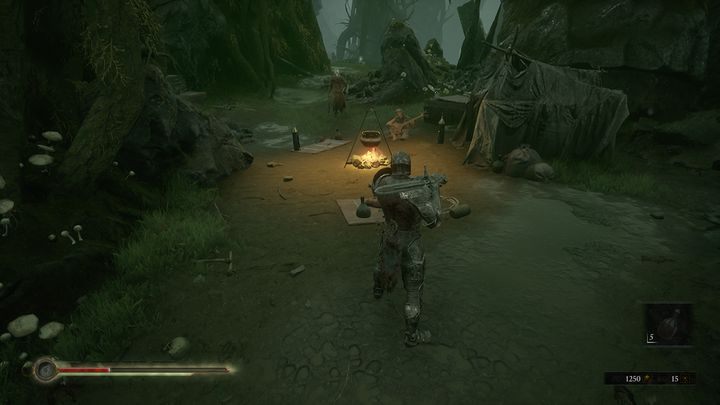
To the right of the mushrooms is an encampment with the first inscription - an item which will allow you to learn more about the story. Pick up the items that are in the encampment and go back to the mushroom area.
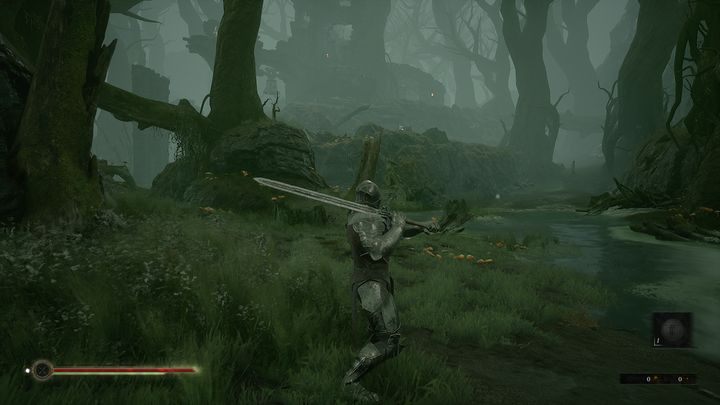
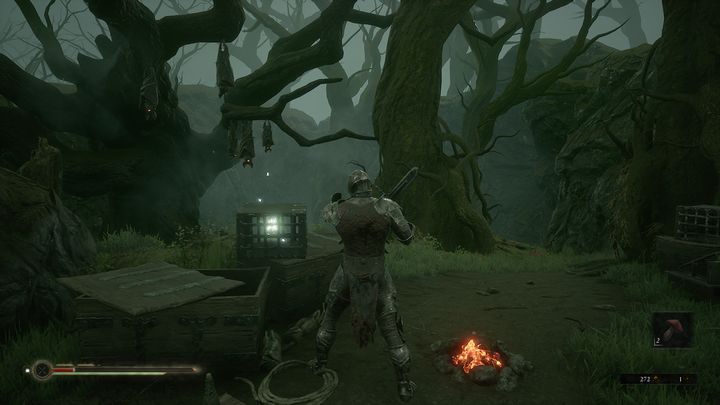
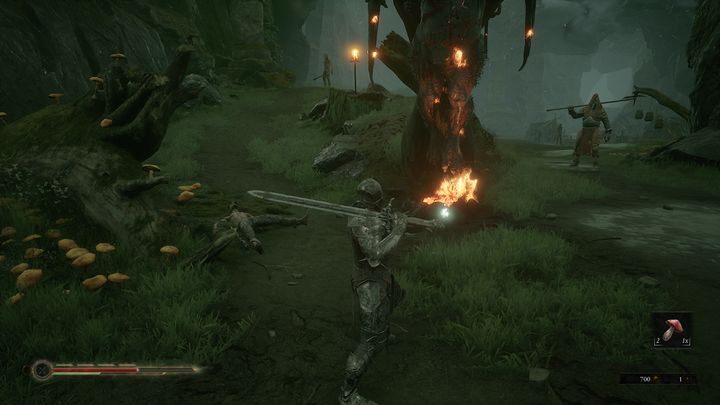
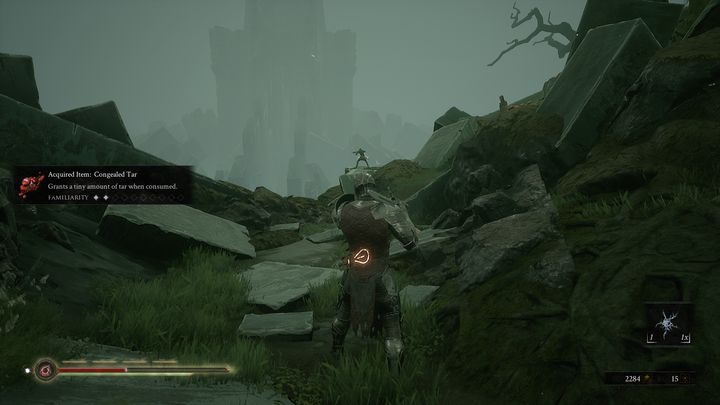
You now have a choice of 3 paths - left, right, or forward. You are free to follow any path you want - you can fight any boss, even if the one you'll encounter should be encountered little later in the game. It is recommended, however, to go forward first, to the Fallgrim Tower, which you see in the middle of the photo. In this tower you will find Sester Genessa, an NPC that acts as a checkpoint, also allowing you to upgrade your Shells and trade with her. Going left, you'll reach Shrine of Ash, where you'll encounter Imrod, the Unrepentant. Going right, you will reach two different locations: Crypt of Martyrs (boss is Tarsus, the first Martyr) and Seat of Infinity (boss is Crucix, the Twiceborn).
Fallgrim Tower
The best option is to go straight ahead, as that is where you will find your first checkpoint. Head there first.
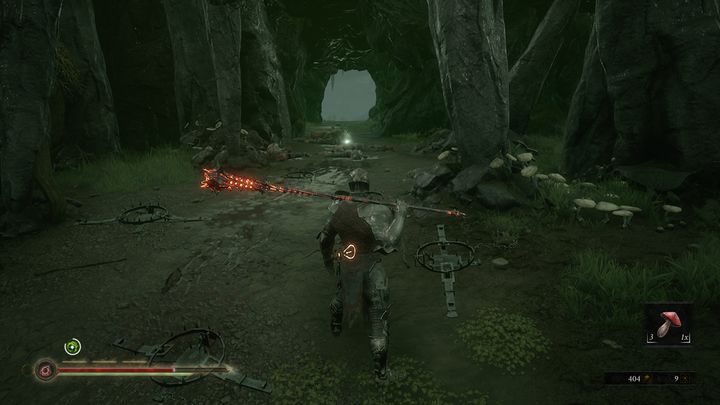
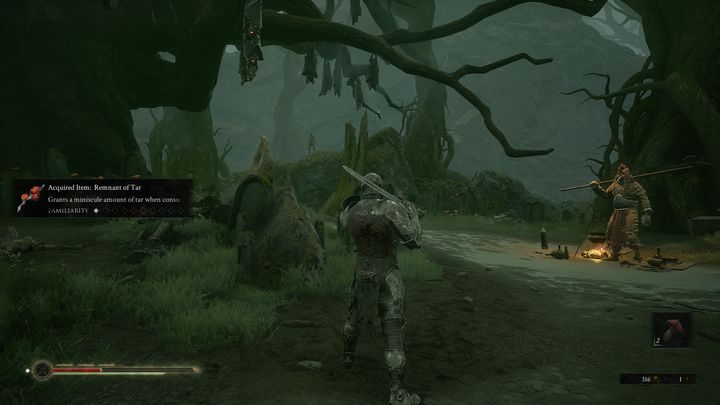
Remember that after a certain time the mushrooms renew - you can pick them up again. Going this way, you'll find Remnant of Tar. When you walk through two huge trees, watch out for opponents on your left. Take them on one at a time - you don't have to fight everyone right away. Bear traps can make things easier for you - if your enemies step into them, they will get injured and stop moving for a while.
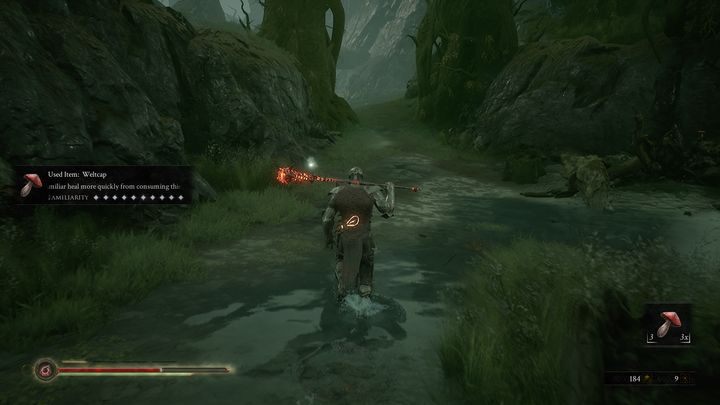
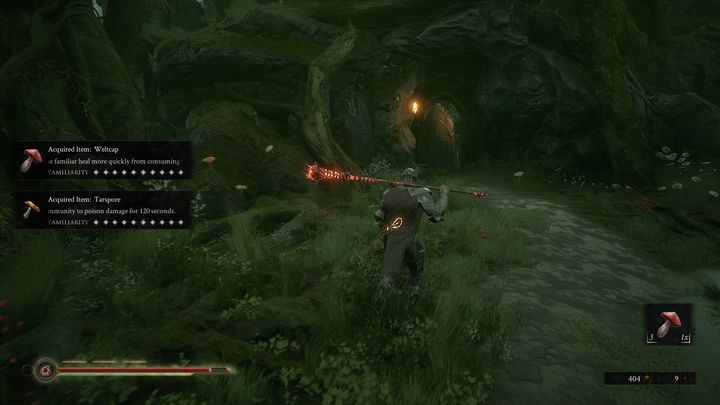
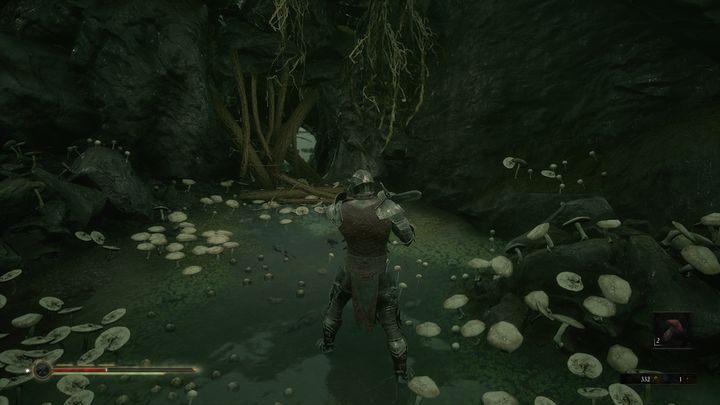
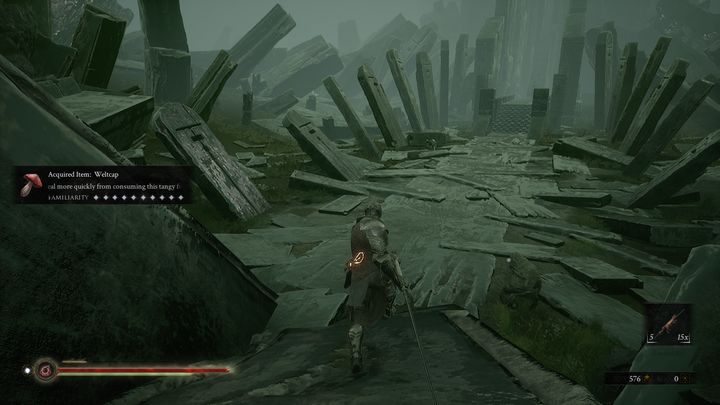
After defeating the opponents, continue up. On your right you'll find another mushroom to pick up. Weltcap mushrooms heal over time, while Tarspore mushrooms inflict damage over time because of the poisoning. Once your familiarity with this mushroom is at maximum level, Tarspores will heal you from poison and offer invulnerability to this effect for 120 seconds.
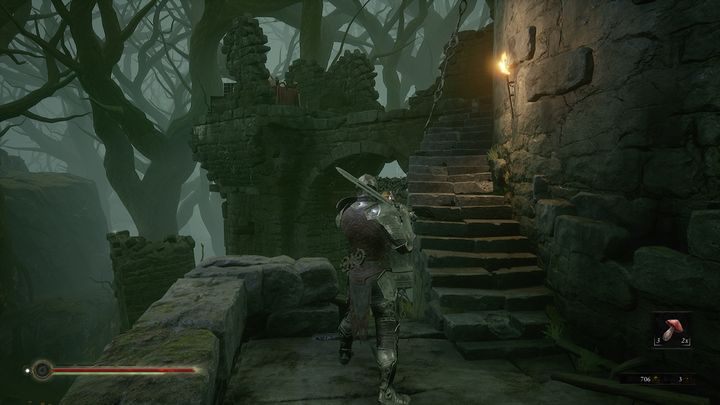
Once you get to the top, turn left to reach door leading to the Fallgrim Tower. On the right is a cave in which Grisha, a secondary boss, is located. Go inside the tower before you face him, as there you'll find the aforementioned Sester Genessa. Wake her up and talk to her. She can tell you the name of your Shell and upgrade it further.

On the lower floor there are holes in the walls - use instinct to learn where to go next. Take the stairs up.
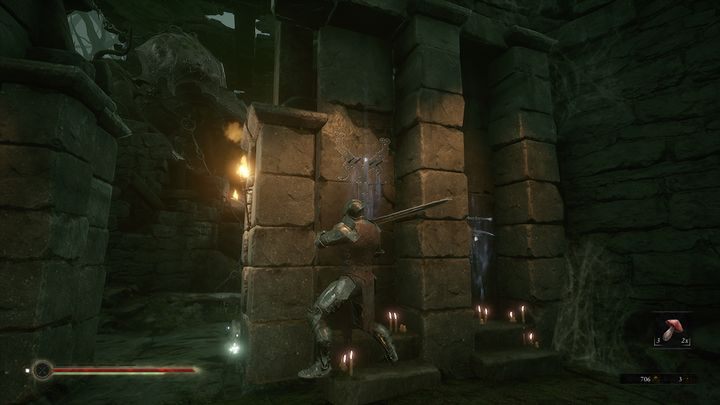
There you will find a table on which you can improve your weapons and the walls on which these weapons are hung. If you haven't unlocked any of them, you can use your instinct again to see random frames that will help you locate the weapons.
There is an Old Prisoner inside - he will give you a Tarnished Seal, an item that allows you to parry enemy attacks. Next door leads further up. Go up the stairs and you'll meet a dealer named Vlas.
You can spend Tar to buy healing items from him, as well as parts for Balistazooka and crossbow bolts. There is a cat next to the merchant, pet it to score an achievement. Find your way back through the door that you've used to enter the tower.

While leaving the tower, use the opportunity to pick up another inscription on the left. Read it while watching out for frogs nearby. They will attack, and when they jump on you, they explode, inflicting injuries and poisoning you.
Continue by going to the cave on the right. Watch out for bear traps. You are now facing Grisha - the walkthrough for this battle can be found on a separate page of the guide.
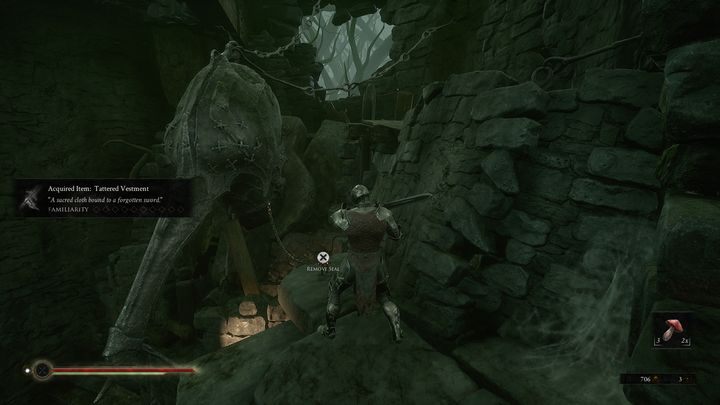
After defeating Grisha, go downstairs and find a passage barricaded with logs. On the other side you'll find another Shell to activate, Solomon.
Shrine of Ash
Once you have defeated Grisha and unlocked the Tower of Fallgrim, go back to the very beginning where all the paths were visible. Use the path on the left.
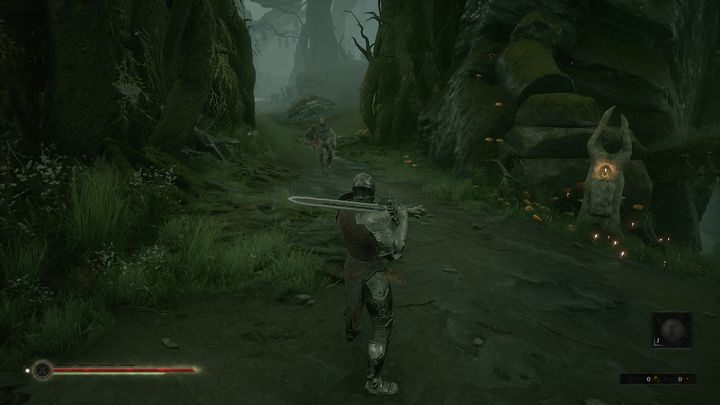
Among other things, you will find another inscription and several opponents. Be careful because you will encounter a stronger type of opponent who usually attacks twice, with the range of his punches being quite large. Wait until he attacks and then come back with a charged attack.

In the distance, you'll see a big tree on which bats hang. Fortunately, you don't have to fear them. However, instead of walking towards the tree, go right. There's a marksman in there, quickly close the distance between you and kill him.
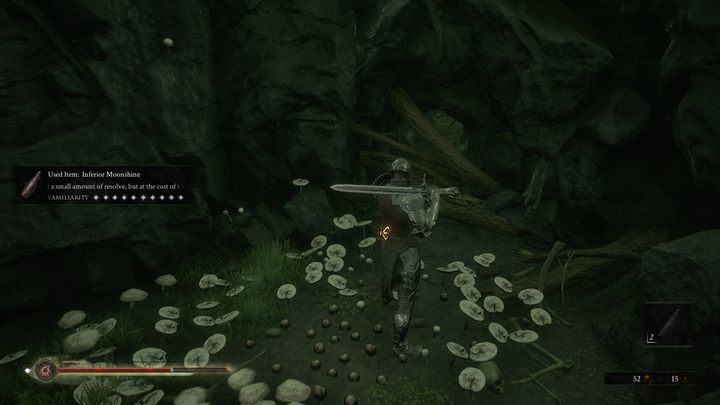
Then you'll encounter an encampment manned with additional enemies. Attack them one at a time. At the encampment, you'll find Inferior Moonshine. Descend down the path - you'll encounter more enemies there and additional mushrooms to pick up.
Coming down, you'll find a hole on your right, but don't go through it yet - go to the tree with the bats, we'll return to this area in a moment. You'll find another campsite with additional opponents. Defeat them and pick up Superior Moonshine. Opposite the encampment is another inscription.

Go through a large hole in the wall, then go down. There is another tunnel at the bottom on your right.
Destroy the logs so you can go to the other side. Beware, however, as on the other side there is another boss, Ven Noctivagu. A walkthrough for this battle can be found on another page of the guide.
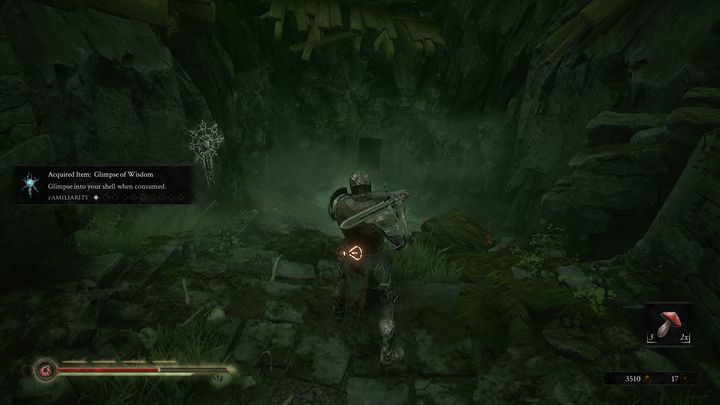
After defeating Ven Noctivagu, pick up Glimpse of Affection and interact with another Shell, Tiel. Leave the cave. Go back to the tree with the bats, go beyond the tree and enter the tunnel which you've seen before.
Going through the tunnel, you'll find more opponents. Defeat them and continue up.
Head for Grisha's burning corpse. There you will encounter more opponents, fight them one at a time. On the left is a passage guarded by archers. Don't forget about a laid trap found there.
In front of you there is an opponent and a movable object. Beyond the wall, there are opponents of the same type both left and right. Approach them and immediately run away to provoke your opponents. After defeating them, pick up the item. Going upstairs, you'll find a new location, Shrine of Ash.
Crypt of Martyrs
Go back to the location where you fought Ven Noctivagu, but do not enter the cave. Continue descending - you'll encounter more enemies there.
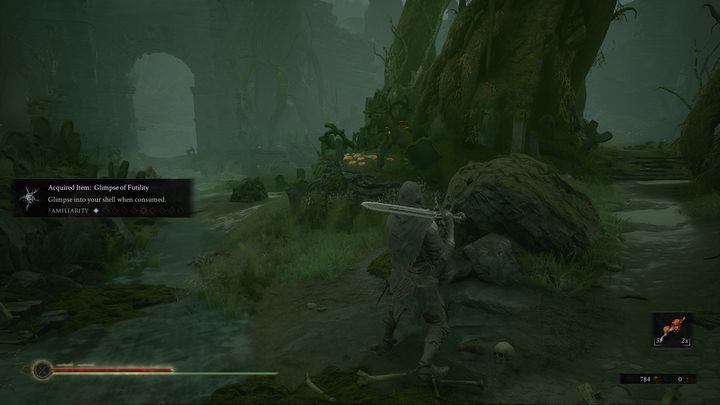
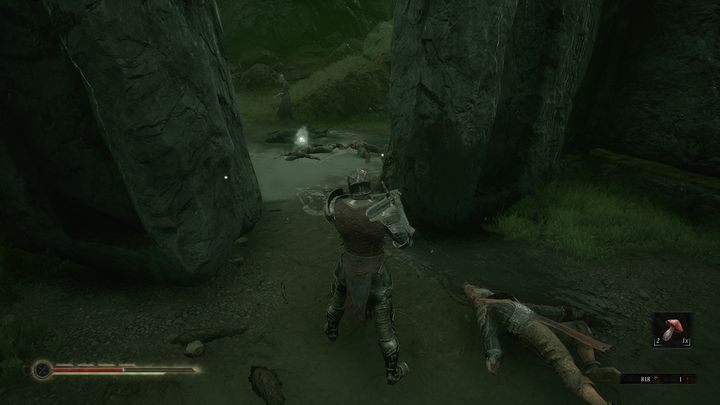
In front of you, there is the path leading to the Crypt of Martyrs. But before you continue that way, look to your right to find Glimpse of Futility. Just follow this side for now.
You'll find more mushrooms to pick up, but be careful as there are marksmen on the other side. Go there and deal with them. You can use Harden when they're attacking you, it won't break that state, allowing you to reach the opponents when they are reloading.
Return to the pathway that leads to the Crypt of Martyrs. Watch out for additional opponents if you haven't dealt with them before.
Seat of Infinity
The fastest way to the Seat of Infinity is through Fallgrim Tower. Do you remember where you fought Grisha? Return to that location, there's a tunnel in the middle of the cave on the right, go through it.
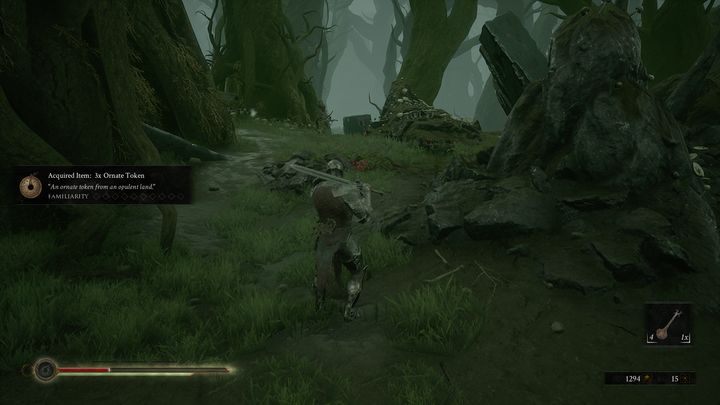
On the other side is an encampment -watch out for opponents and bear traps. After defeating them, pick up Ornate Token.
Keep moving forward, but keep an eye out on the marksmen on your right. Also be careful during your attacks, as you can very easily fall off from the hill. Apart from the marksmen on the right, there will be one stronger opponent in front of you.
Continue forward and deal with other marksmen. Go down the ramp. When you're at the bottom, you'll see a bridge, but don't cross it yet - turn left to reach a hole in the wall which contains a Corrupted Sester. Now you can head towards the bridge.
The bridge is guarded by a knight armed with a halberd. Don't fight him on the bridge, as you can easily fall and die, unless you've unlocked the Kick ability. Kick can be used to push your opponent from the bridge, scoring an achievement in progress. Look out mainly for his attack, in which he performs a double or a triple spin. Once you beat him, cross the bridge - you'll find yourself in a new location.