
Scarecrow Fields | MediEvil Walkthrough MediEvil guide, walkthrough
Last update: 30 October 2019
On this page of our guide to Medievil you will find a walkthrough for the Scarecrow Fields level. Sir Daniel Fortescue has left the necropolis. Now, he must travel through the Scarecrow Fields in order to reach further regions of Gallowmere.
Things to find
- Club
- Silver Shield
- Copper shield
- Life Bottle
- Chalice (you will get the Broad Sword in the Hall of Heroes)
- 6 books
- Harvester parts
Walkthrough
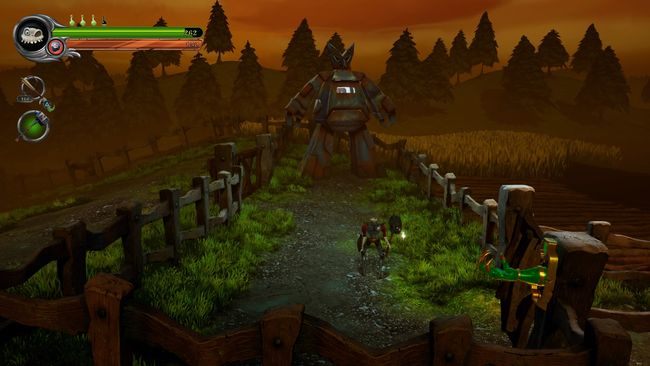
You will see a book to read in front of you immediately when you start the level. It will give you a clue how to fight the scarecrows. They are unusual opponents that can be quite irritating. Use R1 button to hit them with a shield and make them lose balance. Use the triangle button to kick the cart and make a way. Kill the crazy villagers. Then, collect the vials and gold from this area. Equip the Mace and go to the fireplace. Set it on fire and quickly run to the haystacks from which the villagers were coming. Set the haystacks on fire. Gold will drop from one of the haystacks. You should visit the Merchant Gargoyle and buy some crossbow bolts. Once you clear the area, move behind the fence and fight the machine controlled by the imp. The battle is quite simple. Keep shooting the head of the machine until it drops off. Then, move between the legs of the machine to its back and shoot the imp. You should destroy the machine in a few moments. Once you defeat the machine, pick up the Moon Rune and use it to open the door to the cabin in the previous location. Read the book next to the door. Walk inside and get rid of the bats (crossbow is very effective). Collect the Earth Rune and the Club from the chest. With this rune, you can open the passage in the place where you fought the machine.
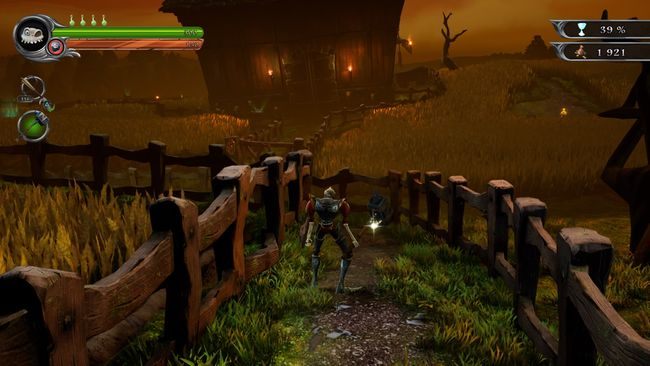
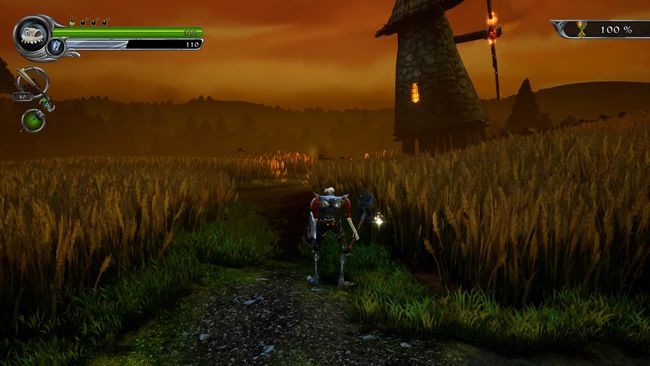
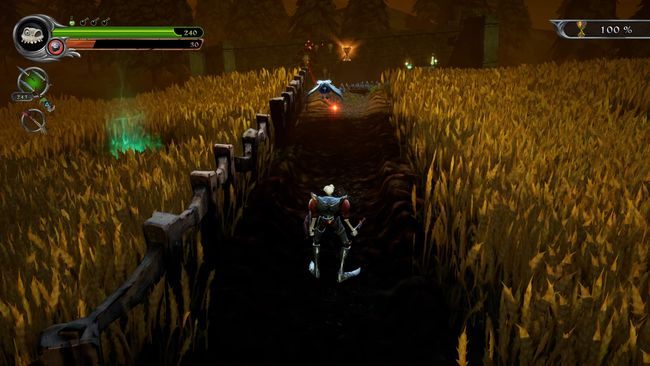
Watch out for the windmill. Pass by it and replenish your health in the fountain. Take down two scarecrows and the villager. Pick up the shield and fight the second machine. The procedure is the same, but this time the machine will be additionally shooting fire bullets from its head. This shouldn't cause you any problem. Eliminate the machine just as you defeated the first one. You will receive a Chaos Rune and the "Impaired Drivers" trophy. use the rune to open the nearby passage and go to the barn. Near the barn, you will find a book to read. Keep moving forward. Avoid entering the fields. If the enemies lurking in the fields catch you, you will die immediately. Watch out for the scarecrows. You should look for a chest with a skull. Smash it in order to release Kul Katura - a friendly snake master. He will be killing your enemies for some time. Scarecrows are probably the most dangerous opponents in the game and Kul Katura is a great help when facing them. Once you deal with the enemies, read the two books and explore this area for gold. Similarly to the previous location, you will find a fireplace here. Set the club on fire and use it to burn the haystacks. Collect additional gold and the health vial.
Now, enter the barn. You can enter it by moving the cart like in the first location (with triangle key). Inside it, you will find a book with an important clue. Move the hay bale in such position that you can jump on the nearby chest. Collect the copper shield from the chest and activate the lever. Now, leave the barn and go towards the windmill.
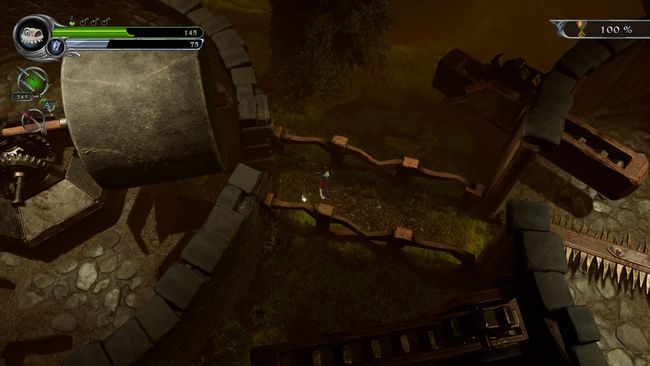
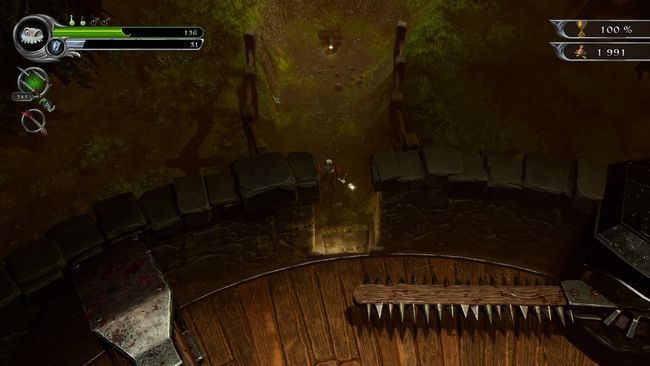
Carefully pass through the "wings" of the windmill and kill the final cursed scarecrow in MediEvil. Now you must complete a short, action-based sequence. Pass by the rolling grinding wheel (touching it will kill you), then pass through the spiky propeller while avoiding the wooden barricades. If you can't dodge this trap - block it with the shield. Charge your health in the fountain and face another trap. When facing another grinding wheel, jump and quickly move to the left. The penultimate trap is simple. Just wait patiently and jump over the low fences in such way that the spikes won't hit you. The last trap has a hidden SECRET. Walk inside and pass through the trap by jumping or blocking. At the end of the trap you will find a niche with a Harvester Part and a gold chest. Now you have to go back to the barn! Use the Harvester Part on the machine. The harvester will cut a path through the field. The path will take you to the Chalice, a health potion, a health fountain, and plenty of gold. Now go back. Near the final trap you will find the end of the level. Talk to the gargoyle and leave the level.
ATTENTION! Once you beat this level, you will gain access to three new levels:
The Enchanted Earth - currently, there is no point in going there.
The Sleeping Village - one of the two possible paths
Pumpkin Gorge - the second possible path
The following order was used in this walkthrough - Pumpkin Gorge, The Pumpkin Serpent, The Sleeping Village, The Asylum Grounds, Inside the Asylum, The Enchanted Earth.