
Guardians of the Galaxy: Chapter 10 - walkthrough Guardians of the Galaxy guide, walkthrough
This page of the Guardians of the Galaxy game guide contains the walkthrough for Chapter 10 (Trial of Faith) of finding the cure for Drax with the help of Mantis.
Last update: 15 December 2021
On this page of the guide to the game Marvel's Guardians of the Galaxy you will find a walkthrough for Chapter 10 (Test of Faith). Our walkthrough will help you with getting out of Star Lord's cabin, traversing through the caves, solving the waterfall and plants puzzle, and destroying the hallucination-inducing fog.
If you want to view the Chapter 10 collectibles only, visit Secrets and Finds chapter of the guide. All collectibles are marked in green.
- Get out of your quarters
- Find Drax
- Explore the cavern for something to help Drax
- Cross the ravine
- Explore deeper into the cavern
- Move the plants to divert the waterfall
- Follow Groot
- Escape the foggy cave
- Destroy the source of the fog
- Find the cure for Drax
Get out of your quarters

The initial conversation with Drax is not important and your dialogue options will not affect it. The chapter begins with a conversation with Drax - you can choose any dialogue options you like, as they don't affect anything. Once the dialogue concludes, you'll receive a new task (Get out of your quarters).
The beginning of the mission looks different depending on your decision in Chapter 2 - it is shown in the screenshot above and depends on what you've chosen to hide - Llama or Rocket's weapon tech. Both variants appear later in the chapter. The remainder of Chapter 10 will be the same for both variants.
You won't be able to check both variants, even if you decide to replay Chapter 10 from the main menu. You can check the second option only when you go through the campaign again in New Game Plus mode or only if you behave differently in Chapter 2.


Option 1 assumes you chose to hide the llama. Option 1 is much easier. Check out the poster from screenshot 1 to find a tunnel dug out by the lama. Squeeze through it (picture 2) and free the companions by accessing their cabins.

Option 2 assumes you chose to hide Rocket weapon tech. In this case, the Llama won't dig out the tunnel, and you'll need to lead it. Start by picking up the tablet lying on the bed.

You need to influence the llama travel route which is a simple mini-game. A exemplary route is shown in the screenshot above.
The most important idea of this puzzle is:
- the singing of Star-Lord and Groot is pleasing to the Lama - the animal will walk towards the singing character,
- the singing of Gamora and rocket is unpleasant for Lama - the animal will move away from the singing character.
Choose which character sings by pressing the dedicated button. You need to bring the llama closer or push it away from you and in this way control its route.

The Lama must eventually reach the green area (marked in the attached screenshot) to cut the wires and free the heroes.
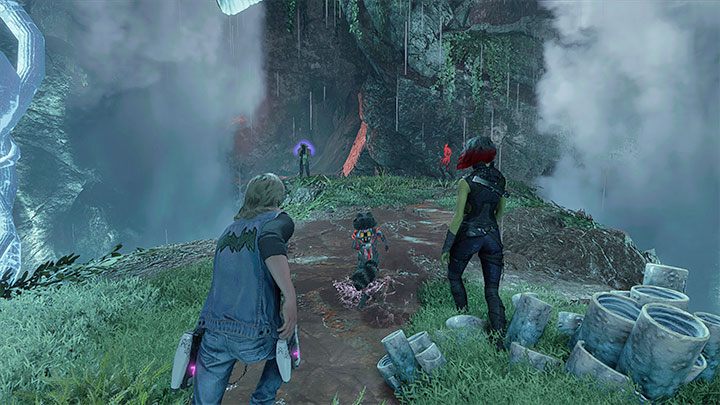
Find Drax
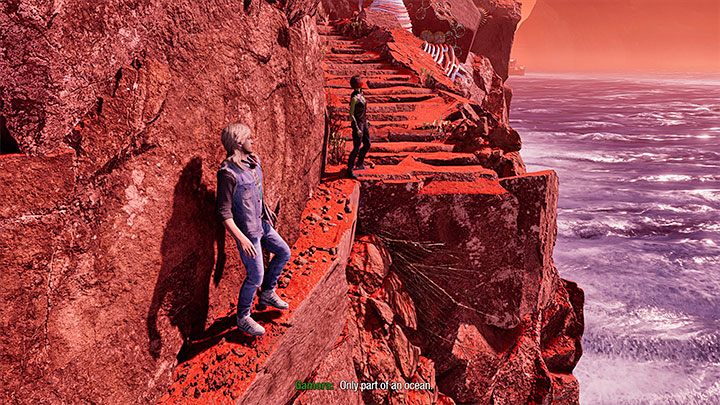
The new objective plays out the same for both variants. Leave the ship and start exploring Lamentis, which involves using a narrow passageway next to the cliff.
There is only one viable route leading forward. Eventually, you will reach Drax, who is under the influence of his Promise, and Mantis will also appear, but he'll be temporarily silenced. Drax is not an active team member in this chapter - even if he accompanies the rest of the team, you won't be able to give him any commands.
Explore the cavern for something to help Drax

After regaining control of Star-Lord, begin your march through the large cave. To do it, hold down the jump button and be ready to press it again to grab the shelf.
Soon you will notice another waterfall on the right side and you can explore the secret area behind it to find a collectible - Costume: Gamora - Five Horseman of the Apocalypse.
Cross the ravine


Travel further until you reach a large crystal - unfortunately, Drax won't be able to push it. Locate an interactive wall (Screenshot 1) Ask Gamora to attach to it and use her help to climb it.
You'll encounter grey goops (screenshot 2) on the top of the ledge - defeat them and continue by sliding down the crystal tunnel.
Explore deeper into the cavern

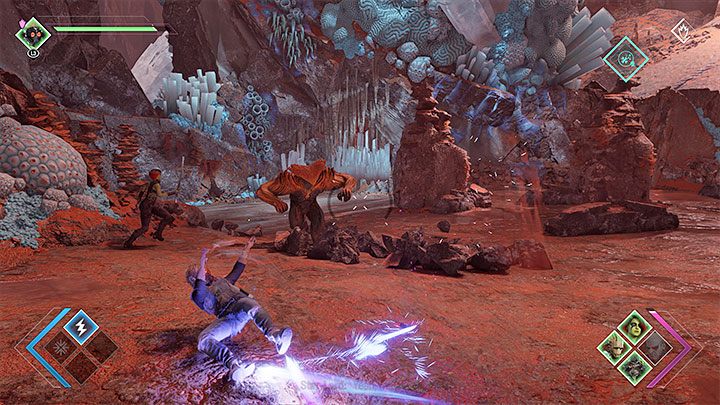
You'll encounter a larger monsters below - after the battle commences, a new Guardian Ability for Star Lord will be unlocked. It is a stronger version of already possessed ability, and you don't have to buy it for development points. Rank 4 Guardian Abilities for the remaining party members will be unlocked during further chapters.
Star Lord's Guardian Ability allows him to become temporarily invulnerable but using it during battles is not mandatory. Use Lightning Shot to deal more damage to the monster and fill its Stagger metter to have an easier time dealing with him.

Once the monster is defeated, look for a narrow passage (screenshot above) nearby. Go through the passage to find 2 collectibles: Archive: A Foggy Theory and Guardian Collectible - Mourning Candle.
Return to the previous location to rejoin the team and continue traversing the cave.
You'll soon encounter Ogrode - large orange monsters. They relay on charges, so keep dodging to avoid damage.
After the battle ends, look for a small hole and send Rocket to access it. This path leads to a secret area - during exploration, use Ice Shot to deal with poison gas, and ask Groot to move a movable platform to reach a collectible: Costume - Rocket: Hero of Halfworld
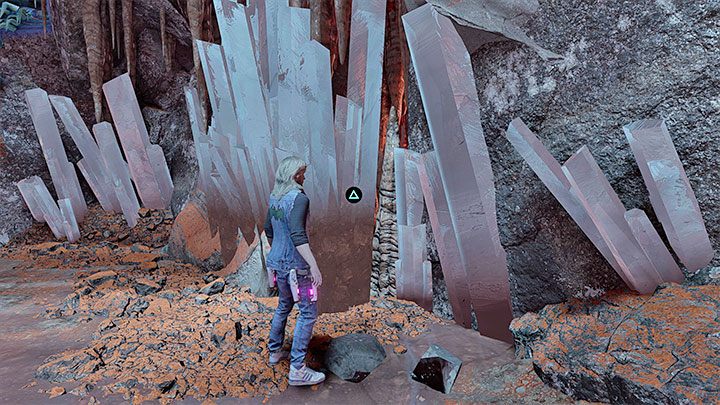

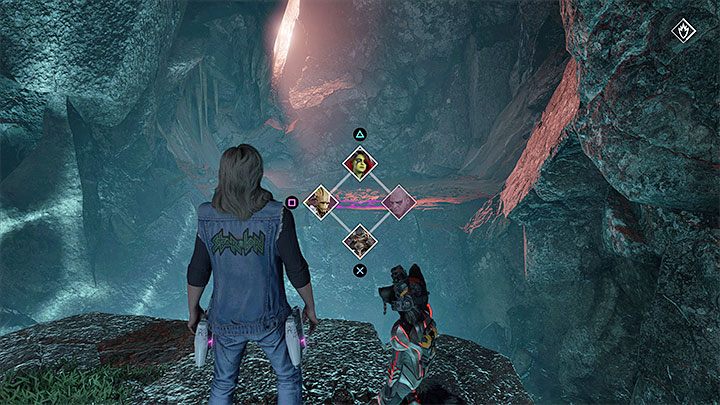
Return to the initial area. Find Mantis and Drax and listen to the conversation. Now, locate the crystals from screenshot 1 to move them and unlock the path forward.
A narrow passage will appear after completing the previous action. Squeeze through and fire at the goops visible in the distance. This will reveal an interactive point (screenshot 2) and you can ask Groot to create a bridge.

Continue your linear journey. You'll have to slide down the slope - perform a double jump at the right moment, otherwise you may fall in the abyss.
Once you're at the bottom, ask Gamora to destroy the crystals shown in the screenshot above.

A QTE sequence will begin - the moment of pressing the button is shown in the screenshot above. You must quickly point both cursors at the center circle which involves moving two analog sticks at the same time (each of them has to be moved in a different direction) Finally, press R1 / RB quickly to prevent Drax from falling into the abyss.

You've unlocked Wind Shot - you can activate it by pressing the right d-pad button.
An opportunity to test this power appears right away. Use Wind Shot on the weak point shown in the screenshot above. The obstacle will be lifted and you will be allowed to move on.

The next cave is an background for another battle. Use the opportunity to try out the new power in combat.
Wind Shot can pull enemies and is best used on snipers and other enemies staying in the distance or on hard-to-access ledges. Once you've pulled an enemy, you can quickly attack him with melee attacks or use a weapon or offensive abilities.

After the battle concludes, slide down the slope - you'll begin another battle with Ogrodes. Same as before, avoid charges by dodging.
After dealing with monsters, you can look for an interactive hook and use Wind Shot on it. Destroy the goops and plug the gas fumes to reach a Guardian Collectible - Meditation Stone.
Return to the team and continue forward. You'lll reach a narrow passage, but before you use it, pick up the collectible (Archive: Pip's Quips)
Move the plants to divert the waterfall

A more complex waterfall puzzle is here. The idea behind it is to change the water flow by using the surrounding large plants. Only then Rocket can move forward, as contacting water is hazardous.
Unfortunately, the plants cannot be used right away, as they are blocked by goops. As always, you can use the Visor to locate the parasites, but that way you won't be able to fire at them. Climbing on the right and left shelves will be needed.

Start by approaching the plant on the left and a nearby climbable wall (shown in the screenshot above) Ask Gamora to attach to it and use her help to access the upper shelf. Now you can attack the parasites.

Go back down and use the Wind Shot on the left plant - if you've destroyed all the parasites successfully, the plant will rotate.
You've solved the half of the puzzle so far. Time to visit the shelves on the right (screenshot 2)

Stand on the interactive platform (screenshot above) and ask Groot to lift it, so you can access the higher shelf. Now ask Gamora to help you climb the wall.

At the top, there are parasites to defeat.
After clearing the shelf, return to the bottom and use Wind Shot on the right plant.
Thanks to your actions, the water flow should be blocked. Choose the central path and ask Groot to create a bridge (screenshot 2)
Approach the small hole and enter it. The tunnel is dark, but you should get to the next part of the stage in a moment.
Follow Groot
You'll have to wait until Groot illuminates the cave. He will light the way, but you don't have to follow him at all times, as he will approach you and light the area you're in. This is important, as there is a narrow passage on the right that leads to a collectible: Costume - Groot: Annihilation Conquest.
Once you got the collectible, continue through the dark cave. The exit leads through a narrow passage (attached screenshot)
Escape the foggy cave

You will reach the area with low fog - start by eliminating enemies encountered there.
This section is somewhat of a trap. By choosing further pathways, new battles with various types of opponents will begin. To solve the puzzle, simply stop participating in further combat. To do this, wait for the dialogue prompt and choose to remain silent "(...)" - the button responsible is Circle/B. This way, you'll unlock the real path forward.

Crossing through the new path involves walking along a narrow edge over abyss. Locate the interactive hook shown in the screenshot above and use Wind Shot on it. You can now ask Groot to create a bridge.
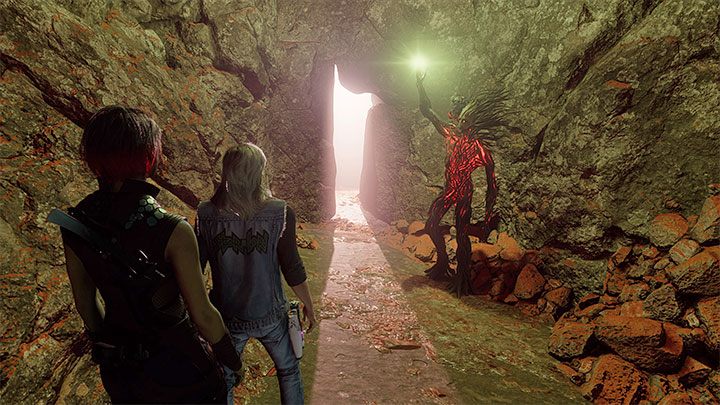
Finally, the team will reach a new slide. A cut-scene will begin depicting an appearance of ghostly versions of the Guardians.
Destroy the source of the fog
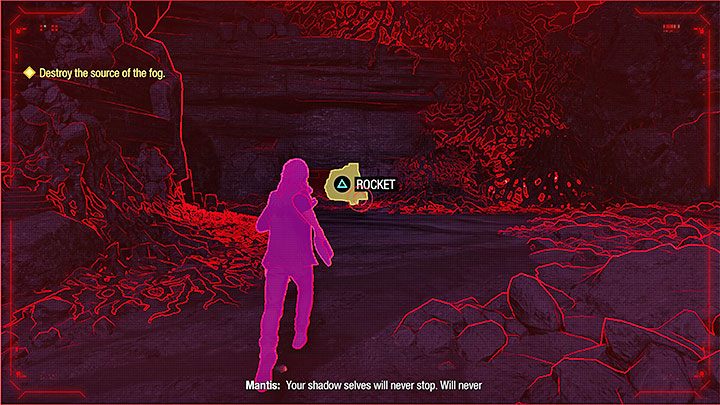
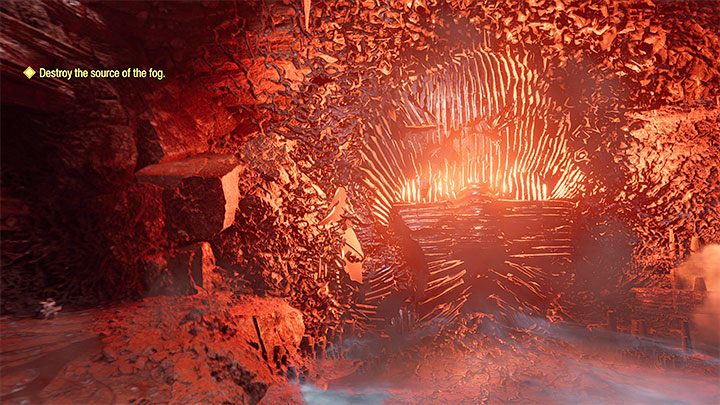
This battle is different - you cannot win it in the standard way i.e. by defeating opponents. After the battle commences, locate the hole shown in the screenshot above and send Rocket to get into it. While Rocket is underway, dodge attack and stay mobile.
Rocket's action should cause an explosion, dealing some damage to the part of the large face. The first part of the puzzle is done.

Time for the second hole - behind the waterfall. Rocket will initially protest, because of his fear of water. He will change his mind once the remaining Guardians will be trapped in the fog.
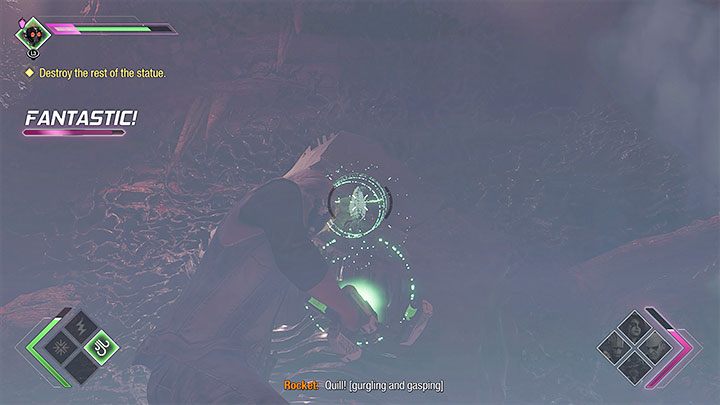
Wait for second explosion and turn quickly towards the badly damaged large face. You must use the Wind Shot on the interactive hook, which became exposed after the second explosion. After this move, the battle concludes.
Find the cure for Drax

Jump in the hole. A new sliding sequence will begin, during which avoid colliding with obstacles and use jumps if necessary.
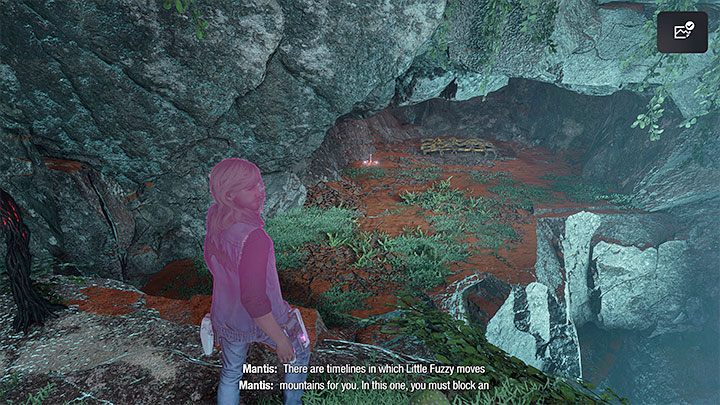
In the next cave, follow Mantis and Drax to the rendezvous point with Adam Warlock.