
Guardians of the Galaxy: Chapter 7 - walkthrough Guardians of the Galaxy guide, walkthrough
This page of the game guide for Marvel's Guardians of the Galaxy contains the walkthrough for Chapter 7 (Doggedly) of Leaving Prison and Exploring Hall's Hope.
Last update: 25 November 2021
This page of the guide to Marvel's Guardians of the Galaxy contains a walkthrough for Mission 7 (Canine Confusion). The walkthrough explains how to escape jail, how to restore gravity, how to solve the circuits rerouting puzzle, how to reach Nikki's hideout and Ko-Rel's office and where to find the Nexus code on the bridge.
For more information about the location of the secrets in Chapter 7, check the Secrets and collectibles chapter. All collectibles are marked in green.
- Find a way out of jail
- Enter the Continuum Cortex
- Restore gravity
- Investigate the Hala's Hope
- Extend the mounting arms
- Reroute the circuits
- Activate the lift
- Find out what happened here
- Get to Nikki's hideout
- Get to Ko-Rel's office
- Search Ko-Rel's office for clues
- Get to the bridge
- Access the Nexus terminal
- Search the bridge for the Nexus code
Find a way out of jail
You start off this chapter in a jail cell, very quickly finding out that the other Guardians (as well as the Blood Brothers) have been captured as well.
You can try talking to Gamora, Drax and Rocket or immediately turn around and interact with the camera. This will cause Cosmo to reveal himself, triggering a conversation. It doesn't matter which dialogue options you go with here.
Enter the Continuum Cortex

After regaining control of Star-Lord you must follow Cosmo. New Chatter which triggers during this segment is also unimportant.
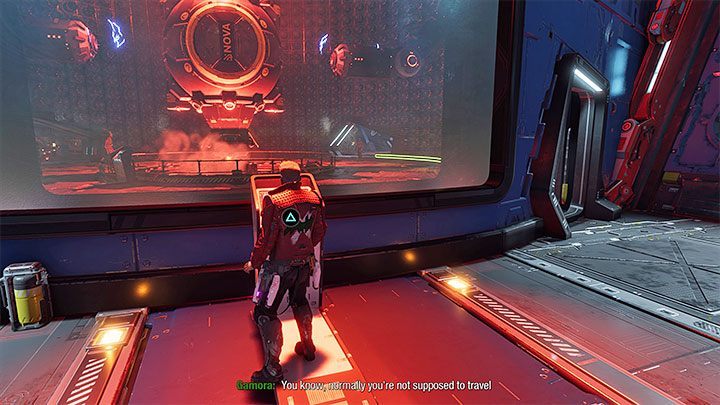
You don't need to do anything when traveling on the giant hand. You can only listen to characters from other universes.
Restore gravity
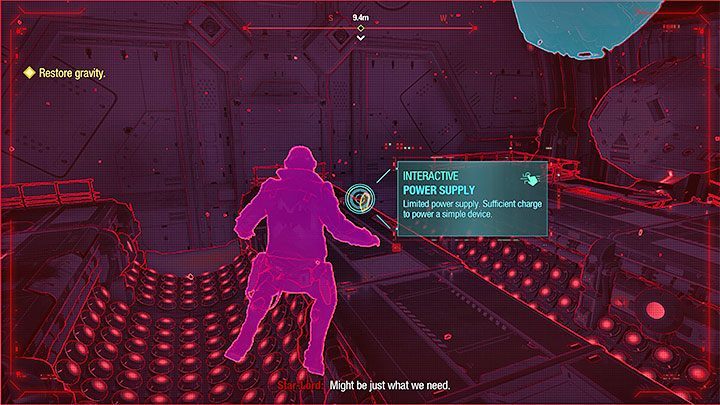
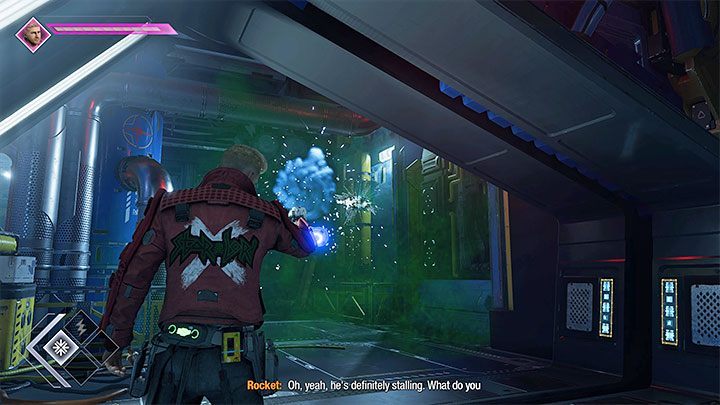
Get familiar with the unusual gravity-less controls - the X/A button lets you fly forward, Square/X makes you fly up and Circle/B allows you to fly down.
Locate the pictured energy source with your vizor - it's a generator.


Get close to the generator and grab it with the interact button. You need to carry the generator to an empty slot shown on picture 1 - it's on the opposite end of the room. After inserting the generator into the slot, press any button.
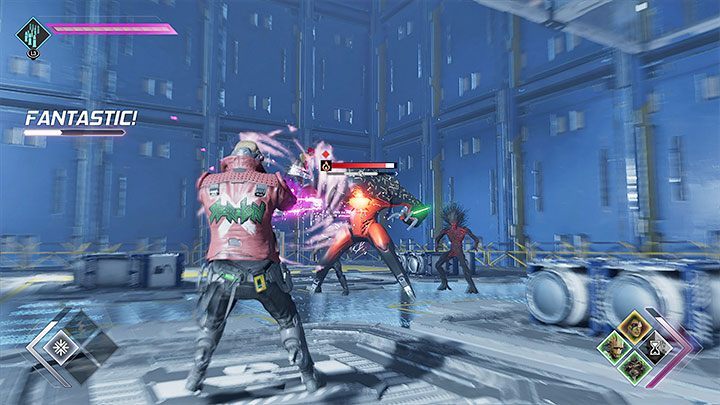
You must complete a QTE sequence. Its most important moment is shown in picture 2. Just like way back in Chapter 3 you must use both analog sticks to move the cursors to the central circle, then press R1/RB.
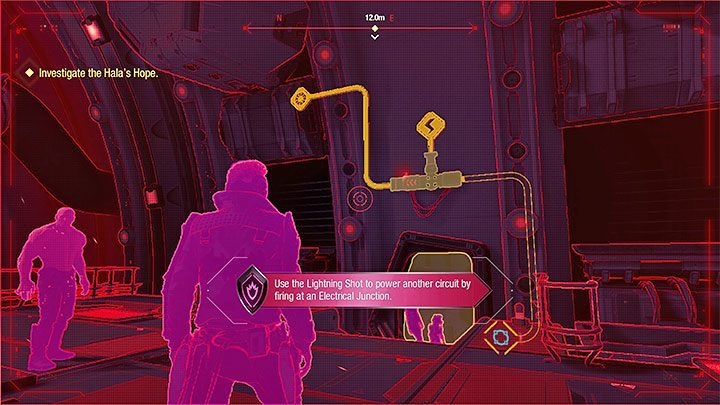
Investigate the Hala's Hope

You've now unlocked Lightning Shots - as a reminder, you can switch between elements with the D-Pad. Use the new element on the device nearby to turn it on, opening the way forward.
As you move through the area you must make double jumps onto subsequent platforms and avoid electric discharge.

In the next area use the vizor to observe the electricity flow. You must shoot the switch above the door with Lightning and order Drax to attack the weakened floor. This unlocks the way forward.

Go down and find yet another switch requiring lightning.
You can now progress further, finding a secret on the floor along the way - Archives: Warning.

When making your way through the area you can take an interest in the locked door on the right, as pictured above. This door can only be open if you have Nikki's device - you could've obtained it back in Chapter 2 if you stood up for her during the conversation with Ko-Rel. There's a secret area behind the door, containing a workbench and two collectibles:
- Archive: Cadet Gold's Attendance
- Guardian Collectible: Drax's Rap Sheet
We've described this place in more detail in the Secrets and collectibles chapter. You won't be able to enter this room without an access card, but luckily the collectibles inside aren't required for a platinum trophy.
Extend the mounting arms


The path forward is linear which means you can't get lost. You'll eventually reach a huge circular shaft with a puzzle to solve:
- There are two climbable walls in the room (example shown on picture 1) - in both cases you must ask Gamora for help, jump towards her and then jump again onto a nearby platform.
- There's a small balcony next to each climbable wall. Examine them to find electrical switches (as shown on picture 2) and use lightning on each one.

After solving the puzzle you'll have to go through an enemy encounter. Note that the enemies you fight here are weak to lightning, so you should be using this element in combat. What's important is that lightning can chain towards enemies standing close to each other, damaging them all at once.
After the battle try activating the console. This will trigger even more fights during which you should start paying attention to the markers next to the enemies' health bars, as this time some of them are vulnerable to ice instead of lightning.
Reroute the circuits

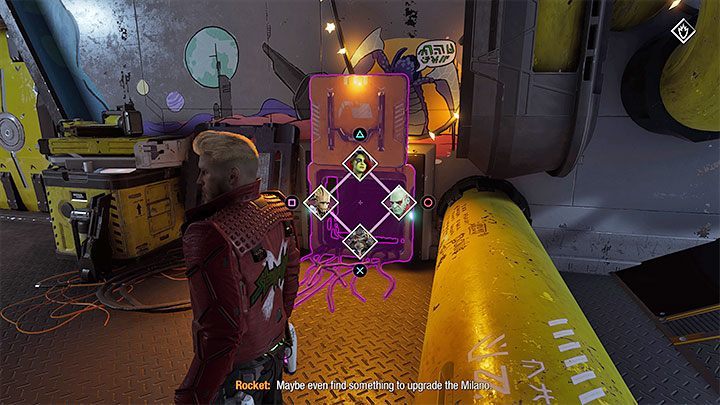
After the encounter you'll learn about some new problems, tasking you with solving a more complicated puzzle. You'll have to do a few things in two side rooms Rocket will open for you. You can access them in any order.
One of the rooms contains a weakened wall as shown on the picture above. Ask Drax to break through it. Once inside, turn right and shoot the switch with lightning.
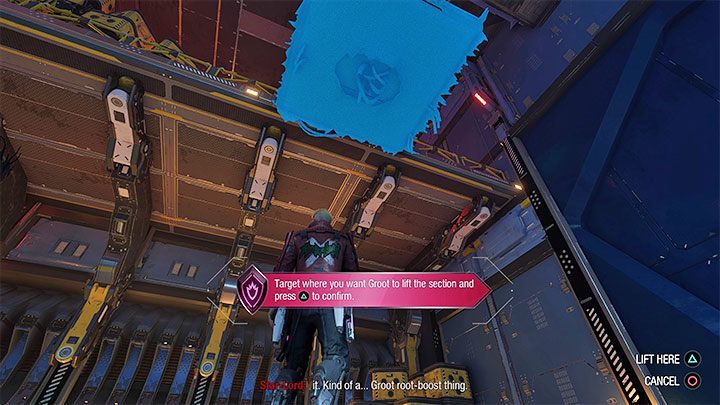
Still in the same room you must stand on the platform shown in picture 1. This is the first time you'll have to ask Groot to raise a platform - command him to do so, then set a target point. It must be blue to work (as shown on picture 2). The platform will work like an elevator, taking you up.
After the ride is over, jump onto the balcony and use lightning on the switch.


Return to the central shaft and go to the second room.. Once again you'll see an interactive platform (picture 1) Groot can move.
After reaching the top, jump to the balcony and use the ventilation shaft shown on picture 2. It will lead you to a new room.


In this new area find the switches shown on picture 1. You can shoot them with lightning, manipulating the electric current. Use the vizor to constantly see where the power flows.
You can optionally provide electricity to a small room on the side to get an Outfit: Nova Corps - Rocket. To solve the main puzzle keep supplying subsequent switches on the way back to the central hall (example in picture 2).
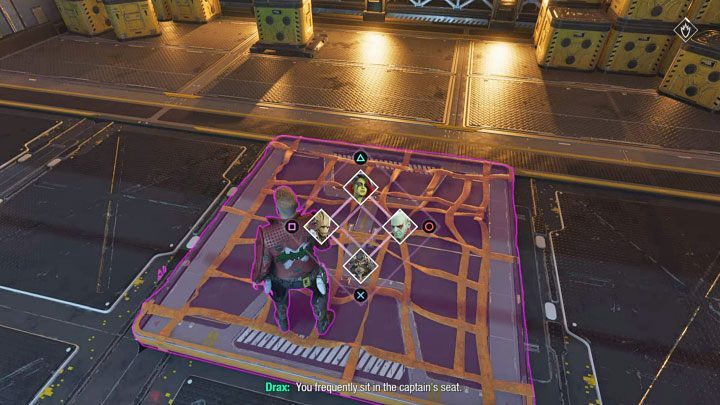
Activate the lift
To complete the puzzle you must return to the control room Rocket was in and interact with the console pictured above. Go to the big elevator, which will automatically go to the new floor.
Find out what happened here

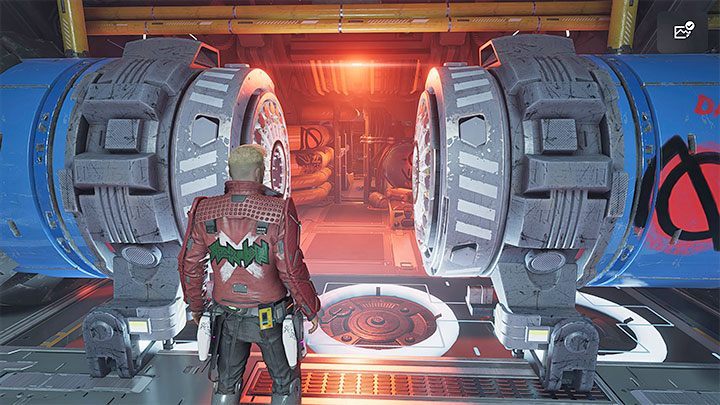
After the ride get close to the reactor grate on one of the shaft's walls and ask Drax to break through it.
The linear path will lead you to a huge device draining the planet's energy. Get to the adjacent platforms and ask Groot to create a bridge. In the place shown on the picture above slide down.


When exploring the lower level you should expect to encounter a Nova Centurion for the first time - an elite enemy. He's weak to ice, so use the proper elemental attacks to fill his stagger bar sooner. Other enemies will also join the battle, but they're nothing new.
You must solve a simple puzzle after the fight - send tocket to the ventilation shaft shown on picture 1, then ask Drax to push over the crane. Finally use lightning on the switch shown in picture 2.

After reaching the new shaft make some precise jumps, then ask Groot to make a bridge. In one of the following areas you must locate the cables pictured above and ask Gamora to get rid of them. Groot must then create another bridge.
You'll reach a stairway. If you want to you can go down and solve a small environmental puzzle (hitting a switch and destroying the cables) to find a secret - Outfit: Nova Corps - Gamora. To progress you must head upstairs.
Get to Nikki's hideout

Further corridors will lead you to an area with poison gas leaking out. You must locate and plug the gaps it comes from. Use the vizor to locate the gaps and plug them with ice shots. This will let you progress, walking along the large yellow pipes.
You'll reach the damaged door, having to squeeze through a narrow passage to the right. You have to locate the narrow passage pictured here. It'll lead you near Nikki's hideout, an area you should remember from Chapter 2.

The door to Nikki's room is locked but you can easily fix this - look to the right of the door and use lightning on the switch shown on picture 1 - then send Rocket to the now-unlocked vent shaft shown on picture 2, waiting for him to open the way forward.
In the hideout there's a cutscene and a collectible - Archives: So Many Thoughts.
Get to Ko-Rel's office
Leave Nikki's hideout and use the new passage. Right after jumping over the railing you'll find a new secret - Archives: Urgent Quarantine Warning.
You'll encounter more hostile soldiers soon - depending on the icon next to their health bars you should attack them with ice or lightning. After opening a new door, close off more gaps to get rid of poison gas. You'll reach an elevator you must operate. The linear path forward will take you to Ko-Rel's office.
Search Ko-Rel's office for clues

There's a Guardian Collectible: Galactic War Commendation next to the desk in the main room. Rocket will start checking the computer while you must examine the neighboring living quarters.
There's yet another secret in the bedroom next to the bed - Archives: Upcoming Accuser Visit. Keep examining the interactive objects in the bedroom and Nikki's room until Rocket calls you (as pictured above). Go back to him to trigger a cutscene.
Get to the bridge
Go out of Ko-Rel's office by using the newly unlocked exit which demands you to walk along a glass bridge. You'll fail, falling into the room below.
For the first time you'll encounter an Inquisitor - a huge machine shooting red lasers which requires you to dodge often. The Inquisitor has a single marker, which means you must get rid of two health bars. You don't have access to the element it's weak to yet, but you can use your abilities to fill its stagger bar. You can also use special actions to weaken the robot or destroy it more quickly.
Access the Nexus terminal
After the battle locate the switch pictured above. Shoot it with lightning to bring a moving platform here. Use it to reach the other end of the room.
In the new area start reaching the higher square shelves with double jumps. You'll eventually reach the passageway above. It leads directly to the bridge.
Search the bridge for the Nexus code
Before you take care of the mission objective, there are two secrets you can find here. These are Archives: Cycle Reminders and Archives: Golden Shadows.
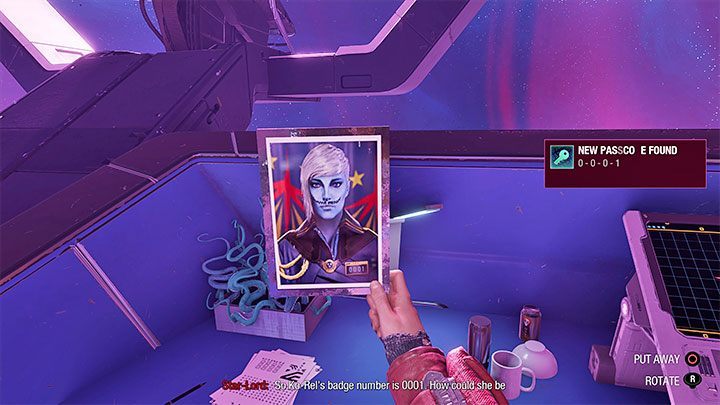
There are several objects here which let you get many different codes (any one of them will work), such as Ko-Rel's photograph.

After getting at least one code walk to the central desktop and enter any of the found combinations (such as 0001). You should go through all the tabs - with audio logs, personal files, criminal files, pictures and video logs. The last category is the most important.
As you try to walk away from the desktop, a cutscene will start and Raker will appear. This concludes the chapter.