
Guardians of the Galaxy: Chapter 4 - walkthrough Guardians of the Galaxy guide, walkthrough
This page of the game guide for Marvel's Guardians of the Galaxy contains a walkthrough of Chapter 4 (Queen of the Monsters) for the Rocket and Groot selling variants.
Last update: 08 December 2021
On this page of the guide to Marvel's Guardians of the Galaxy you'll find a walkthrough of mission 4 (The Monster Queen), which separately describes the options of selling either Rocket (breaking into the vault) or Groot (a stealth mission after dinner). The page also contains a description of the boss fight against the Dweller in Darkness.
For more information about the location of the secrets in Chapter 4, check the Secrets and collectibles chapter. We've marked all collectibles with green. Depending on your choice the collectibles will be found in different areas of the fortress, but both options allow you to obtain the same costumes and Guardian collectibles. The archives are the only collectibles that differ between the two options, but collecting them isn't required for the platinum trophy.
- Meeting Lady Hellbender - information about two possible options
- Option 1 - Sell Rocket to Lady Hellbender
- Option 2 - Sell Groot to Lady Hellbender
- Boss fight - Dweller in Darkness
Meeting Lady Hellbender - information about two possible options
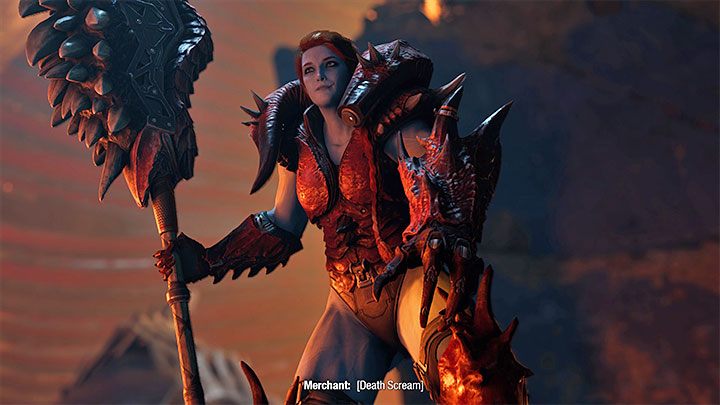
The fourth chapter of the game is unique, as its course changes significantly depending on your choice in Chapter 3. You had to decide whether you should try to sell Rocket or Groot to Lady Hellbender. This choice changes the course of the meeting with the Monster Queen as well as its aftermath.
Both options end with a boss fight against the Dweller in Darkness. Your decision doesn't affect any subsequent chapters. Chapter 4 is the only one affected by your choice.
Option 1 - Sell Rocket to Lady Hellbender

The initial part of the level doesn't contain any interactive scenes. You must use the elevator to reach a cave where Lady Hellbender awaits.
The negotiations regarding you selling Rocket will begin. Your chosen dialogue options don't matter here, as it's impossible for you to successfully sell your friend. Rocket will attack the people gathered in the room, which can't be prevented in any way.

Immediately after regaining control of your character you'll have to go through a sliding segment. A security drone will appear on the lower level once you land. It can't be destroyed and it instantly kills you if it gets too close.
To escape this trap you must shoot at the crates to the side, unlocking the escape route. Entering the new area you'll find your first collectible - Archives: Drones. Don't rush and don't leave this area too soon, blindly following the rest of the team. By jumping onto a small balcony to the side you'll find an Outfit: Guardians of the Galaxy 2014 - Drax.

Expect to encounter hostile guards on your way to the vault. These fights aren't difficult, but you should still remember to prioritise the snipers attacking from higher ledges. Use AoE skills and special attacks.
Some enemies will be using shields which are easily destroyed with ice attacks.
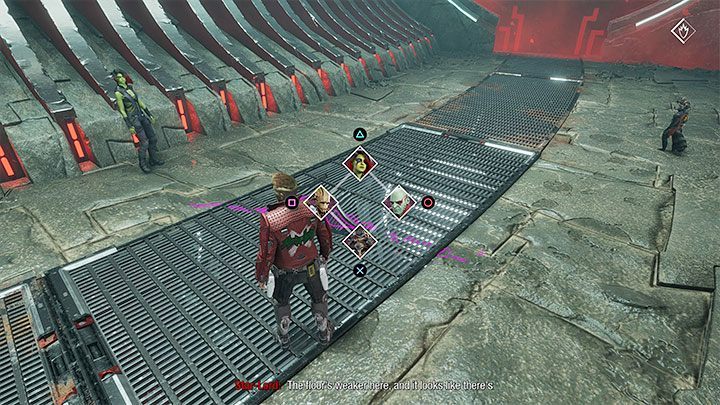
One of the next tunnels will once again set a drone after you. Use the visor to locate a weakened floor fragment, as shown on the picture above, then command Drax to break through to the sewers. While exploring the sewers turn left when you can to find an Outfit: Five Horsemen of the Apocalypse - Rocket.
You'll have to get through some pretty intense battles against the guards. Eventually you'll reach the vault.

First, we recommend finding two secrets that await you here. These are Archives: Unknown Ghilaron Species and Guardian Collectible: Assassin's Ring.
To complete the mission objective you must start collecting valuables from the vault, earning credits you need to pay your fine.
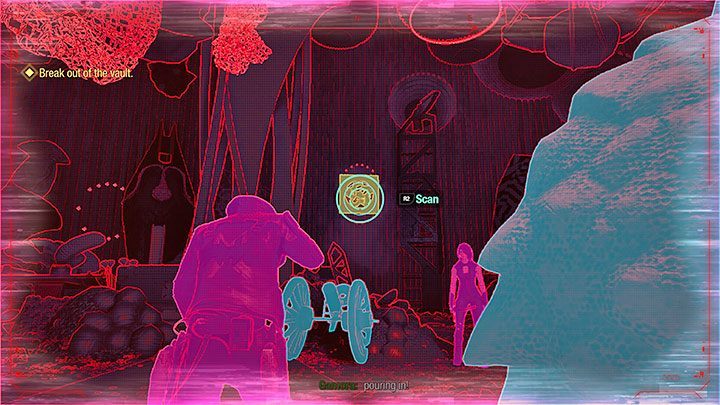
Lady Hellbender will intervene, forcing you to quickly escape the vault.
1) Start by freezing the vents with the ice element (they can be easily spotted with the visor) to stop the poison gas from coming in.
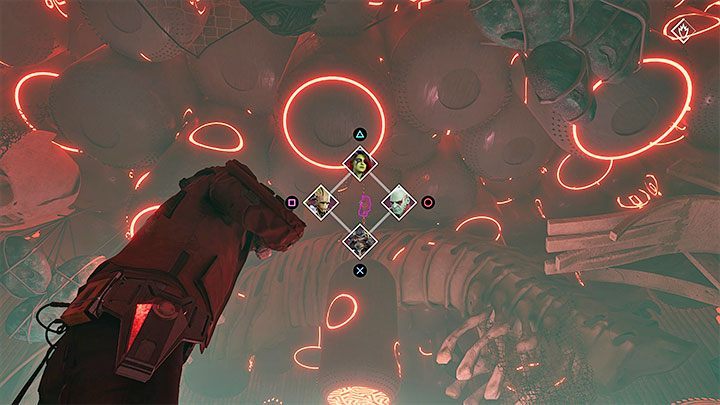
2) Ask Gamora to use her weapon on the chain holding one of the lamps up. This will cause the heavy object to fall.

3) Ask Drax to pick up the lamp and throw it at brittle wall (once again, the visor may come in handy).
Once you get out of the vault another sliding segment will take you straight to the boss - Dweller in Darkness.
Option 2 - Sell Groot to Lady Hellbender
The initial part of the level doesn't contain any interactive scenes. You must use the elevator to reach a cave where Lady Hellbender awaits.
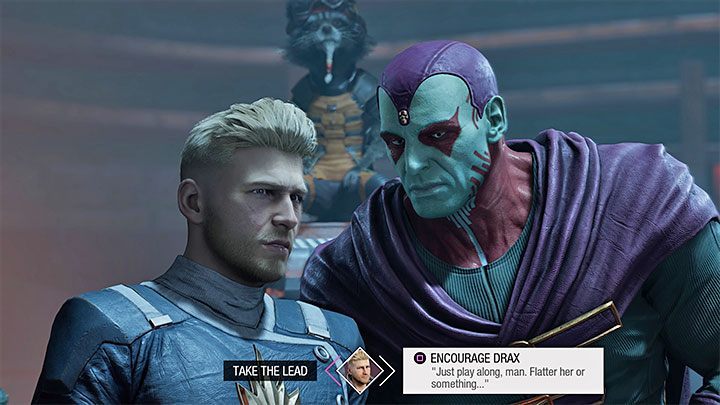
The negotiations regarding you selling Groot will begin. In this scenario you should choose these specific dialogue options:
- Encourage Drax
- Support Drax
Lady Hellbender is fond of Drax, and he can convince her to pay more for Groot. The most you can get is 12.000 credits. Fortunately, even if you don't get paid as much, it will still be enough to pay off your fine later on.
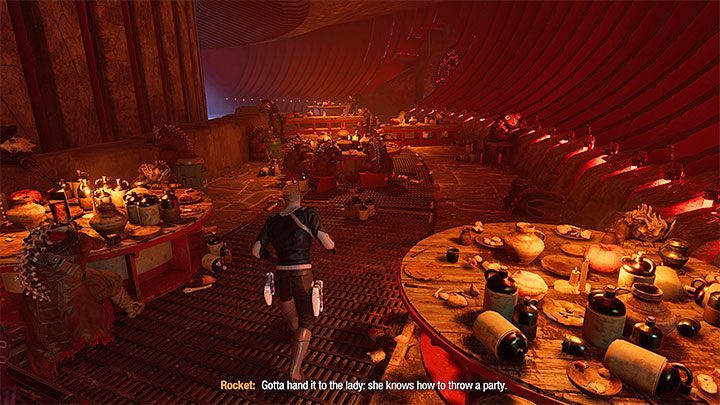
After dinner you'll regain control of your characters, starting a stealth mission - you must reach the area where Groot is being held while staying undetected.
During this and subsequent stealth missions you must avoid colliding with bottles and small objects on the ground, as this could alert the guards. Walk slowly, look around a lot, take your time.

Ask Rocket to hack a panel on the way. You'll eventually reach the throne room where you can find two collectibles: an Outfit: Guardians of the Galaxy 2014 - Drax and Archives: Don't Do It!.
You'll need to solve a puzzle to unlock the elevator. Take a look at the small rocks shown in the picture above. Destroy them with your blasters to unlock a narrow passage for Rocket, who'll be able to reach a switch.
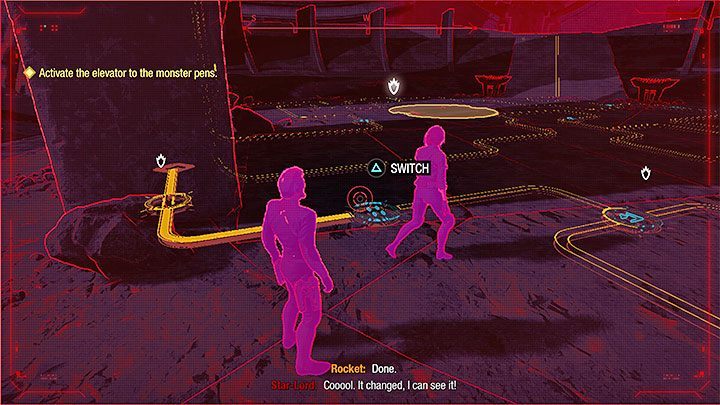

Keep using your visor. You must supply power to the elevator. By interacting with the switches visible in the visor you can redirect electricity. "Filled" yellow lines symbolize that the current is already flowing, while "hollow" lines mean you must lead to power to them. Fortunately, this puzzle doesn't have many different solutions. Focus on generating subsequent connections.
While you're solving the puzzle, a group of guards will appear in the throne room. They shouldn't be too hard to deal with. After solving the puzzle stand on the small circular elevator as shown on picture 2.

Once you reach the monster containment floor you'll have to sneak through the area once again, avoiding tripping over small objects. You can deviate from the main path here and jump over the table to reach a secret area holding a collectible - Outfit: Five Horsemen of the Apocalypse - Rocket.
Go down the main path to reach an area with a round hole. This room contains passageways to several side rooms.
Check the first room on the left first, the one Drax entered. Inside you'll find a Guardian Collectible: Assassin's Ring.
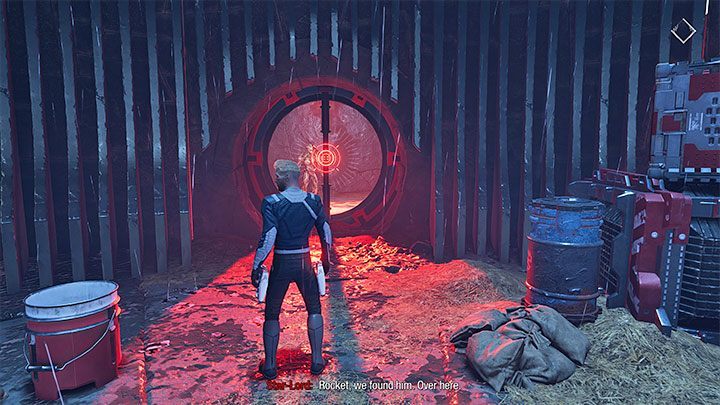
Now go to the room Gamora entered and grab a new secret - Archives: Care of Our Charges. Approach Groot's cage as shown on the picture above.

Follow Groot after the cutscene, you won't need to fight anyone for now. You'll eventually learn that Lady Hellbender tricked you and start a boss fight against the Dweller in Darkness.
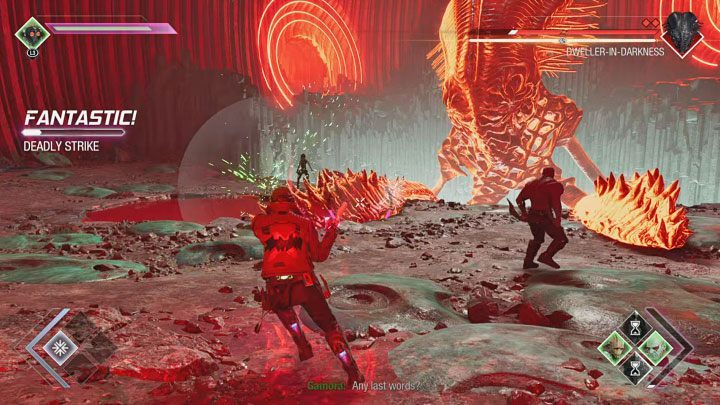
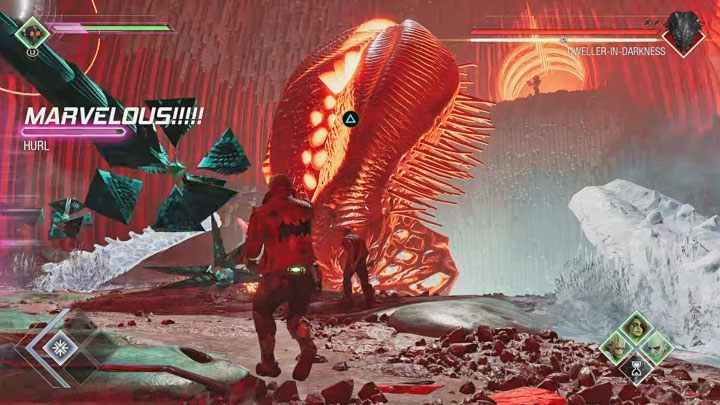
Boss fight - Dweller in Darkness
This boss fight is identical in both version of this chapter, that is, no matter whether you decide to sell Rocket or Groot.

One of the most important tips is that you should avoid the boss's tentacle attacks. They're always preceded by a red exclamation mark and you can evade them by dodging to the side.
Unfortunately, you cannot directly control the dodges of the other Guardians. If one of them is knocked down, you should try to get to them as soon as possible and pick them up. Otherwise, you will have one less character on your side.

You can attack tentacles. Lock the camera on one of the tentacles by holding down the left trigger to attack it more effectively.
One of the attacked tentacles will eventually fall on the arena after the stagger bar fills up. It is very important to use this opportunity to deplete its health. Order the other Guardians to attack that tentacle, too.
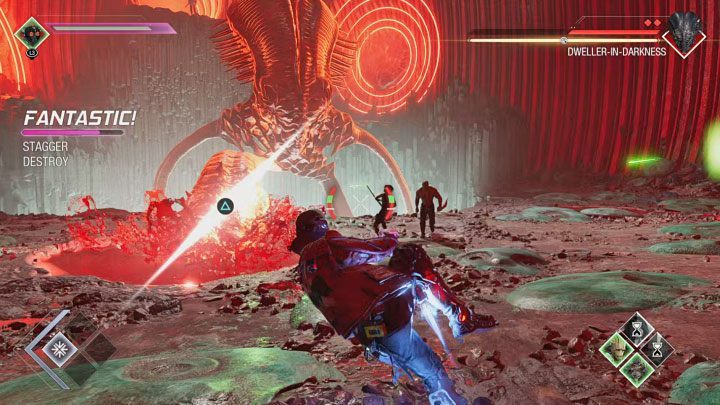
After the tentacle loses all health points, a button prompt will appear - use this special action to cut the tentacle and weaken the boss. You have to repeat the whole sequence with the second tentacle. This will advance you to the second phase of the fight.

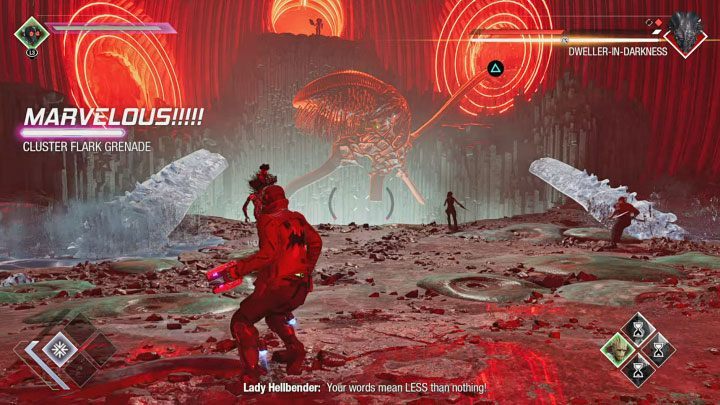
From now on smaller monsters will appear in the arena. They are vulnerable to ice attacks - use them to defeat the enemies fast. You can also use area of effect abilities to get rid of several creatures instantly.
Do not try to kill all the minions - the dead ones will be replaced. Deal only with those monsters that prevent you from attacking the Dweller in Darkness' tentacles.

The main boss has recovered two health bars. You must repeat the steps from the first stage - weaken the tentacles and make them fall on the arena.
The slight difference is that the button icon for cutting off the weakened tentacle is displayed on the wall in the distance, not right next to the arena. Press it to send Gamora there. Destroy the last two tentacles.

In the final, third part of the duel, the boss will have one health bar and no tentacles.
Bombs will appear in the arena from time to time.
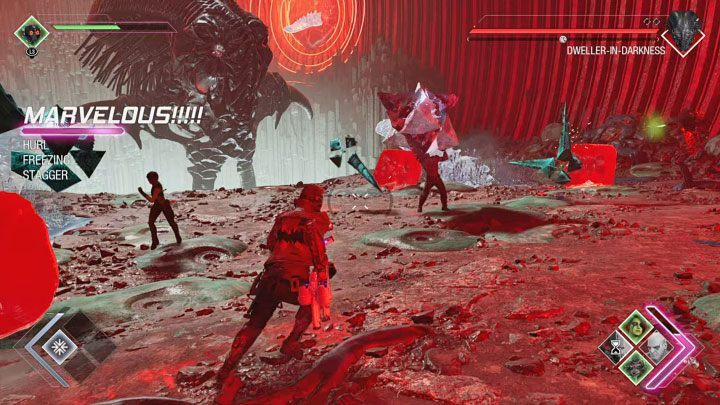
Run to one of them and press the indicated button to order Drax to throw the bomb. Make sure that no one interferes. Otherwise, the attack may end prematurely. The bomb will deal the boss some damage.
Keep throwing the bombs until the Dweller in Darkness loses his entire health and gets staggered. There's only one special action left to do - press the button indicated on the screen.