
Guardians of the Galaxy: Prologue and Chapter 1 - walkthrough Guardians of the Galaxy guide, walkthrough
This page of the game guide for Marvel's Guardians of the Galaxy contains a walkthrough of the prologue (Meredith) and Chapter 1 (Risky Stakes).
Last update: 08 December 2021
This page of the guide to Marvel's Guardians of the Galaxy contains a walkthrough for the prologue (Meredith) and Mission 1 (A Risky Gamble). The walkthrough explains how to solve the first environmental puzzles in the quarantine zone, how to win your first battles against monsters, how to win the bet with Rocket and how to escape the quarantine zone aboard the Milano.
For more information about the location of the secrets in Chapter 1, check the Secrets and collectibles chapter. We've marked all collectibles with green.
- Prologue - flashback
- Meet Gamora in the cockpit
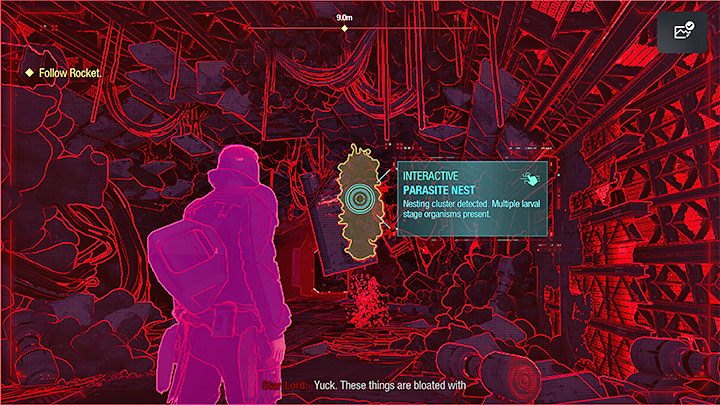
- Follow Rocket
- Get Rocket a charged battery
- Follow Rocket
- Work with Rocket to open the turbine
- Install the last thumper
- Reunite with Rocket and Groot
- Force the monster out of hiding
- Escape the Quarantine Zone
Prologue - flashback
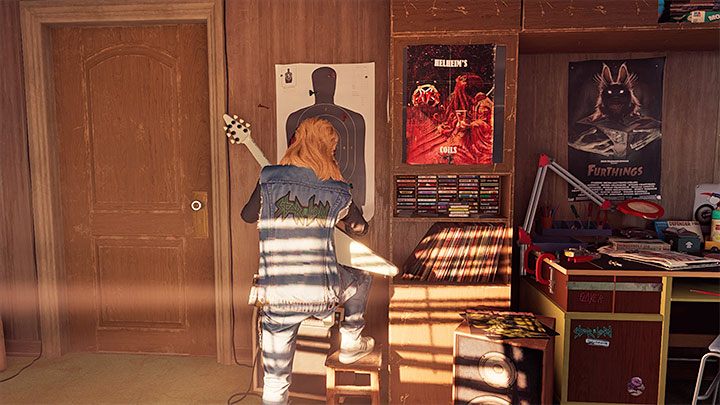
The prologue is one of several flashbacks encountered in the game during which you control young Peter Quill. It's not very interactive and doesn't contain any fights.
Look at the album cover and the rock magazine to be able to get off the bed. You can look around the protagonist's room in the Quill house basement or end the prologue by opening the door.
Meet Gamora in the cockpit
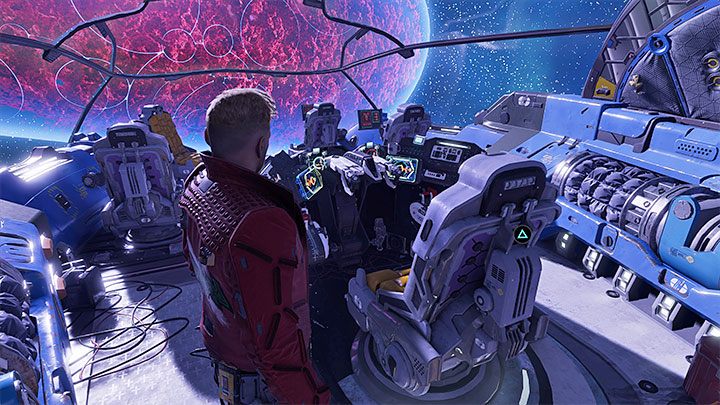
You'll wake up in a spaceship cabin, controlling the adult Peter Quill - Star-Lord. You can walk around the deck and talk to your companions, but you'll also have an opportunity to do so later on with more interactions available. Visit Rocket's cabin to find the Archives: Team Costumes.
Go to the captain's bridgeto progress the plot - talk to Gamora and sit in the captain's chair.
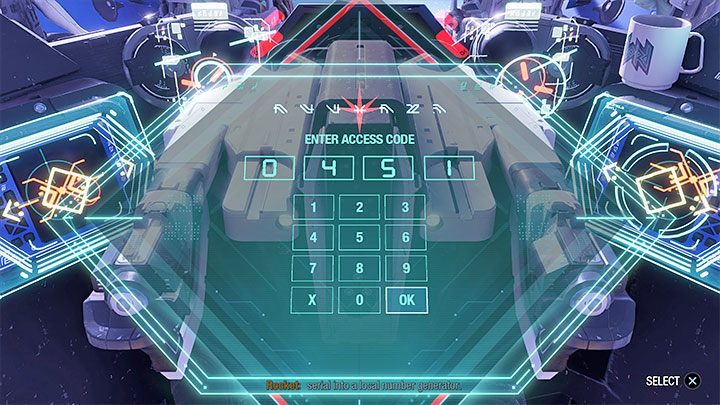
You must enter the code, 0451 (which, by the way, is a small easter egg) - press the correct buttons with your cursor. Press X if you make a mistake. After inputting 0451 press OK.
Follow Rocket
Look around the area where you begin your exploration of the quarantine zone to find Archives: Nano-Resin Incident Report.
Your trip through the quarantine zone is mostly linear. You can use the visor along the way to scan your surroundings and find interactive elements. Also make sure to collect loot whenever you see it - you'll be getting crafting components. From time to time you'll trigger the so-called banter. These are small conversations in which you may choose your answer (or not answer at all). They don't count as important choices (we've described them later on in the walkthrough) and thus you can choose any replies you want.
Moving forward you'll need to use your jet boots and remember your ability to double jump. After making extremely long jumps the game can force you to quickly press an additional button to save yourself from falling.
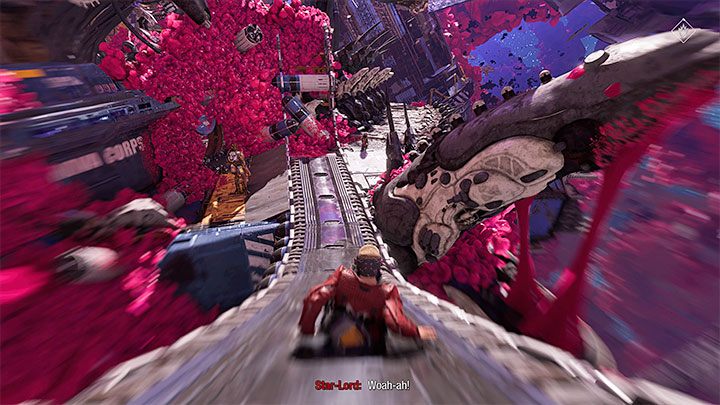
Keep going until you reach a slide (picture above). First go right and locate the place you can jump down onto a hidden shelf to find an Outfit: Guardians of the Galaxy 2014 - Rocket. After doing so, go left (as Rocket instructs you to do) and locate another secret - Archives: Pride and Fall.
You'll reach the barricade and learn about the possibility of destroying parasites - you'll be using your blasters to do so, this ability will come in handy later on to find collectibles, loot or secret passageways.
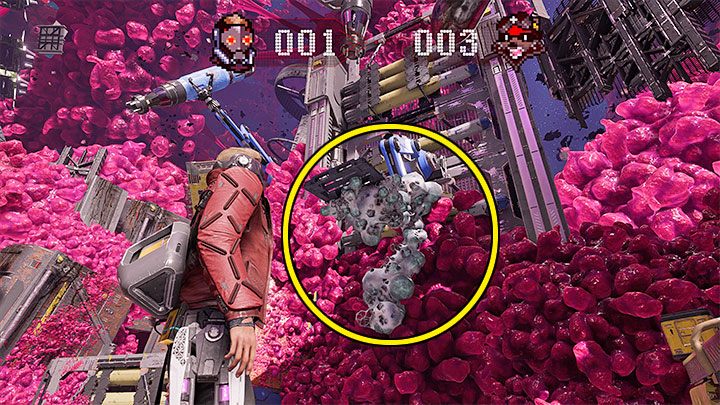
Rocket will also start a shooting competition. You'll need to destroy the hanging parasite nests which can be easily located with your visor (as shown on the picture). We've described the competition in more detail in our trophy guide, on the page regarding the Eat It, Rodent achievement.
Soon after the competition starts you can find two secrets - Archives: QZ disposal and Guardian Collectible: Ravager Comm Bracelet. In case of the second secret you must destroy the parasite on the ground.
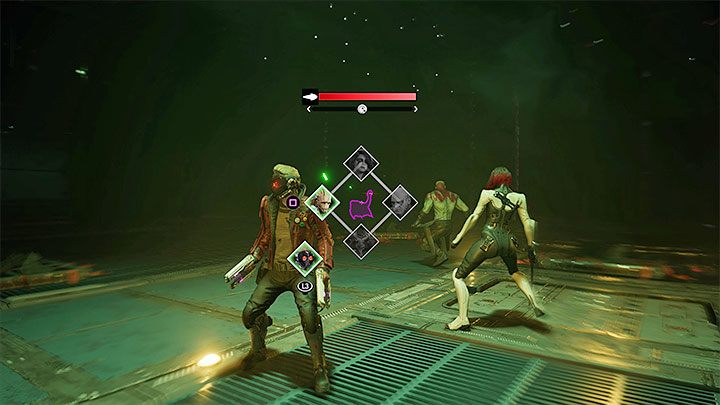
Soon you'll begin your first battle against monsters. Star-Lord is alone right now, so you can only rely on your own attacks. You can attack the monsters with your blasters or melee attacks, as they're very weak.
After the fight you can climb up to find the Archives: Failed to Send Message. Destroy the parasites and keep going forward.
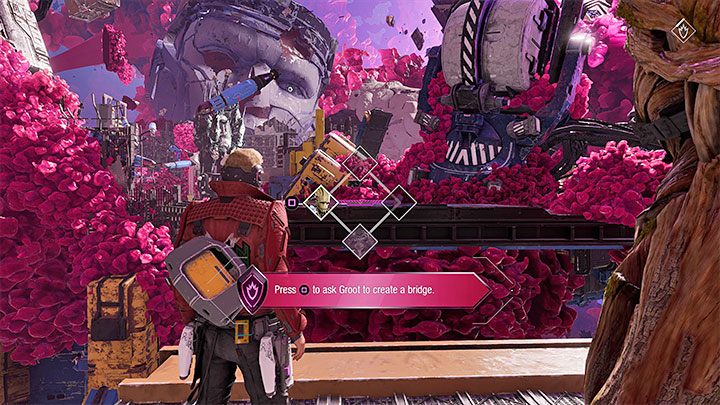
In the next area you'll have to command a teammate for the first time. The menu to do so appears when you hold L1/LB. Turn to the interactive edge on the other side of the chasm and ask Groot to create a bridge.
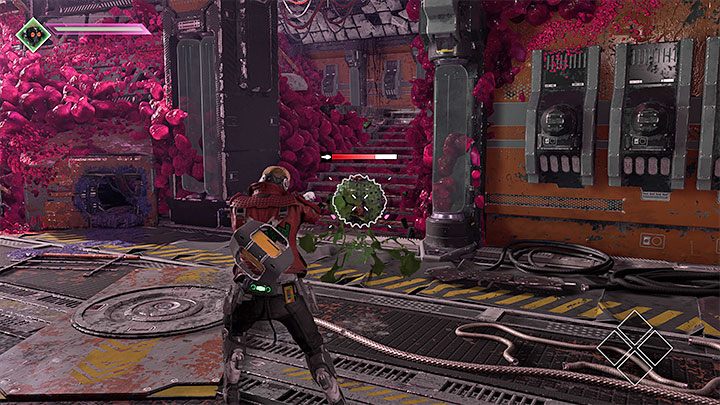
Get Rocket a charged battery
You can now start hunting new nests as part of your competition with Rocket. Ask Groot to create another bridge on the way.
In the next area Rocket will ask you to find a charged battery. Look for the parasites shown on the picture. Shoot them with your blasters to make a battery drop. Pick it up and bring it to Rocket.
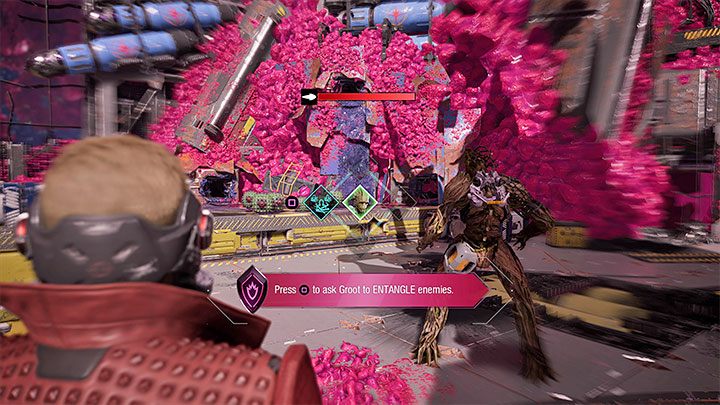
A fight will break out, during which you must complete a tutorial on using the Guardians' abilities. You must hold down L1/LB, press the button corresponding to the team member and then the button of activating their ability. In this tutorial you'll test Groot's ability to stop enemies in place.
Dispatch all enemies. This battle also allows you to practice your dodging.
Follow Rocket

Next to the area where you solved the battery puzzle are some higher shelves you can climb onto.
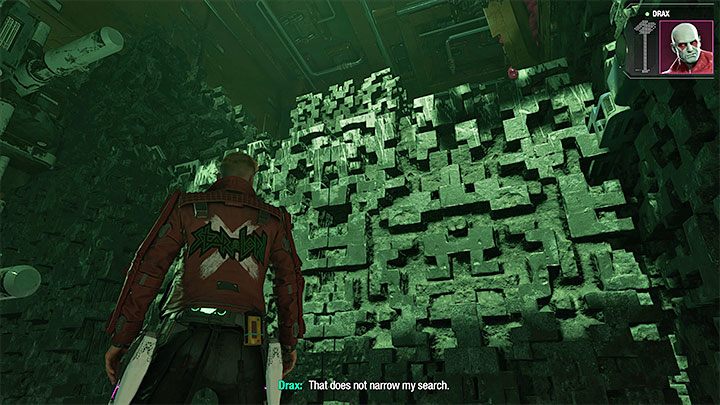
A new path will lead you near the huge Sentinel head. Approach it from the left. Fire your blasters at the parasites in its left eye, then turn towards it and ask Groot to create a bridge (picture above). Once inside you'll find some more nests to destroy and Archives: Unthinkable in the central area with bars.
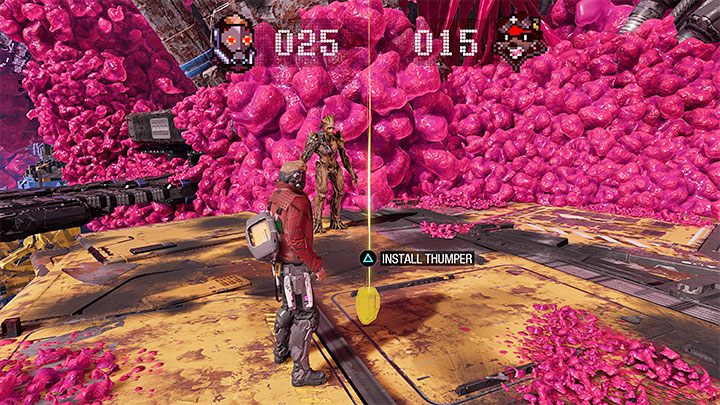
Reach the area where you must install the Thumper. This will trigger yet another battle and let you test Rocket's first ability - bomb toss.
After the battle keep going, asking Groot to create yet another bridge on the way. Remember to destroy every nest you see.
Work with Rocket to open the turbine
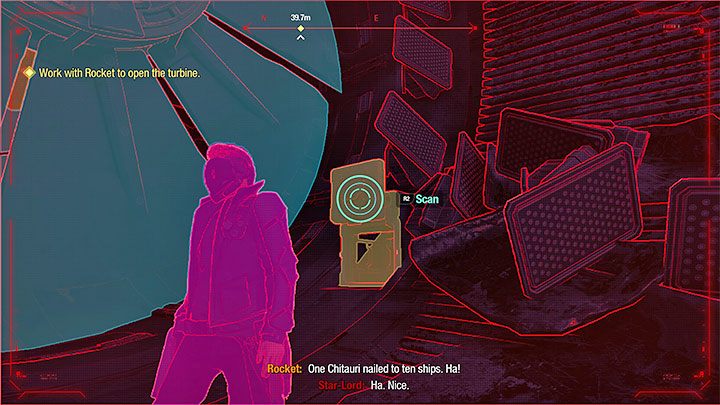
After reaching the turbine blocking the way forward you must test another interaction - sending Rocket into the ventilation shaft. It's on the right and must first be scanned with your visor. Rocket has to be commanded with the L1/LB button.
After opening the way you'll reach another closed-off passage. This time shoot the parasites blocking the way (they're marked with yellow on your visor).
Soon you'll have to go through a long sliding section. Avoid obstacles (you can jump if you need to) and destroy nests along the way.
Next you'll need to escape the collapsing structure. Simply run forward without stopping and you'll complete this section easily. The shooting competition against Rocket will end shortly after, you're rewarded with the Eat It, Rodent achievement for winning.
Install the last thumper

After the cutscenes first locate the side path leading to a secret area with the Outfit: Guardians of the Galaxy 2014 - Groot.
Follow the linear route. You'll reached a closed-off passage - stand to the side and press the interact button to push the obstacle together with Groot. The next area contains a workbench - you use them to buy perks. As part of the tutorial you'll have to buy the Rapid Reload perk which allows you to cool down your blasters quicker. On the Best Perks page you'll find our recommendations on the most useful perks available in the game.
Reunite with Rocket and Groot
Destroy the parasites and go through the narrow passage. In this area you'll encounter a new monster type, with the game initiating a melee tutorial. You can attack the other creatures with your blasters. After the battle yet another tutorial will start, this time teaching you about ability points and buying abilities. The first ability for Star-Lord has to be purchased, but you'll be able to choose your abilities later on.
Locate the place you can start climbing onto the higher shelves from. At the top you'll find a secret hidden behind the parasites - Guardian Collectible: Spinal Control Unit.
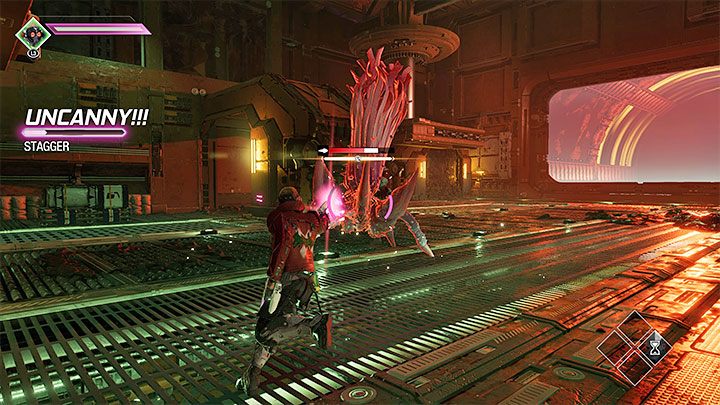
The next area introduces another new monster and another new tutorial, teaching you about filling the enemies' Stagger Bars. The bar can be filled differently for each enemy. Filling it fully will temporarily stun the opponent, making them vulnerable to further attacks.
Drax and Gamora will join you in the later stage of the battle. The game will let you test their starting abilities - Drax can fill up Stagger Bars and Gamora deals heavy damage against stunned enemies.
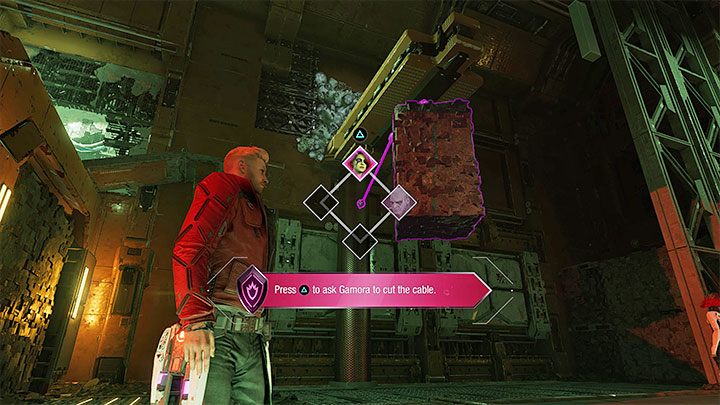
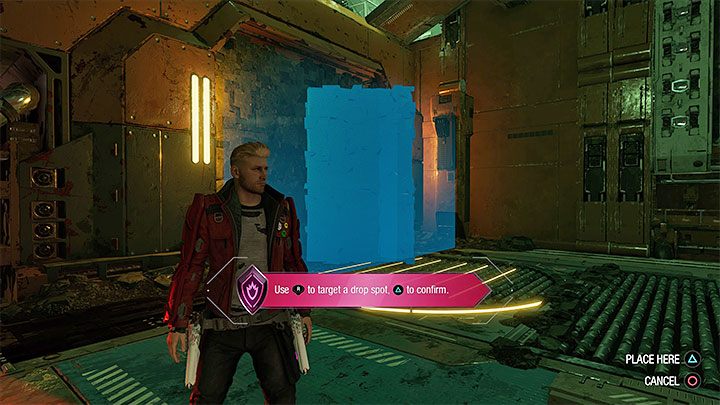
There's an environmental puzzle in the area where the fights took place:
- Use the visor to locate a large hanging block and tell Gamora to cut the cable it hangs on (picture 1).
- Turn towards the dropped block and order Drax to move it. He can carry it to different places, but to progress you must choose the place marked on Picture 2. This will allow you to climb to a higher shelf and reach the exit.
Right after using the new passageway you'll find the final secret in this chapter - Archives: A Miracle!. Slide down and start the battle against new monsters. This battle contains a tutorial on activating Huddle with the L1+R1/LB+RB button combination.
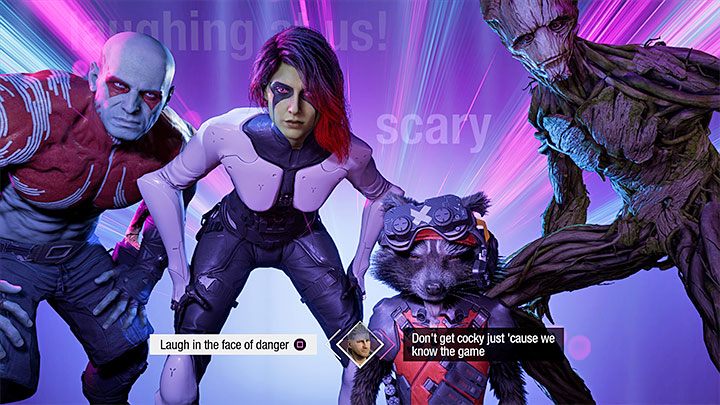
You need to motivate the team to fight - observe your teammates' attitude as well as the inscriptions behind their backs. The chosen dialogue option should match the pattern or get the team to focus on winning the battle. You're not penalized in any way for failing the Huddle. It will always revive your fallen comrades. Additionally, selecting correct options gives a temporary damage boost to the entire team (only Star-Lord gets one if you fail).
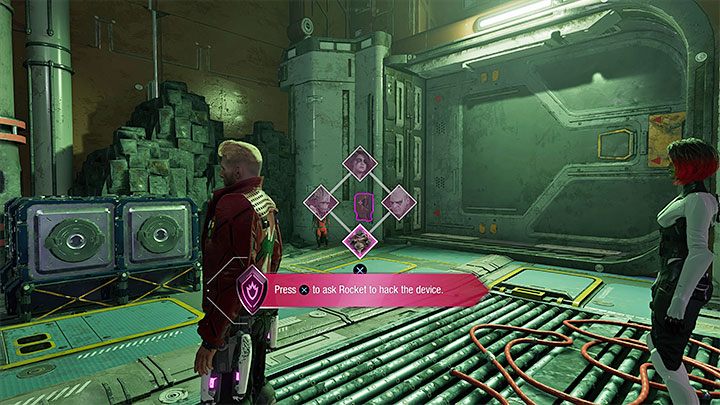
After winning the battle you must leave the hall. Scan the big door and the panel to the left with your visor. Ask Rocket to hack the panel and open the way forward.
Force the monster out of hiding
During the encounter with the hiding monster start by destroying the obstacles nearby to prevent the creature from hiding.
Locate the monster (alone or using the visor), enter the command menu and order Groot to restrain the beast with his default ability. You'll discover that the creature is actually a friendly llama - from now on it'll be aboard the Milano.
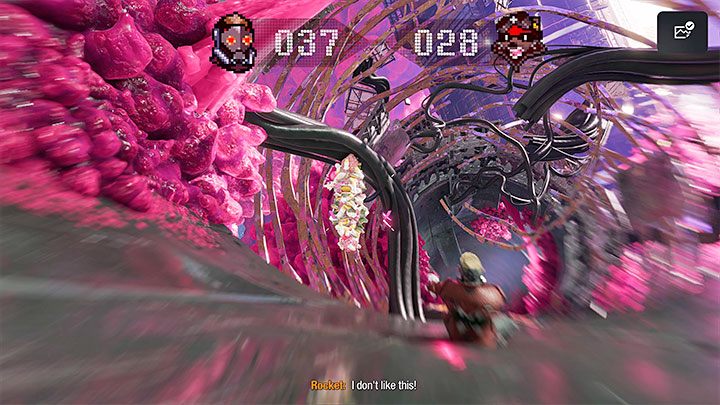
Escape the Quarantine Zone
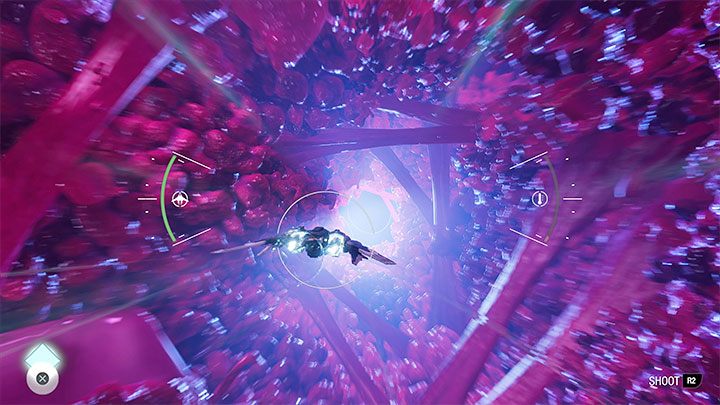
The final part of the chapter involves piloting the Milano out of the quarantine zone. This section isn't difficult but you must remember a few things:
- Avoid colliding with obstacles. Too many collisions will destroy your ship.
- Use Milano's guns to destroy the obstacles on the way (the path forward is linear).
- In the final part of the flight turn on the boost as often as you can (it refills quickly).