Guides & Walkthroughs New Guides Popular RPG Action Strategy Adventure YouTube Guides Mobile App
Free iOS App iPhone & Ipad
Download Game Guide PDF, ePUB & iBooks

LEGO The Lord of the Rings Game Guide & Walkthrough by gamepressure.com

LEGO The Lord of the Rings Game Guide & Walkthrough

Table of Contents

The Dead Marshes | Collectibles LEGO LotR Guide

Last update: 11 May 2016

Minikit #1

Needed: axe, fishing

Start off by heading down towards the camera - The Dead Marshes - Collectibles - LEGO The Lord of the Rings - Game Guide and Walkthrough

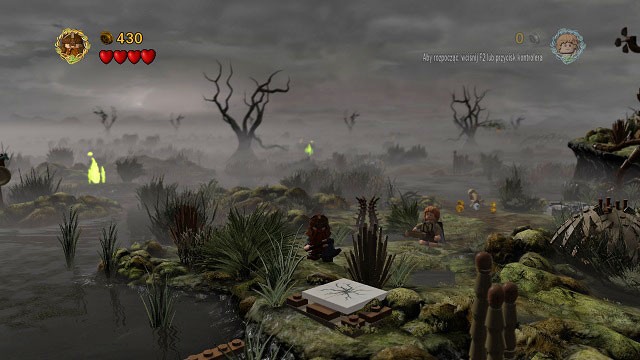
Start off by heading down towards the camera. Destroy the cracked tile using Gimli's axe and build a bridge from its parts.

Now you need to catch a fish and throw it at the sign in the north-west - The Dead Marshes - Collectibles - LEGO The Lord of the Rings - Game Guide and Walkthrough

Now you need to catch a fish and throw it at the sign in the north-west. That will cause a path leading through the marshes and to the Minikit to appear.

Minikit #2

Needed: axe

Once again you will have to hit a couple bricks. This time they are broken tiles:

#1 - At the very beginning of the level; you need to head to the lower-right corner of the island.

#2 - By the first wall of fire in the upper left part of the island - The Dead Marshes - Collectibles - LEGO The Lord of the Rings - Game Guide and Walkthrough

#2 - By the first wall of fire in the upper left part of the island.

#3 - By the third wall of fire, to the right of the pond - The Dead Marshes - Collectibles - LEGO The Lord of the Rings - Game Guide and Walkthrough

#3 - By the third wall of fire, to the right of the pond.

#4 - To the left of the road leading to the fourth wall of fire - The Dead Marshes - Collectibles - LEGO The Lord of the Rings - Game Guide and Walkthrough

#4 - To the left of the road leading to the fourth wall of fire.

#5 - On the road leading to the large skeleton - The Dead Marshes - Collectibles - LEGO The Lord of the Rings - Game Guide and Walkthrough

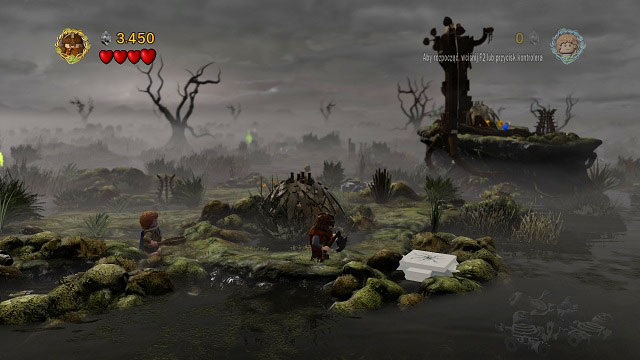
#5 - On the road leading to the large skeleton.

1 - The Dead Marshes - Collectibles - LEGO The Lord of the Rings - Game Guide and Walkthrough

Treasure: Wooden Bucket

This item is needed to finish the mission and you will receive it automatically during the story mode - The Dead Marshes - Collectibles - LEGO The Lord of the Rings - Game Guide and Walkthrough

This item is needed to finish the mission and you will receive it automatically during the story mode. It's buried at the very beginning, before the first wall of fire.

Minikit #3

Needed: elven rope

By the third wall of fire you have to head to the southern part of the island, towards the camera - The Dead Marshes - Collectibles - LEGO The Lord of the Rings - Game Guide and Walkthrough

By the third wall of fire you have to head to the southern part of the island, towards the camera. There you will find leaves floating on the water - just jump onto them and keep following the path. At its end you have to use the rope and pick up the chest.

Minikit #4

Needed: strength

On the island before the first wall of fire, to the left of the giant skeleton you should see a cage with an orange handle - The Dead Marshes - Collectibles - LEGO The Lord of the Rings - Game Guide and Walkthrough

On the island before the first wall of fire, to the left of the giant skeleton you should see a cage with an orange handle. Use Shagrat's strength to open it and head further to the left to get the chest.

Minikit #5

Needed: sword

By the sixth wall of flame - The Dead Marshes - Collectibles - LEGO The Lord of the Rings - Game Guide and Walkthrough

By the sixth wall of flame. To the left of the pond you should see LEGO Morgul bricks - destroy them using the sword and a boat will appear. You will need to backtrack a bit and collect two bones to build a bone wheel. Hand it over to the ghost to receive the chest.

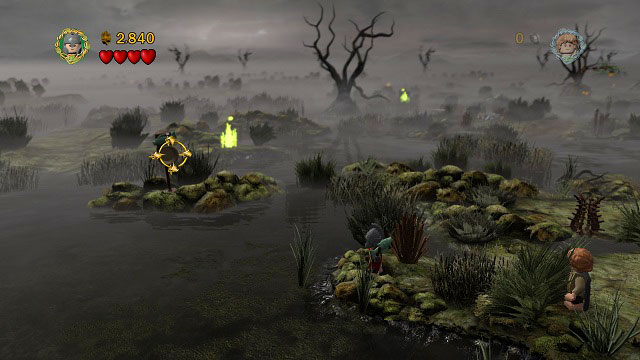
Treasure: Fancy Umbrella

Needed: bow

On one of the islands on which you hide from the Nazgul, you will see a target on the tree - The Dead Marshes - Collectibles - LEGO The Lord of the Rings - Game Guide and Walkthrough

On one of the islands on which you hide from the Nazgul, you will see a target on the tree. Shoot it and pick up the treasure.

Minikit #6

Needed: bow

After another game of hide and seek with the Nazgul, in the distance you should see a tree built of LEGO bricks with a target on it - The Dead Marshes - Collectibles - LEGO The Lord of the Rings - Game Guide and Walkthrough

After another game of hide and seek with the Nazgul, in the distance you should see a tree built of LEGO bricks with a target on it. One shot and another Minikit will be yours.

Minikit #7

Needed: bow

After getting past the

After getting past the "swing", in the distance you will see another tree with a target. Hit it and ghosts with targets will start appearing to the left of you. Shoot at them all (three in total) to receive the chest.

Treasure: Toy Snake

Needed: explosive

As you reach the section with the bridge and rope hook, you will have to move a bit towards the camera - The Dead Marshes - Collectibles - LEGO The Lord of the Rings - Game Guide and Walkthrough

As you reach the section with the bridge and rope hook, you will have to move a bit towards the camera. You should see a mithril barrel which you have to blow up with the Berserker's bombs. Pick up the treasure afterwards.

Minikit #8

Needed: strength

By the end of the escape from the Nazgul you will have to approach the wall and destroy some bushes there - The Dead Marshes - Collectibles - LEGO The Lord of the Rings - Game Guide and Walkthrough

By the end of the escape from the Nazgul you will have to approach the wall and destroy some bushes there. Afterwards grab the handle with Shagrat and open the passage to the chest found further to the right.

Design: Mithril Stud Mallet

Needed: fishing

You need to start fishing on the bridge beside Minikit #8 - The Dead Marshes - Collectibles - LEGO The Lord of the Rings - Game Guide and Walkthrough

You need to start fishing on the bridge beside Minikit #8. That way you will receive a key with which you need to go left of the place where you need to put a plant. Open the chest and pick up the Design.

Minikit #9

Needed: spade

During the fight with the Mumakils, you need to head to the lower left corner of the map - The Dead Marshes - Collectibles - LEGO The Lord of the Rings - Game Guide and Walkthrough

During the fight with the Mumakils, you need to head to the lower left corner of the map. Just dig up the loose ground to receive the Minikit.
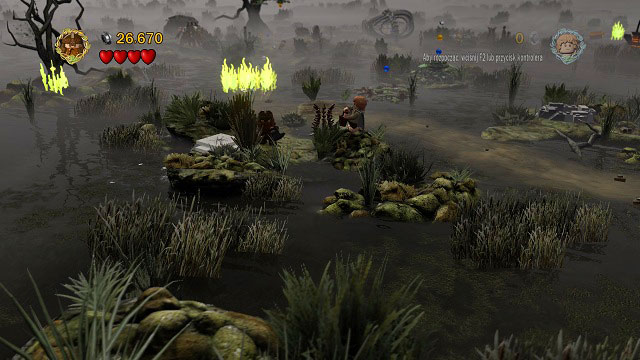
Minikit #10

Needed: bow

Also during the fight with the Mumakils; you need to choose a character armed with a bow and destroy 5 targets appearing around the location - The Dead Marshes - Collectibles - LEGO The Lord of the Rings - Game Guide and Walkthrough

Also during the fight with the Mumakils; you need to choose a character armed with a bow and destroy 5 targets appearing around the location. I'd recommend getting as close to them as possible before shooting to increase your chances of hitting. After destroying the last target, you will receive the chest.

See/Add Comments

You are not permitted to copy any image, text or info from this page.

This site is not associated with and/or endorsed by the Warner Bros Interactive Entertainment or Traveller's Tales. All logos and images are copyrighted by their respective owners.

Copyright © 2000 - 2024 GRY-Online S.A. for gamepressure.com, unofficial game guides, walkthroughs, secrets, game tips, maps & strategies for top games.