
Amon Hen - p. 1 | Collectibles LEGO LotR Guide
Last update: 11 May 2016
This level stands out because of one factor: as you're controlling Frodo, you will have to shoot down a few targets with the bow, use the rope and the axe. As you cannot change the Hobbit to a different character, you will need to prepare these items at the blacksmith. If you followed this guide, you should already have the designs which let you build the Mithril Cluster Bow and Mithril Shockwave Axe - head to Bree and ask the blacksmith to prepare these items for you. That however still leave the rope - you can obtain one during the mission in Amon Hen and the second can be found in The Dead Marshes - the Toy Snake. Therefore, if you want to finish this mission during the first attempt, you should begin with the marshes. After collecting all three items, you can head back to Amon Hen.
Minikit #1
Needed: bow
This time you have to hit as much as six targets, three on Frodo's and three on Aragorn's path the statues which you have to break are:
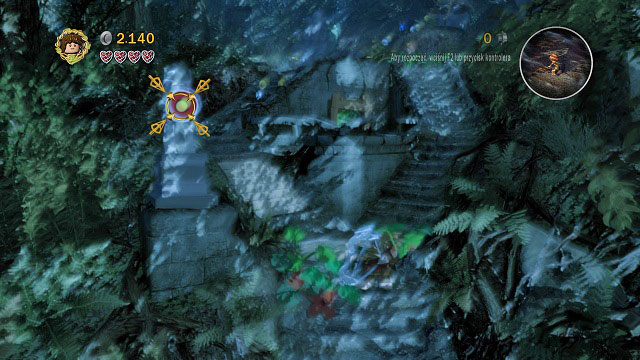
#1 - Beside the first stairs
#2 - In the location in which you have to construct a catapult

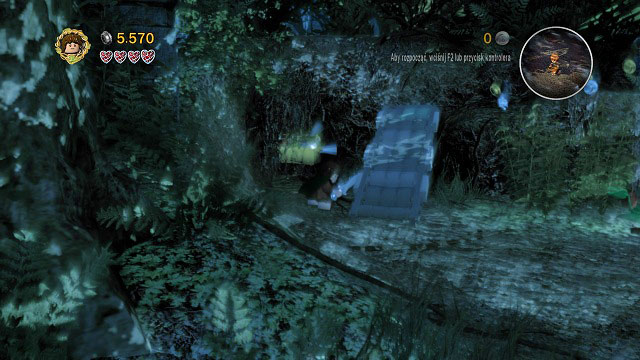
#3 - Where you enter a narrow tunnel with Frodo. This time, destroy the statue in the right part of the rock ledge with a sword.

#4 - Aragorn's team; to the left of the starting position.
#5 - After leaving the camp and destroying the cracked brick with Gimli.

#6 - At the end of Aragorn's path, in the ruins.
Minikit #2
After pushing the stone hand down to the ground, break whatever remains of it and take the chest out of the niche.
Minikit #3
A bit behind the location with the catapult, after tricking Boromir. Shoot the target with your bow, head back to the catapult and repair it. Afterwards use it and collect the chest.
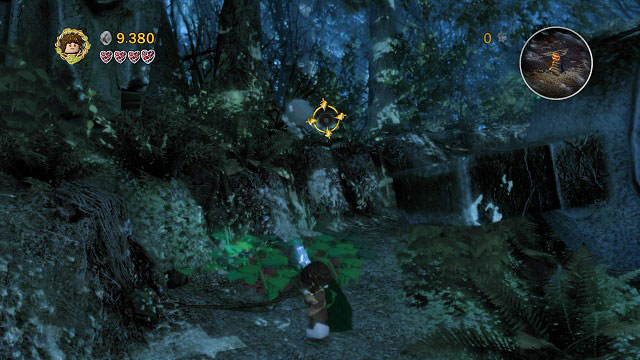
Treasure: Stop Wand
Needed: elven rope, axe

In the location where Frodo throws a statuette on Boromir's head. Equip a rope (it can be the Toy Snake), stand where Boromir was previously and press (K).

When you're above, move a bit from the middle to change your weapon to an axe (it can be the Mithril Shockwave Axe). Destroy the cracked LEGO brick and pick up the treasure.
Minikit #4
Needed: strength, sword
This time you will have to destroy 4 pillars built of LEGO Morgul bricks:
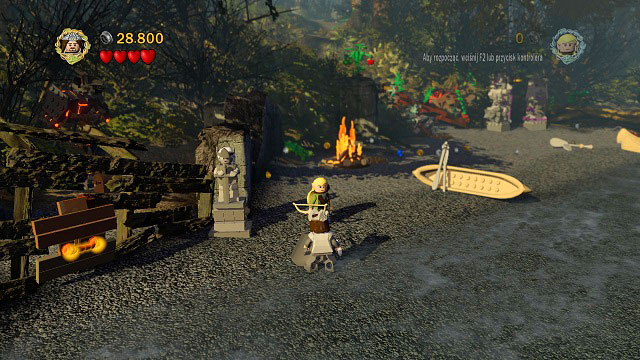
#1 - On the right side of the starting location, behind the boats.

#2 - On the left side of the starting location; you need to use Shagrat to open a passage to it.

#3 - After pushing down the pillar from the platform on which Legolas was standing.

#4 - In the ruins at the end of Aragorn's path.

Minikit #5
Needed: elven rope, magic

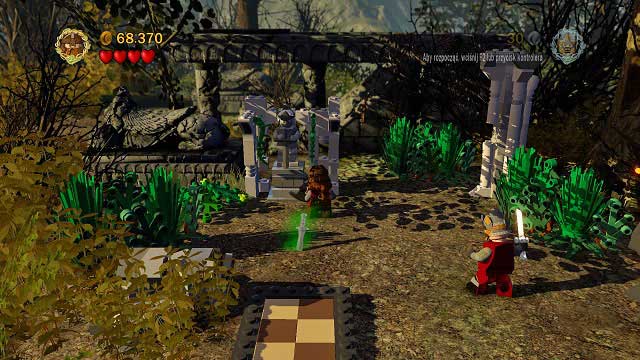
On the right side of the starting location there are two pillars, out of which once has a hook.

Pull it down to the ground and use Gandalf's magic to build a statue identical to the one on the right. As a reward you will receive the Minikit.
Treasure: Arrow Helmet
Needed: strength, spade, elven rope, Sam's pan
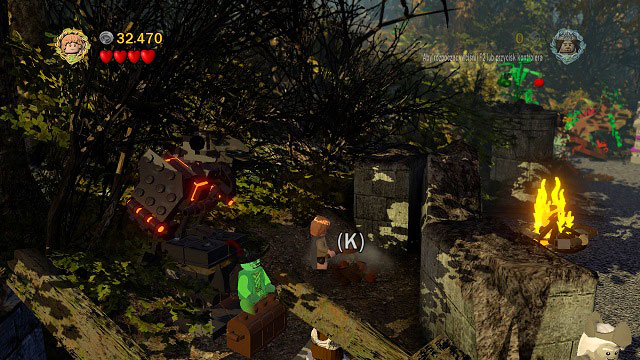
Open the passage in the left part of the starting location using Shagrat's strength and you will be welcomed by a ghost. You have to prepare a meal for it. Dig up the loose ground beside the ghost to find a fish.

Tomatoes can be gathered by using the rope on the hook beside the bush and afterwards hitting the plant.

The egg is buried beside the boats. After collecting all ingredients, place them on the fire - the ghost will take your pan, but leave behind a treasure.