
The Mines of Moria | Walkthrough - Act I LEGO LotR Guide
Last update: 11 May 2016
Characters: The Fellowship of the Ring
Real Adventurer requirements: 70 000 studs
New characters to buy: Moria Orc
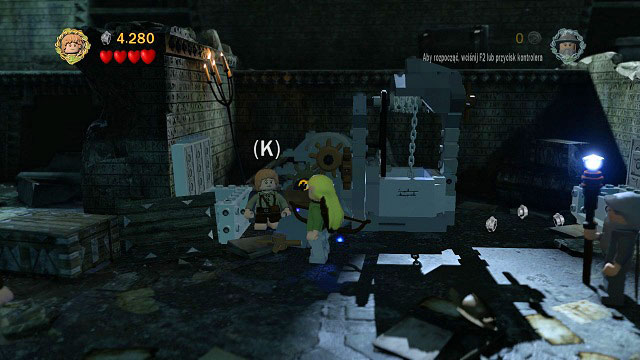
Your first task will be pulling Pippin out of the well. Begin with opening (by hitting them) the chests on both sides of the construction. Afterwards rebuild the well from the received pieces. Now you will need a cog and a crank.
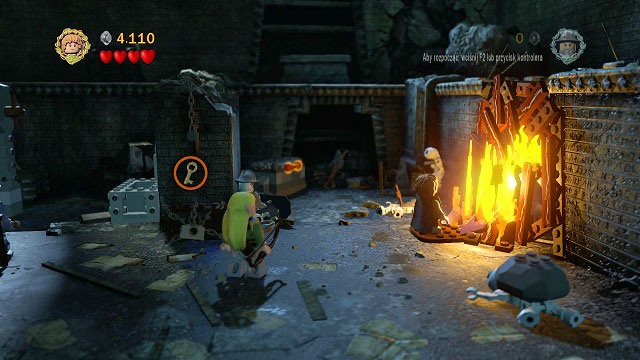
To obtain the cog, you have to head to the right side of the room. Legolas should shoot the target to knock down the chest while Sam start a fire and therefore obtain a key which perfectly fits the recently discovered chest. Open it to obtain the cog which you can mount by the well.
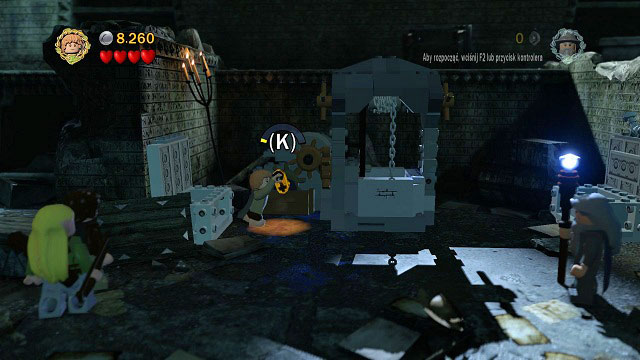
To obtain the crank, you need to go to the right and destroy the cracked LEGO brick with Gimli's axe. Place the missing element and you will be able to start the mechanism by quickly pressing (K) and pull Pippin out of the well. Unfortunately it doesn't mean the end of problems, as there are Orcs coming from the depth of the mine.

You need to prepare yourself for a fight - start off by strengthening the door by using the weapons lying on both sides. Afterwards Legolas should shoot an arrow into the elements on both sides of the corridor. In the end grab both chains with your characters - when of them hangs on it, press (U) and jump onto the other one. The door will be reinforced by a beam which unfortunately won't endure the Orcs' attack. You will have to face the incoming enemies.

Your next enemy will be a troll. Unlike the Orcs, it doesn't only take a few hits to eliminate him - you will have to use a series of traps. Start the fight by building a platform from the nearby bricks. Afterwards you have to stand on it and wait for the troll to roar. When you hear his voice, quickly run from the platform. The enemy will hit it and therefore hurt himself.

Now you need to switch to Legolas. Head to the right side of the chamber and use leaves to reach the ledge. There, destroy the rock and stand on the platform. When you hear the roar, avoid the troll's attack, jump onto the chain and shoot at the enemy's head. Do the same thing on the left side of the room.

One of the hobbits will jump on the troll's back - after a couple hits (H) the troll will be stunned - you can use this chance to change to Legolas and shoot an arrow at him. Afterwards use the LEGO bricks on the left or right side of the chamber to build a narrow tunnel and head inside with one of the hobbits. When on the highest ledge, stand on the circle and press (K) when the troll approaches to jump on his back. Start hitting him again and attack with Legolas while he's stunned. Afterwards repeat the whole process on the other side of the room.

Now you will have to protect Gandalf from the horde of Orcs. His barrier will stop most enemies, but those of them who manage to break through must be taken care of. Defeat three such groups and you should reach the end of the corridor. Afterwards turn left to find another puzzle.

This will require the cooperation of the whole team. Pippin should fill up the previously obtained bucket with water from the pond and extinguish the fire, while Gandalf uses magic to put the purple cog into the right place. Gimli should break the cracked LEGO brick, rebuild the floor from the received pieces and push the cart. The last thing you need to do is find the crank - it's in the barrel in the left corner of the room. After opening the door - by pressing (K) - you can move onwards.

Run down the stairs and you will pass by a statue which you can use to save your game. As you enter the Khazad-Dum bridge, part of the location will crumble and therefore split your team. Start off by throwing Gimli towards the cracked LEGO brick. Afterwards enter the narrow tunnel with Sam, grab onto the chain, make it across to the right side and start a fire (you will return above using the new chain). The last step will be switching to Legolas and shooting twice to lower the footbridge.

Now you will have to control Gandalf the Grey during his fight with Balrog. You will firstly have to dive (J) and grab the sword in the air. The next fall will get you nearer to the demon. When Gandalf lands on it, start pressing (H) to attack it with the sword.

After a couple hits you will have to press (K) to lead out a more powerful attack, after which you will be thrown into the air. You will have to repeat this two more times, however now you will have to look out for the demon trying to knock you down with his fire breath. To avoid Balrog's attacks, you need to jump sideways when you see that light start gathering in his mouth. The fight is rather short and shouldn't cause you much trouble.

After regaining control over your team, you should head to the right. The path is blocked by a precipice, but why not make use of the team acrobat? Switch to Legolas, shoot the target, stick an arrow into the wall and use the newly created handle to jump to the other side. Hit the rock by the machine (visible in the above screenshot) to lower the ladder. After defeating a couple Orcs and opening the gate with Gimli, you will be able to leave this inhospitable place.
