Guides & Walkthroughs New Guides Popular RPG Action Strategy Adventure YouTube Guides Mobile App
Free iOS App iPhone & Ipad
Download Game Guide PDF, ePUB & iBooks

LEGO Jurassic World Game Guide & Walkthrough by gamepressure.com

LEGO Jurassic World Game Guide & Walkthrough

Table of Contents

Restoring power | Jurassic Park - secrets LEGO Jurassic World Guide

Last update: 11 May 2016

Minikit #1 and #2

Minikit #1 and #2 - Restoring power | Jurassic Park - secrets - Jurassic Park - secrets (missions) - LEGO Jurassic World Game Guide & Walkthrough
Minikit #1 and #2

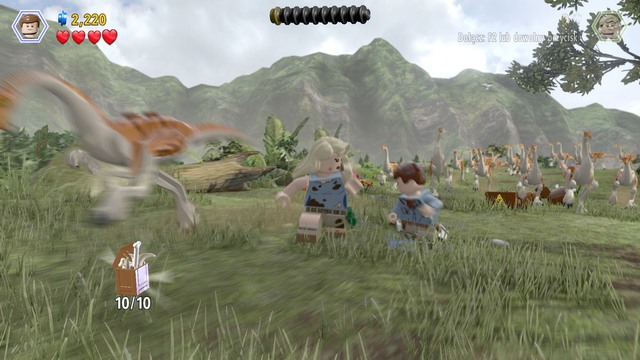
First two minikits can be obtained during the Gallimimus chase. There's a brown sign with a yellow logo shown on the right side of the picture. You will get first minikit by destroying three such signs. Stick to the right side during the escape until you destroy the first sign. Second sign will be on the left side, the third one again on the right.

When you will be able to destroy the third sign, you can also take the second minikit. To collect it, you must jump over an obstacle.

Minikit #3

Minikit #3 - Restoring power | Jurassic Park - secrets - Jurassic Park - secrets (missions) - LEGO Jurassic World Game Guide & Walkthrough
Minikit #3

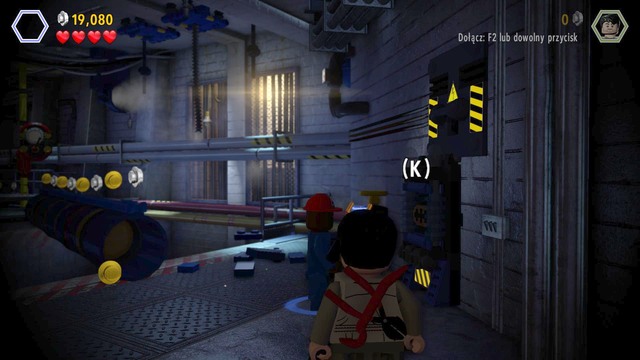
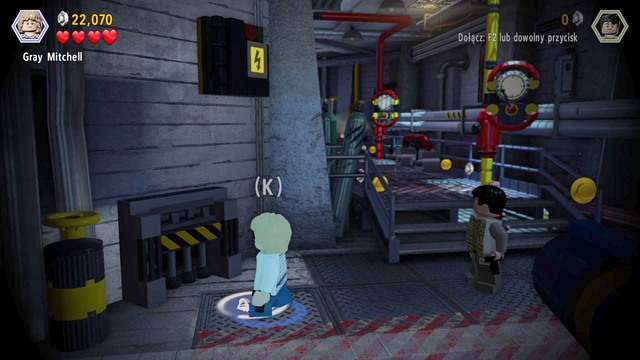
As Nick, walk to the passage in the service building shown on the picture and destroy the gate. Behind it you will find third minikit.
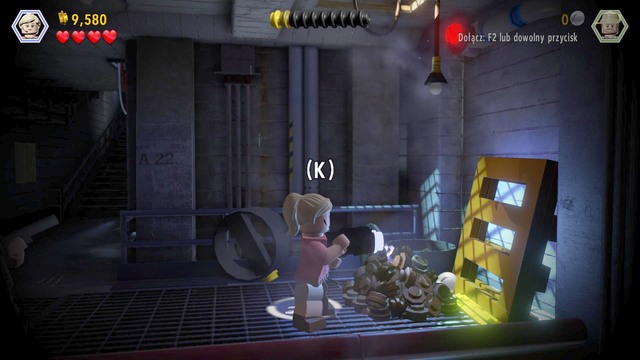
Minikit #4

Minikit #4 - Restoring power | Jurassic Park - secrets - Jurassic Park - secrets (missions) - LEGO Jurassic World Game Guide & Walkthrough
Minikit #4

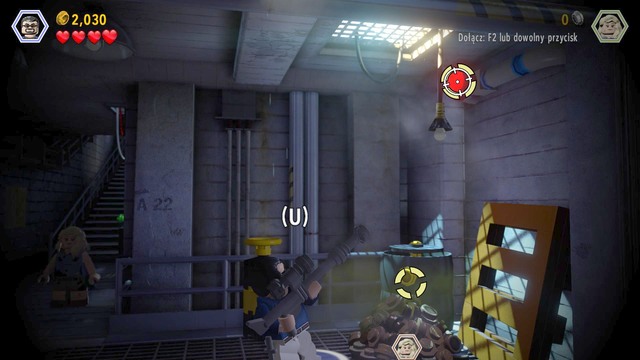
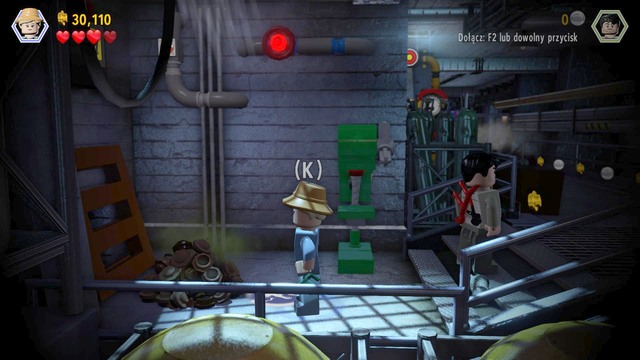
You will obtain fourth minikit when playing as Jophery. Walk to the generator and activate it to get the collectible you seek.

Minikit #5

Minikit #5 - Restoring power | Jurassic Park - secrets - Jurassic Park - secrets (missions) - LEGO Jurassic World Game Guide & Walkthrough
Minikit #5

You will receive fifth minikit once you destroy four red valves. First one can be found above the entrance to the building. Second is right from the entrance to the building.

Third one is located near the fence with a key - Restoring power | Jurassic Park - secrets - Jurassic Park - secrets (missions) - LEGO Jurassic World Game Guide & Walkthrough

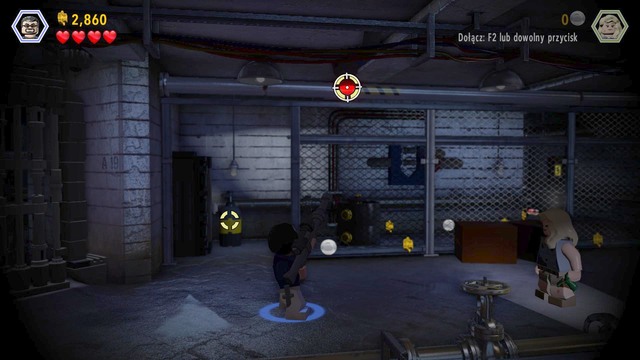
Third one is located near the fence with a key.

You will find the fourth one on the left side, before the last steam valve - Restoring power | Jurassic Park - secrets - Jurassic Park - secrets (missions) - LEGO Jurassic World Game Guide & Walkthrough

You will find the fourth one on the left side, before the last steam valve.

Minikit #6

Minikit #6 - Restoring power | Jurassic Park - secrets - Jurassic Park - secrets (missions) - LEGO Jurassic World Game Guide & Walkthrough
Minikit #6

You can collect sixth minikit as any child. Walk left before the steam valves and you will find a small niche. Behind it you will find the minikit.

Minikit #7

Minikit #7 - Restoring power | Jurassic Park - secrets - Jurassic Park - secrets (missions) - LEGO Jurassic World Game Guide & Walkthrough
Minikit #7

Seventh minikit can be found at the last steam pipe. Walk to the excrements as Ellie, dig some bricks from it and create a small passage. Use the passage as child.

Minikit #7 - Restoring power | Jurassic Park - secrets - Jurassic Park - secrets (missions) - LEGO Jurassic World Game Guide & Walkthrough
Minikit #7

Once you reach other side, change your character to a small compsognathus and unlock the door shown on the picture.

Minikit #8

Minikit #8 - Restoring power | Jurassic Park - secrets - Jurassic Park - secrets (missions) - LEGO Jurassic World Game Guide & Walkthrough
Minikit #8

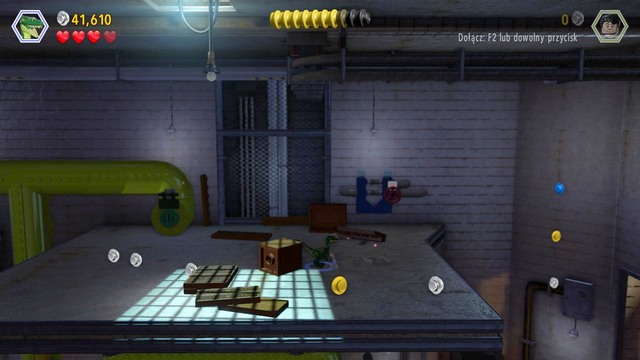
Still as compsognathus, use the pipes to reach higher floor on the right side. Destroy the brick object that can be found there and create eighth minikit from it.

Minikit #9

Minikit #9 - Restoring power | Jurassic Park - secrets - Jurassic Park - secrets (missions) - LEGO Jurassic World Game Guide & Walkthrough
Minikit #9

Ninth minikit can be found in raptor's herd. Change your character to someone who has a gun and shoot down the nests shown on the picture. You will receive the minikit once you shoot down four of them.

Minikit #10

Minikit #10 - Restoring power | Jurassic Park - secrets - Jurassic Park - secrets (missions) - LEGO Jurassic World Game Guide & Walkthrough
Minikit #10

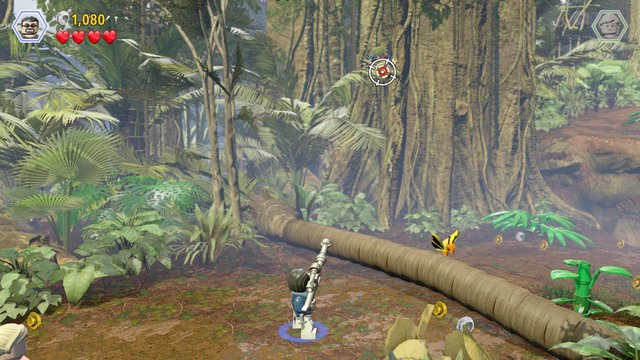
During the moment shown on the picture, change your character to raptor and walk to the cloud. Follow the smell and uncover the ground. Once you're done, switch to Grant and dug the minikit from it.

Amber #4

Amber #4 - Restoring power | Jurassic Park - secrets - Jurassic Park - secrets (missions) - LEGO Jurassic World Game Guide & Walkthrough
Amber #4

Fourth amber can be found in the service building, on the right side from the entrance. As Ellie, walk to the excrements and dig up the amber from them. You will unlock velociraptor with it.

See/Add Comments

You are not permitted to copy any image, text or info from this page.

This site is not associated with and/or endorsed by the Warner Bros Interactive Entertainment or Traveller's Tales. All logos and images are copyrighted by their respective owners.

Copyright © 2000 - 2024 GRY-Online S.A. for gamepressure.com, unofficial game guides, walkthroughs, secrets, game tips, maps & strategies for top games.