
Prologue | Jurassic Park - secrets LEGO Jurassic World Guide
Last update: 11 May 2016
Minikit #1

You will receive your first minikit after destroying the right headlight shown on the picture above. You can do it with any character that has a ranged weapon.
Minikit #2

You will receive the second minikit once you load three generators. Two of them are shown on the picture above (it's the right side of the location where you start), the third one is located on the left side, above. Generators can be loaded with a character in blue, Jophery.
Minikit #3
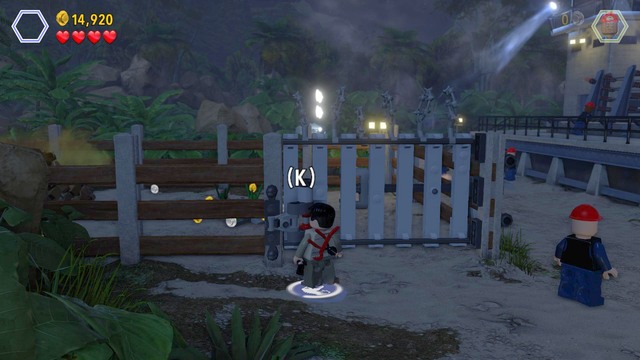
Third minikit is located behind the gate. You will open it with Nick van Owen's skill. Once you're inside, switch your character to Ellie and dive into droppings. You will dig up a minikit from them.
Minikit #4
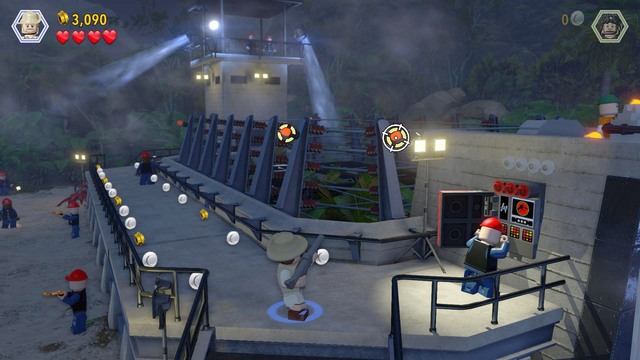
You will get fourth minikit once you destroy four red lights. Two of them are shown on the picture, two others can be found on the left side. Destroy the lights with any character that has ranged weapon.
Minikit #5

Fifth minikit can be found at the excavation site. You will be able to obtain it during the main mission. Get above on the left side and destroy the first brick object. After that, build a castle out of it. Once you complete three castles, you will receive the minikit.
Minikit #6

After building the second skeleton, jump on it with a female character. In the niche seen next to him you will find the sixth minikit.
Minikit #7
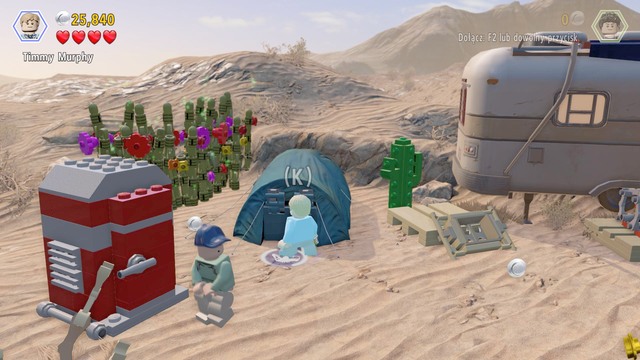
Another minikit can be found right from the trailer. To reach it, you must change your character to a child (for example, to Timmy) and use the passage in the tent near the trailer. On the second side you must walk to the container, change your character to Claire and hack the console. By doing it you will receive the seventh minikit.
Minikit #8

Collect the blue brick as Robert or other tracker and follow its trail. Once you reach the destination, create a pump from bricks and jump on it. You will receive eighth minikit.
Minikit #9

Left from the tent you will find some high plants. Walk to them and destroy them as Grant to receive ninth minikit.
Minikit #10

On the right side from the trailer you will find a container. Open it as Nick and create a vehicle from the bricks.

Use that vehicle to ride on the piles of ground visible on the picture above. After riding on three such piles you will receive the last minikit.
Amber #1

First amber can be found at the excavation site. Walk to the cave shown on the picture and use Malcolm character to light up the way inside. At the end of the tunnel you will find the amber that will unlock Gallimim for you.