
LEGO Skywalker Saga: The Strength To Do It - walkthrough LEGO Skywalker Saga guide, walkthorugh
This page of the guide to LEGO Skywalker Saga contains a walkthrough of the level Be Strong Enough from Episode 9 - Death Star II, the clash with Kylo Ren.
Last update: 28 June 2022
On this page of the LEGO Skywalker Saga guide you can find a walkthrough for the fourth mission of Episode 9 (The Rise of Skywalker) It covers the exploration of the Death Star II ruins, as well as The Strength To Do It story mission. The following walkthrough explains how to save Chewbacca, how to climb the Death Star II ruins, how to defeat the boss Kylo Ren, how to solve puzzles in between boss fights, and more.
- Wookiee Rescue
- Delta 3-6, Transient 9-3-6, Bearing 3-2
- Relics of the Empire
- The Strength To Do It - challenges
- Walkthrough - the first part of the Kylo Ren boss fight
- Walkthrough - the second part of the Kylo Ren boss fight
- Walkthrough - the third part of the Kylo Ren boss fight
Wookiee Rescue

After completing the stealth mission, you will find yourself back in space and have to approach the Steadfast spaceship to dock on it.
Since you have entered an enemy ship, you'll have to fight off stormtroopers on your way. These battles aren't difficult, but keep in mind to avoid the grenades as they land. Follow linear corridors to the destination. After reaching the locked passage, use mind control (more specifically, Influence) to take over the sleeping stormtrooper and pull the lever.
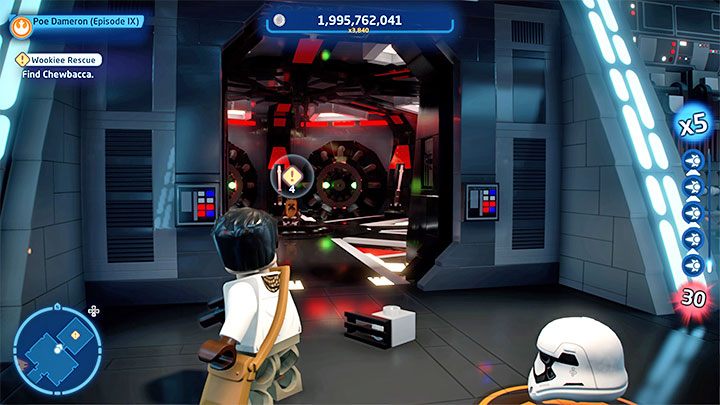
Keep walking to the blue circle, where new cut-scenes will play.
Once you regain control over your heroes, more fights will await you. You can either hide behind cover or attack the stormtroopers more aggressively. Your destination is the room where Chewbacca is held prisoner.
Delta 3-6, Transient 9-3-6, Bearing 3-2
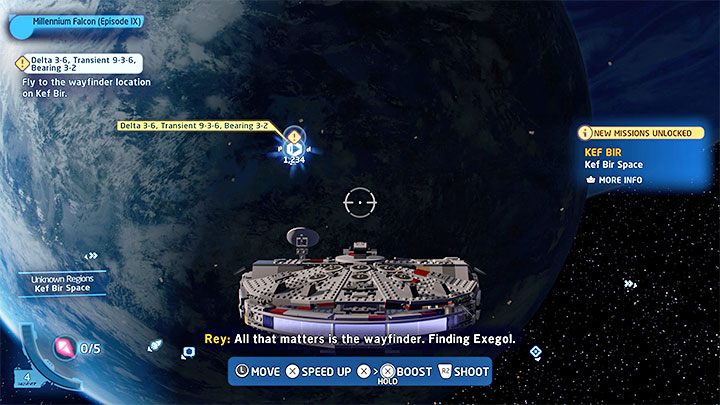
After watching the cut-scenes, you will find yourself in Kef Bir Space. You just have to fly to the new marker and confirm that you want to progress the story.
Relics of the Empire
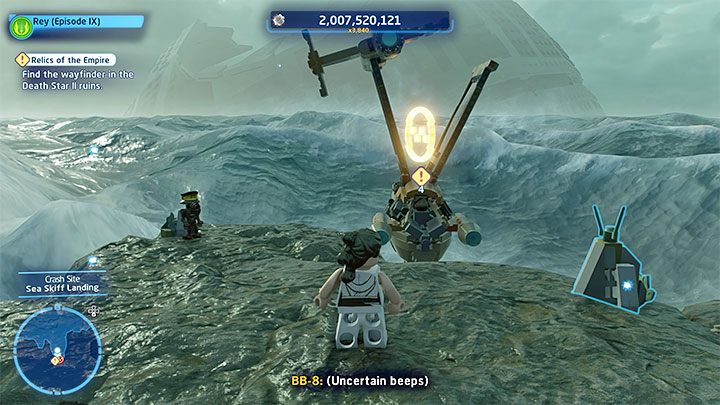
Your new objective will be to reach the Death Star II ruins. To do this, you have to head to the shore and jump on the machine moored there. You won't have any tasks to complete while crossing the high waves. You just need to continue your journey until you are close enough to the ruins.

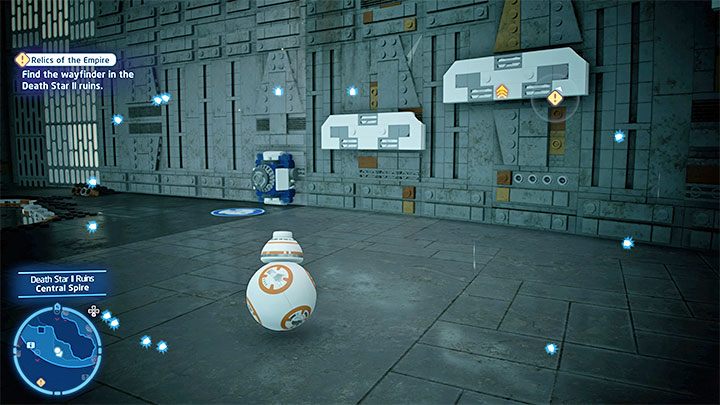
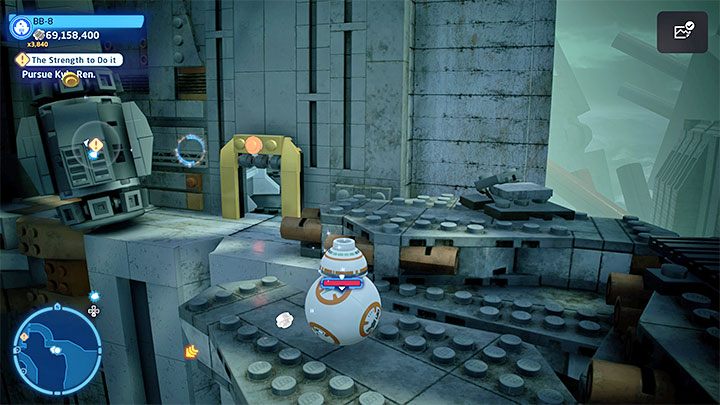
When exploring the wreckage, Rey and BB-8 need to cooperate. If you're in single-player mode, you will need to switch to the other character at several points to find a path for them to reach the higher levels of the Death Star. You don't need to explore 100% of the wreckage. To progress the main story, you only need to find the Wayfinder (a small artifact).
Reach the partially flooded, large hall. Once you arrive there, select BB-8 and grab the hook in order to lower the metal bridge.
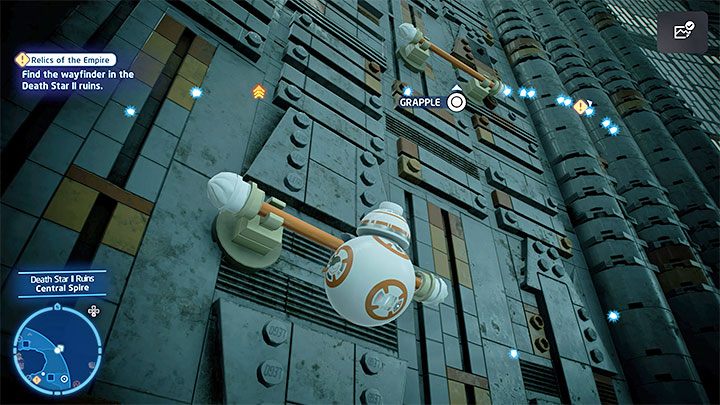
The heroes need to reach one of the higher levels:
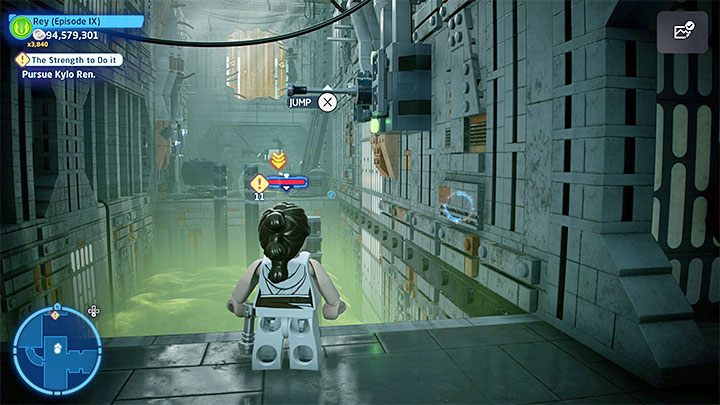
- Playing as Rey, you can jump to the next ledges and protruding edges. If necessary, you can also grab onto the rope.
- When playing as BB-8, you can treat the edges as hooks and pull yourself to them one by one (example in the screenshot).
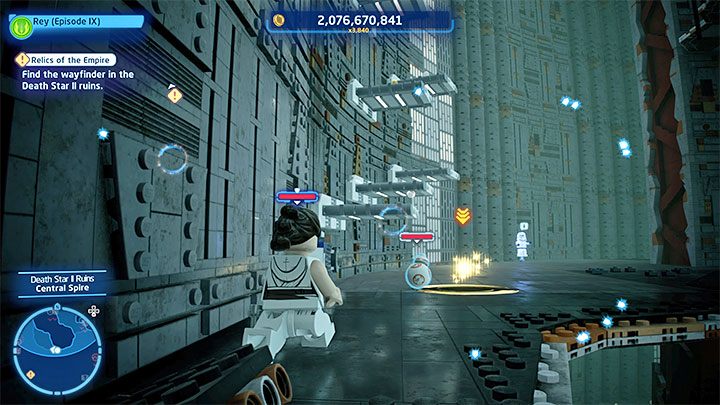
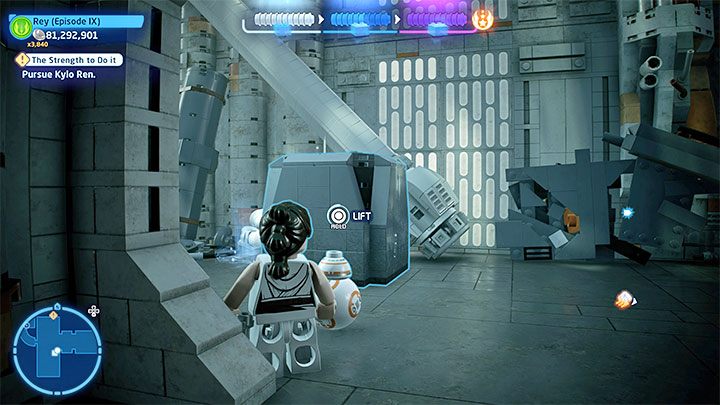
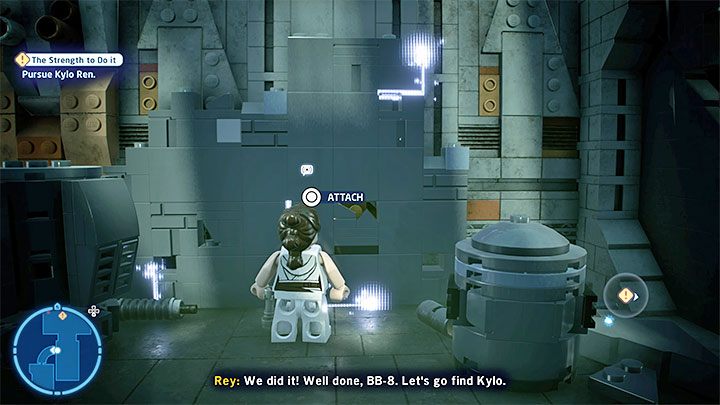
Your goal is to enable BB-8 to use the blue terminal from screenshot no. 1. Complete the ring spinning mini-game.
Completing the mini-game will cause the platforms to temporarily eject, requiring you to jump on them while playing as Rey (screenshot no. 2).

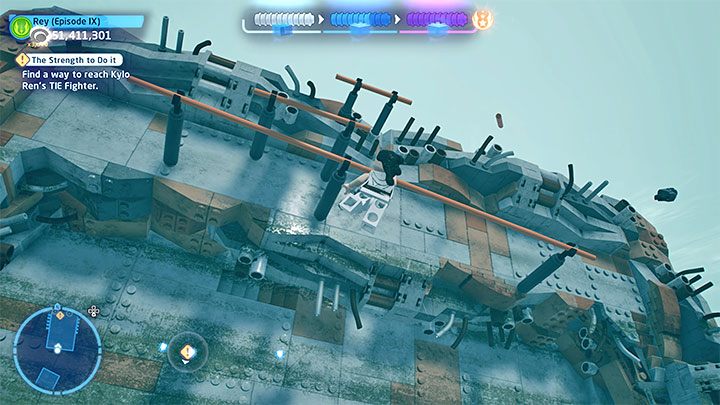
At the top, you will find a crate that you'll need to push. Drop it to the lower level, then jump down and build a springboard. It will let your characters continue their journey.
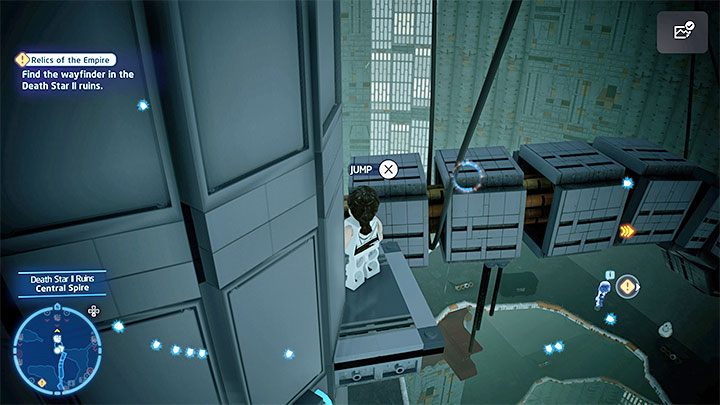
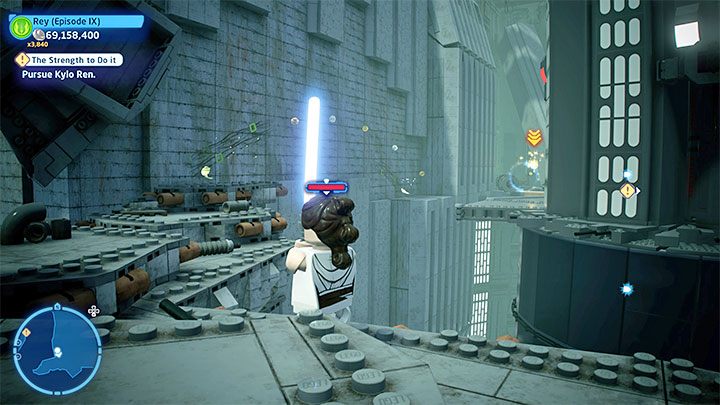
The remaining climbing section can be completed by any character, but playing as Rey should speed it up. Leap to the successive edges of the tower-shaped structure and then jump onto the hanging objects (pictured above). After reaching the final tall ledge, a linear corridor will lead you to the starting point of The Strength to Do It level.
The Strength To Do It - challenges

- Shocking! - You need to activate the electrical hazards to damage Kylo Ren. Go to the walkthrough of the third part of the Kylo Ren boss fight, where we've described in detail how to damage the boss.
- Dark Lord of the Surf - You need to pull Kylo within the range of the breaking wave. Go to the walkthrough of the third part of the Kylo Ren boss fight, where we've described in detail how to damage the boss.
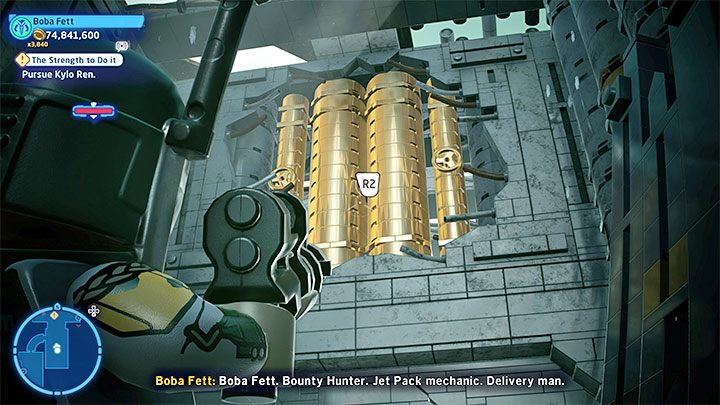
- Golden Opportunity - You need to find your way through the Death Star without opening any doors. This challenge can only be obtained in Free Play mode. After defeating Kylo Ren for the first time, you have to reach the place where the side rooms for BB-8 are unlocked (the one with two buttons). Ignore this step. Select a character from the Villains class and check out the red terminal from the screenshot. You have to destroy the obstacle that is blocking it, then interact with it.
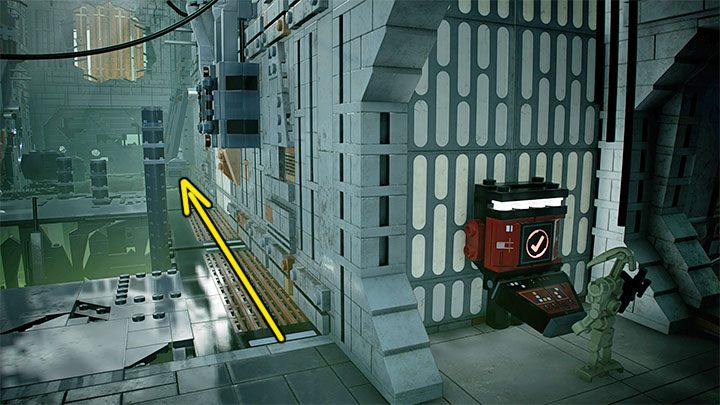
- The alternative path from screenshot no. 1 will be unlocked, allowing you to skip having to step on the buttons as BB-8.
- After reaching the other side, choose any character from the Bounty Hunter class. You have to shoot down the golden pipes from screenshot no. 2. After destroying them, the hook will be revealed and pulling yourself to it will complete this challenge.
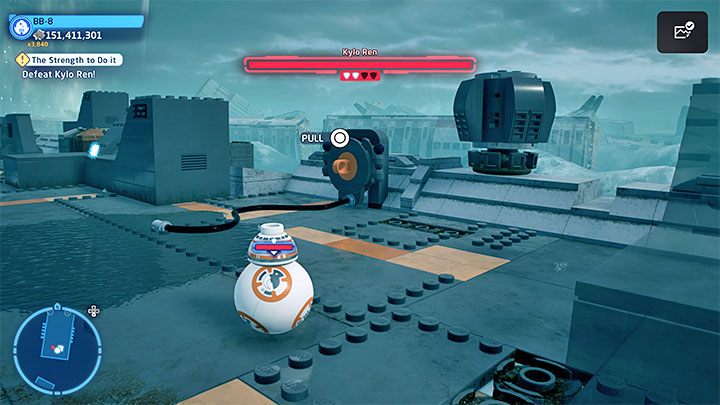
Walkthrough - the first part of the Kylo Ren boss fight
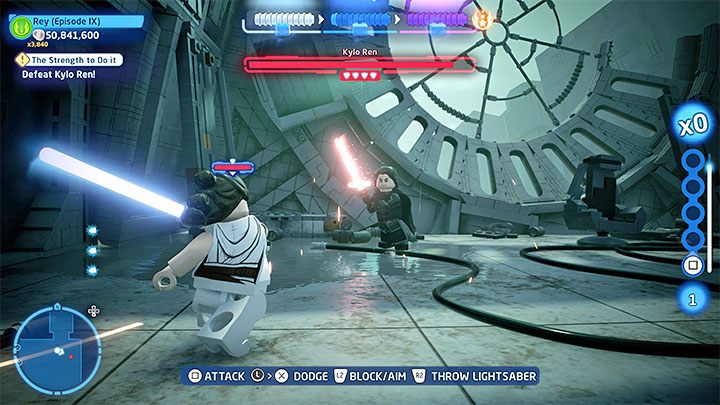
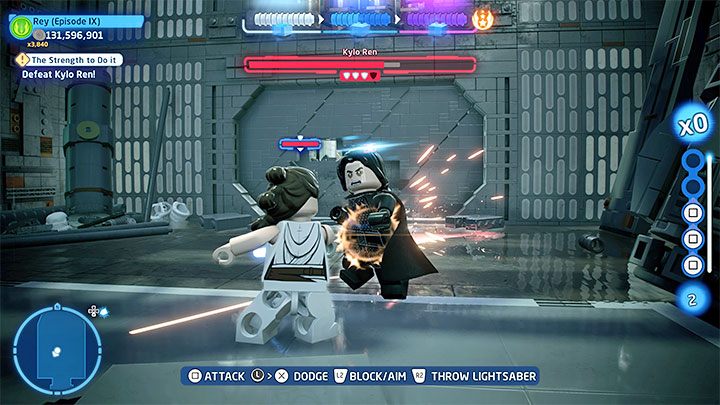
The strategy you should take during the fight should be obvious by now. You can damage the boss by throwing your lightsaber or aggressively fighting him in melee.
Make sure to dodge his attacks. As a reminder, all strong attacks are telegraphed with red lines or circles. Kylo Ren can grasp you with the Force, forcing you to mash the directional buttons to break free.
At the end of phase one you must overpower Kylo by mashing the displayed button.
Kylo Ren will run away. You have to solve some environmental puzzles on the way to him. You can reach the next area by controlling any of the heroes:
- If you choose Rey, you'll have to run along the left wall shown in picture 1.
- If you choose BB-8, you'll have to enter the hole to the right shown in picture 2 and go through some small tunnels.
You'll reach a pit which blocks the way forward. First, select Rey. Look at the stone block pictured above - you must move it with the Force and push it into the pit.
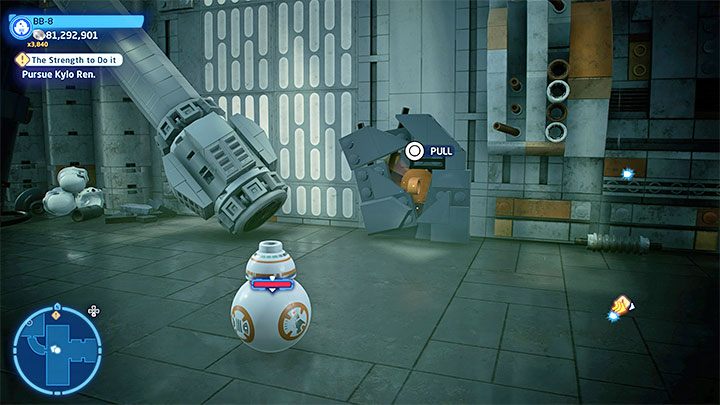
Now switch to BB-8. There's an interactive hook nearby (pictured above). You can pull it with a grapple hook and unlock a small tunnel the droid can fo through to reach a side room with two buttons inside.
BB-8 must help Rey get to the other side of the pit. Here's what you need to do:
- Set BB-8 on the right button from picture 1.
- Switch to Rey and grab onto the bar (picture 2). You won't make it all across and will have to stop halfway through.
- Select BB-8 again and stand on the left button.
- Switch to Rey again and jump across the protruding elements to reach the safe platform visible in the distance.
Stick with Rey and cut open the pictured wall with your lightsaber. This will unlock a small hole. After switching to BB-8 you'll be able to go through the tunnels and reach Rey.

Destroy all the nearby objects. You can now build a blue terminal for BB-8 out of the fragments. Interact with it and complete a mini-game. You'll unlock the way forward and encounter Kylo Ren again.
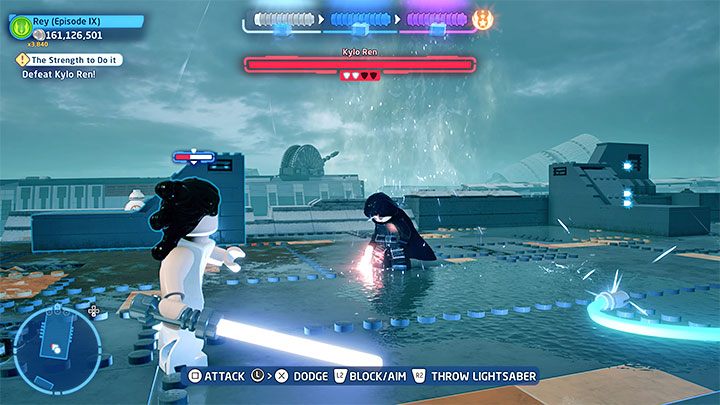
Walkthrough - the second part of the Kylo Ren boss fight
The second phase of the duel against Kylo won't surprise you. You must deplete his second health bar.
Just like you did before, use your lightsaber and dodge the boss' red attacks. At the end of the phase you'll have to overpower him once again.
The floor will collapse. You don't have to do anything while you're hanging over the pit.
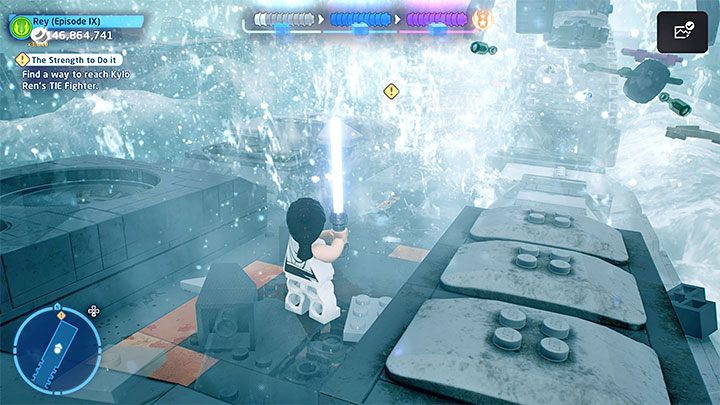
After landing in the new area go to the surface. From now on you must watch out for the waves hitting the wreckage. The waves are telegraphed with red lines - stay away from them and wait until it's safe to cross over.
Climb onto the large round object. Ignore Rey's concerns and make a far double jump. You'll grab onto one of the edges. Now you must climb up. You'll ultimately reach a stable platform and face Kylo Ren for the final time.
Walkthrough - the third part of the Kylo Ren boss fight
During this face you have more ways of damaging the boss other than your lightsaber.
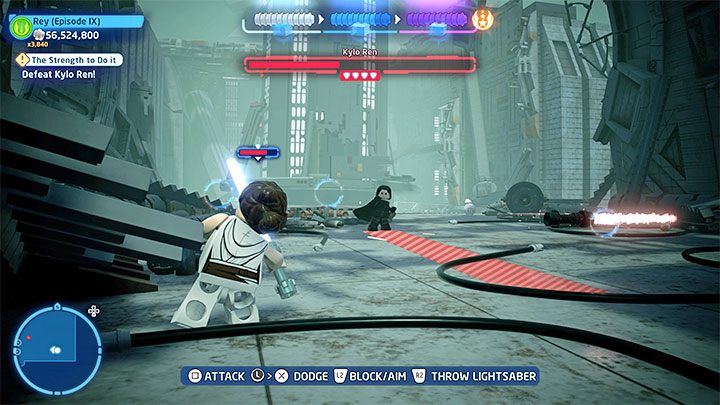
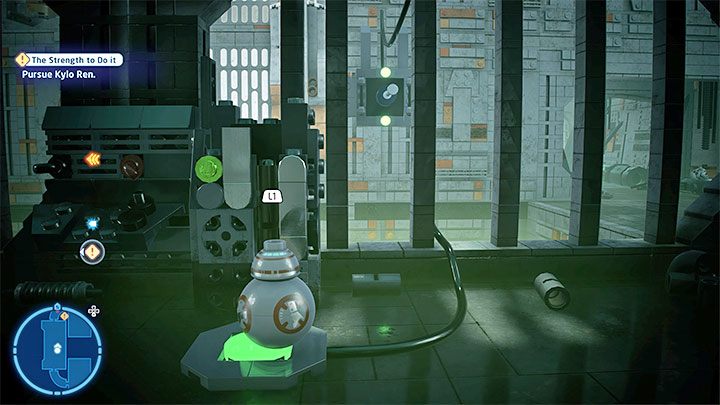
The first new method involves BB-8. The droid can grapple the hooks found around the area (example shown in picture 1). Ripping out the hooks generates electric discharges which electrocute the boss if he touches them (it's also required for the Shocking! challenge). Be careful, as you can easily electrocute Rey as well. The camera is always focused on Kylo Ren, so you can easily end up accidentally backing up into the discharge.

You can also lure Kylo into a large wave. If you notice a wide red line during the duel, immediately back away. Kylo will follow you and there's a large chance the wave will knock him down. Doing this correctly will net you the Dark Lord of Surfers challenge.
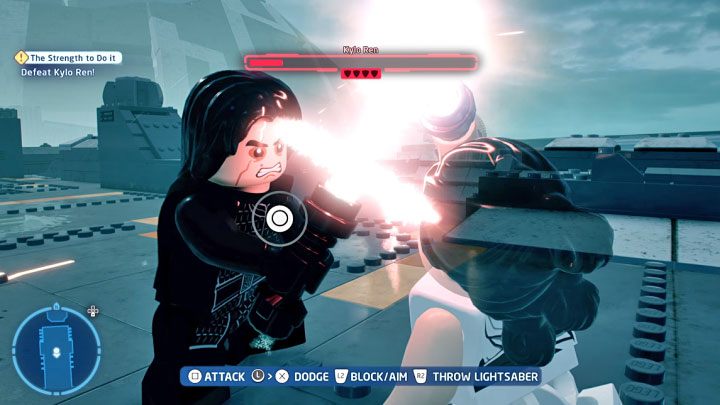
During the third phase you must deplete the boss's health bar three times. You can do so via the methods described above or with just your lightsaber. Be ready to fight back against Kylo when your blades lock.
The finale of the fight involves some more complex QTEs - you must press the buttons displayed on the screen several times. Complete the QTEs to finally win this long duel.