
LEGO Skywalker Saga: C-3P-Oh No! - walkthrough LEGO Skywalker Saga guide, walkthorugh
This page of the guide to LEGO Skywalker Saga contains a walkthrough of the level C-3P-Oh no! from episode 9 - sneaking in Kijimi, the UA-TT machine.
Last update: 02 June 2022
On this page of the LEGO Skywalker Saga guide you can find a walkthrough for the third mission of Episode 9 (The Rise of Skywalker) The mission in question is named C-3P-Oh No! We also list and explain the individual challenges of this mission. Thanks to our walkthrough, you'll learn how to get Poe and Rey safely through the caves in order to save the remaining heroes, how to sneak past the guards and eliminate them silently, and how to sabotage UA-TT's searchlights.
Beneath the Shifting Mires

After completing the second story mission of episode 9, you will find yourself in the Vexis Cave and soon you will receive an objective to reach the other heroes.
Poe and Rey must work together from the very beginning. Here's what you need to do:
- Rey should climb the net to the ledge on the right.
- Poe needs to gra the right lever (picture above).
- Quickly switch to Rey and jump over to the newly lowered platform before it rises again.
- Repeat the scheme with the left lever - after you grab it, while playing as Poe, quickly select Rey and jump to a new ledge.
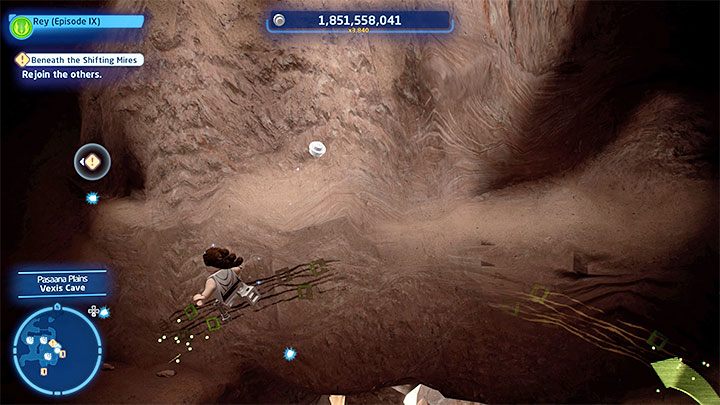
Alone, Rey must continue exploring the upper area, which is temporarily inaccessible to Poe. Use the level encountered on the way. In the place shown in the picture, you have to wall run . Make sure you choose the starting point correctly, because there is a risk that the game may misread your move and you would have to repeat the previous steps if you fell down.
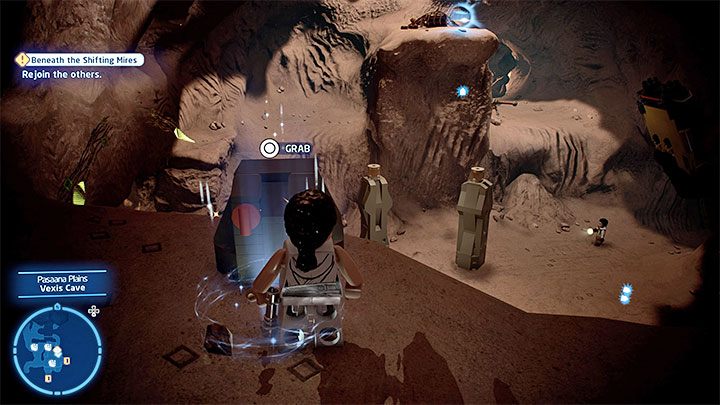
Find the chest shown in picture 1 and push it down. This will allow Poe to push it further. Place it in the place shown in picture 2, thanks to which Poe will be able to join Rey after a few jumps.

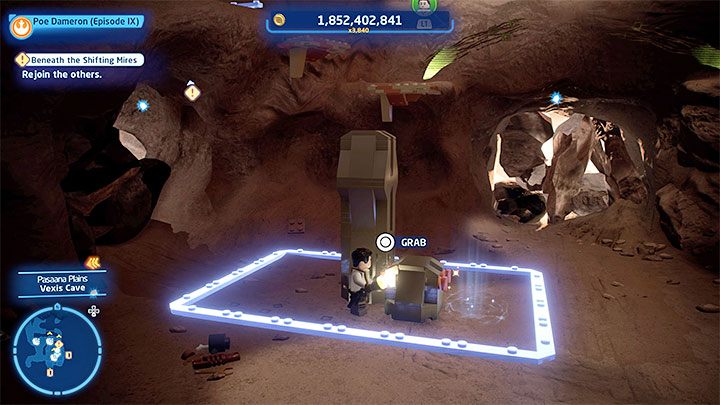
The next step is to approach the place where the rest of the heroes are. Poe can grab the hook shown in the picture here.
After freeing your companions, resume the linear march through the cave - jump over to the next protruding objects and slide down the rope. You will reach a blue circle.
Forbidden Programming
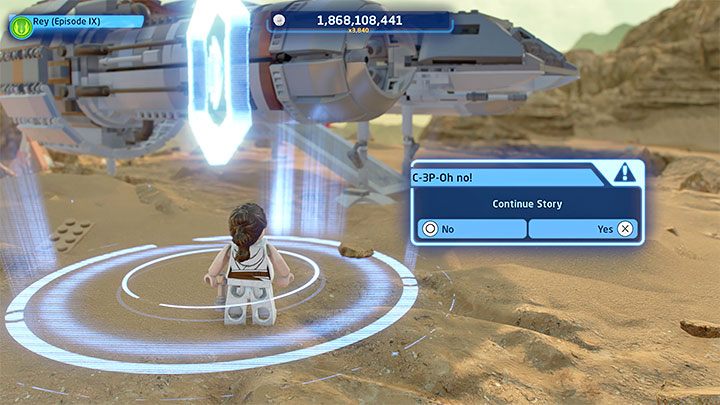
After reaching the surface, there is only one thing to do - reach the ship on the hill. There is a blue circle next to it that will begin C-3P-Oh No! mission.
C-3P-Oh No! - challenges

There are 3 challenges appearing in this level:
- Be Rey-ly Quiet - complete the level without being detected. Watch out, in particular, in a place where you have to silently get rid of enemies with blaster shots. Also, watch out for the searchlights.
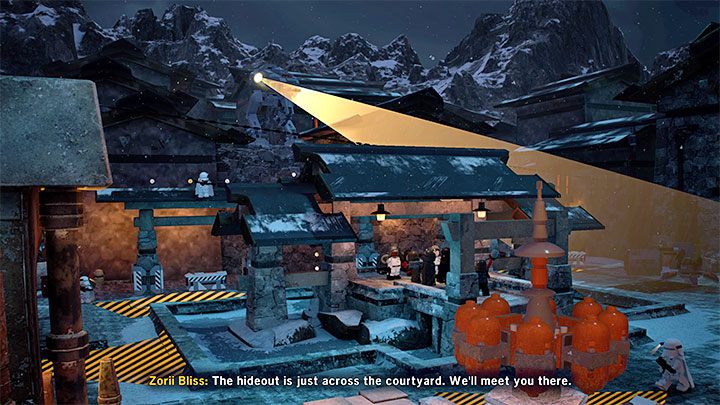
- New Orders - get rid of the stormtroopers from the main courtyard without raising an alarm. The main courtyard is the location that you reach at the end of the level (picture 1). Instead of going to the exit, you have to "clear" this location first. Pay attention to the view cones and circles (example in picture 2), which symbolize the areas observed by the spotlights. Take your time not to make a mistake, as if you do, you need to restart the mission
- Right in the Eye - dsable UA-TT headlamp with a blaster shot. The opportunity to sabotage the first searchlight appears right after the mission starts (and also later - it can be any UA-TT). We have described it below in the walkthrough.
C-3P-Oh No! - walkthrough
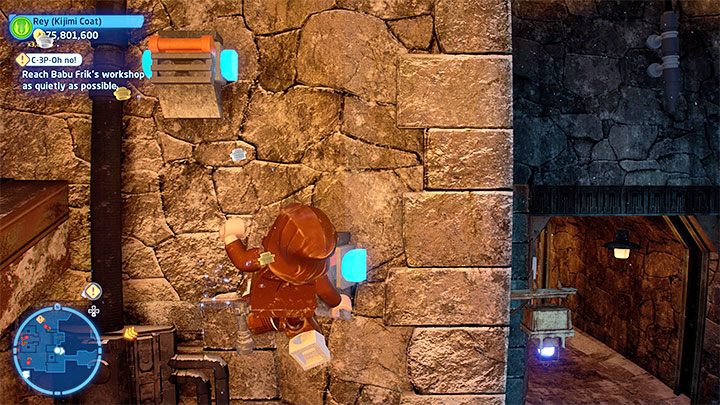
During this mission, stealth is the recommended approach. In case of detection, you must expect firefights and that you've failed one of the challenges of the mission.
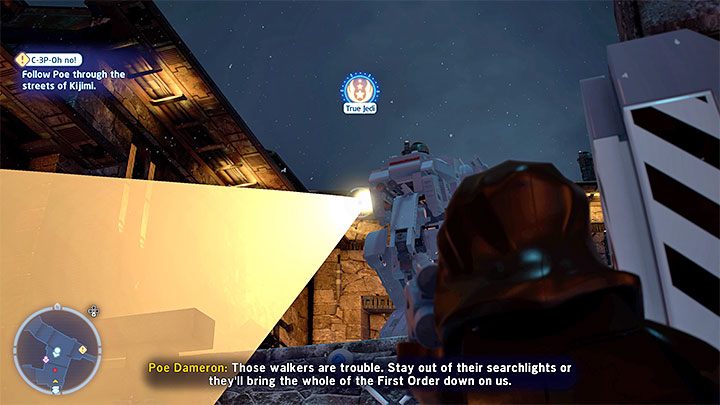
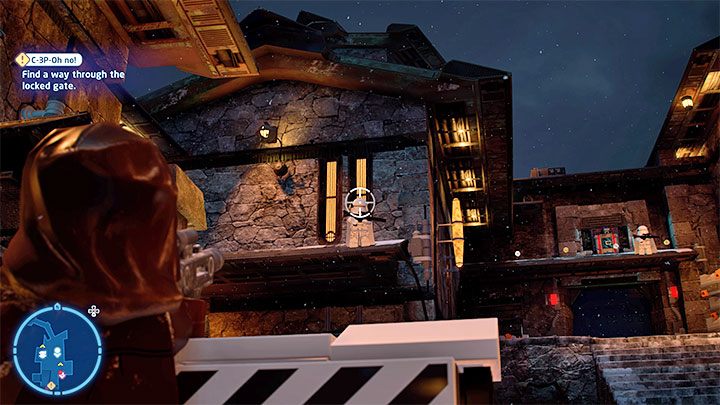
Follow the fixed path until you reach the location of the UA-TT . It has a spotlight that observes the area and looks for heroes. You can use the blaster to hit this spotlight and sabotage it for a while (it will turn on again after some time). This action will not alert the UA-TT.
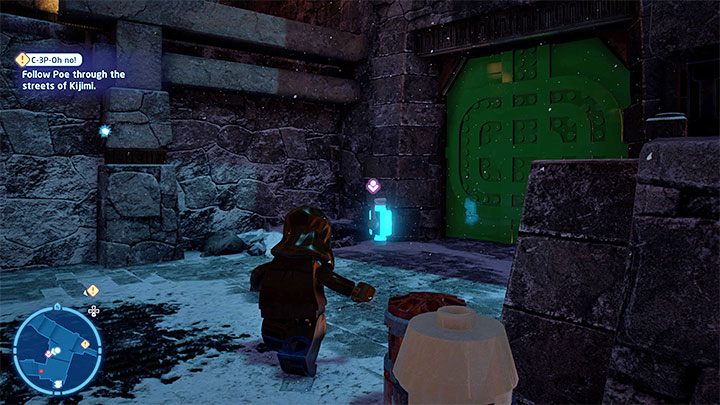
Reach the exclamation mark on the mini-map and you will find an energy source shown in picture 1. You have to deliver it to a slot near the closed red door (picture 2) - unlocking it opens the path ahead.
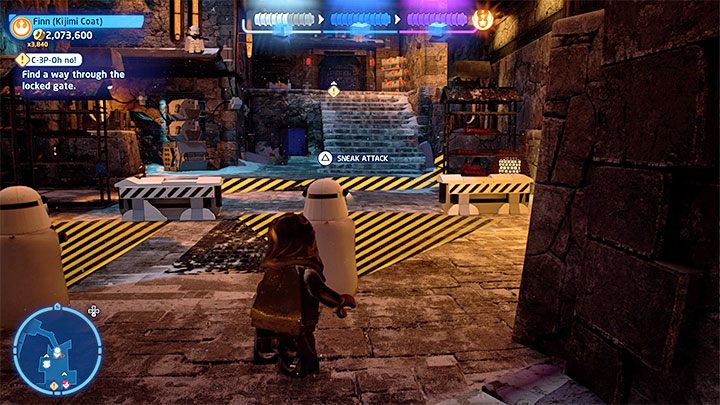
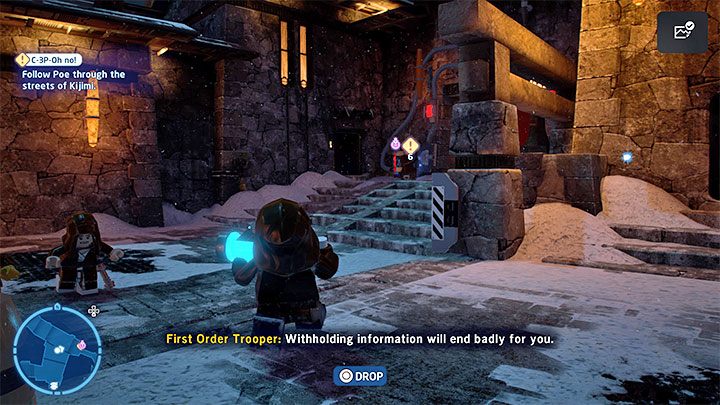
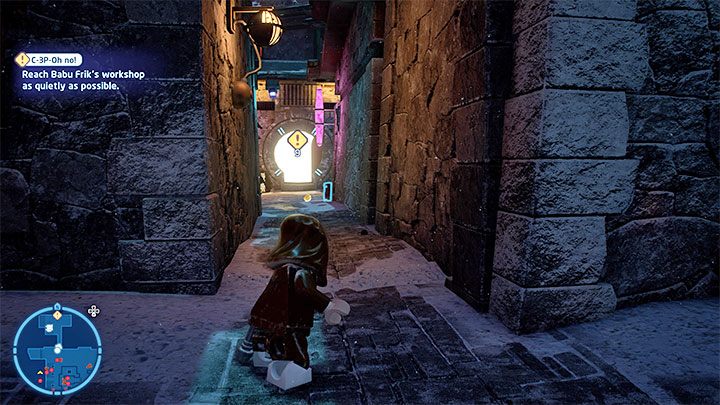
From this point on, you'll encounter opportunities to eliminate enemies silently . You have to sneak to them while they look the other way, stay out of their viewcones, and press the buttons for silent attacks.
In some cases, you need to hit the enemies with blaster shots over a long distance. Always choose only a single enemy and avoid missing, so that the alarm is not raised.
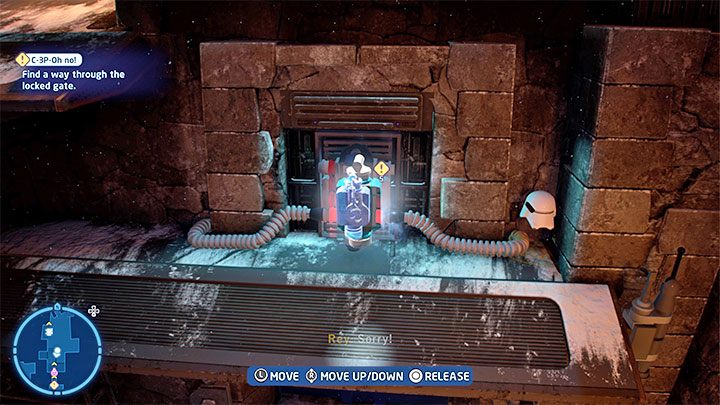
To continue, switch to Rey. Use the Force to catch the new energy source shown in picture 1, which is hidden behind several destructible items. Move it to the upper slot shown in picture 2 (alternatively, you could build a tower from crates here and climb it while carrying the item).
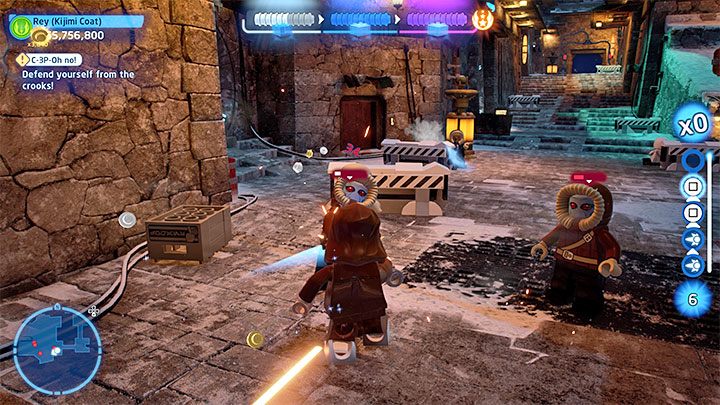
In the next location you will meet a group Kijimi Crooks. Engage them directly - they do not pose a challenge, although kill the enemies one by one.
After the fights, a stormtrooper patrol will appear. You can attack it or hide and wait for him to leave the area.
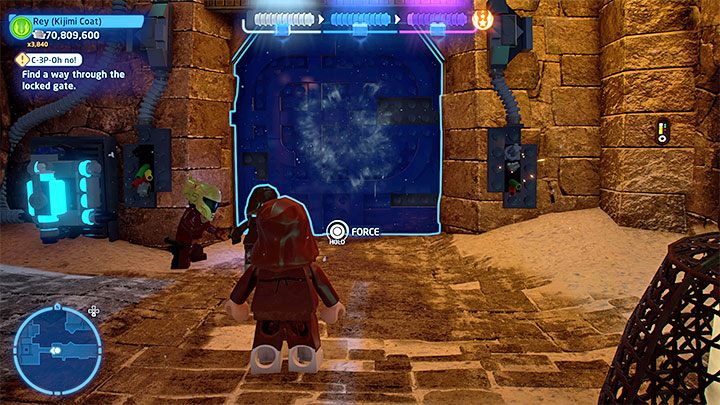
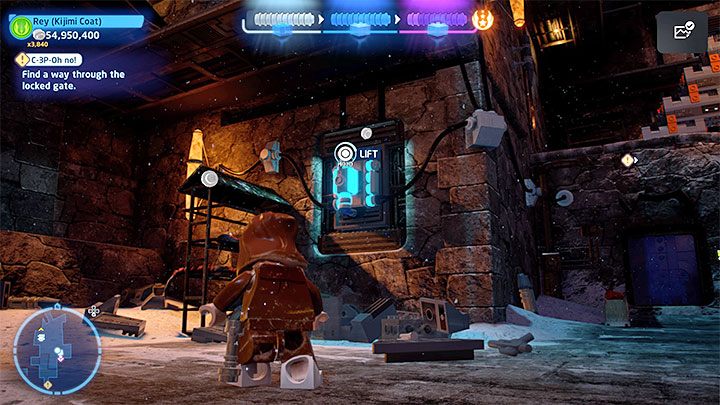
You will reach a locked gate - Rey can open it. Simply use the Force and choose the top direction
The last location of this stage is the main courtyard - once you arrive here, a short cut-scene will show you the exit, which is located on the right. In this area, there are many stormtroopers (both standing still and patrolling the area) and additional UA-TT machines observing the area with searchlights (once again, you can disable them temporarily with blaster shots)
If you want to avoid direct combat, turn right immediately. Here you can grab onto the edge and use it to reach the roof.
As you continue your journey, you can silently eliminate enemies or avoid them. If you decided on a stealthy approach, look for searchlights and viewcones which sometimes overlap.
The exit from the courtyard is marked on the mini-map and is shown in the attached picture. Using it will trigger a cut-scene that concludes the mission.