The area with machines and a clock | Layers of Fear 2 walkthrough Layers of Fear 2 guide, walkthrough
Last update: 03 June 2019
This page in our guide to Layers of Fear 2 contains walkthrough for the location with working machines, gears and a clock. You visit this place during act 2. Besides solving a few puzzles, you will also visit many rooms with interactive items.
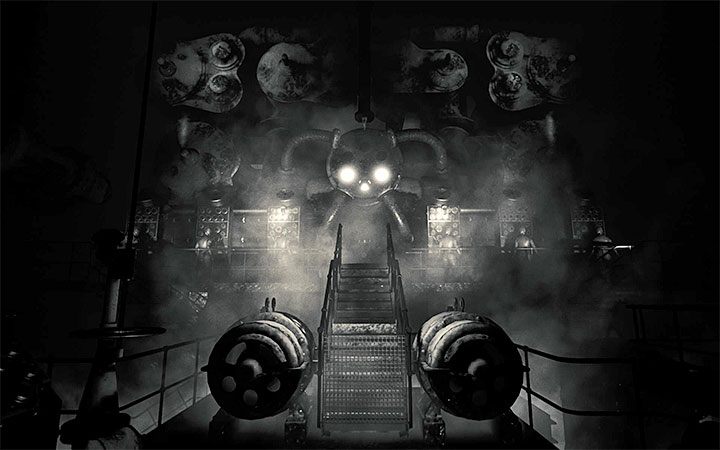
You can start exploring this area after you jump into the well. Working mannequins and inaccessible stairs are directly in front of you. On the right, you can find a big clock - for now, you can't perform any activities here.
Go through the passage on the left - it leads to a door, a ladder, and to a room with a puzzle involving gears.
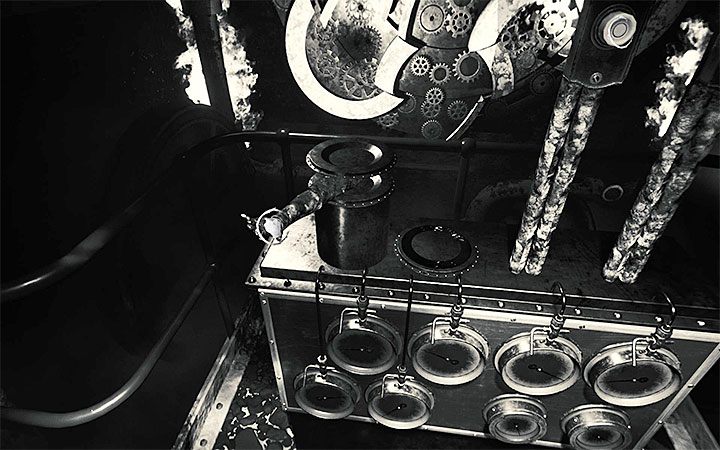
- Your task is to choose the right gears.
- The left lever (presented in the picture above) can be placed on the left, center and right position. Depending on the setting, you will move the outer, middle or inner part of the mechanism.
- The right levers are for rotating the gears so you can match them.
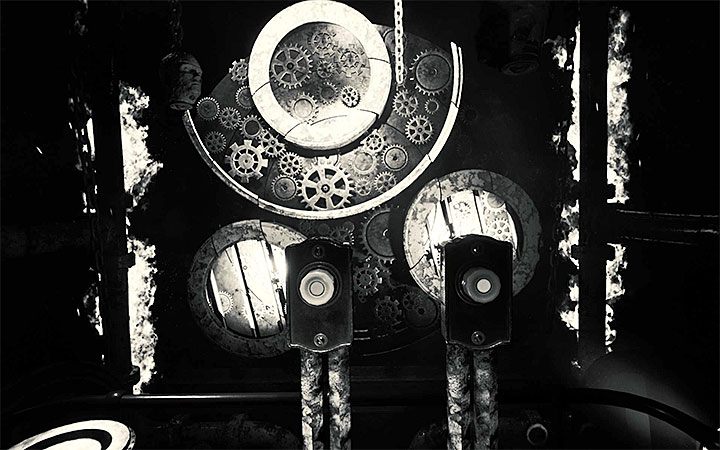
We recommend starting with the outer gears and finishing with the inner ones. The picture above shows the solution. The characteristic sounds will inform you that you have solved it properly.
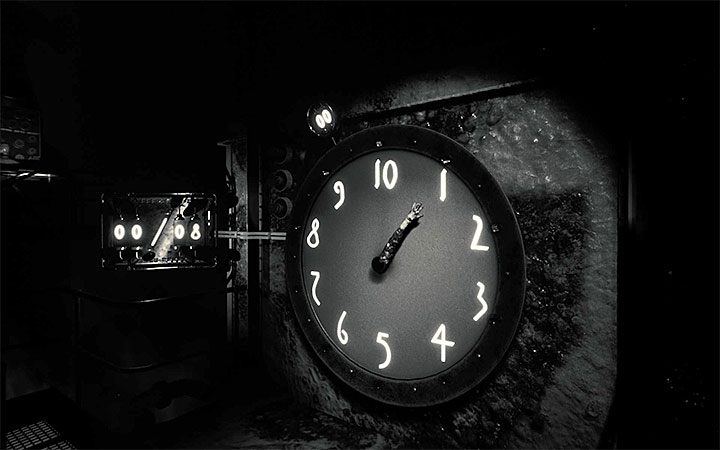
Go back to the main room. Proceed with solving the clock puzzle located on the right (you couldn't interact with it previously).
Your task is to stop the mannequin's hand at the hours, which are added up. To solve this puzzle, you need to get the displayed value. If you make a mistake (that is you go over the displayed value), the puzzle will reset. You will have to start all over again.
- In the first part, you have to get 8. Stop the hand at, e.g. 3 and 5.
- In the second part of the puzzle, you start with 12 and you have to reach a value of 38. Stop the hand at, e.g. 4, 5, 7 and 10.
- In the third part of the puzzle, you start with 24 and you have to reach a value of 70. Stop the hand at, e.g. 1, 2, 3, 6, 7, 8, 9 and 10.
- {ramkaniebieska}Solving this puzzle without mistakes awards you A Beautiful Mind trophy.{/ramkaniebieska}
After solving this puzzle, a flower will appear near the previously inaccessible stairs. Examine it and then enter the lift. Activate it. Ignore the mannequins spawning inside the lift.
Move towards the stairs in the distance. Go up the stairs - you will reach the attic. Approach the mannequin sitting on the bed. It will get set on flames. After that, go back to the lift and activate it once again.
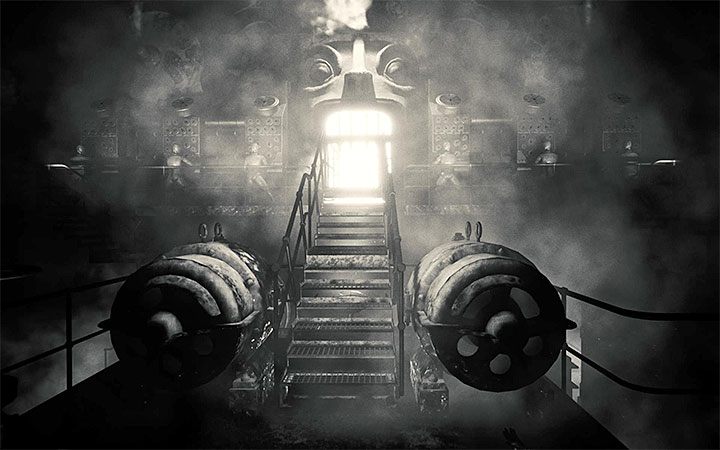
The lift will take you to a room where you have solved the clock puzzle. The stairs have been unlocked - you can reach the well-lit passage shaped like a maw. Follow the linear path through the corridors and balconies.

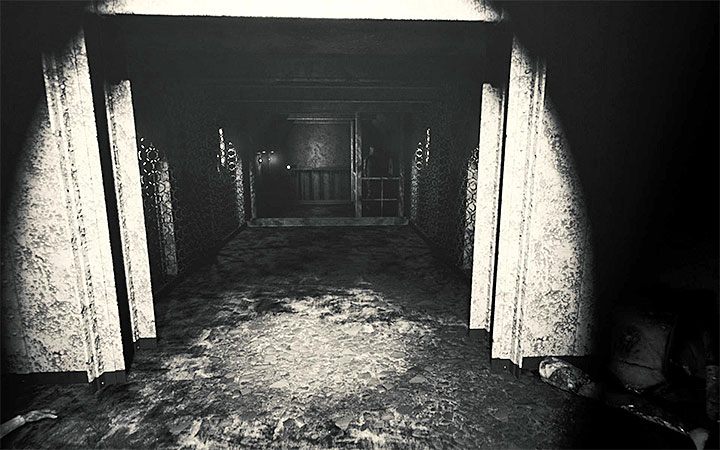
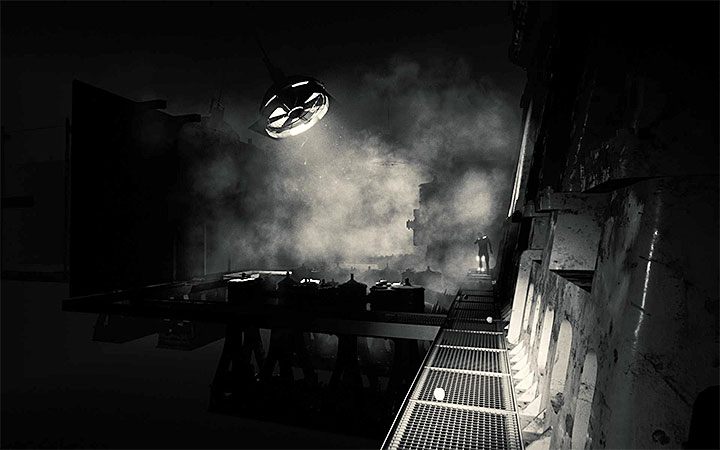
Watch out in the place presented in the picture above. Stay away from the mannequin visible in the distance and don't grab the hand that will appear there. If you do that, you will be attacked by a monster. Instead, turn left immediately and continue (safe) exploration.
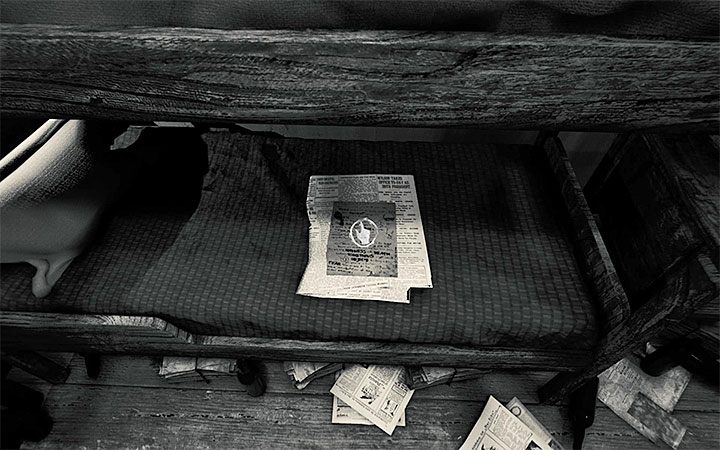
You reach an entrance to a ventilation shaft. Crouch and start moving through it. There is a fork in the shaft. Stay close to the walls on the left - you will reach a locked room. Find the notes left on the bed - it's one of the Mysterious Items, which is one of the game's collectibles.
Reach the other exit from the shaft to unlock the exit from this room. Move through the corridors. The game will switch between color and black and white filters alternatively. A rotten apple is on one of the chairs. One of the dimly lit rooms has more rotten food.
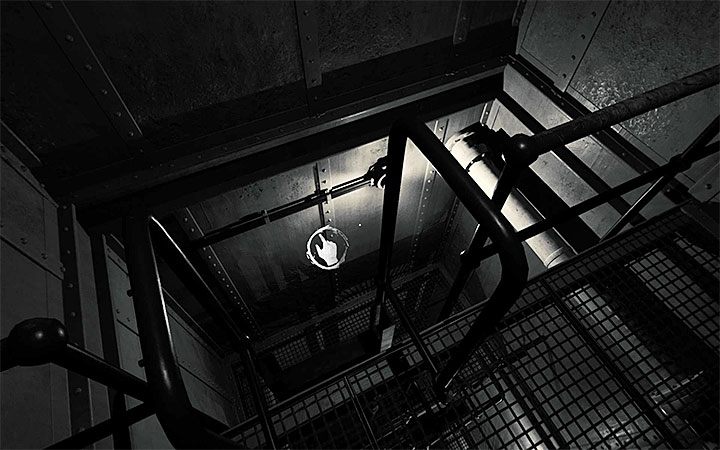
Crouch to move forward. Reach an interactive note. Examine the dimly lit place presented in the picture. There, you will find tape #3 for the phonograph.
USe the small stairs and the ladder. You are in an area with cages. A bill is inside one of them - take it. Climb another ladder and use new stairs. You are near hanging mannequins. Press the button. Open the door and move forward.
Watch out in the place presented in the picture - a monster will appear in front of you. Quickly run to the left. These balconies are narrow and dimly lit. However, you don't have to worry that you will fall down.
Get to the interactive lever - pull it and move forward. You reach a location that resembles a harbor. Follow the linear path to the cup. After returning to the "reality", this cup will turn out to be a bottle. Examine it.
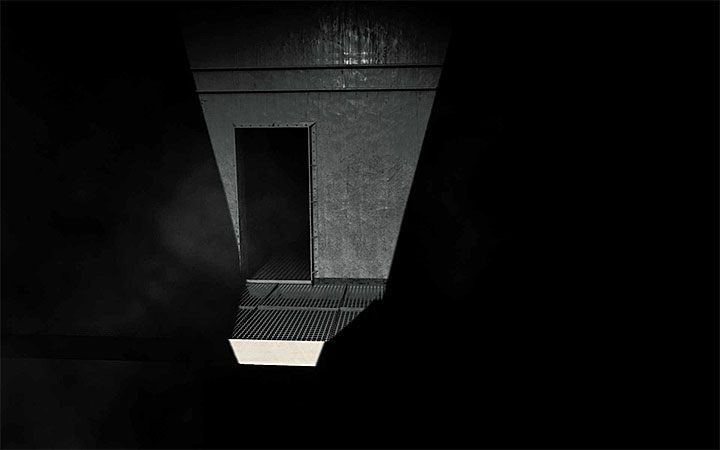
Continue your journey through the balconies. Get to the lever and the ladder. Once you get to the top, find a passage that comes out of the shadow only for a limited time - it is presented in the picture above. This happens in-between the slow rotation of the fan. Wait for the passage to appear and go through it.
Collect a piece of letter in the next room. Read it and then follow the linear path with various paranormal phenomena.
Reach the new lever to adjust the speed of the ship. It works like the one found in the engine room - move it all the way to the left or the right to activate lights in the nearby areas. A note from the security officer is in the adjacent room.
Open the metal door and then descend a few ladders. You are in a new location - examine the empty can on the table. Move two levers to unlock the metal door.