Model of the ship and further exploration | Layers of Fear 2 walkthrough Layers of Fear 2 guide, walkthrough
Last update: 03 June 2019
On this page of our guide to Layers of Fear 2, we have described the exploration of ship's model and further part of the vessel within the passage of act 1. This piece of the game involves, among other things, avoiding light sources and solving puzzles with a safe and projector.

Arrows drawn with chalk will lead you to the ship model, which has to be studied in more detail. Go to the steering wheel, and rotate it.
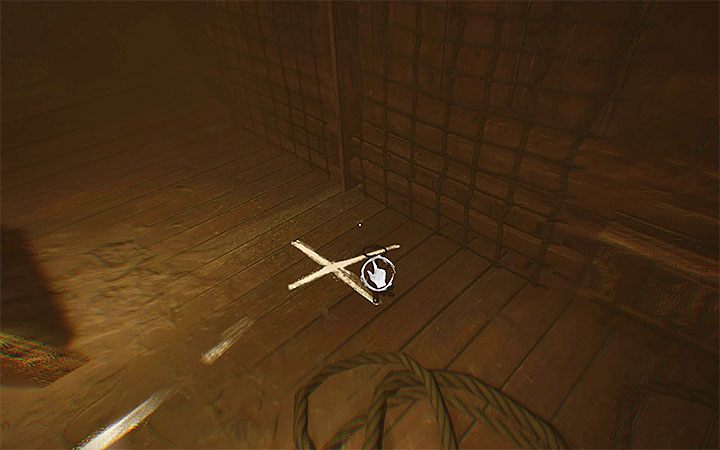
The graphics style will change and then you may go down below deck. Follow the lines and arrows. Open the treasure chest and look at the hat with the sword. Go to the x drawn on the floor and pick up the new key.
Use the key to open the door and return to the ship. Go towards the Sun and pull the rope to ring a small bell.
The game will return to the default graphics style. You don't have to go down below deck again. You can go down from the ship model and continue exploring the surroundings. Get to the specified door. When you open them, the black and white filter will turn on for the first time. Get used to it, because a lot of locations in the game you have to visit in this black & white mode.
Move the curtain and enter the new room. Check out the snippet of the order lying on the table. The room has a new two-sided board that can be rotated to read both messages. Follow the footprints, drawn in chalk. Get to the lever and pull it to watch a cutscene from the next room. Step there and get to the nearby metal doors.
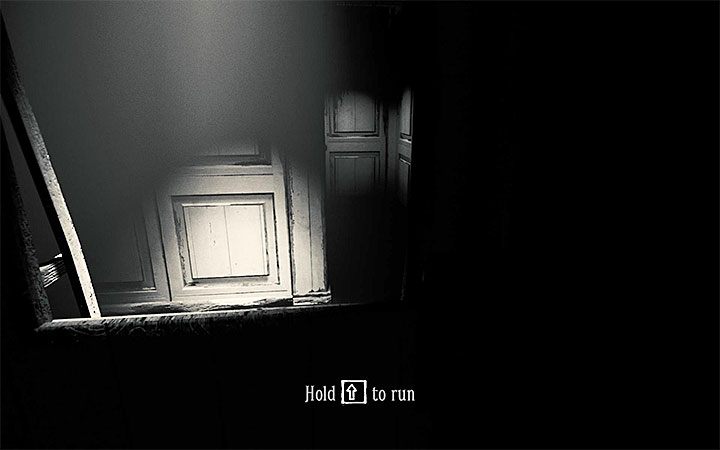
In the new location you have to avoid moving light sources for the first time. If you stop in a lighted place, you will automatically return to the last checkpoint. Help yourself with running to get to new places and avoid light sources. Avoid mistakes if you want to get the In One Take achievement.
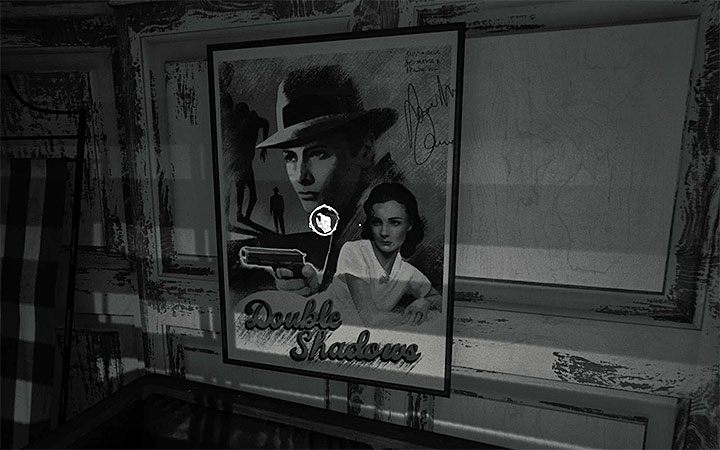
Eventually you will get to the new office. Remove Double Shadows movie poster from the wall (check the image above). In the next section, focus again on reaching unlit places.
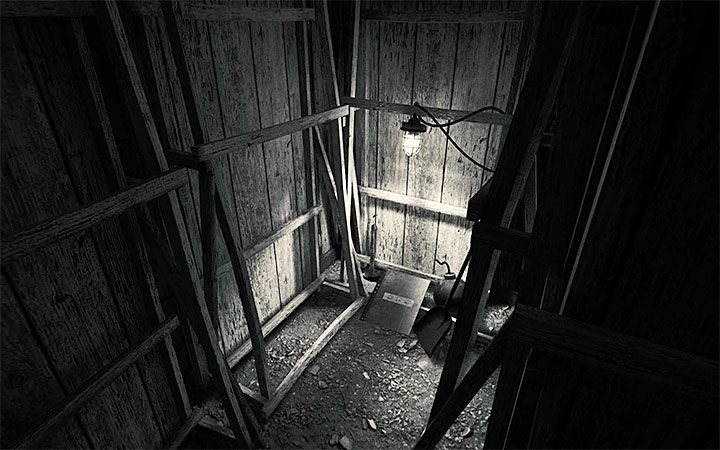
Get to a small hole. You need to sit crouch and start squeezing. There's a riddle with safe to solve in this neighborhood. After exiting the tunnel, start going to the right. In the place with image you will find a note with the combination to the safe.
Go back to the exit of the tunnel. Use the first rotary mechanism to open the huge door of the safe. Only when you enter it can you interact with the safe.
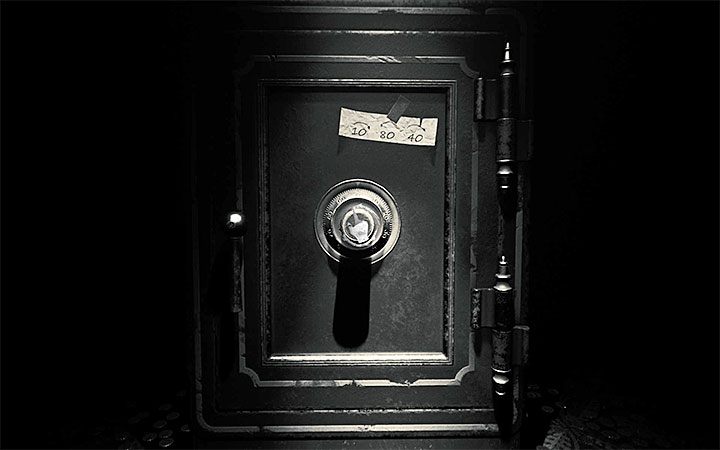
The code to the safe is 10 to the right, 80 to the left, 40 to the right. It is very important to keep the mechanism on each of these values and let it go for a while. You should hear a "click" confirming that a particular part of the combination has been entered correctly. Pull the lever and pick up a shell from the safe.
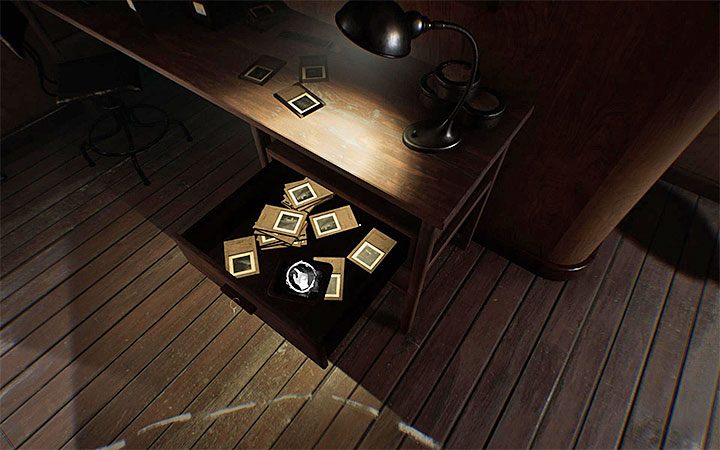
Start exploring a new area. Just like before, rely on the lines and arrows. In one of the lockers you will find a note but it's difficult to read. Another slide was hidden in the desk drawer (image above).
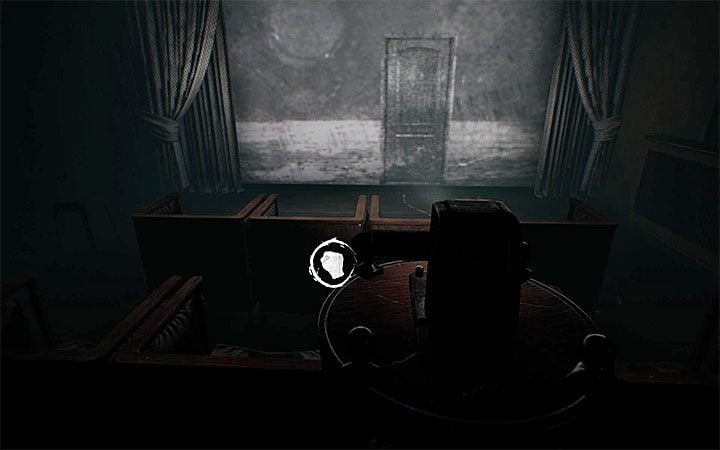
In one of the nearby rooms there is a puzzle with projector to solve. Go to the projector and interact with it. Start scrolling the movie until you stop at the frame with the doors - this shows the attached image. Step away from the projector and go to the door, so they will "materialize". This will allow you to open them and go further.
During your walk you can look through the round hole. Another Easter egg was hidden there, this time associated with the Shining. After entering the dimly lit area, find the photo lying on the floor. You can also look in the other hole and look at the cutscene where a dummy gets compressed.
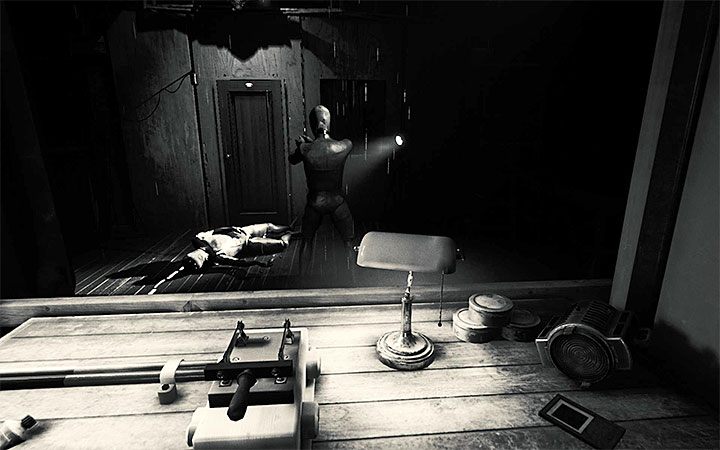
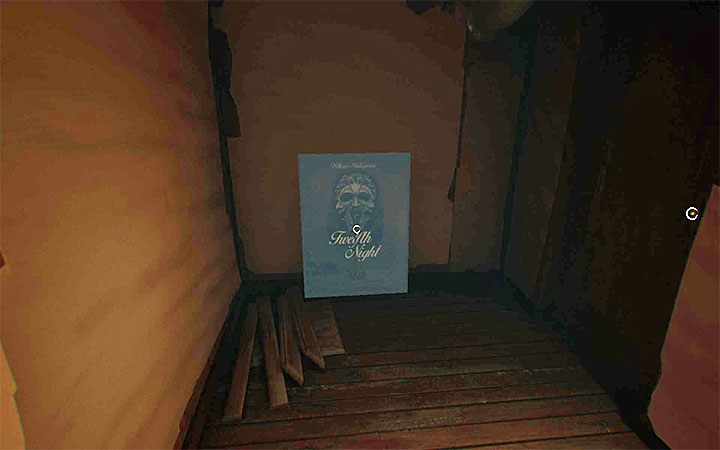
In the next section, check the new unlit area where the Twelfth O' Night movie poster is hidden. In the room with the hanged stuffed mannequin open the drawer and remove another photo from it.
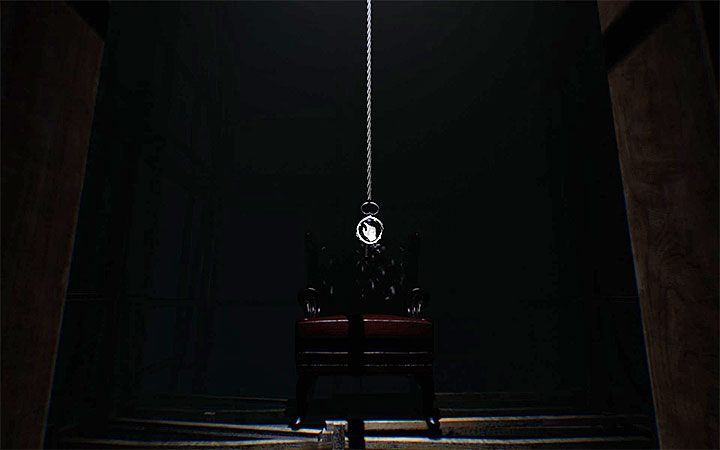
Get to the corridor with a lever. Pulling it, will set fire to a dummy visible in the distance. Stand there and get the key that came down the rope. Use the key to open the adjacent doors.
In the next corridor, go to the new dummy and take the sphere lying in front of him.