The beginning of ship exploration | Layers of Fear 2 walkthrough Layers of Fear 2 guide, walkthrough
Last update: 03 June 2019
On this page of our guide to Layers of Fear 2 we present the initial exploration of the ship during the first act of the game (act 1). Along the way you will find a lot of items suitable to study or pick up. You will also have to solve the first two puzzles - with a lock and a hanging chair in the cafe.

Look at the message from Icarus Transatlantic left on the staff cart. There is a broken mirror on the table between the white sofas. All such items can be viewed more accurately and rotated in all possible directions. In the dining room, find a table with a green tablecloth and a miniature puppet suitable for study.
Use the side door to exit to the outer deck. When you reach the metal doors you have to move down both levers before you can open them. In one of the nearby areas, explore the small Icarus Translantic poster lying on the round table. Press the elevator button, slide the curtain, enter the elevator and slide the curtain again. Pull the lever to start the elevator. The elevator stops after the power is turned off. Again, use the lever to finish the journey to the new floor.
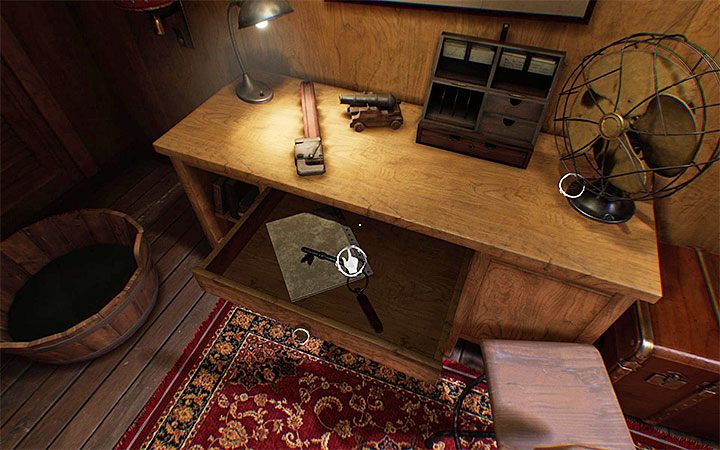
On the left you will find a captain's whistle. In the long corridor look in the side cabin and check a piece of newspaper. Keep exploring until you reach a low table with a tablecloth and a message from the head of security. Get to the table with a fan. Open the central drawer and remove the key from it (image above). It can be directly used to open the closed doors in the vicinity.
In a narrow corridor, you have to crouch for the first time. In the new larger site check the staff left on the counter. Go down the stairs to the lower level.
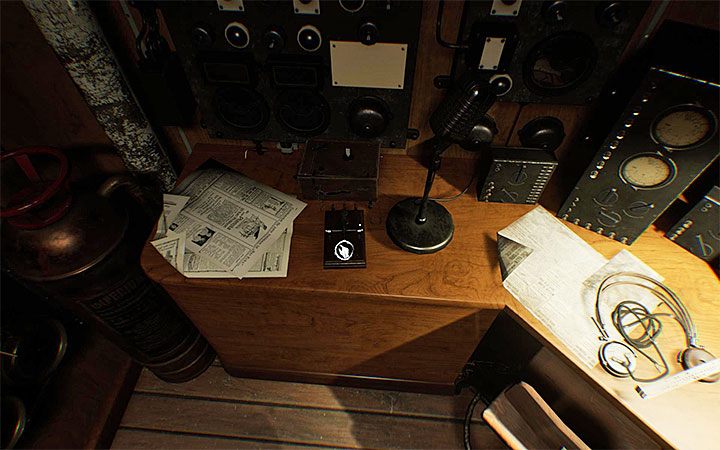
You'll get to the telegraph room (communication room). You can interact with the Telegraph if you like. You will be able to unlock The Perfect Storm achievement, if you use Morse code to send SOS signal - dot, dot, dot, dash, dash, dash, dot, dot (hold the button longer to enter dash instead of dot).
Also, inspect Telegraphist's headphones with attached code.
Exit the room and engage in exploration of the new part of the ship. Once you are in the new long corridor, look around the two cabins, separated by a bathroom. Start from the bathroom, where you will find a photograph. Explore the bathroom at first - this is important, because then access to it can be blocked by some "new" walls.
In the first right cabin, slide out the drawer of the bedside table and find a slide, which you may inspect at the magnified view after the end of the first act (you'll also get the Slice of Life achievement). In the other cabin, open the closet, where you will find A Performance for the Ages - piece of newspaper.
In the same long corridor, a door have been opened by an unseen force. Inside you will find a small Easter egg - cabin decor suggests that it may have been inhabited by the artist from the first part of Layers of Fear.
Continue your adventure and further exploration of the place. Once you find yourself in a room with suitcases that block the passage, look at the document with blurred photos. You will get back to this place two times. After the first 'return', look at another document with photos. After the second return inspect a fragment of a mask.
Go further. Look at the table - after opening the drawer you can view notes for officers. Enter the unlit room with the globe. Rotate the globe, and the door will highlight. Try to open them and return to the globe. Interact with it again. A cutscene will launch in which the stand with the globe will fall down.
You can get to the new doors. On the way, look at the note lying on the table, and the drawing left on the seat.
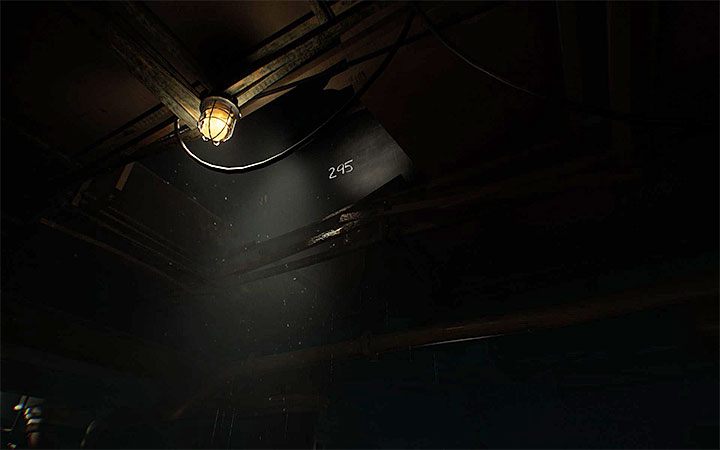
Soon you will come to the room with a bird cage. You have to solve a riddle with a padlock. Look at the cage in which the pirate bandage was left. After some time part of the ceiling will collapse. Inspect the missing piece of the ceiling to find the combination - 295.
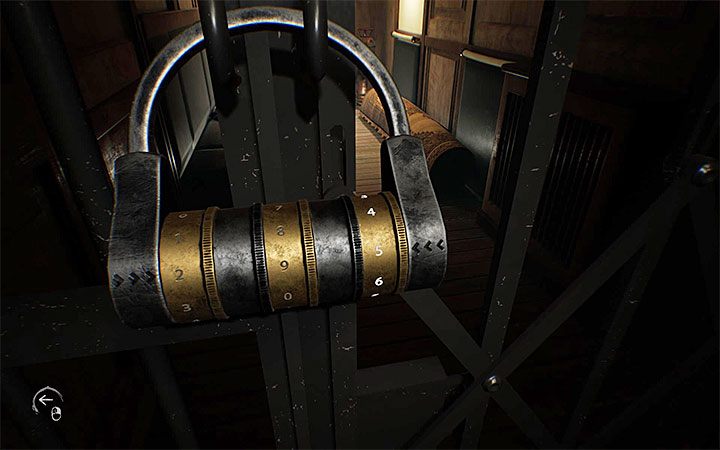
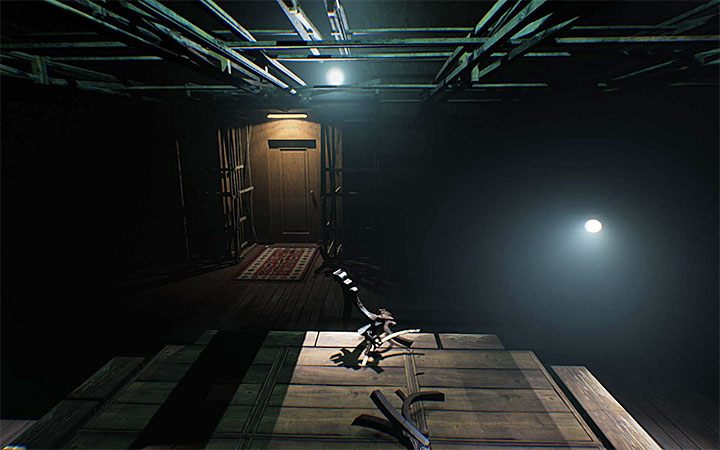
Look around the dark room to find another drawing. You can already go to the closed gate and interact with the padlock. Choose the right combination of 295 to unlock the passage.
In the next corridor you will come across a decorative bag that you can inspect.
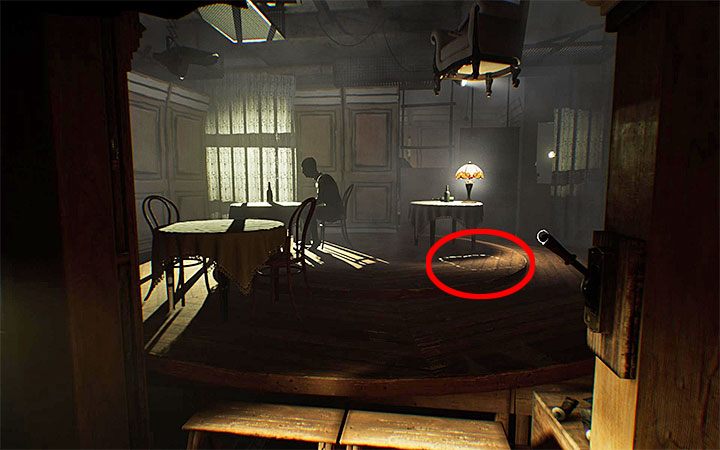
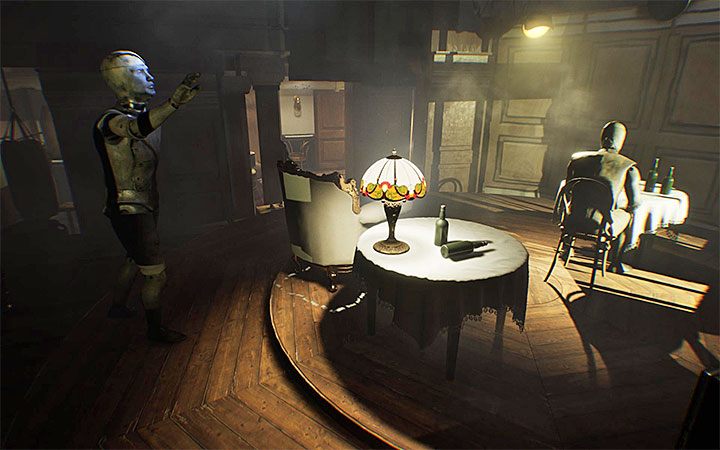
In the next room there is a riddle with a hanging chair. Use the lever to rotate the central area with several tables. Your task consists in dropping the hanged chairs in places marked with a white square on the floor - this has been indicated in the attached image.
Go to the other end of the room, where you will find a button and two levers. Levers are used to control the rotating mechanism. Your task is to stop the central plate at the moment when the white square will be under the hanging chair.
Pressing the button lowers the chair. If you have correctly set the platform, chair will move down. Otherwise it will return to the hanging position. Then make some adjustments. It's worth to go for a while to the room with tables to determine the place where the white square has stopped.
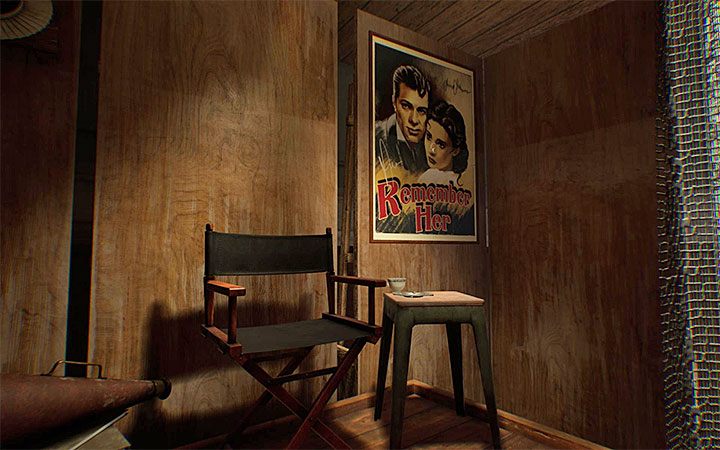
Take the new path. In one of the nearby rooms on the wall there is a movie poster (Remember Her) - this is one of the categories of secrets of the game. You can remove the poster and after your return to the cabin it will hang on the wall at the top level. You will also get the achievement called Debut.
Go further. Soon you will start to encounter lines and arrows drawn with chalk on the floor. It is worth exploring all the places indicated by the arrows, even if they lead, for example, to a short non-interactive "show". Eventually, you will reach a pack of Crayons. Check them.
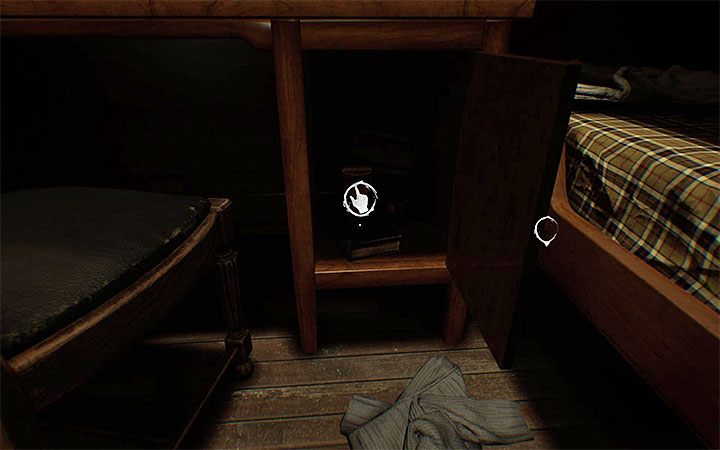
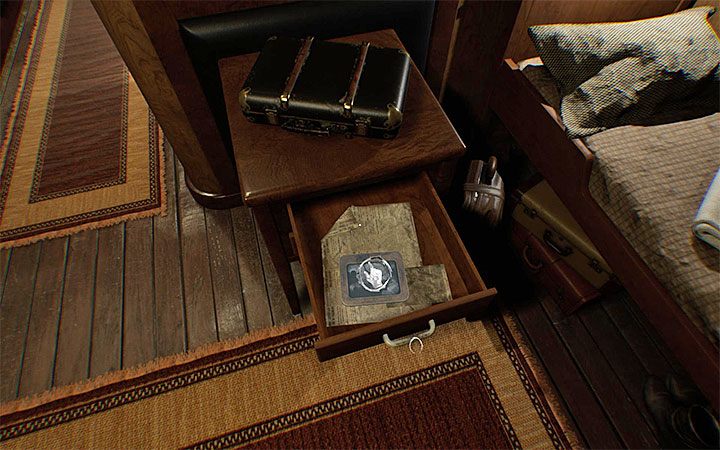
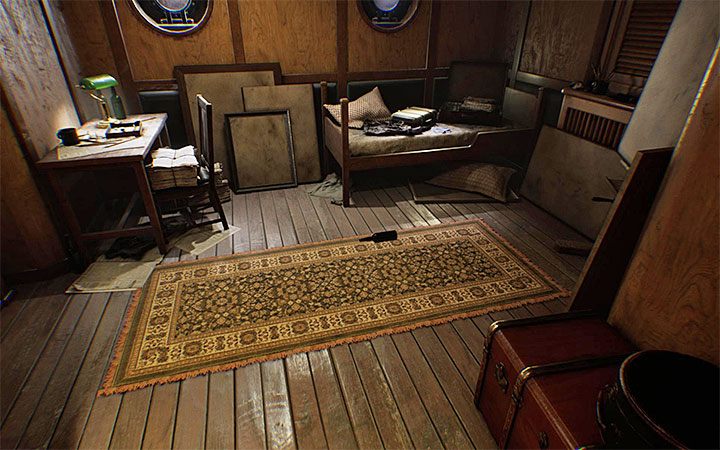
Continue your adventure and further exploration of the place. In one of the side cabins examine the dimly lit table near the bed (in the picture above). You will find tape # 2 for the phonograph, which you can listen to after the first act.
In one of the following rooms you will find an interactive scope. Get to the office. You can pick up a card with a record of classes. Go further, look through the round hole in the wall to see the mountain of treasures.