
Immortals Fenyx Rising: A Crying Shame - walkthrough Immortals Fenyx Rising guide, walkthrough
A Crying Shame - Aphrodite's quests walkthrough
Last update: 17 June 2021
On this page of the guide to Immortals Fenyx Rising, you will learn how to complete the next main mission, which is called A Crying Shame. This is the second task from Aphrodite, which requires you to find three Tears of Aphrodite.
The tears are scattered a few hundred meters apart, but you have to go to all of the three locations in order to get the Tears of Aphrodite. Fast travel to the Hall of the Gods to get closer to the quest markers.

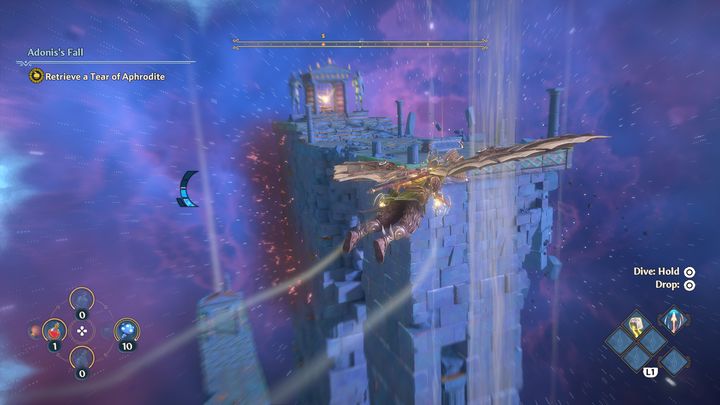
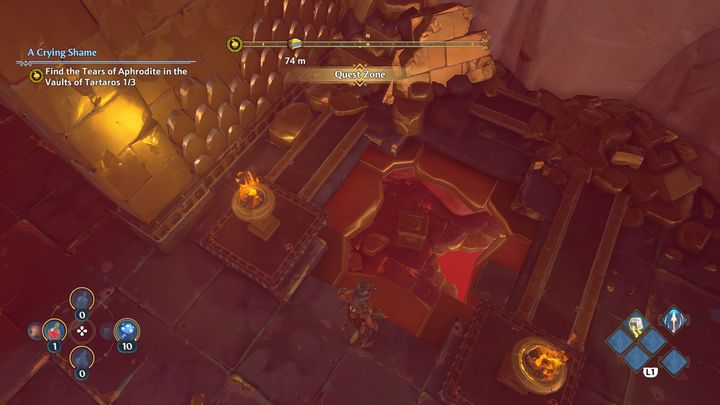
It is worth flying straight to a chasm where a Vault is located first.
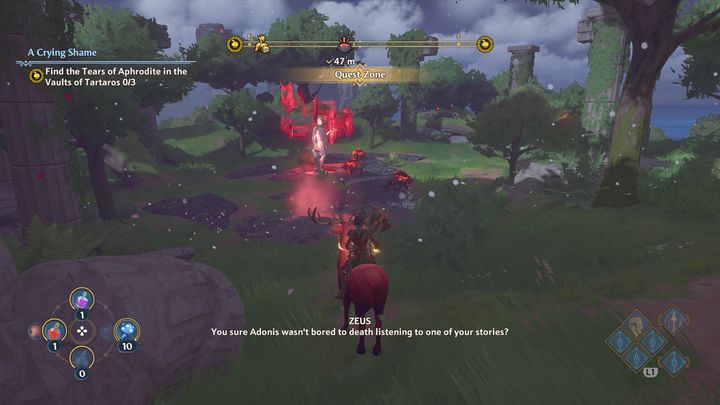
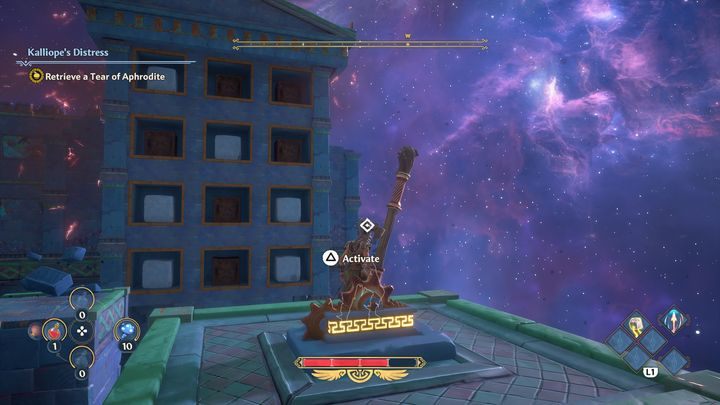
The entrance to the Vault is guarded by a few boars, deal with them and then enter the Vault. To do this, you must destroy the statue surrounded by red stones using your axe.
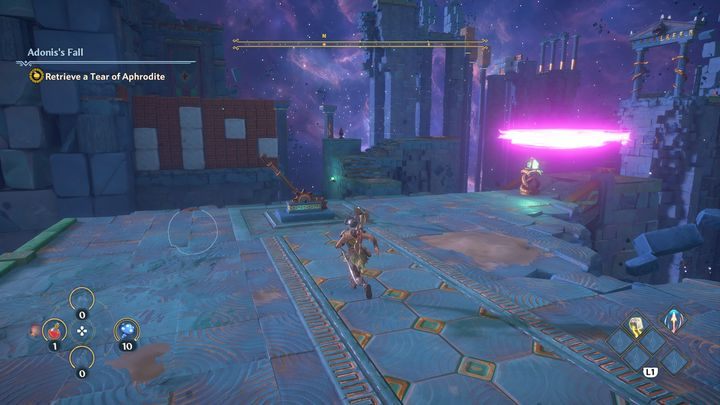
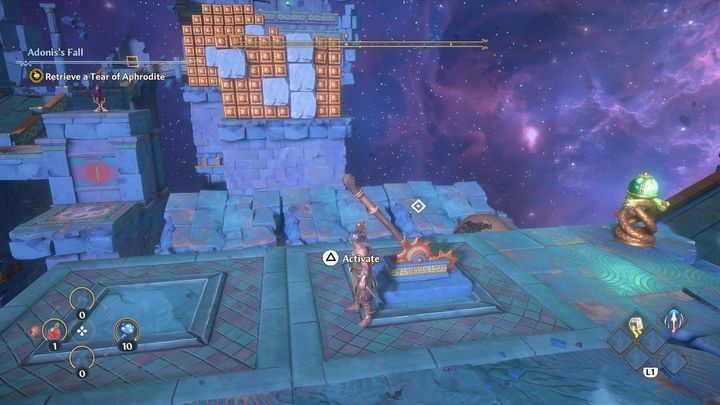
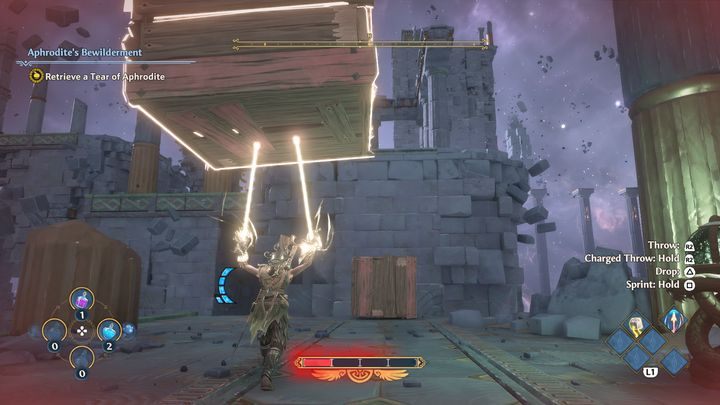
Your task will be to go to the end of the entire Vault and collect the tear. In order to accomplish this, go straight forward and stop at a lever. On your right, you will see some rolling spheres. The lever can be used to launch a sphere towards a wall made of wood and stone. You have to fire the spheres in such a way as to bring down the wall.
Afterwards, use your wings to make your way to the other side.
Then take advantage of the visible gusts of wind to gain some elevation and proceed further.
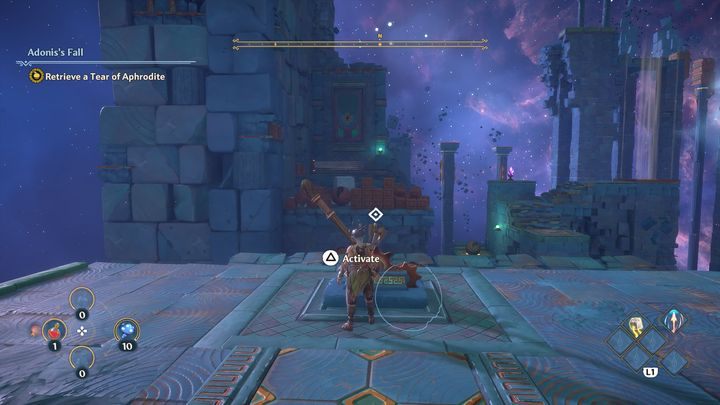
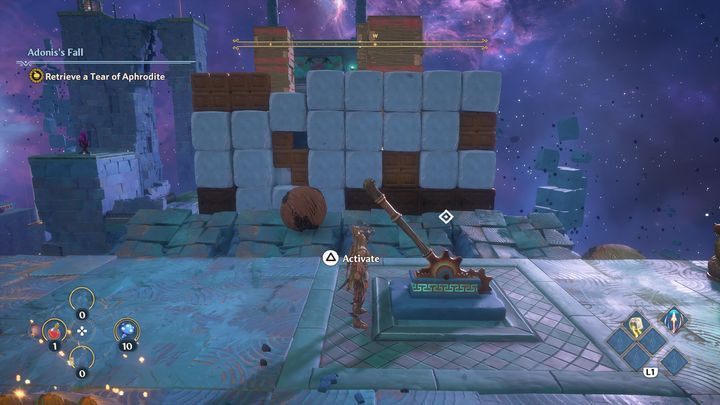
The next stage is quite similar. On the right side there is a lever. There will be more spheres for you to launch, but this time there will be two walls to deal with.
You will now unlock more wind gusts on the left side but before you go there, go to the very top. You will also find a lever there. Interact with it, preferably at the moment when the ball is directly in the middle. This lever activates wind gusts, the same ones that were responsible for the destruction of the previous two walls.
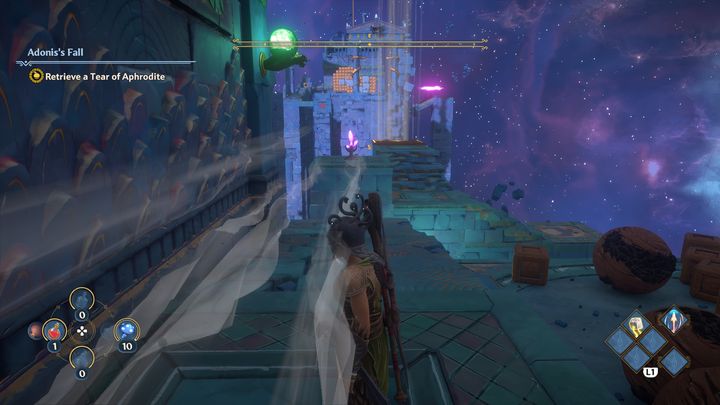
The sphere must hit you so that you can place it in a special location. This will unlock more wind gusts, use them to gain some height and unlock a nearby chest, in which you will find a new helmet.
Then return to the place where the previous wind gusts were activated. Use your double jump and gliding skills in order to get airborne.
Once again, destroy another wall by using spheres. Behind the wall there are wooden boxes that move left and right. You have to knock them down with the help of a sphere, and when you do, proceed further by using the moving platforms.
Then fly towards the gusts of wind to finally reach the location where there is a tear and Zeus's Lightning. After picking up the Lightning, you will emerge from the Vault.
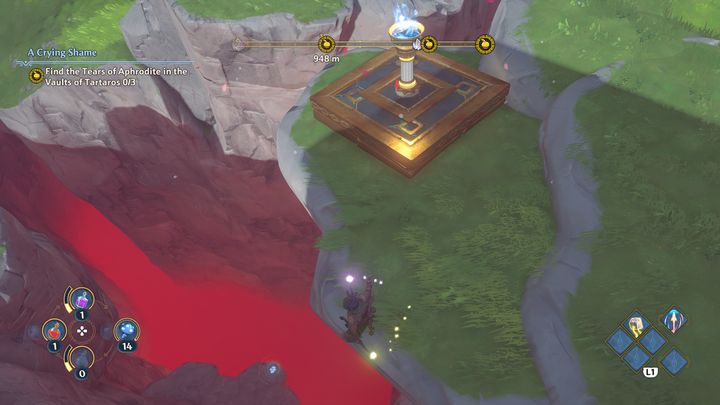
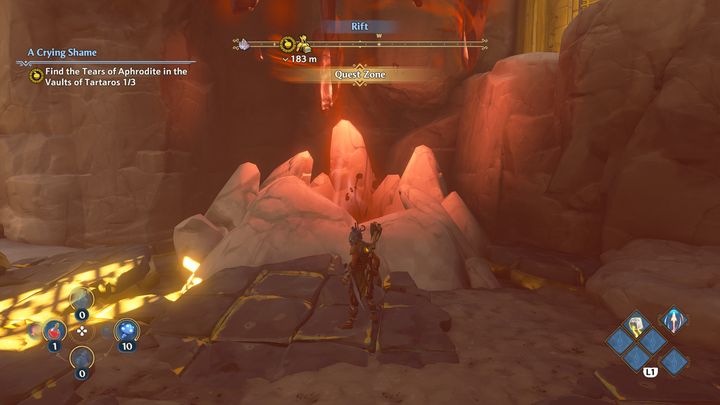
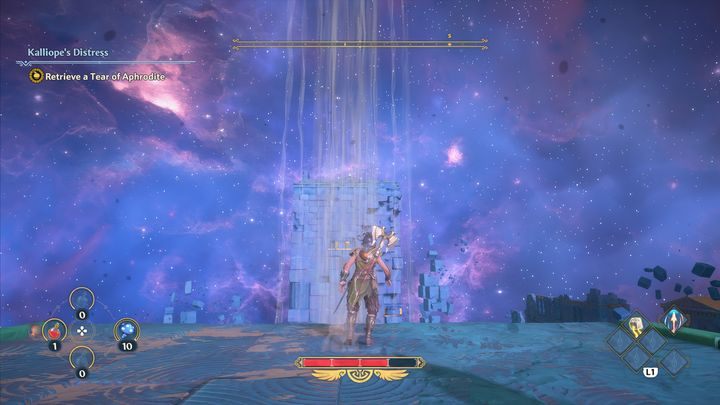
The next tear is located in the northern parts of the region. You need to jump down, towards the chasm visible in the picture.

There you will find an entrance to a cave and inside you will have to solve more puzzles to unlock the entrance to a Vault, where the tear is located.
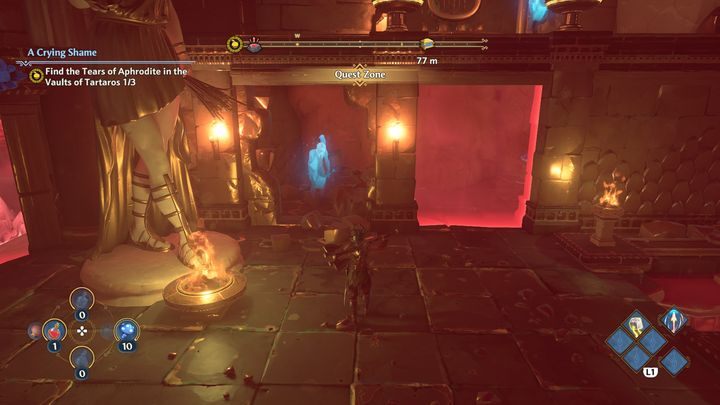
Firstly, destroy a wall by using your axe. Go inside, use the power of Heracles' Strength to pull a block towards you, so that the red barrier disappears. Leave the block near a nearby statue for now. Go inside and activate a crystal switch.

Then jump to the top, opposite to your current position you will find a hole in the wall and a statue. Get onto a platform, then, while standing on it, shoot an Arrow of Apollo towards a brazier and guide the arrow towards a hole in the wall. There is an unlit torch there. When you do this, a gust of wind will activate on the right side.
Take to the air by taking advantage of the gust; there you will find a switch that you need to activate. Then jump down.
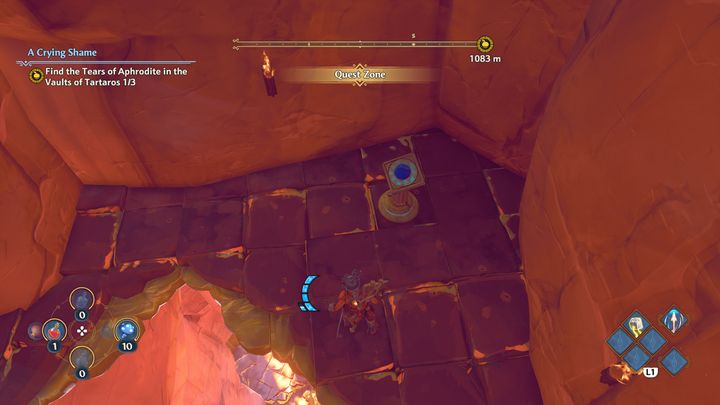
The final crystal switch is located on the right side. There is a hole there, jump down to the very bottom in order to activate the switch. Then return to the top again.
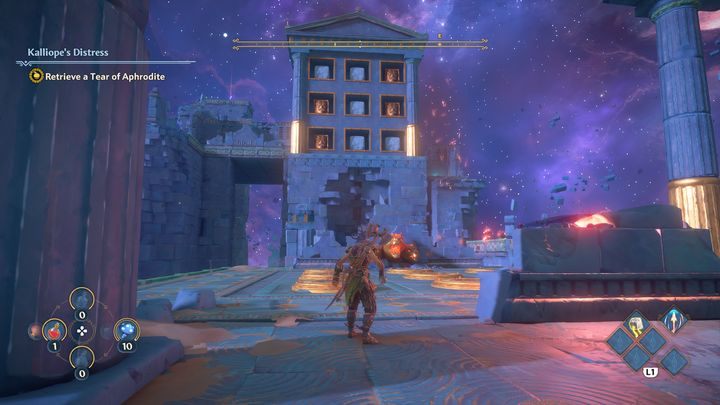
After activating the three switches, enter the Vault.
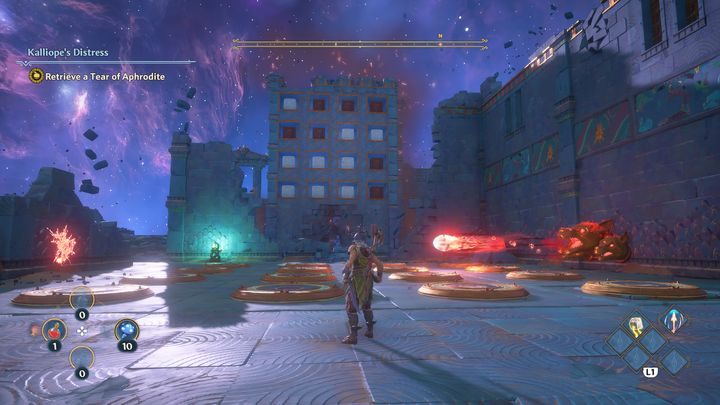
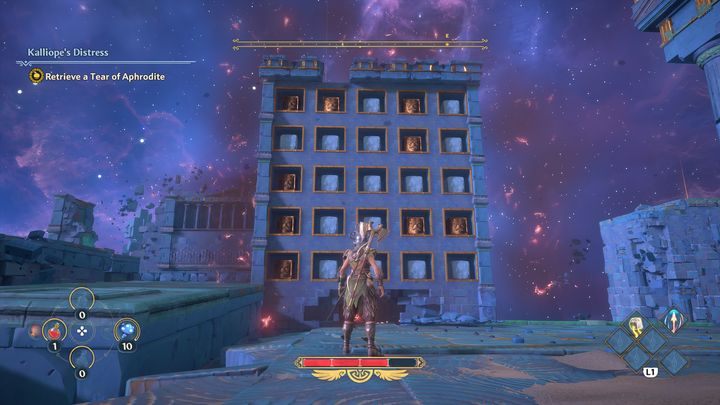
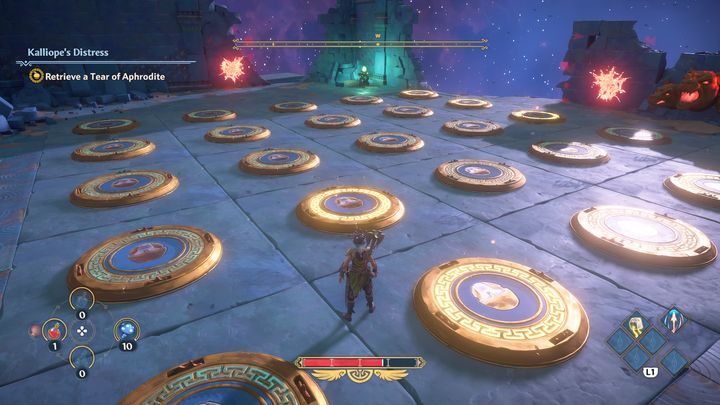
This particular Vault is characterized by puzzles that involve activating pressure plates in a pattern shown by the wall visible in the picture. You need to activate the switches which contain the copper blocks, instead of the stone ones.
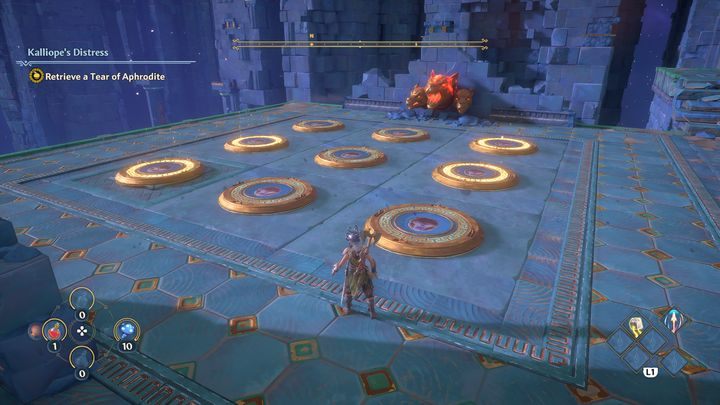
This is how it should look, start from the left side, and avoid stepping onto other switches than those shown on the wall. You should also watch out for the Cerberus sculpture, as it will shoot out fireballs at short intervals.
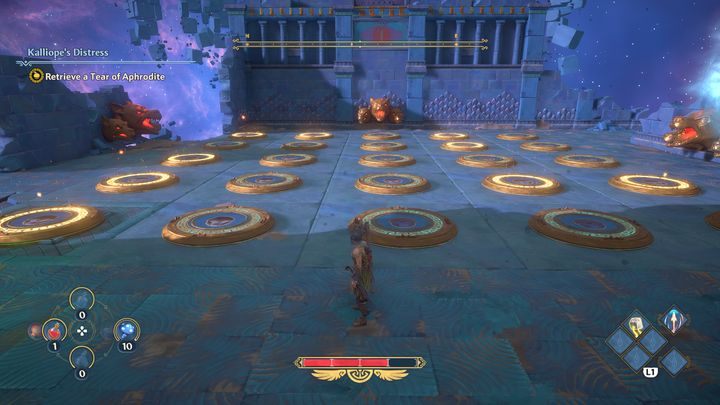
After you unlock the wind gusts, you will still find a similar puzzle ahead. Start on the right side and step onto the first two pressure plates, then, while continuing to stick to the right side, avoid activating the third switch, and go straight to the fourth.
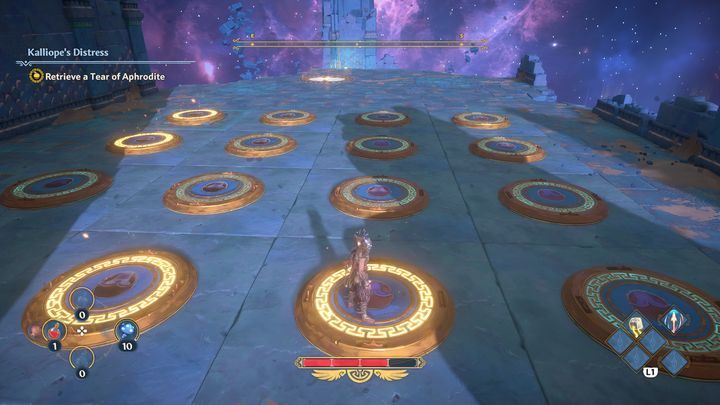
From there, step onto the two switches next to you, then one below and one to the right. If you get lost at any point, take a look at the wall.
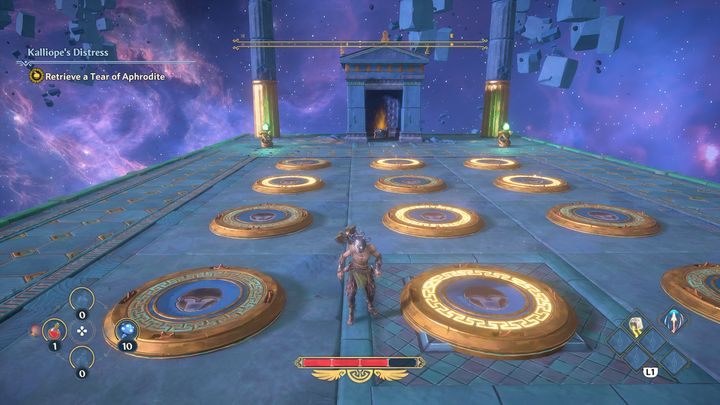
The last puzzle is all the more difficult because it is located at the back, so if you forget in what order you need to activate the pressure plates, you will have to return to that spot.
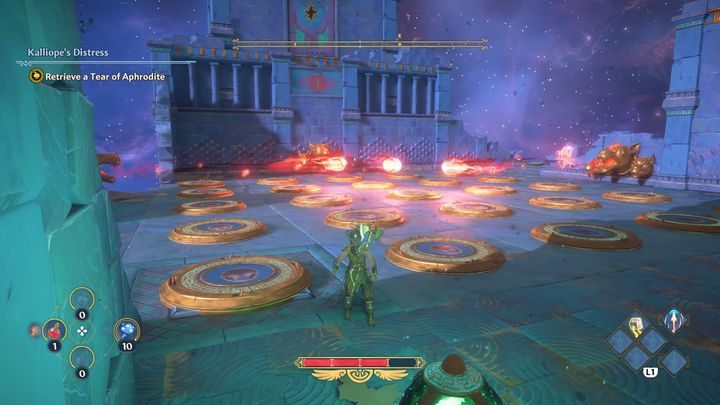
In addition, the fact that there will be three Cerberus statues shooting at you will not be of any help. Start with the first three switches on the left. Avoid the fourth, then step onto the fifth one on the left side.
Then on the right side, you need to activate the second pressure plate in that row. Jump over the third pressure plate and land on the fourth. After that, you have to go one down, then over jump the third switch and land on the fourth, and then turn left.
In the end, this is how the whole puzzle should look (note the highlighted pressure plates).
On the right side, there is another puzzle that awards a chest. By pulling the lever, you will briefly activate a wall, which will show you which pressure plates you will have to turn on.
As in the previous puzzles, the order of your actions matters. Therefore, unlock the first two switches in the middle, then jump over the third and activate the fourth one in the middle. Then turn right and down, and then jump over one switch on the right side and unlock the third one. Thanks to this, you will unlock the chest.
You can now go towards the gusts of wind to obtain the tear and Zeus's Lightning.
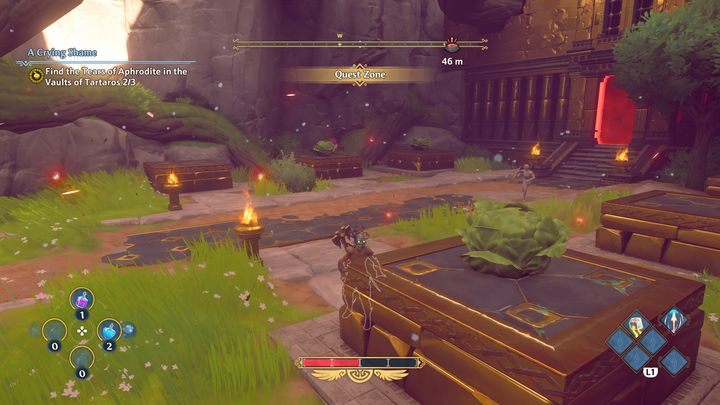
The final destination is in the western part of the region, near an abandoned village. When you get there, you will see a red barrier. You will unlock access to it when you put all of the lettuce in the places visible in the picture. You will find them on the roofs of abandoned houses in the village. Once you are done, go inside and jump into the Vault.
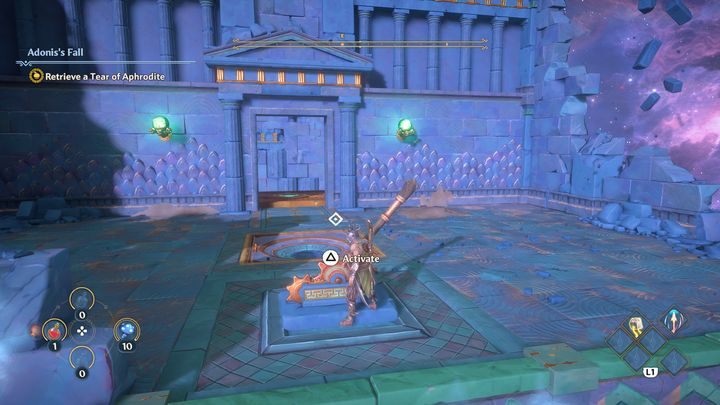
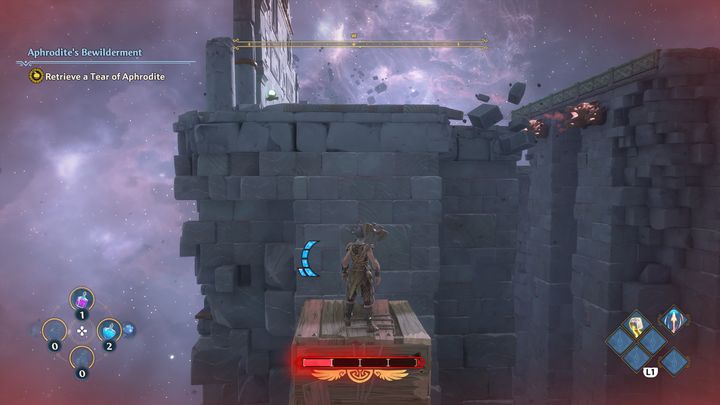
Once inside the Vault itself, activate a button and jump onto some wooden boxes using a double jump. While on them, repeat the action in order to get higher up.
When doing this for a second time, you will have to put one box on top of the other and jump high again to proceed further. Afterwards, you have to transport the previous boxes while remaining on the top level and then set them up again in the same way since later you will not find a button that will move the boxes to you.
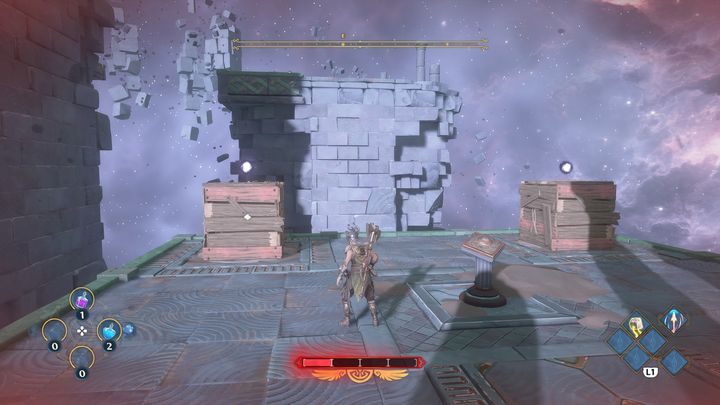
After that, interact with a switch and repeat the formula. Pull the wooden crates towards you. The Cerberus head sculptures will now be an additional obstacle, as they will start shooting fireballs. Move forward with the wooden box at the moment when the projectile hits the wall on the left side. If a fireball hits the crate, it will be destroyed and you will have to go back. Remember that you can still sprint while moving with the chest.

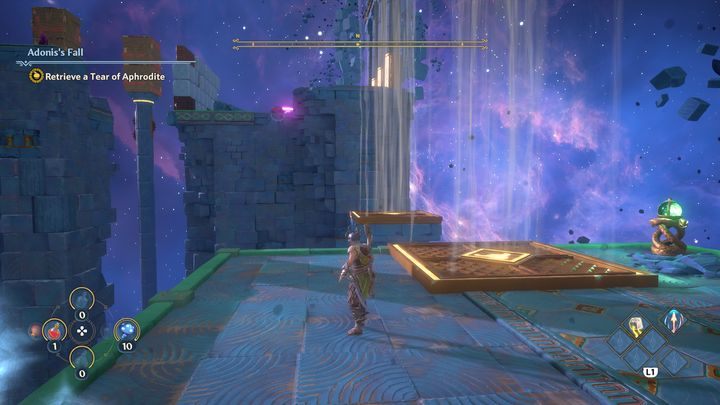
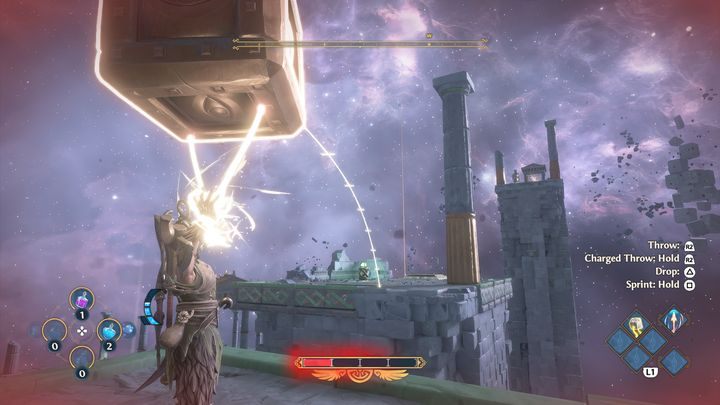
Overcome the next obstacles by using the same method again. Afterwards, place one of the crates on a platform, so that you unlock the gusts of wind.
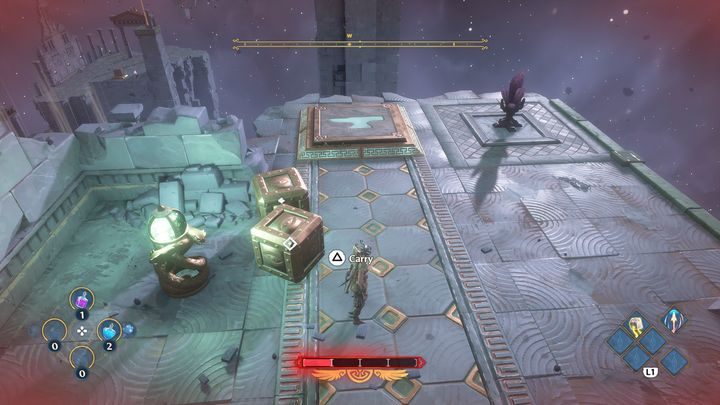
As you fly further forward, you will find the Tear of Aphrodite. A little further you will discover another switch. Activating it will create two wooden boxes. Again, put one on top of the other. Then climb onto them, perform a double jump forward and glide, so as not to fall down. Move one of the crates using the power of Heracles' Strength, and place it on the platform with a feather symbol.

Then throw the smaller copper blocks close to the edges that will prevent the block from falling (as in the picture). After you throw this block, you have to re-arrange the two wooden boxes so that you can jump to the place indicated in the picture.
Then move the two copper blocks even further, as there is a platform on which you need to place the blocks in order to activate a gust of wind.
After placing two blocks on the platform, you will activate the wind gusts. Fly high by making use of your wings and glide towards the Lightning of Zeus.
Your last task will be to go to the new objective marker, which will show you the way to the Vault of Aphrodite. Once you are in position, a cutscene will play and you will complete the mission.