
Immortals Fenyx Rising: Blurry Vision - walkthrough Immortals Fenyx Rising guide, walkthrough
Last update: 04 February 2021
On this page of the guide to Immortals Fenyx Rising, you will learn how to complete the next main mission, which is called Blurry Vision. After you exit the Vault, you will begin a next quest, which will lead you to a young man who was fleeing from hostile creatures in the previous missions.
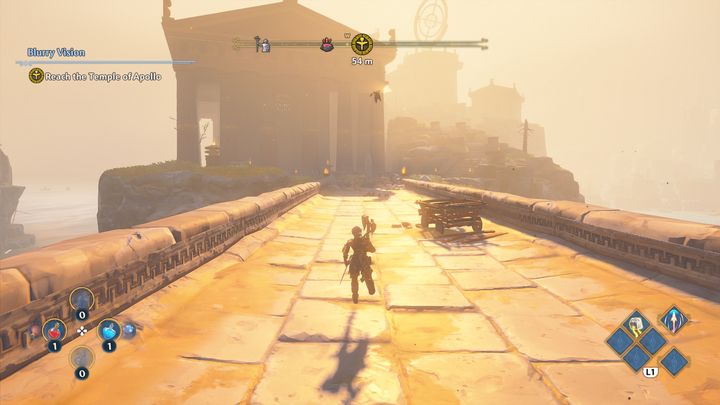
Your first task will be to reach the Temple of Apollo. A marker on your map will show you the way, simply follow it to the target.
You will encounter several opponents near the temple, a Gorgon and three soldiers. You must defeat them in order to save the stranger.
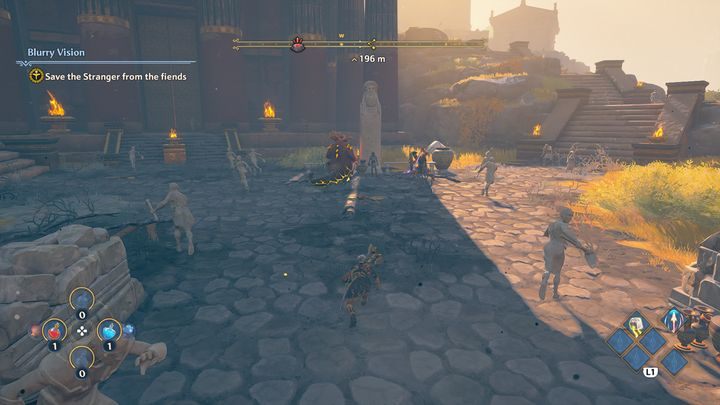
Try to sneak up on your foes to perform a stealth attack. It is worth using an axe during this fight, since there will be numerous opponents, and the axe is ideal for fighting against large groups. In addition, two of the hostile soldiers have a shield, which means that fighting with a sword will be problematic.
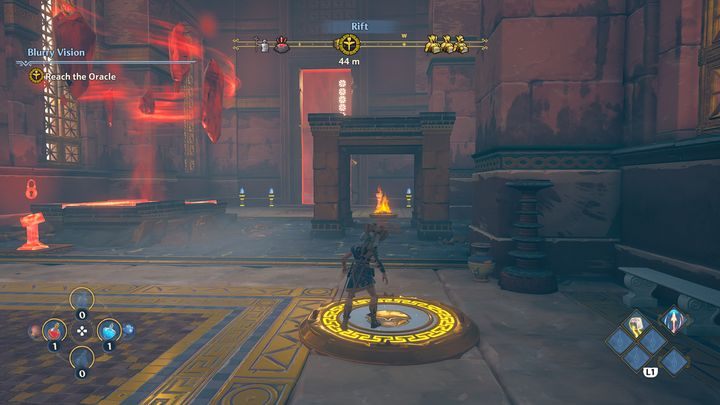
After the fighting is over, enter the temple. On the right side there is a pressure plate with the image of a soldier's helmet. This means that you have to stand on the platform with your character in order for it to activate. This will make the red barrier disappear. Shoot an arrow of Apollo into a nearby flame; this will set your arrow alight. Then control the arrow and hit the unlit torch with it.
Subsequently, on the left side there is a heavy block, move it to a pressure plate and activate the button. Afterwards, go to the other side of the room, the oracle is located there. When you finish talking to him, enter the Vault.

Proceed further, then activate a button that you will come across. Place a stone block on the left, and two brown blocks on the right and go further.
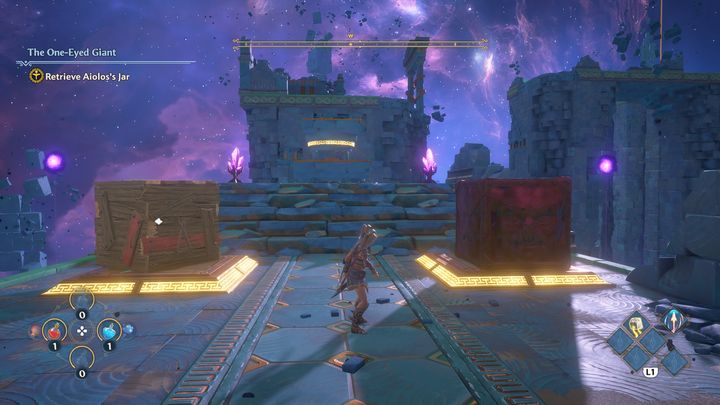
The next task will be quite similar, activate a button, place a wooden box on the left side, whereas the heavy block you must transport to the platform on the right side; after all of this is done you can proceed further.
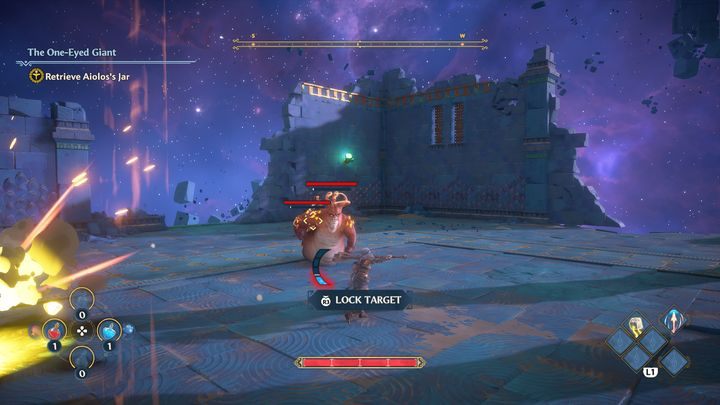
The next stage is a fight against two Gorgons at once. The best strategy is to stay close to them and attack with an axe so as to hit both of them at once. Deal with them as in the previous tasks. To make matters easier, a Gorgon shooting at you can hit the other Gorgon, inflicting minor damage and throwing its ally off balance.
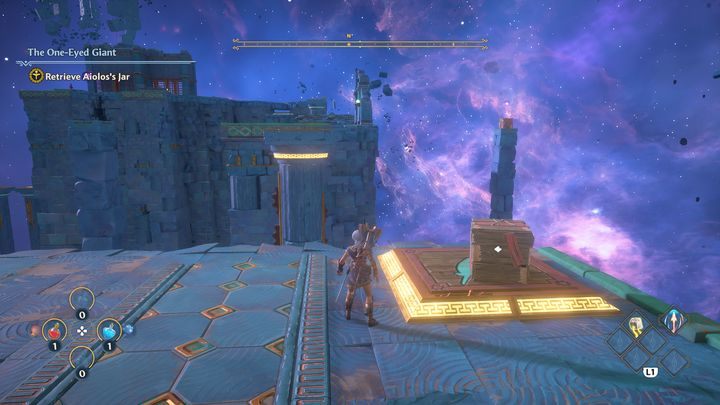
While running further, you will find a fruit on the left side that will restore your health. Afterwards, activate a nearby button, making two new blocks appear. Pick up the block to your left and place it on a pressure plate. The column will move in your direction. Jump onto it. Before you go any further, jump on the column on the left side, the same one on which a wooden box was located.
You will find a chest there. However, be careful not to jump over the platform, as you will fall to the very bottom and lose some of your health.
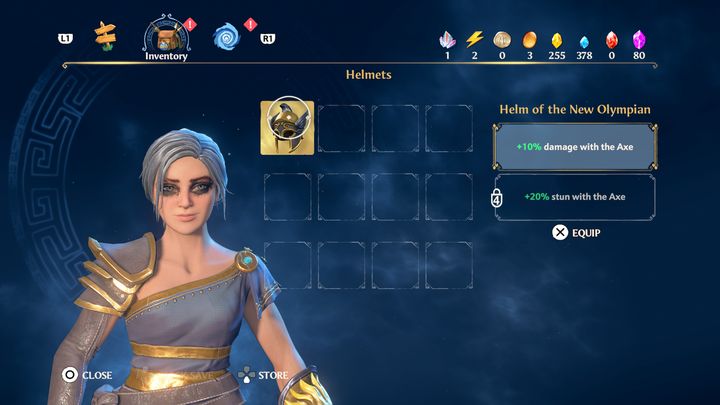
There will be a helmet in the chest, when you put it on you will deal 10% more damage with axes. Return to the column that you were on earlier and continue on.
Now use the block on the right and place it on another pressure plate. Jump onto a column and wait for it to go back to the other side.
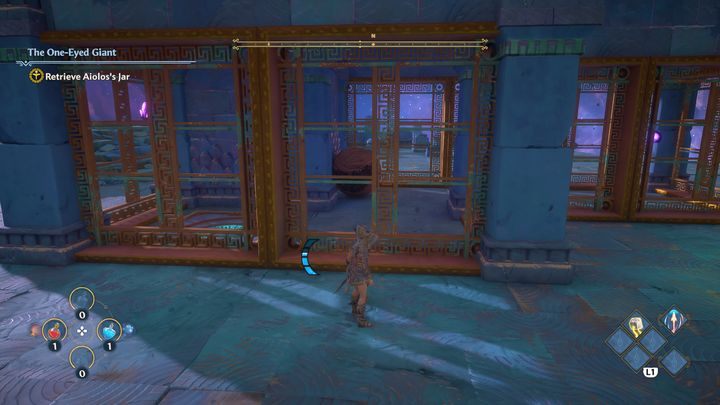
A little further, you will have to complete a task that involves spheres. On the left, the sphere is located in an enclosed room. To move it to the other end, you must use the power of Heracles' Strength.
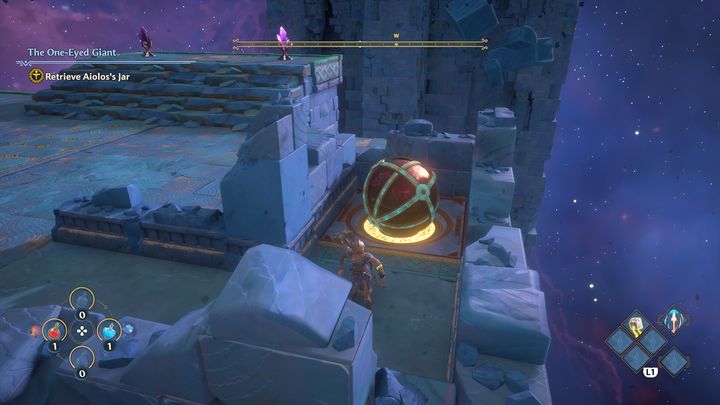
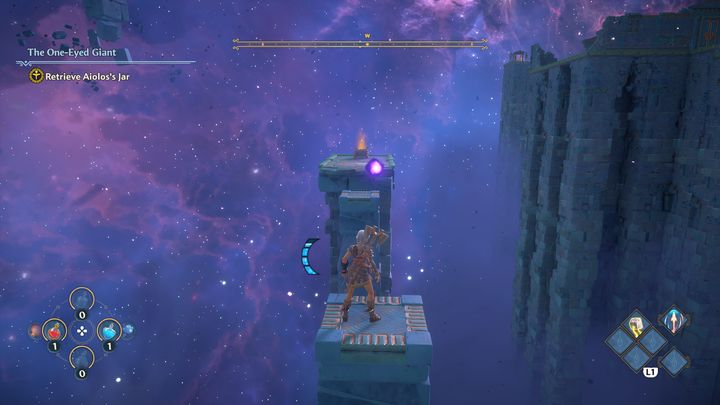
On the right there is another sphere. You can roll it to the location indicated in the picture in order to unlock the path forward.
At the very end there is a door and a lever. You will open the door by pulling the lever. On the other side you will encounter the first boss, it is a Cyclops, also called Mikros the Adorable. A detailed description of the boss fight can be found on a separate page of the guide.
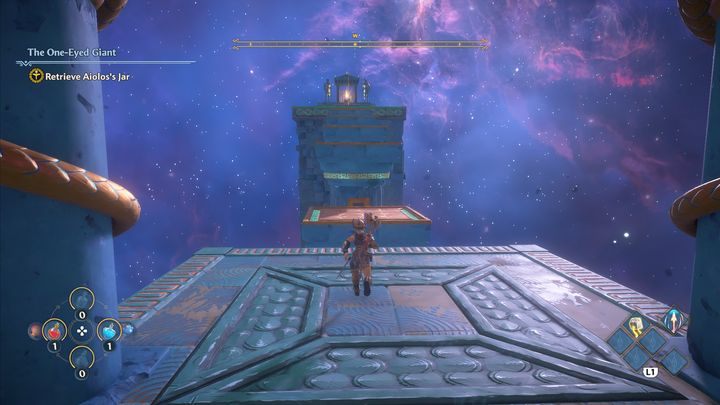
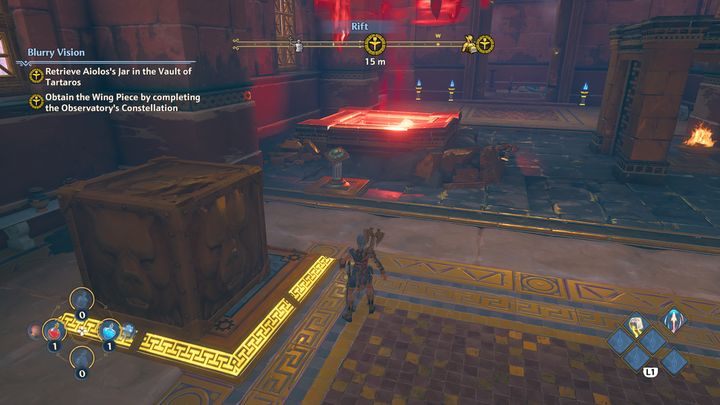
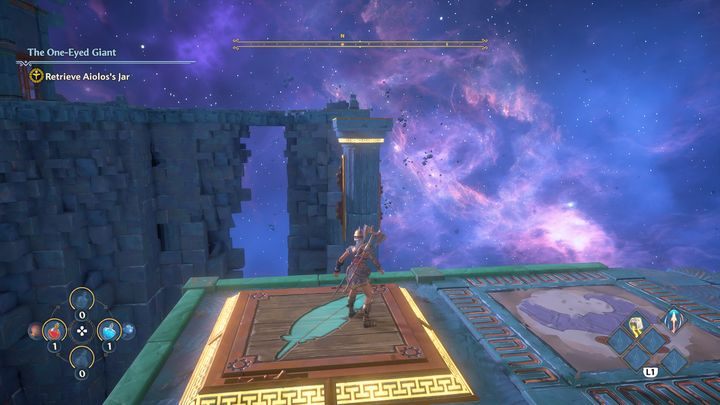
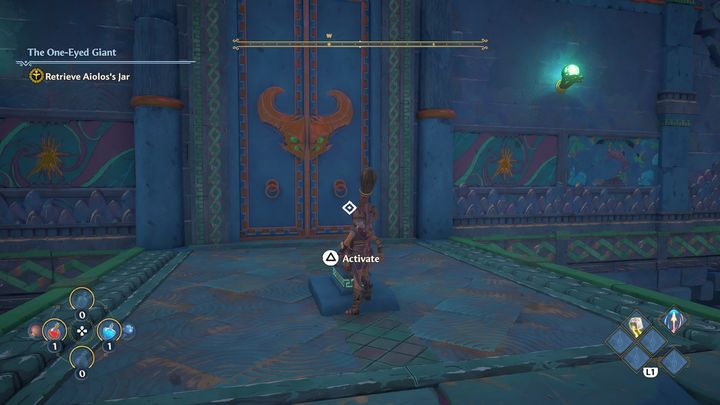
After defeating the boss, proceed further. There you will find Aiolos's Jar, pick it up, and then go a little further to collect the next lightning bolt of Zeus.

Your mission now will be to complete the Constellation challenge in order to obtain a wing fragment. The main goal is to place the pearls on the board as shown by the wall in front of you.
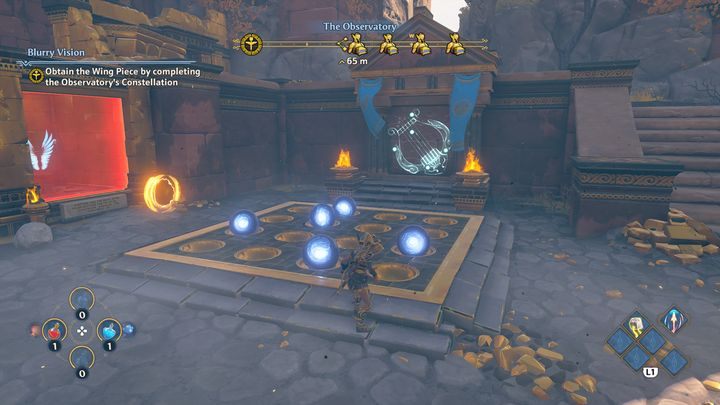
This is what the end result should look like. However, unlocking individual pearls involves several puzzles that you must solve, as most of them are hard to access.

One of the pearls can be found by climbing the stairs to the top. You will also find a lever there. After activating it, you will see a red barrier blocking the passage in front of you; however, you will unlock a door behind it, which leads to a room with a pearl. You have a few seconds to do this, so after activating the lever, jump onto the objects that are located on the left side, then quickly jump down and enter the room.
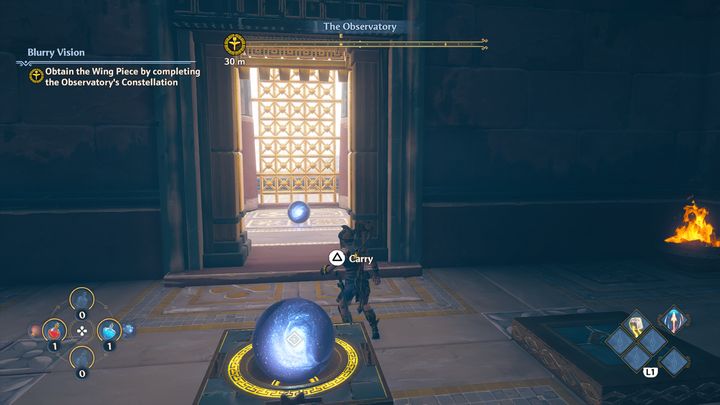
Afterwards, put the first pearl in the specific location visible in the photo. This will cause the door on the right to open, you can find the next pearl there. Move the pearl behind the first door that brought you to this room, and then grab the pearl from the special location and also take it out of the room. Afterwards, place them on the board according to what the wall depicts.
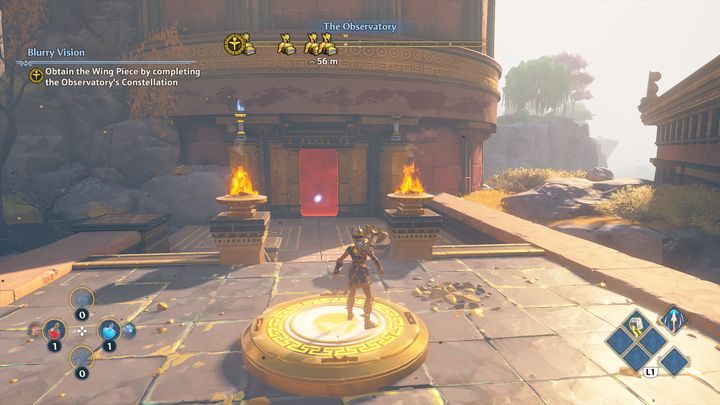
There is another pearl by the lever on the right, behind a red barrier. Place your character on the platform shown in the picture, then guide an arrow of Apollo towards the unlocked torch on the right side. This will make the red barrier disappear. Put the pearl back on the board.

The last pearl is located on the right side but on the lower level. You will find a ruined wall there, which you can destroy completely with an axe or by throwing a stone. Once inside, move the large block forward so that the pearl falls down and then take the pearl back to the board. Once you have placed all the pearls on the board, approach the black portal on the left, from which you can collect Coins of Charon; they will be useful for improving and unlocking new skills. After a short cutscence, you will unlock a wing piece.
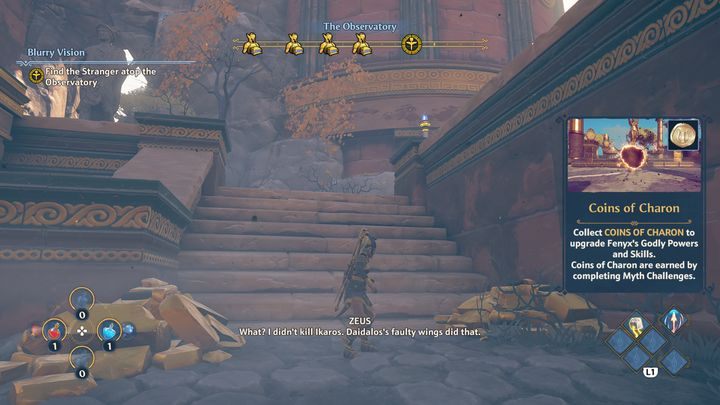
Your final task will be to go to the top of the observatory to find the previously encountered stranger. There will also be a chest there that is definitely worth opening. After reaching the stranger, there will be a cutscene, and after its completion you will start a new mission.