
Horizon Forbidden West: GEMINI - walkthrough Horizon Forbidden West guide, walkthrough
This page of the guide to Horizon Forbidden West contains the walkthrough of the main mission GEMINI - the Cauldron, Hephaestus, the boss Slaughterspine.
Last update: 08 June 2022
This page of the Horizon 2 Forbidden West game guide contains a walkthrough of the GEMINI main quest. The following guide explains how to reach Cauldron: GEMINI, how to protect Beta, how to bring HEPHAESTUS back to the cauldron and how to defeat the Slaughterspine boss.
- Quest rewards
- Return to the Base
- The path to Cauldron: GEMINI
- Protect Beta
- Pursue HEPHAESTUS into the Cauldron
- Explore the two cauldron chambers
- Return to the Assembly Chamber
- Kill the Slaughterspine - boss fight
- Override the network uplink
Quest rewards
- 24000 XP
- 2 skill points
- Unlocking the All that Remains main quest
Return to the Base

After escaping Thebes in the previous main quest, you need to return to the Base and go to meet GAIA. You will discuss the matter of HEPHAESTUS and Cauldron: GEMINI.
While in the Base, you should also talk to Varl and Beta. When talking to Beta, choose any way to persuade her to join the battle despite her fear of being recaptured.
The path to Cauldron: GEMINI

To progress this quest, you need to meet GAIA again. During the meeting, confirm that you want to go on a journey. All expedition members will automatically transfer to Cauldron: GEMINI. You won't be able to leave this location for the duration of the quest.
Before you leave for GEMINI, consider having all the optional conversations with your companions at the Base. Not all of Aloy's friends will make it to the end of the journey.
Protect Beta

One of the main halls will feature a variety of machines, with the Bememoth and Ravagers being the most dangerous opponents. For the Behemoth, try to use fire and acid element attacks. As for the Ravagers, attack and detach the cannons mounted on their backs. You can then pick them up and use them.
You don't have to constantly stay right next to Beta. Just focus on attacking and dodging effectively to keep Aloy from harm.
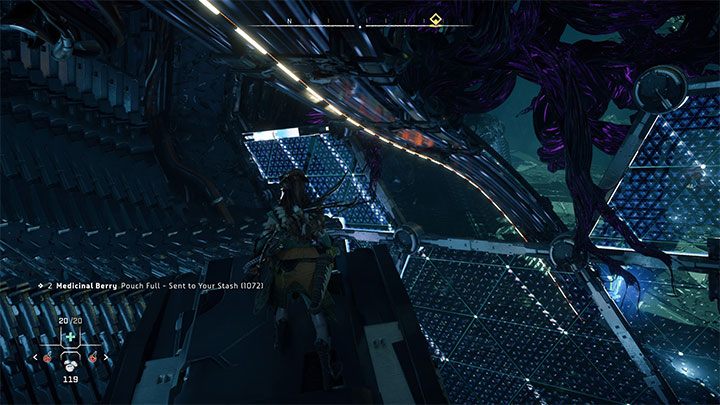
Pursue HEPHAESTUS into the Cauldron
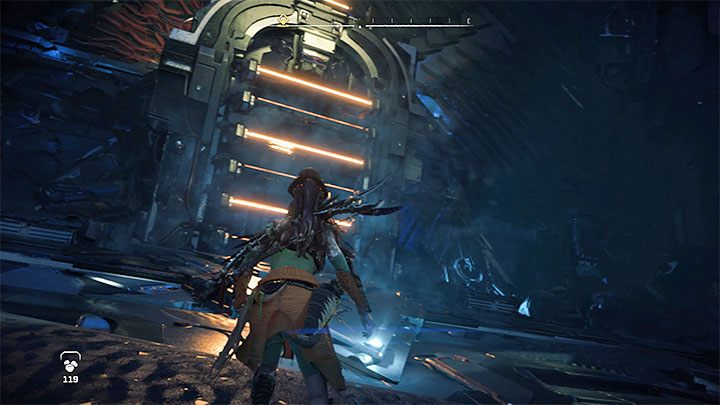
You need to venture deep into the cauldron - climb up to the higher ledge and use the shieldwing to glide to the adjacent one.
Aloy will reach a large room with a dome. You can't d much here at the moment, but later in the quest a major battle will take place here. Head northwest.
Explore the two cauldron chambers
You will end up at a fork and there will be two areas marked on the map to explore - the west and the east. You can access them in any order.
To reach the southwest chamber, first use the pullcaster on the blue hook. Climb up and wait at the spot in the screenshot for one of the machines to arrive. Jump to it and keep hanging on until you are above the west chamber.
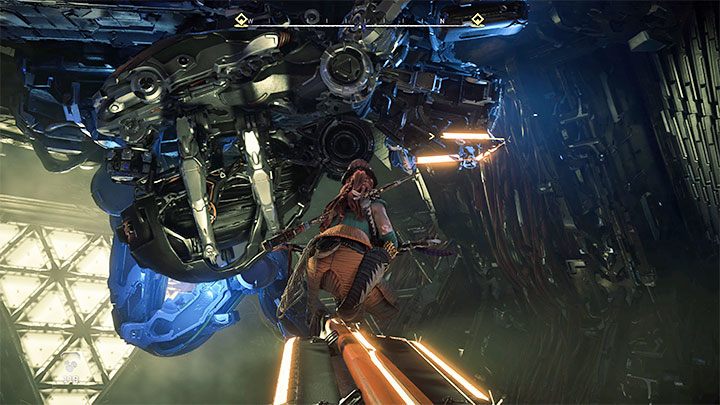
In the west chamber, you'll be forced to battle some weak opponents, including the Leaplasher and Longleg machines. Remember to target the weak spots of the machines and if they're causing you issues, scan them to remind yourself of their elemental weaknesses.
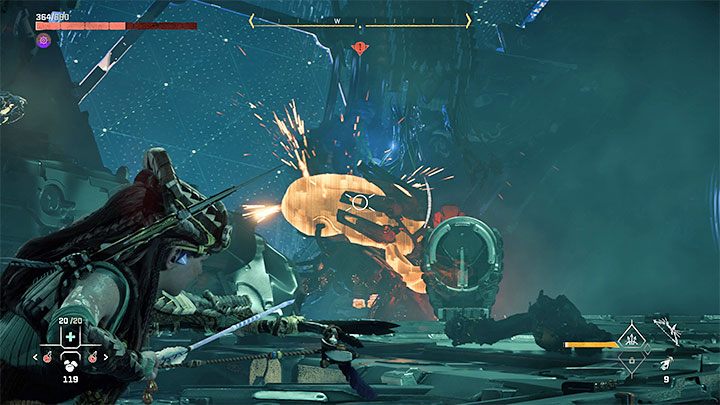
After the battles, reach the Network Uplink. Interacting with it will cause more machines to appear, including the Grimhorn, which is best attacked with acid, for example. You should also attack the Grimhorn from higher ground. After winning the second battle, once again reach the network uplink.
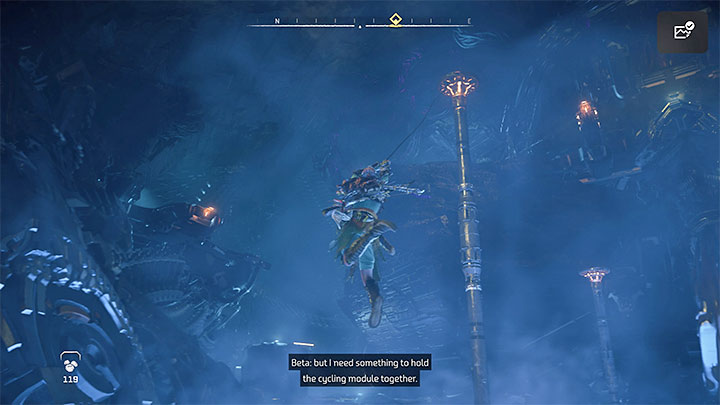
Use the north exit and head toward the northeast chamber. Along the way, the electrified floor might cause you some issues. The best course of action is to try to jump to the safe ledges. Additionally, you can pull yourself to the nearby poles in order to glide from them.
In the final part of the crossing, grab the rail that runs near the ceiling (simply jump on it) to get down to the eastern chamber.
The second chamber is mostly a repeat of the first. You need to start by attacking the machines, which is made easier with a potential surprise attack. Among others, you will need to defeat some Watchers.
Hostile reinforcements will appear when attempting to interact with the network uplink. The next fights will include Bellowbacks and, unfortunately, the stronger, Apex versions of Clawstriders. In addition to taking advantage of their elemental weakness, move throughout the entire arena, dodge attacks and target the weak spots of enemy machines, such as their tanks. After the second battle, once again walk up to the network uplink.
Return to the Assembly Chamber
You need to return to the cauldron's large central room, which you passed earlier. Along the way, use gliding and the pullcaster where necessary. Once you enter the room, you will initiate the boss fight against the Slaughterspine.
Kill the Slaughterspine - boss fight
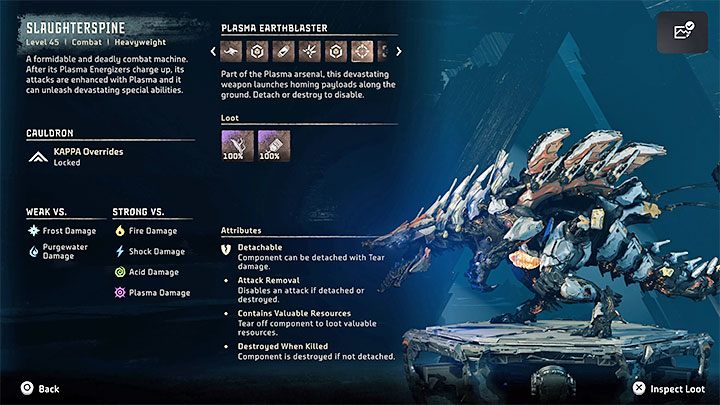
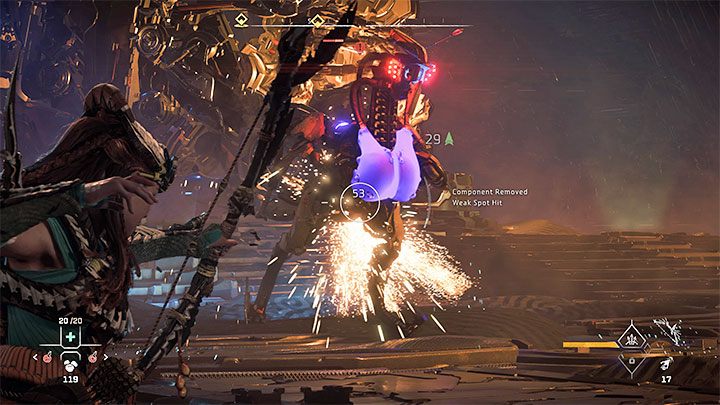
As per usual, begin the Slaughterspine battle by scanning the enemy machine. You will learn that the Slaughterspine is weak to two elements: freeze and purgewater. Try to adjust your equipment to take full advantage of these two weaknesses (optionally, you can also resort to traps).
In turn, the boss's attacks mainly use the plasma element, so it would be a good idea to put on an outfit that increases your resistance to plasma before the battle. This allows Aloy to take less damage if she is hit by one of Slaughterspine's strong attacks.

Carefully sift through all the tabs of Slaughterspine's entry to determine the components necessary to launch the plasma attacks. Attacking them (preferably with the right elements) should become your priority. The faster you can stop Slaughterspine's strong attacks, the easier it will be for you to keep Aloy alive.
Until the boss is stripped of its main components, try to run and dodge around the arena as much as possible, especially when Slaughterspine is preparing to launch one of its strong attacks.
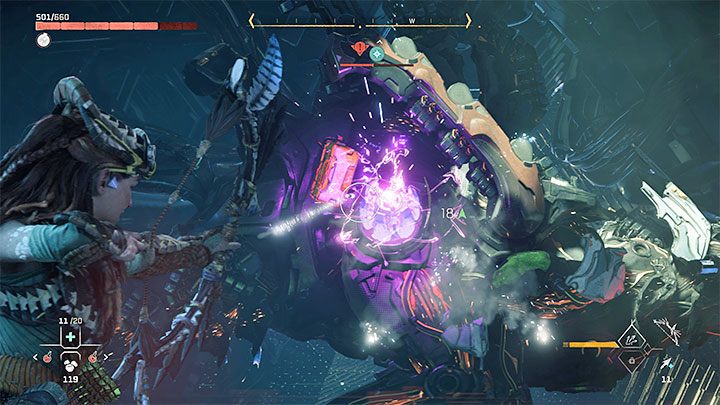
You should especially pay attention to the two Plasma Energizers located on the sides of the enemy machine. If the Slaughterspine manages to fully charge them, its attacks will become stronger. You should try to sabotage them.
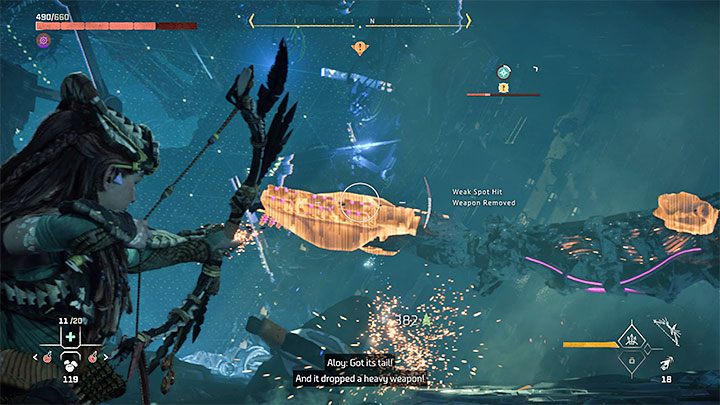

Another part of the armor that you should try to target is the Spinetail, which consists of several components. It can be used to launch plasma attacks, but more importantly, detaching it will give you access to a heavy weapon known as the Spinetail Launcher. It's worth using at least one of these to damage the giant machine.
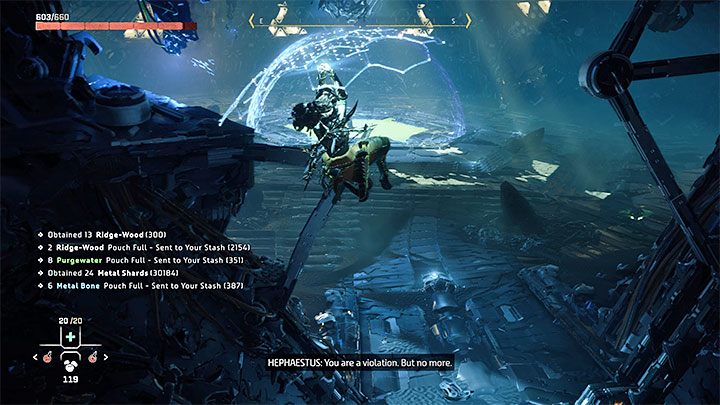
After winning the battle, don't forget to search the defeated machine to obtain tons rare loot.
Override the network uplink
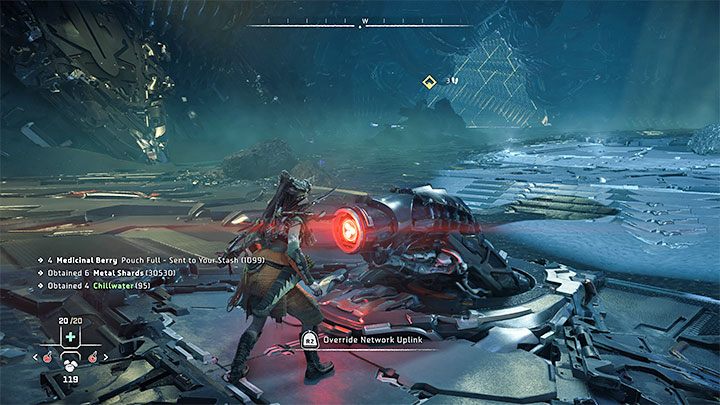
Reach the network link in the same room and use the spear on it as per usual.
At the very end of the quest, reach the location with Varl and Beta. After some cut-scenes, you will arrive at the next location and start a new main quest.