
Horizon Forbidden West: The Sea of Sands - walkthrough Horizon Forbidden West guide, walkthrough
This page of the Horizon Forbidden West guide contains a walkthrough of the main mission The Sea of Sands - Dive Mask, Tideripper boss.
Last update: 02 June 2022
This page of our Horizon Forbidden West guide contains a walkthrough for The Sea of Sands story mission. Our walkthrough shows where to find the tracks in Las Vegas ruins, how to obtain Diving Mask parts and craft the item, how to drain the water from the underwater city, how to defeat Tideripper, and where to find POSEIDON.
- Quest rewards
- Go to POSEIDON's coordinates
- Investigate the flooded ruin
- Gather the machine parts
- Craft the Diving Mask
- Finding POSEIDON
- Drain the city
- Kill the Tideripper - boss encounter
- Finding POSEIDON - continued
- Return to the elevator shaft
- Return to the Base
Quest rewards
- 17600 XP
- 2 skill points
- Diving Mask - a gadget that allows you to stay underwater indefinitely. It will be immensely useful both during missions and free exploration of the map.
Go to POSEIDON's coordinates
This is one of the 3 main quests you can undertake after your first visit to the Base and talking to GAIA (a part of The Eye of the Earth story quest) The quest has a recommended level of 22 - consider ascending to the needed experience level before embarking on the quest, as it will allow you to deal with the boss of the mission more easily.
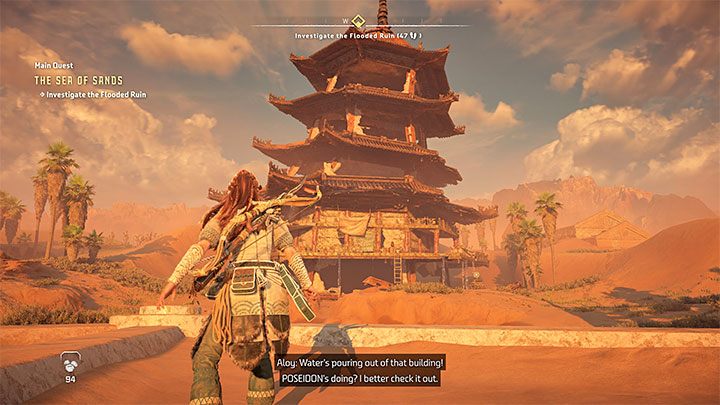
You must travel to the Las Vegas ruins located in the southern part of the world map. When you reach the ruins of the city, you will be given an updated objective to look for a way to access the underground. Proceed to the tall building (screenshot above), the one from which the water is pouring out. It is located in the western part of the area.
Investigate the flooded ruin
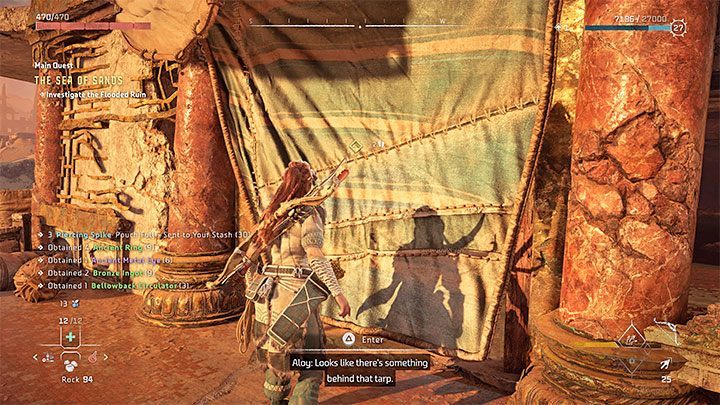
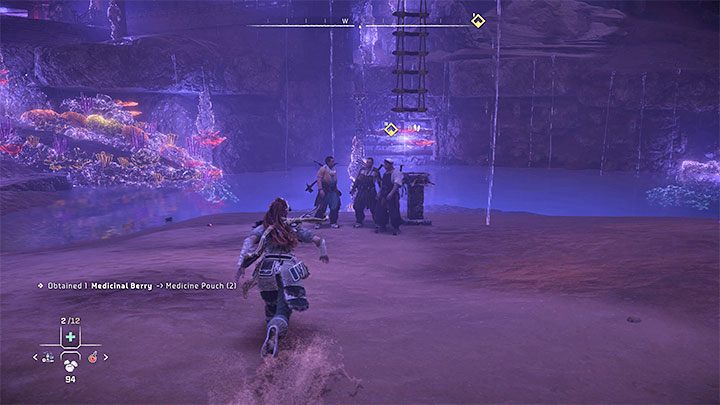
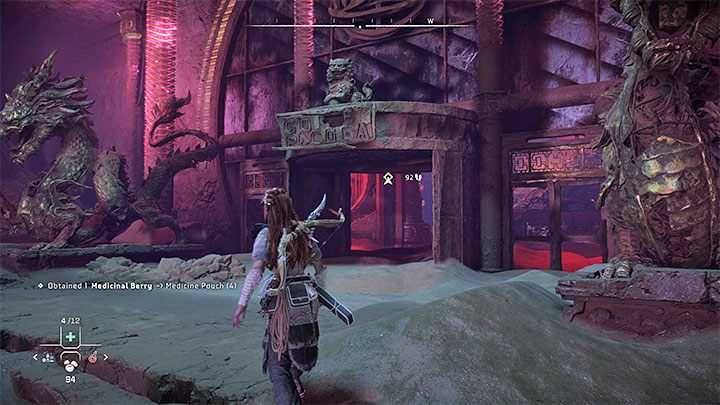
Use the ladder to access the bottom balconies of the building. Locate the area where you can interact with a canvas covering the entrance to the building. Aloy will meet some friendly NPCs.
During the conversation with Morlund, you can ask a lot of optional questions or immediately set out to find the parts you need to build the Diving Mask.
Additional information: Abadund - one of the group members - is a trader. You can trade with him or engage in a optional conversation. He has very rare weapons and an outfit in his stock.
Gather the machine parts
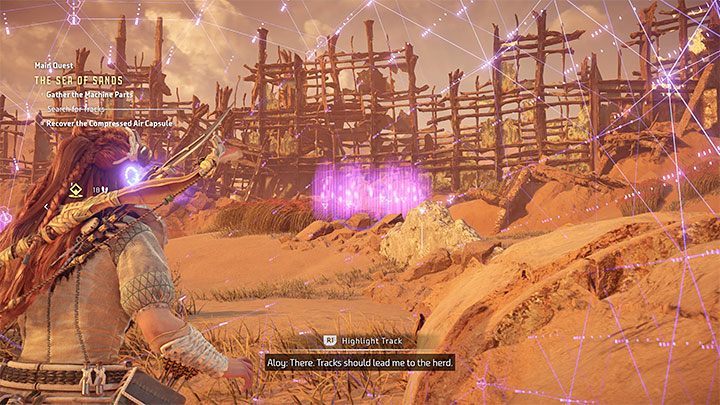
First, make your way south to find a herd of machines Once you reach the objective, activate your focus, find the machine tracks, highlight them (R1) and start following them.
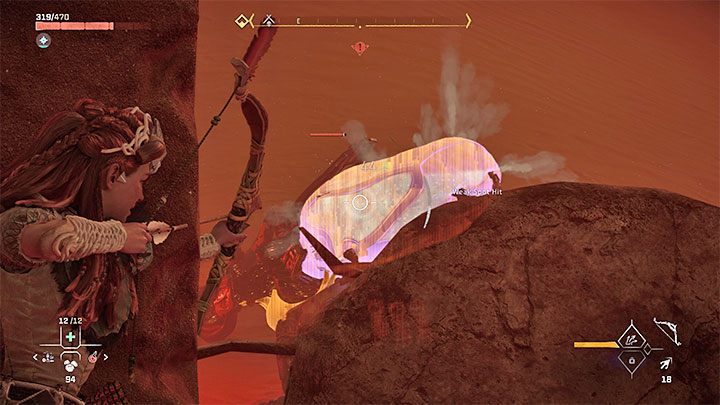
You're going to have to eliminate all machines forming a convoy. You can attack them in any order, with the strongest machine among those in the herd being the Bellowback. Remember to scan machines and target their weaknesses as well as use elemental attacks. Alternatively, you can stage an ambush by placing a few traps along the convoy's path.
Once the convoy is defeated, loot the remains of the Bellowback - the quest should update.
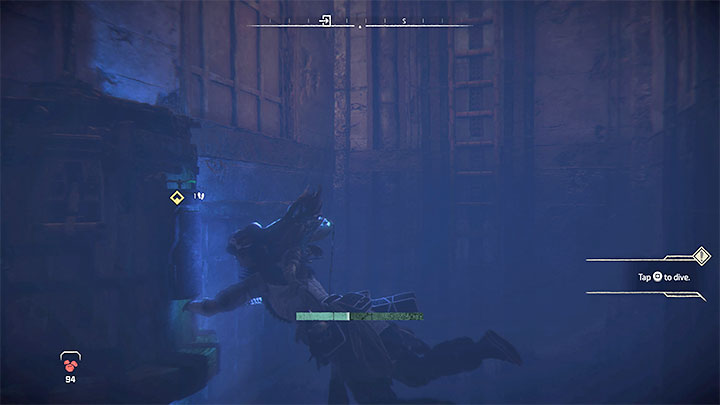
Return to the tall building where the NPCs you met recently are staying. In order to obtain the second part, you must jump into the flooded elevator shaft and dive into the water.
Remember - time you can spend underwater is limited. Swim to the bottom of the shaft, locate the Compressed Air Capsule and once you pick it up, return back to the surface.
Craft the Diving Mask
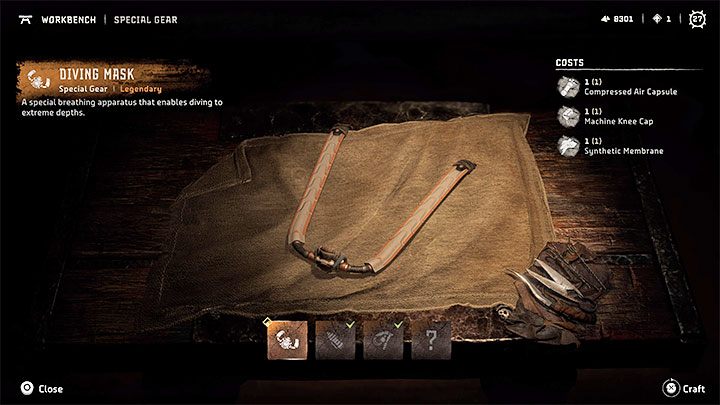
Talk to Morlund about the parts you obtained, and then use the workbench located in the same room. Craft the Diving Mask.
The mask allows you to stay underwater indefinitely. It also doesn't require manual activation - Aloy puts it on automatically when needed.
Finding POSEIDON
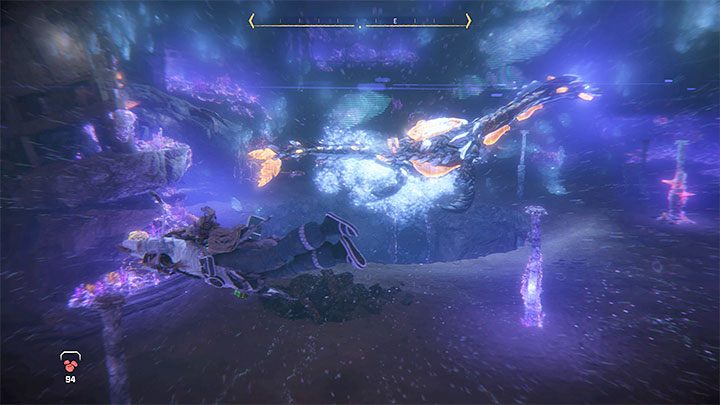
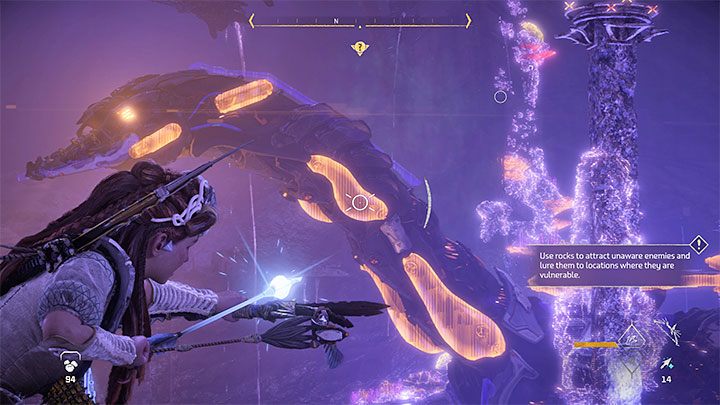
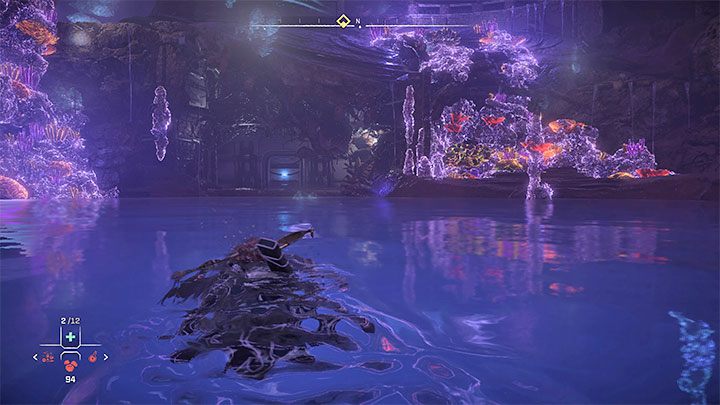
Once again, jump into the flooded elevator shaft, but from now on you don't have to worry about oxygen. Swim to the very bottom and start exploring the flooded city. Make use of Focus, which serves as a sonar of sorts.
Once you reach the larger area, you'll encounter Tideripper for the first time, but the battle doesn't take place until later.
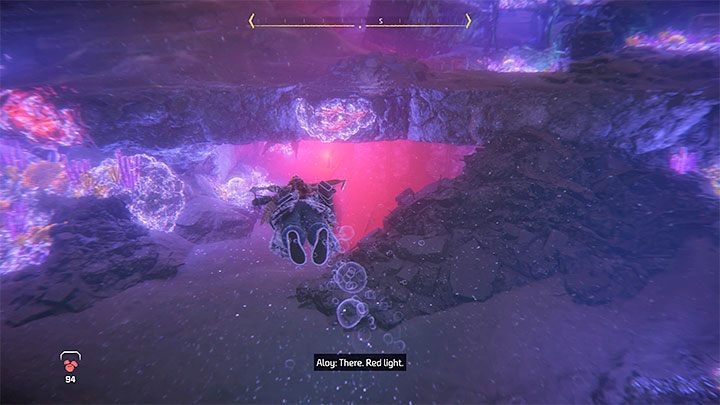
The Tideripper guards an area with a large hole, creating a sort of a vortex. Make an attempt to get closer to the vortex, and Aloy will comment that you need to find the red light.
The red light marks the flooded cave shown in the screenshot - you must enter it. You will find a console inside - use it to activate a hologram.
Drain the city
Your new objective is to find two Pump Nodes which activated will lower the water level in the flooded area. Travel in the direction of the first node.
As you make your way forward, you must be aware that there are machines living underwater and they may make traveling forward more difficult, As unfortunately you cannot use your weapons while diving. Use plants at the floor as hiding places and avoid being hit by machines by dashing (CIrcle). You're free to wait for the machines to return back to the yellow state, as you no longer have to worry about oxygen.
Reach the small hole (quest marker) and swim inside. If you've been pursued by machines, once you enter the area they will disengage.
Locate the ladder to exit the water and reach the first valve. After turning the valve, approach Firegleam which blocks your way to valuable loot. Jump into the water on the other side of the firegleam and swim to a large underwater area.
Again, you must try to avoid underwater machines. Locate the second round hole. Swim into it to reach a location with the second valve.
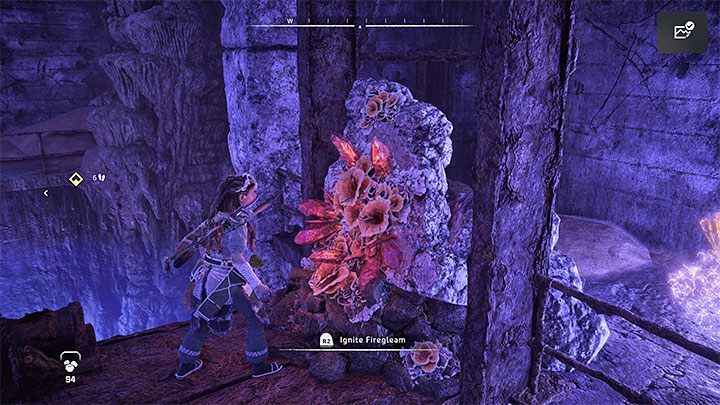
Attempting to use the second valve will initially fail. As it turns out, you need to get rid of a firegleam by blowing it up with the Igniter. Once the firegleam is removed, you can turn the valve.
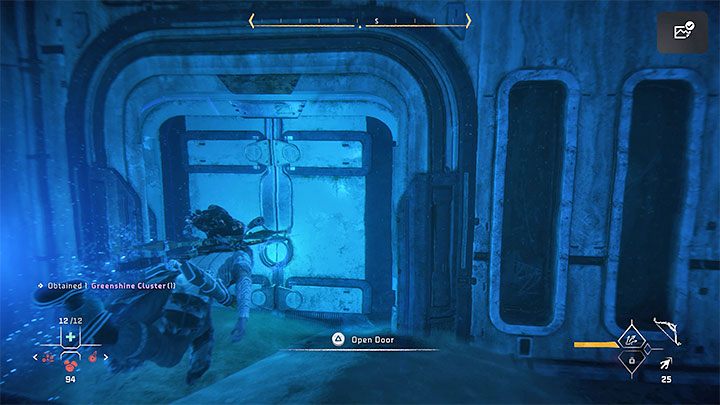
After the valve is turned, you can return to the central area of the flooded city. This time, travel south and avoid underwater machines along the way. You should reach a door leading to Pump Maintenance Station - open it by force.
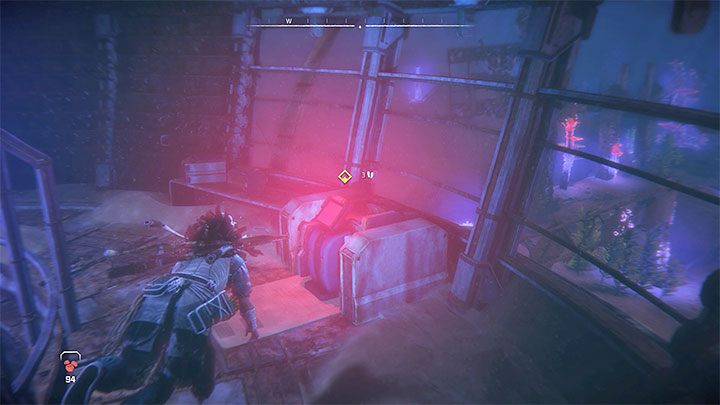
Continue along new underwater corridors (there is numerous loot to collect along the way) Follow the new corridor and swim to the red console shown in the picture. Activating it will drain most of the water from the central area.
Use the ladder to get down to the lower level. You must dive and swim through narrow corridors to an exposed area of the city.
Head towards the marked path. Avoid encountered machines to conserve your health, as soon you'll have to face a boss - Tideripper.
Kill the Tideripper - boss encounter
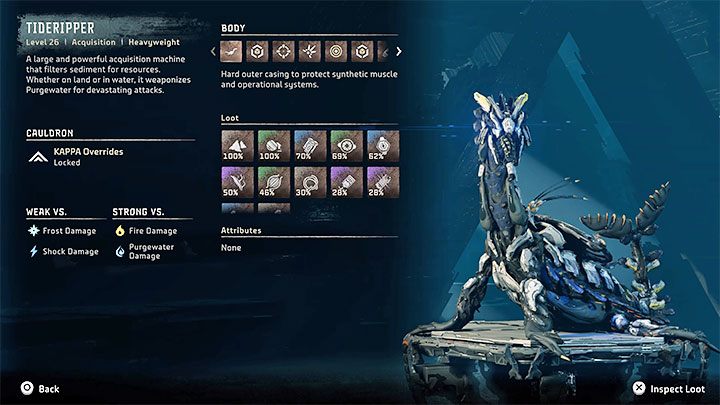
As usual, you should start the battle by scanning the Tideripper. This will let you determine that it's weak to Frost and Shock. You should also read through info regarding its armor elements and the attacks they grant him.
Once the battle begins you can quickly start setting up traps, as the boss won't be very aggressive at first. Use the ammo types the Tideripper is weak to. Obviously, you should aim for weak spots. Armor tearing ammo can come in handy to deprive the boss of some protection.
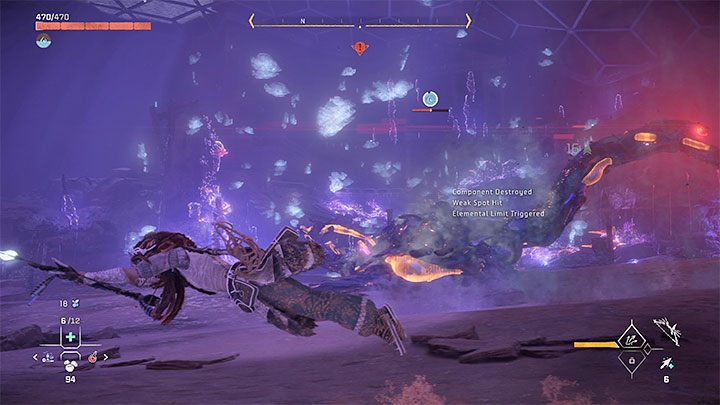
Despite its size, the Tideripper is quite agile. It can execute powerful melee attacks with a long range thanks to its long neck - these include swings as well as lunging forward into the ground.
Focus on running around the arena and keeping your distance, dodging to the side whenever you need to.
After winning the battle, you can optionally talk to Morlund and his team.
Don't forget to loot the Tideripper and look around for lootable components that may have been separated during the battle.
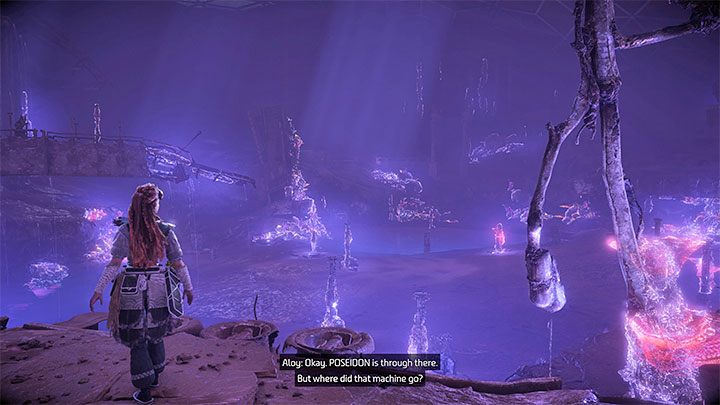
Finding POSEIDON - continued
Head towards the door that was previously "guarded" by the boss. Go down the stairs and reach the console where the GAIA kernel can be placed. This is how you will get POSEIDON.
Return to the elevator shaft
Head back out to the central area where you faced the boss. Locate the passage marked by the game that leads to an inactive escalator and further to a ladder. You will reach the elevator, which this time is working and use it to reach the upper level. You will meet your friends there and can talk to them about your next actions.
Return to the Base
To continue, use fast travel to teleport to the Base and reach its side entrance following a short climb.
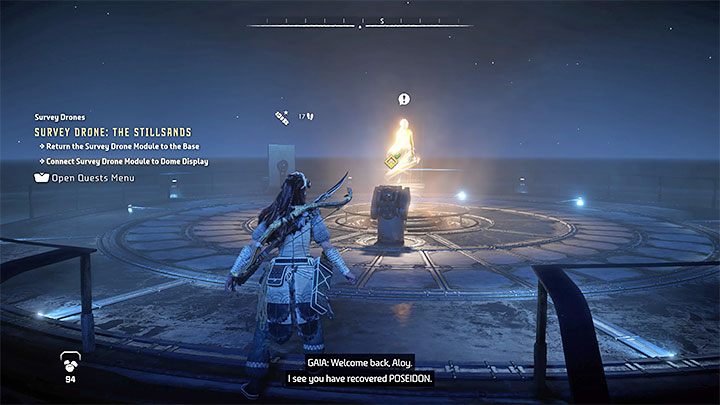
Head to the room with GAIAand interact with the interactive slot to "deliver" POSEIDON.

If you've completed Cradle of Echoes before, then you'll receive an additional mission objective related to meeting Varl and Beta. To do so, head to the lower level, which is the server room where Beta resides. New dialogue options will appear.