
Horizon Forbidden West: The Bristlebacks - walkthrough Horizon Forbidden West guide, walkthrough
This page of the guide to Horizon Forbidden West contains the walkthrough of the side mission The Bristlebacks - mine, rebel camp.
Last update: 24 February 2022
The following page of the Horizon Forbidden West guide provides a walkthrough for The Bristlebacks side quest. We explain how to search the mine and unlock the next part of the quest as well as how to quickly kill all the rebels in the camp.
- Quest rewards
- Starting a mission
- Talk to the Carja Magistrate
- Search West of the Quarry for Bristlebacks
- Follow the Trail to the Back of the Valley
- Enter the Mine
- Investigate the Mine
- Kill the Machines
- Investigate the Smoking Tunnel
- Examine the Note
- Return to Javad the Willing
- Search North of Barren Light for the Rebel Camp
- Find the Entrance to the Rebel Machine Pens
- Kill the Rebels and Their Machines
- Investigate the Cave
- Return to Javad the Willing
Quest rewards
- XP: 2330
- Skill Points: 2
Starting a mission

- Area: The Daunt
- Level: 7
Talk to Ulvund in Chainscrape and ask about the problems with Bristlebacks. You will find him by the tent, near the campfire.
Talk to the Carja Magistrate
Go to the inn in Chainscrape and talk to the Carja Magistrate. You will find him sitting at a table near the cook.
Search West of the Quarry for Bristlebacks
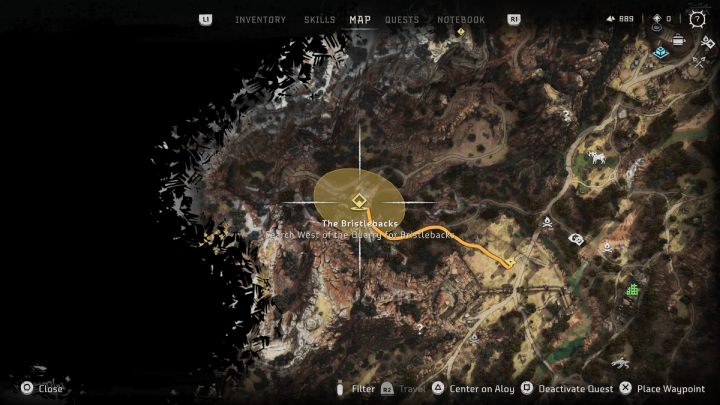
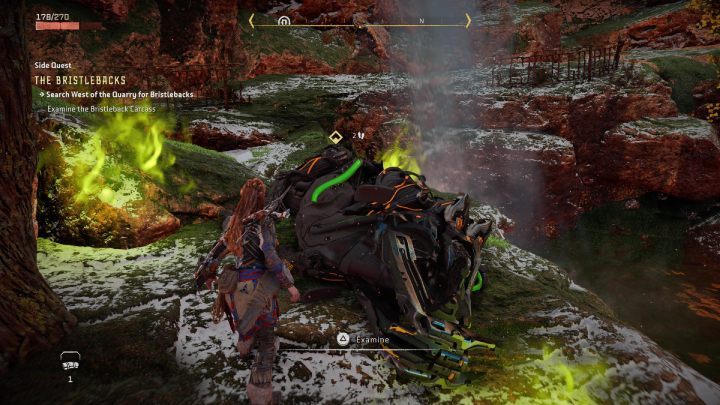
Go to the quarry southwest of the settlement and examine a destroyed machine lying by the river.
Follow the Trail to the Back of the Valley
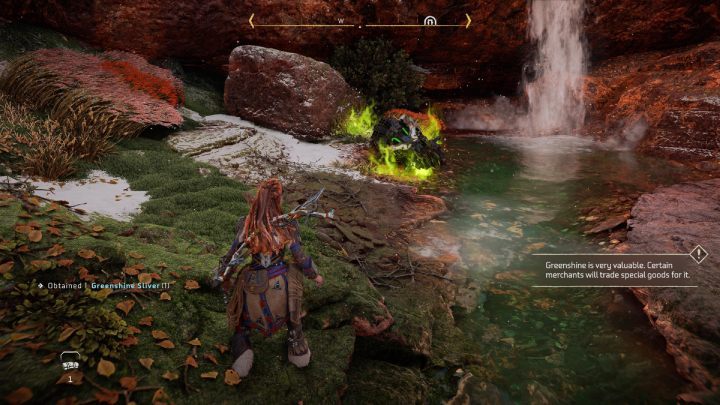
Walk under the waterfall and go to the next location marked on the map. Along the way, you will find another destroyed machine. Follow the path until you reach another waterfall.
Enter the Mine
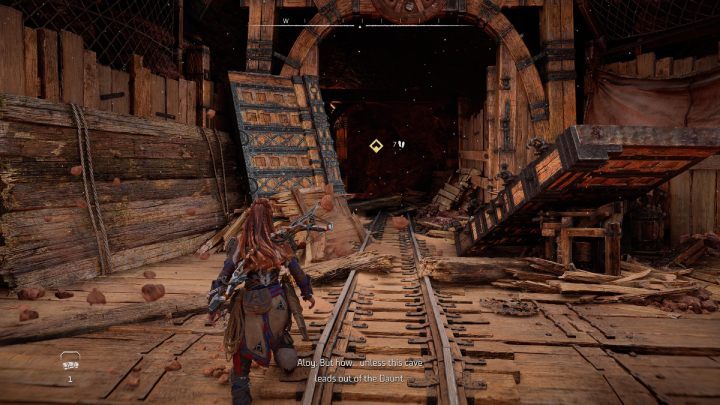
At the end of the road, by the waterfall, you will find the entrance to the mine.
Investigate the Mine
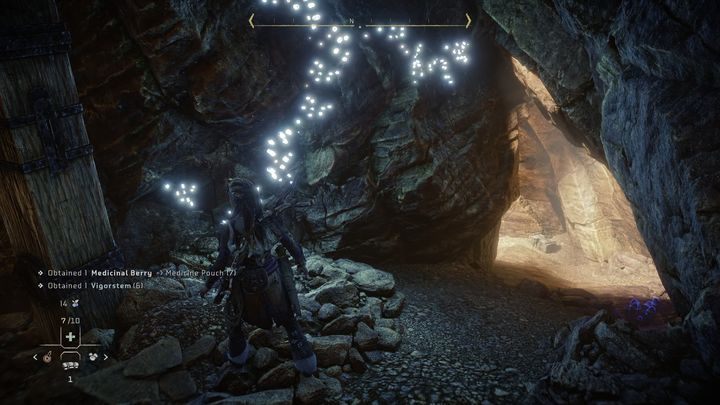
Follow the tracks. Once you find a blocked passage, turn right and go further through a narrow tunnel. Jump onto the rock at the end of the tunnel and climb up to get to the next part of the mine.
Kill the Machines
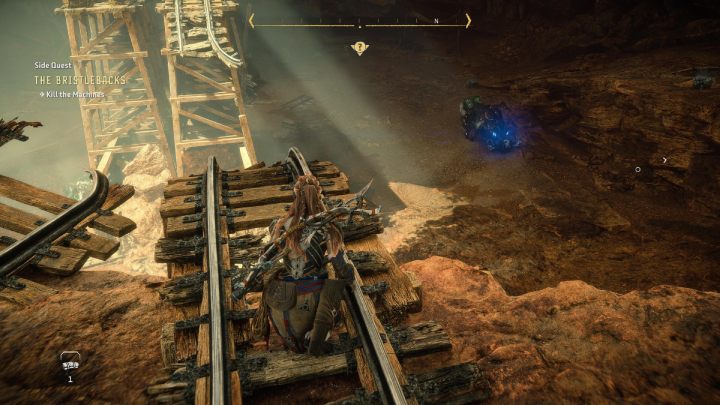
Eliminate the 3 machines in the mine. Bristlebacks are prone to Shock, so use the Tripcaster to get rid of them quickly.
Investigate the Smoking Tunnel
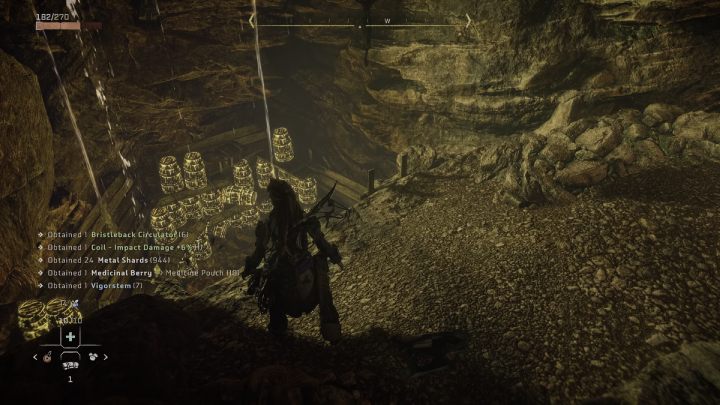
After eliminating the machines, go to the next part of the room. You will a tunnel with some smoke coming out of it; next to it, you will find some barrels in a storage area below.
Examine the Note

Examine the note lying on one of the barrels and leave the mine.
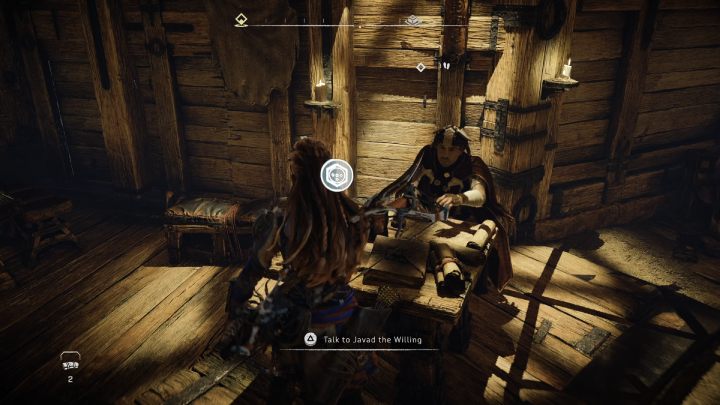
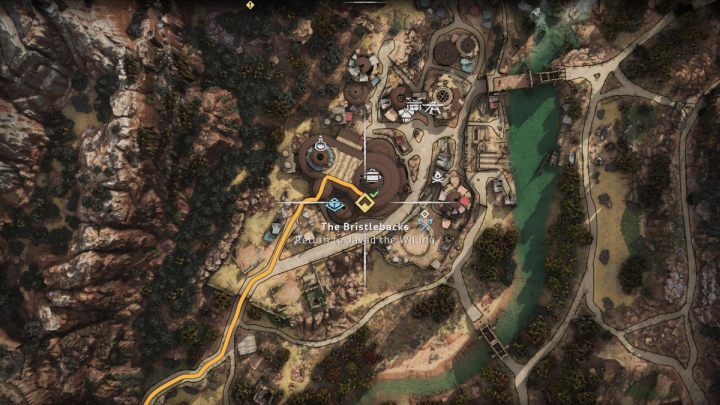
Return to Javad the Willing
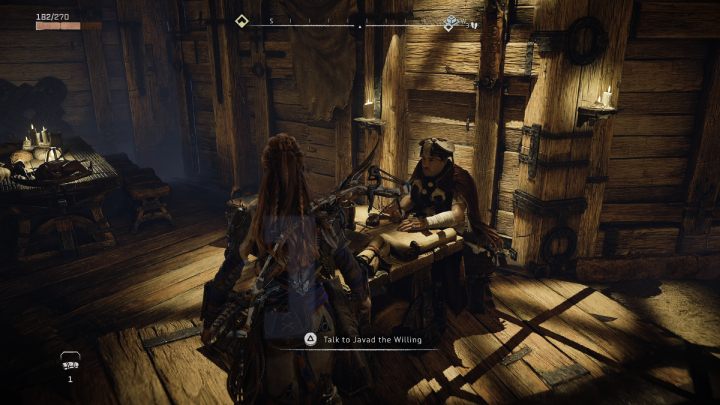
Go back to Chainscrape and talk to Javad.
The rest of the side quest will remain blocked until you complete The Embassy, the 4th main quest.
Search North of Barren Light for the Rebel Camp
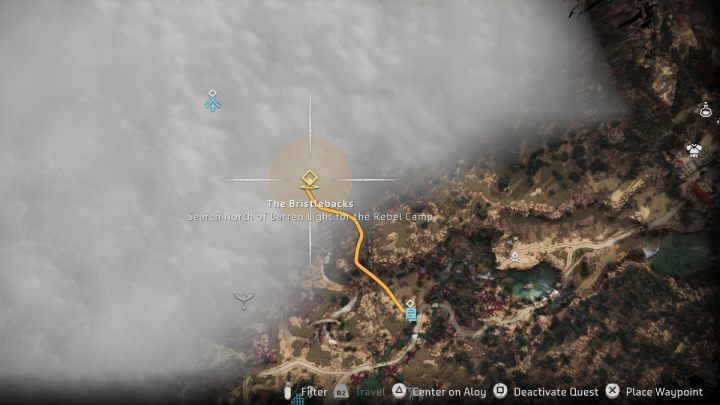
After completing the 4th main quest, The Embassy, Aloy will receive information about a rebel camp. Head to the designated area west of Barren Light.
Find the Entrance to the Rebel Machine Pens
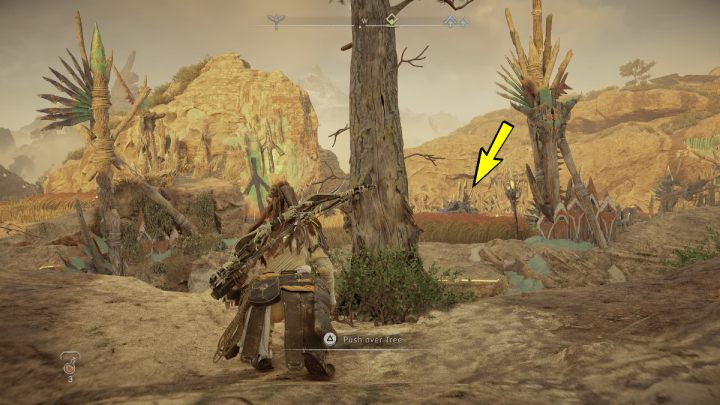
Knock down a tree to get to the camp. Watch out for a rebel mounting a machine. Wait for him to go away and knock over a tree, then quickly hide in the tall grass. Once the rebel is gone, use the tree to get inside the camp.
Kill the Rebels and Their Machines
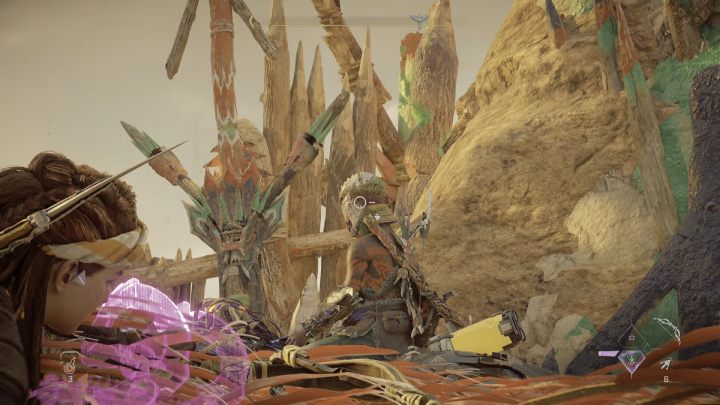
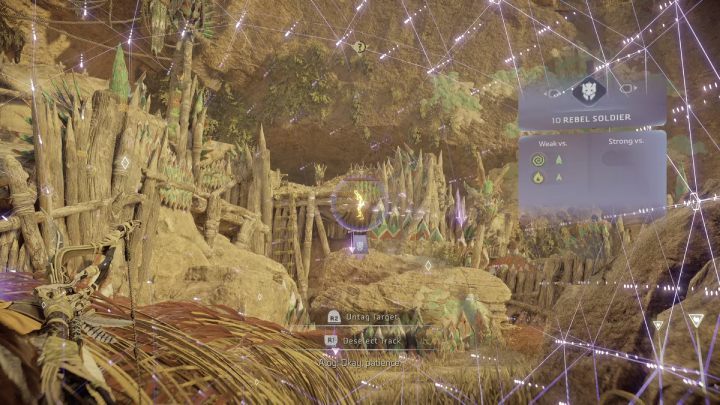
Scan the entire area thoroughly and first eliminate the machine-riding rebel, who patrols the entrance to the camp. Use long-range weapons so as not to alarm the rest of the camp. After that, quickly deal with the Charger he was mounting. If you are still hidden in the grass, you will be able to perform a stealth kill on the machine.
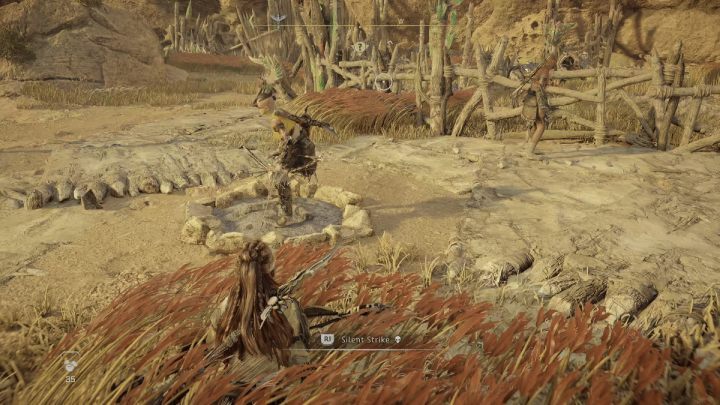
After getting rid of the patrol, you can deal with the rebels standing by the machine pens. Throw a rock towards the campfire to lure the woman there and perform a stealth kill on her. Then approach the man slowly and kill him.
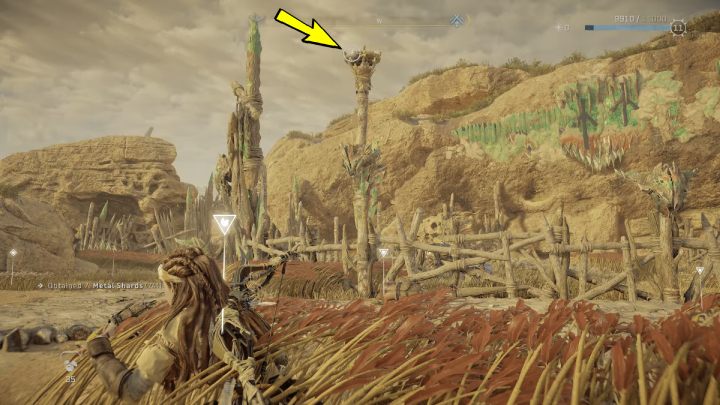
Jump up to the handhold and stand on the column. From here, you can easily shoot down all the machines in the pens. Using the Sharphot Bow, you will kill the Charger with 2 shots. Aim for its horns and the container on its back.
The last rebel is located at the east end of the camp. Climb the ladder, wait for the woman to stand by the railing and perform a stealth kill.
Investigate the Cave

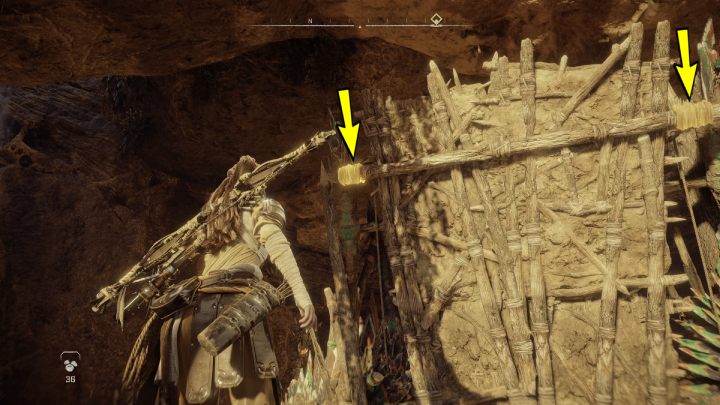
Lower the bridge using the wheel. After that, use your bow to shoot down the 2 ropes wrapped around the other part of the bridge. Finally, explore the cave.
Return to Javad the Willing
Return to the Chainscrape and inform Javad about what you discovered.