
Horizon Forbidden West: Death's Door - walkthrough Horizon Forbidden West guide, walkthrough
This page of the guide to Horizon Forbidden West contains a walkthrough of the main mission Death's Door - the fuse, Latopolis, and the clash with Eric.
Last update: 22 February 2022
On this page of the Horizon 2 Forbidden West guide you'll find a walkthrough of the Death's Door main quest. Our walkthrough explains how to track the huge orb, how to get a Leaplasher part and create an Igniter, how to go through Latopolis, how to survive the fight against Erik and how to escape the facility.
Note - The suggested experience level for this quest is 10. You should also consider climbing the Cinnabar Sands Tallneck to uncover the area and make navigation easier for yourself.
- Quest rewards
- Go to the coordinates recovered from the Spire
- Follow Orb's trail
- Examine the Orb
- Gather resources for the Igniter
- Ignite the Firegleam
- Search the facility for a GAIA backup
- Kill the mysterious attacker - the battle against Erik
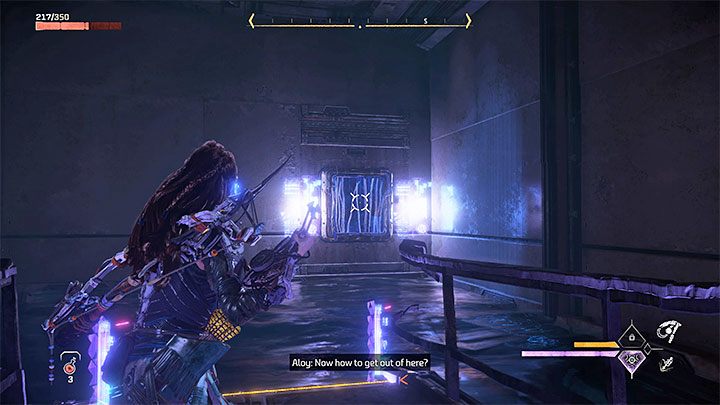
- Search for a way out
- Ignite the Firegleam
Quest rewards
- 5,500 XP
- 2 skill points
- Igniter - This is a new gadget that allows you to ignite the Firegleam flowers. It'll come in handy during some missions but you can also use it in the game world to unlock new passages and secret areas.
- Unlocks The Dying Lands main quest.
Go to the coordinates recovered from the Spire
You must travel far southwest from the battlefield you finished the previous mission at.
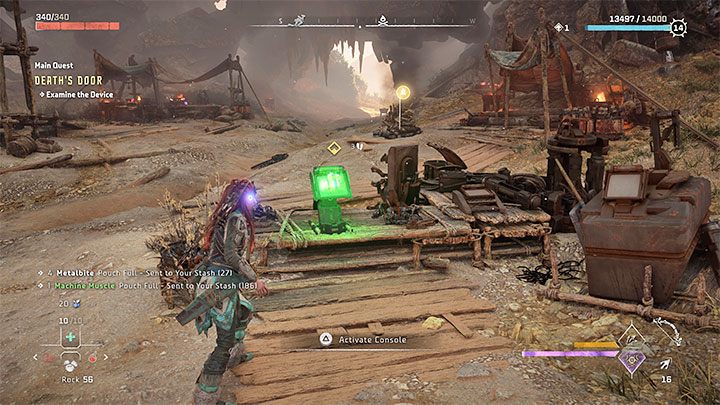
You will arrive at an abandoned camp. You can explore Sylens' entire workshop and look around for interactive things with your Focus turned on. To progress you must interact with the green-lit console which will trigger a hologram.
Follow Orb's trail
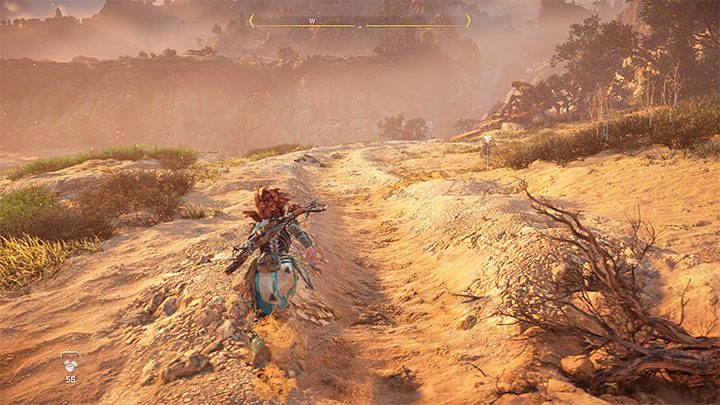
Your new mission objective may be a bit misleading, as you don't need to use your Focus again. Simply follow the large groove symbolizing the orb's trail. This means you'll be heading further southwest.
During this part of the quest you'll encounter at least one group of machines, with some stronger enemies among them. Fighting them is optional, as you can also bypass them, distract them by throwing rocks or just run away. If you decide not to fight, remember you must find the orb's trail anew.
In case you decide to fight them, try to ambush the machines and shoot precisely while using concentration to hit the flying enemies easier.
Examine the Orb

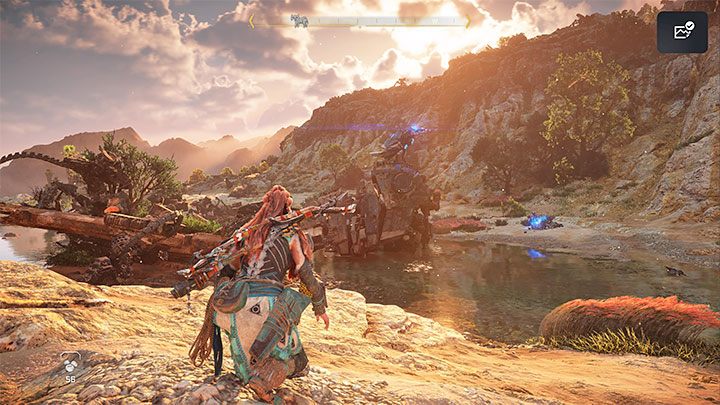
On your way you'll meet a hunter staying in a small camp you can make some purchases from. Eventually you'll reach an entrance underground.
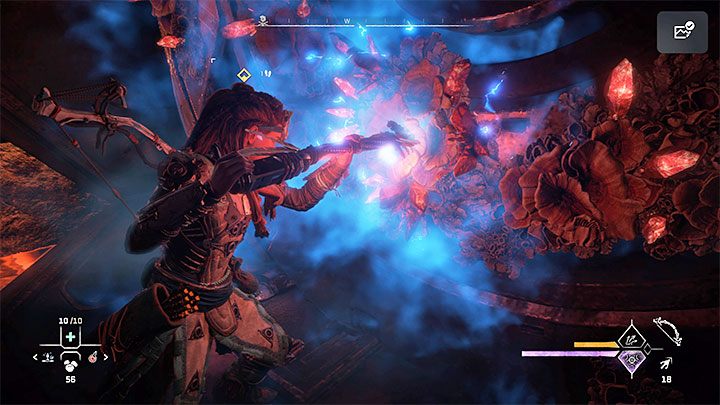
Head inside, locate the huge orb and approach it to examine it. During the "conversation" with HADES, you can select additional dialogue options or rush towards the end. Your second conversation will be with Sylens. Once again, you can select some optional dialogue options or ignore them.
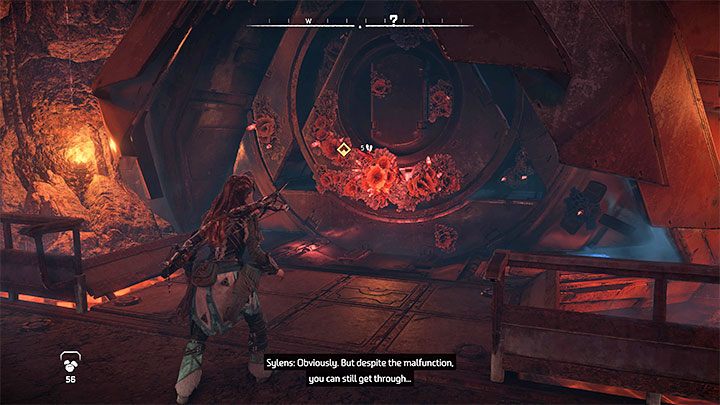
Attempting to use the facility's entrance will cause you to encounter a red flower and learn about the lockdown. You'll need a gadget called the Igniter to remove the flower.
Gather resources for the Igniter
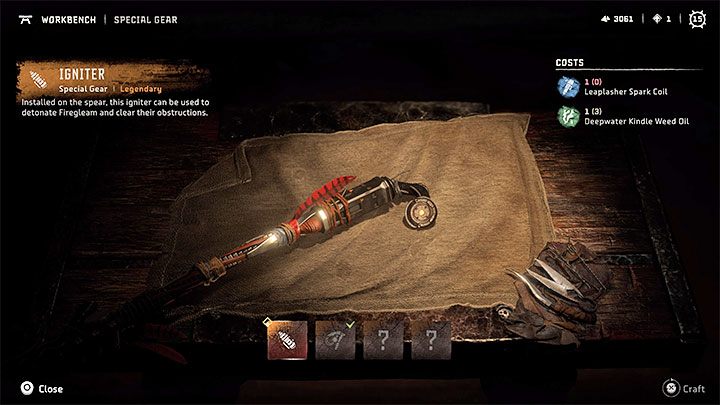
Return to the exit of the underground area. You will find a workbench nearby - interacting with it should tell you what ingredients you need to make the Igniter.
The first ingredient is Deepwater Kindle Weed Oil from underwater plants. You must head to the marked location and gather them using your Focus.
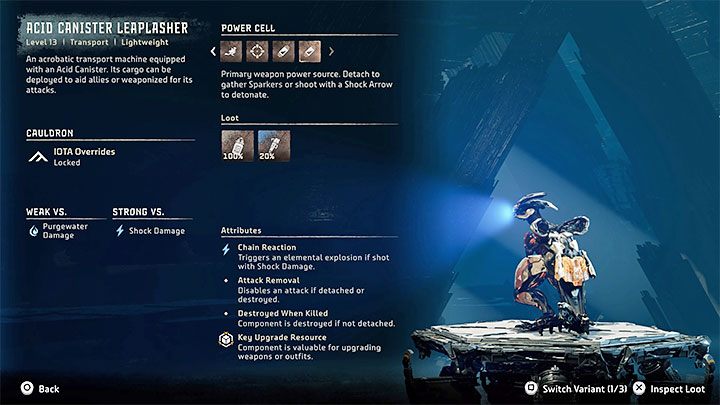
The second component is more problematic - the Leaplasher Spark Coil. There's a Leaplasher Site nearby you should head towards.
After spotting the machines scan any of them and open its tab in the machine catalogue. By reviewing the tabs describing the machine you'll learn that the spark coil you need is on its back.
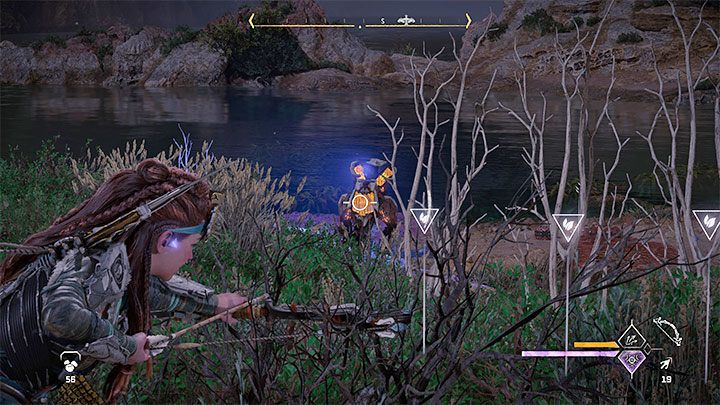
Stay sneaky and undetected - otherwise the Leaplashers will start running around and your job will get much more difficult.
Aim for the container on your back with a good ranged weapon. Some accurate shots should be enough to detach it.
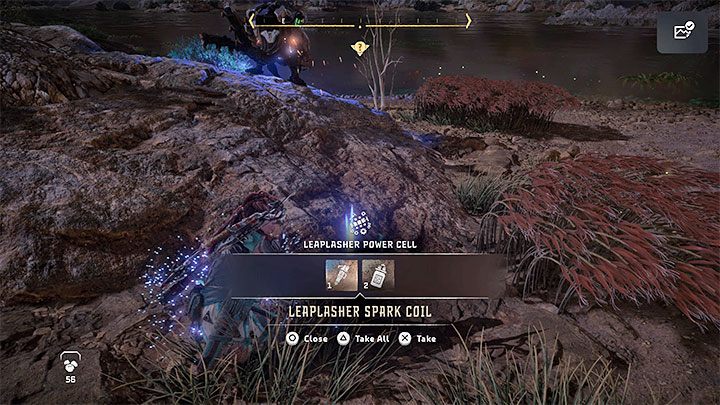
You must now pick up the coil - you can deal with the machines first or divert their attention from the coil so you can get it.
Having all the necessary parts you must return to the workbench and craft the Igniter.
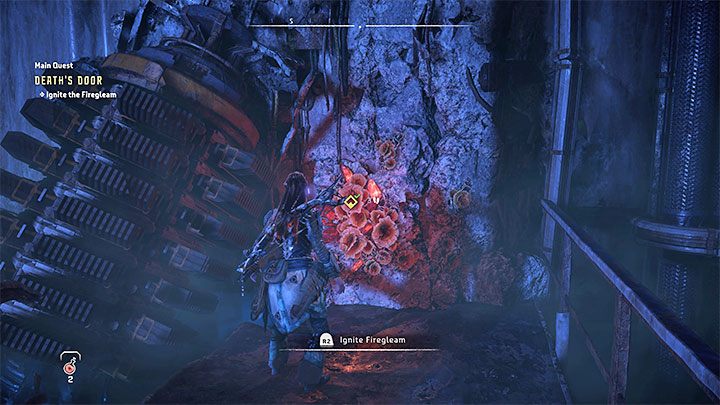
Ignite the Firegleam
Return to the flower you found earlier - the Firegleam. To use the Igniter you must stand in front of it and press R2. Back off immediately as the flower will explode soon after you set it on fire. The explosion can knock you back and/or hurt you.
Search the facility for a GAIA backup
You may now use the newly unlocked entrance to the Latopolis facility. Remember to examine every room you visit while you explore it. You can find secrets here or chests with valuable loot.
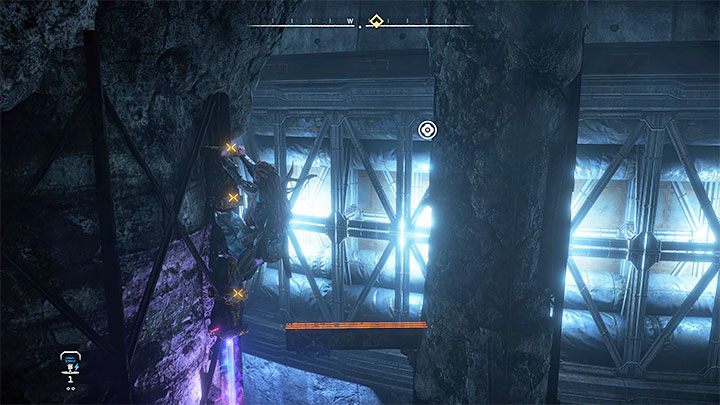
Force the closed door open with your spear. In the first flooded area run across the poles sticking out of the water and use the Pullcaster on a grate. This will unlock an interactive handle you can grab onto and continue your climb.
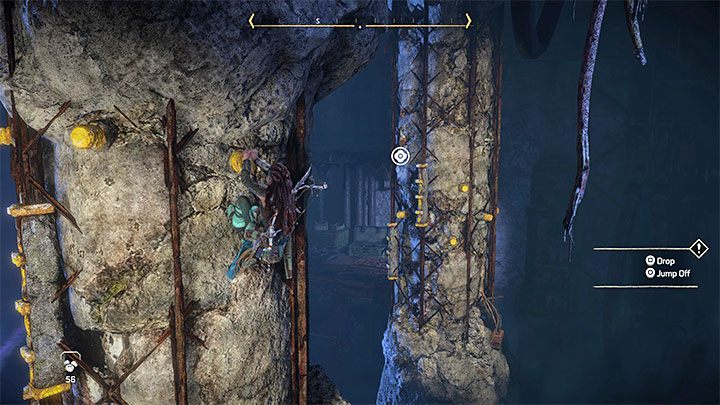
Stop in the place you can see an icon of the next handle (as pictured above), then jump.
Climb to the top. While exploring the subsequent rooms always make sure to lower the ladders. If you do so, you won't need to repeat the entire climb in case you fall.
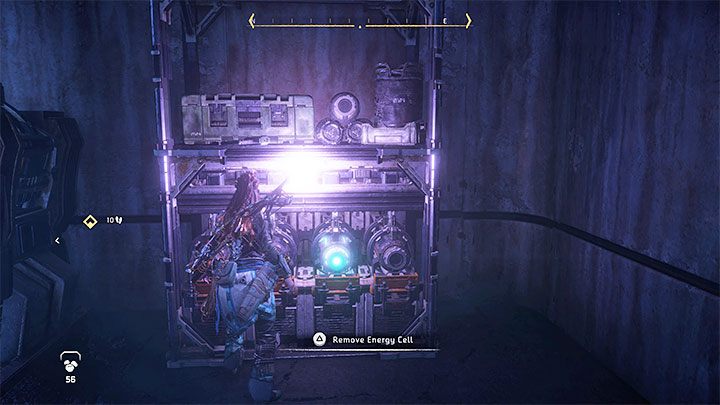
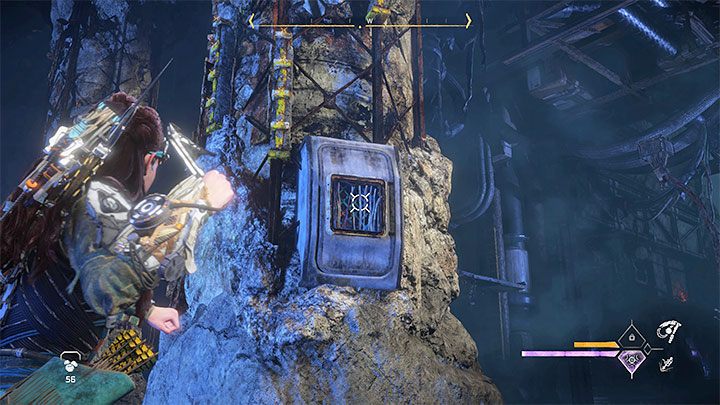
Reach the hole in the wall. You'll see an inactive door requiring an energy source. Look around for an Energy Cell and take it to the terminal marked blue. Place the cell in the slot to open the way forward.
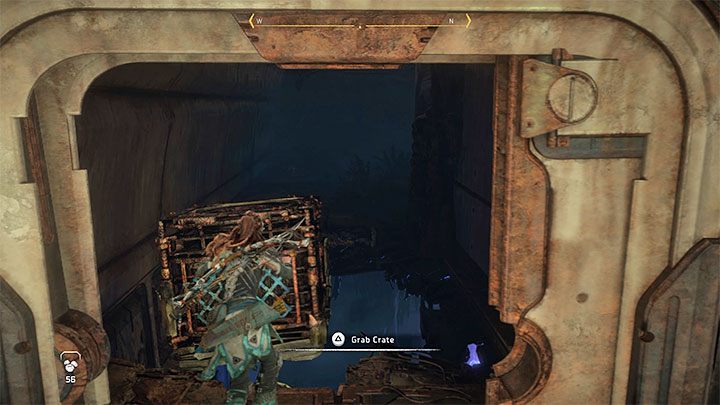
Grab the upper handle to keep going up. You'll notice a pushable crate. Push it into the large hole shown in the picture.
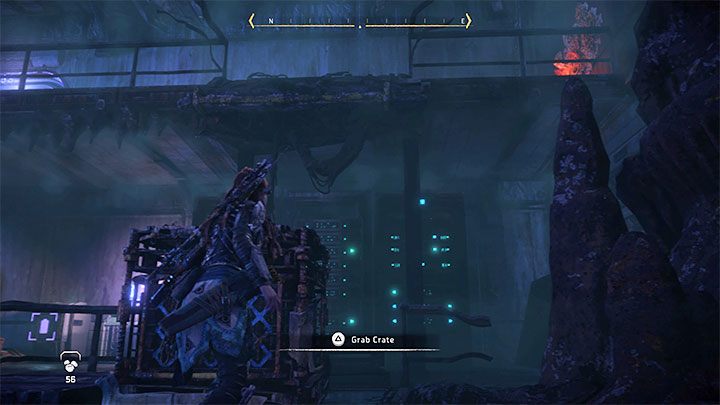
In the new area there are two terminals requiring an energy source and you must solve a puzzle to power them up.
Push the crate to the place shown on the picture. This will let you get to the upper level. There's a Firegleam to the right you must blow up to unlock the way forward.
Return to the terminal you visited earlier and take out the energy cell. Take it through the hole in the wall and jump down.
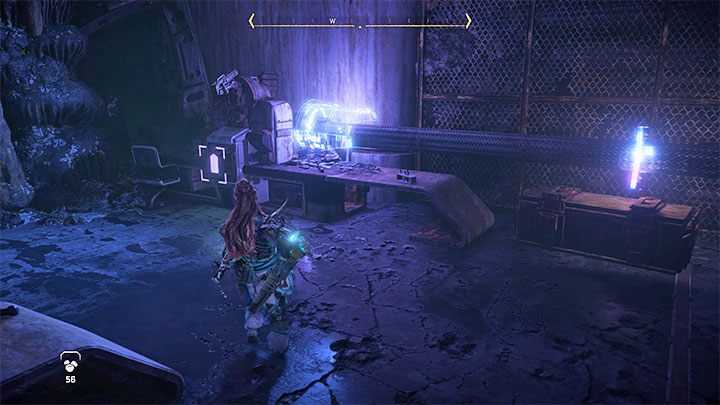
First place the energy cell in the first terminal, the one with a smaller desk. Use the security console to open a cache of valuable loot.
Then move the energy cell to the second terminal pictured here. This will trigger a hologram showing a conversation between Travis and Sobeck.
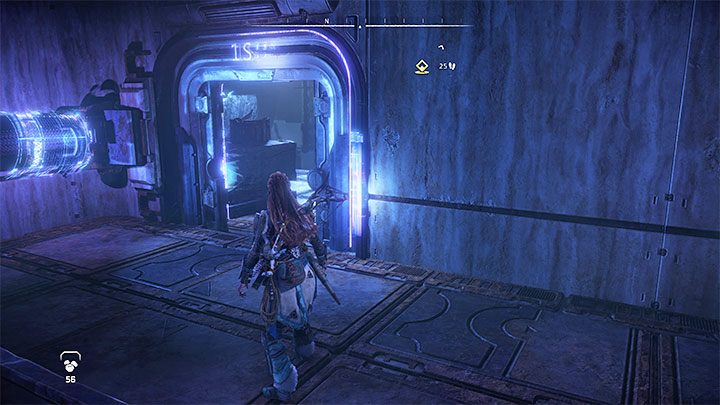
Climb up again. If you placed the energy cell in the correct slot, the door to the left pictured above should be open now.
You must now climb yet again - first thing first, lower the ladder.
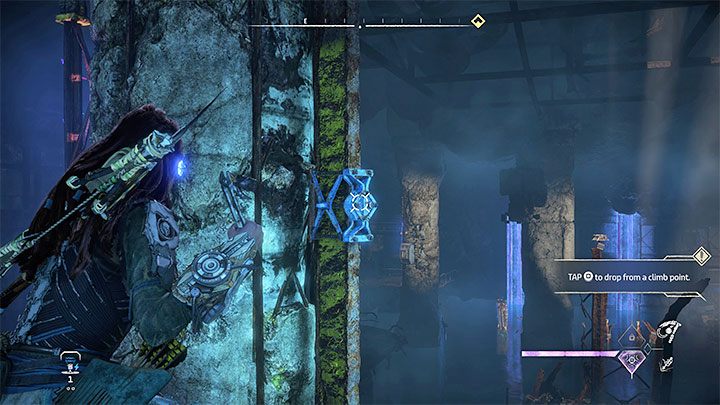
Climb up to the higher balcony and grab the metal object pictured above with your Pullcaster. This will unlock an interactive handle you can jump towards while pressing X in the air.
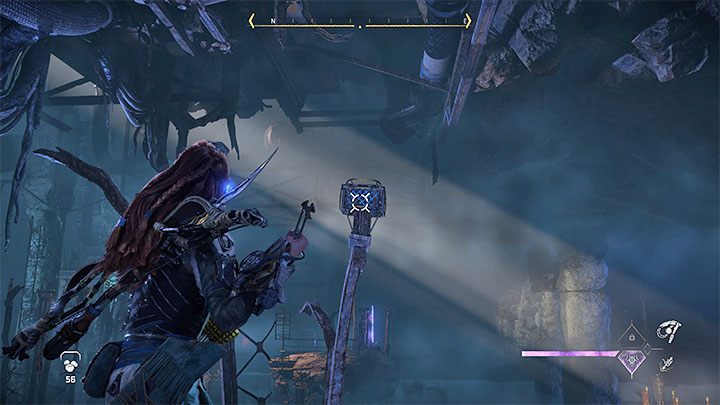
You must climb the highest pole here. Then glide off it onto the lower ledge, as pictued above. As a reminder, this means you must hold down the Square button in midair to activate the Shieldwing.
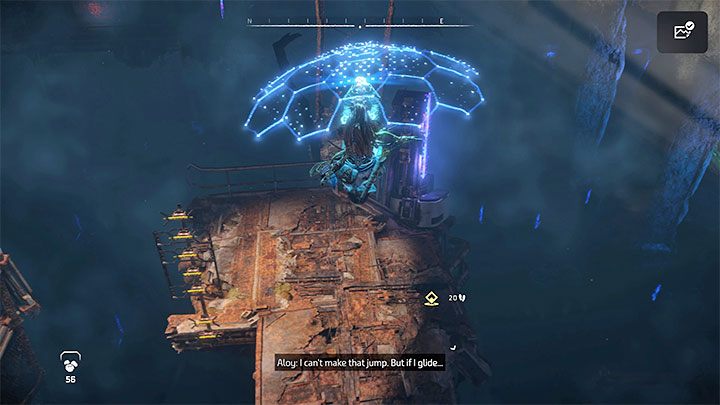
In the new area look for the next handle you can pull yourself towards and glide again towards the balconies in the distance.
After landing on the balconies approach the Firegleam, ignite it and quickly back off so the explosion doesn't push you down into the water.
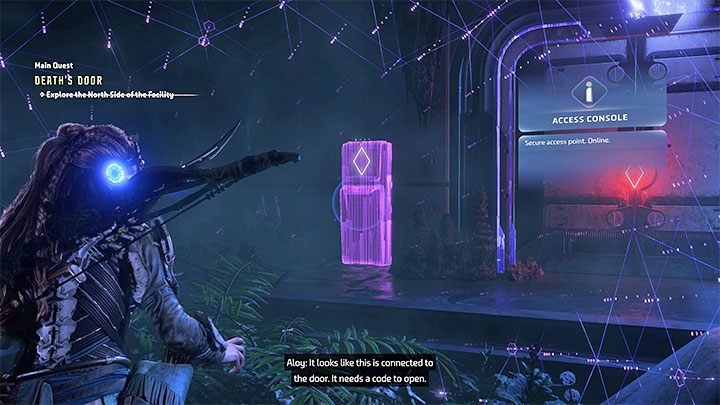
Continue exploring the rooms. You will come across a console forcing you to enter a code.
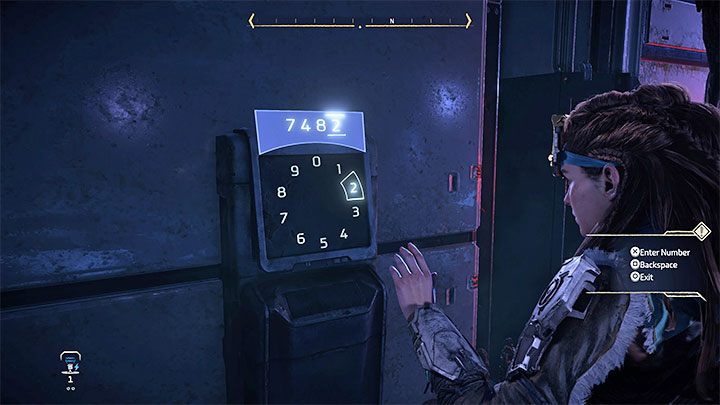
Use your Focus to find a Datapoint nearby - reading it will tell you the correct code is 7482. Approach the console and enter the combination.
Force the door open and climb up the elevator shaft. You'll reach the upper floor.
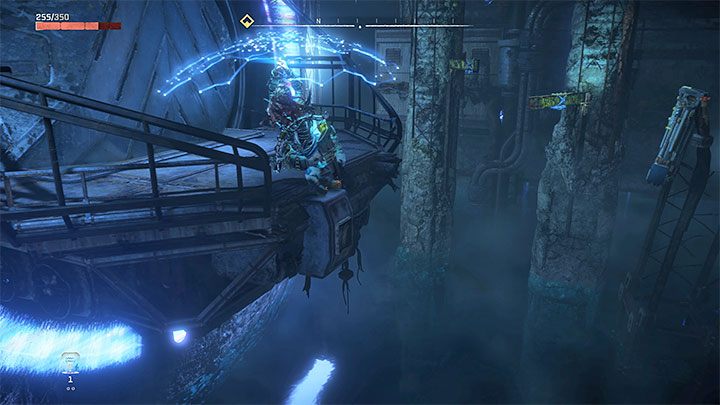
Once you return to the large hall lower the new ladder and start jumping to new yellow handles. You must stop at the point pictured above so you can grab onto the handle and drop down to the metal bar below.
A little further down you'll need to use the Pullcaster in the place pictured above. Jump onto the object you lowered. Once again, use the Pullcaster and grab onto the handle.
You must know that you don't necessarily have to go all the way to the distant Firegleam, as the only thing behind it is regular loot.
Your destination is the side door pictured above you must glide towards after getting close enough. Interact with it to open it.
After entering the large room, head to the operating console. After using it, you must now use the second access console.
Shoot the pictured cable hook with your bow. This will let you explore the GAIA Repository. You'll trigger a cutscene during which you'll meet the "strangers".
Kill the mysterious attacker - the battle against Erik
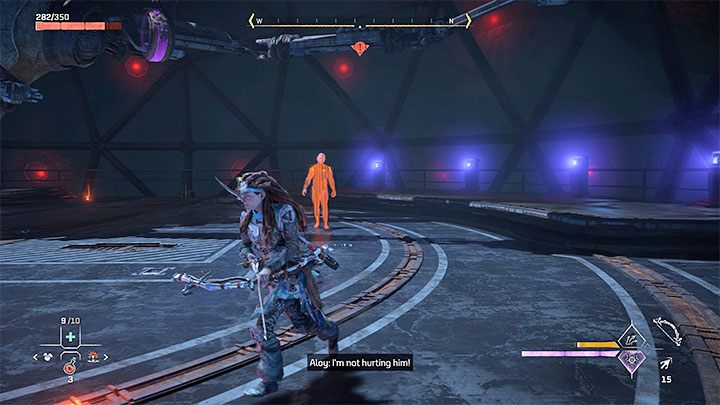
Your clash against Erik isn't a traditional boss fight - he's invulnerable and Aloy cannot hurt him. During the beginning of the battle you must run around the arena to avoid his ranged attacks. You must wait until you get a mission objective telling you to use the console.
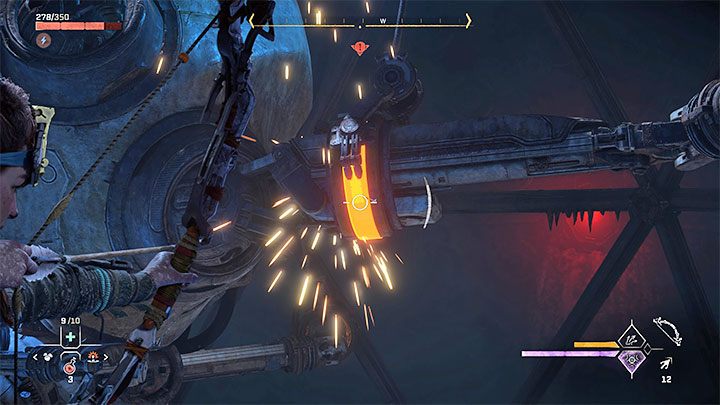
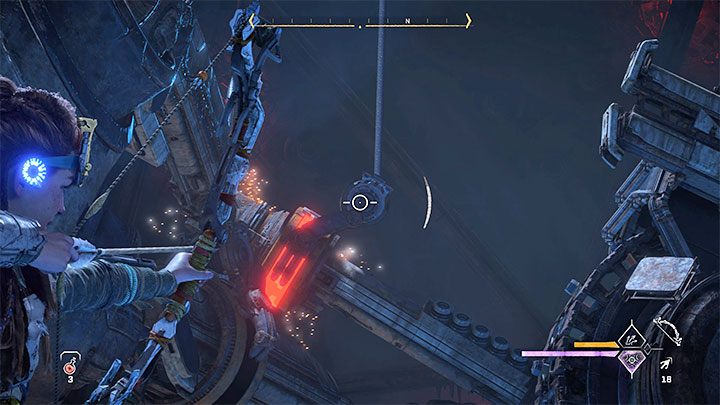
You must shoot the red hooks of the large device, as pictured above. Shoot only when there's some distance between you and Erik so that he doesn't hit you while you're aiming.
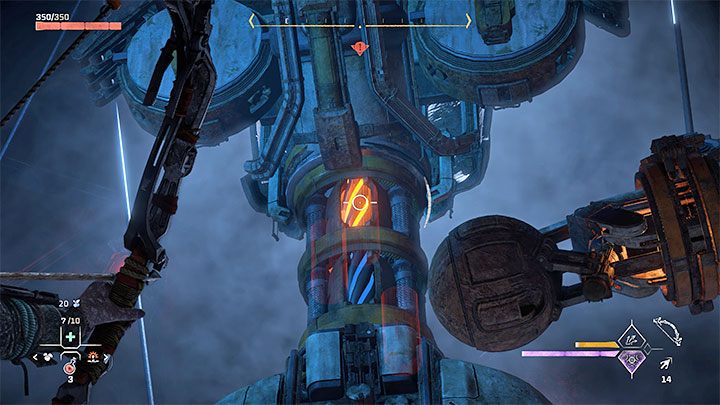
Destroying the lower hooks won't be enough - you must now destroy the upper couplings as well , as pictured above. You must position yourself correctly so you can see them and shoot them.
Search for a way out
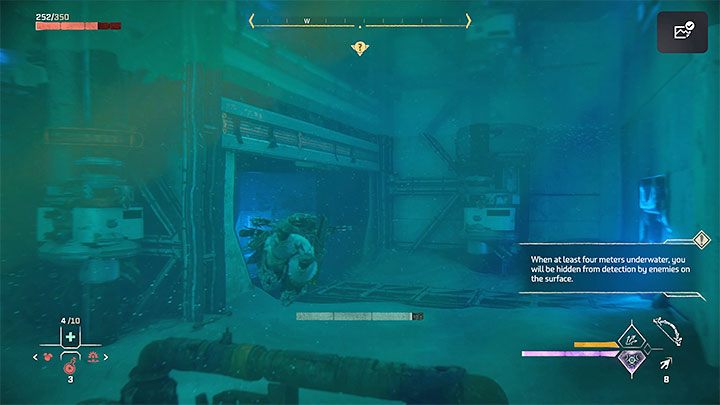
You'll end up in the water, having to dive to reach the new areas and avoid detection by the machines. Remember to surface every now and then to get some air.
Underwater you'll find a door you must open. Swimming through the new corridor you can use the protruding elements (Triangle) to move faster, getting more time to surface.
Once you're out of the water destroy the grate pictured above and crawl through the newly unlocked vent shaft. After leaving it you must keep swimming and avoiding machine attacks.
Ignite the Firegleam
You'll eventually reach a new hole you can climb into. Walk through the empty corridors to encounter a Firegleam. Detonate it, just like before.

Watch a longer cutscene, during which you'll be transported to a new area - Stone's Echo. During your first meeting with Zo you can go for optional dialogue options to get to know her and her tribe better or just end the conversation right away.