
Horizon Forbidden West: Reach for the Stars - walkthrough Horizon Forbidden West guide, walkthrough
This page of the guide to Horizon Forbidden West contains a walkthrough of the main mission Reach for the Stars - prologue, attractor, boss Slider.
Last update: 08 March 2022
This page of the Horizon 2 Forbidden West guide contains a walkthrough of Reach for the Stars main quest. This quest serves as a prologue of sorts. The following walkthrough explains how to sneak and eliminate your first machines, how to reach the ancient ruins, how to craft and use the Pullcaster, how to reach the space shuttle, how to win the boss fight against the Slitherfang and how to reach the data center.
- Quest rewards
- Gather Medicinal Skybrush
- Gather Ridge-Wood
- Craft Arrows
- Find an entrance to the Ancient Ruins
- Examine the rubble in the collapsed wall
- Craft the tool
- Clear the rubble with the Pullcaster
- Use the Grapple Point
- Kill the Burrower with a Silent Strike
- Search the Ancient Ruins for a GAIA backu
- Go to the data center
- Go to the shuttle
- Search for the shuttle clamp controls
- Climb the launch tower
- Slitherfang - boss fight
- Go to the data center - continued
Quest rewards
- 500 XP
- Pullcaster- this is a very important gadget used to fire ropes at grapple points and attract/pull out objects from the environment
- Blastsling - given to you by Varl during the quest
- Unlocking The Point of the Lance main quest
Gather Medicinal Skybrush
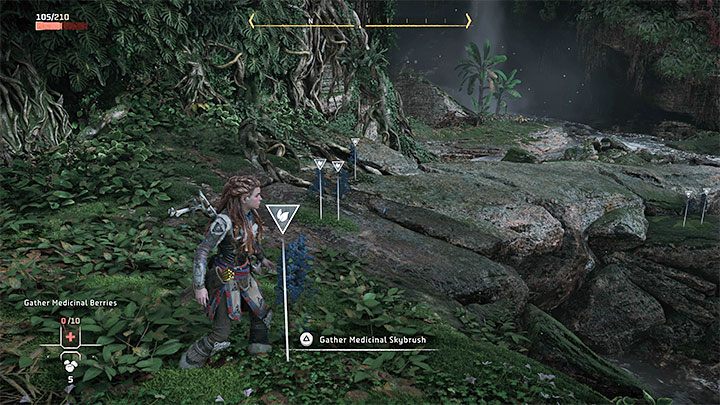
Your first objective is to find some medicinal berries, which can be made much easier by using your Focus (press the right analog stick) to scan the nearby area.
Berries are one of the available ways of healing after losing health - use them by pressing up on the D-Pad.
Gather Ridge-Wood
During your travel you'll see the remains of a destroyed machine you must examine in detail.
You'll be tasked with gathering ridge-wood. It's obtained from small trees you can find everywhere throughout the game. You should make a habit of collecting as much ridge-wood as you can, as it's used for crafting arrows.
Craft Arrows

Hold down L1 to enter the weapon wheel. Select the Hunter's Bow you start the game with. By holding down X you can craft arrows (different varieties, although this time you just want some regular ones).
Find an entrance to the Ancient Ruins

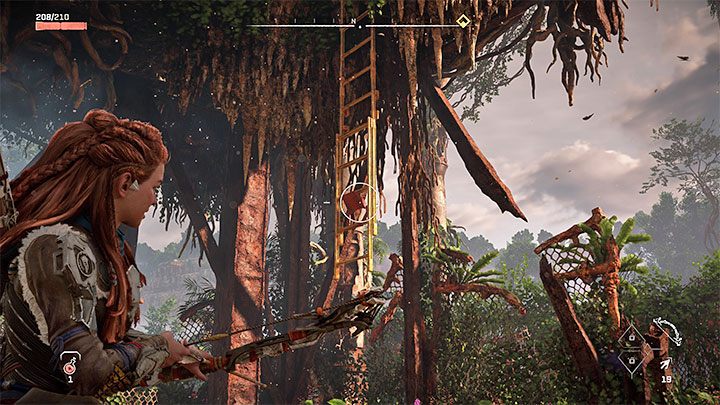
Reach the raised ladder pictured above. You must shoot the ladder's red lock with your bow to lower it.
You won't reach your destination by walking in a straight line, as the next ladder you find cannot be lowered. Go south instead.

You'll encounter your first machines - the game will suggest you to scan them (hold down the right analog stick). You should scan every new kind of machine you encounter, as it lets you discover the enemy's resistances and weaknesses.
You can either look at the basic information (pictured above) or press the touchpad to open the corresponding tab in the Machine Catalogue. There you'll find much more detailed descriptions and information about the machine's unique components you can detach or strike for massive damage.

Fighting the burrower is optional, but serves as a great opportunity to practice using the bow in combat. Aim for the machine's weak spots - its huge eye, underbelly or the tank on its back. During the battle you can also try dodging or using concentration to slow down time when aiming.
After the battle search the field - the machine's wreck and any components that may have fallen off of it. This will let you gain valuable loot.
Head out further and shoot another red lock to lower the ladder. In the hologram area you can interact with the registration console or just proceed.
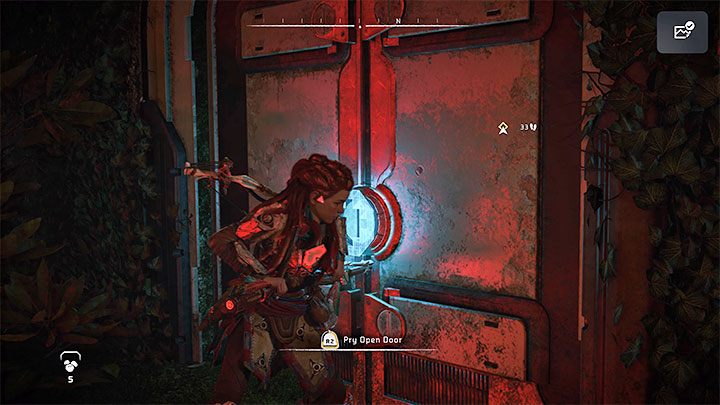
You'll reach a closed door you must force open by standing in front of it and holding down R2.
Examine the rubble in the collapsed wall
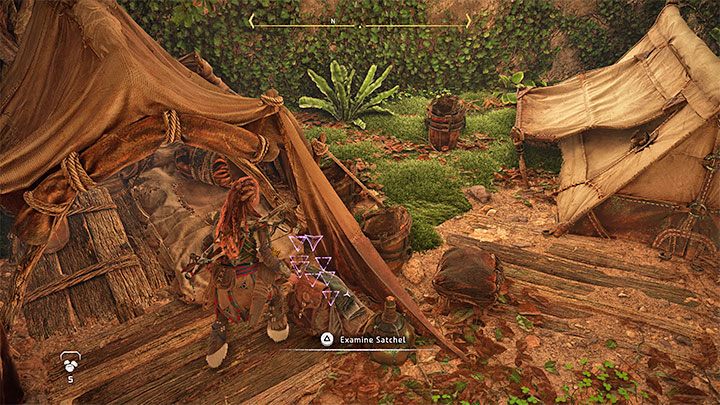
In the next area you'll find some abandoned climbing equipment. You must approach the collapsed wall and examine it more closely. Then examine the corpse.
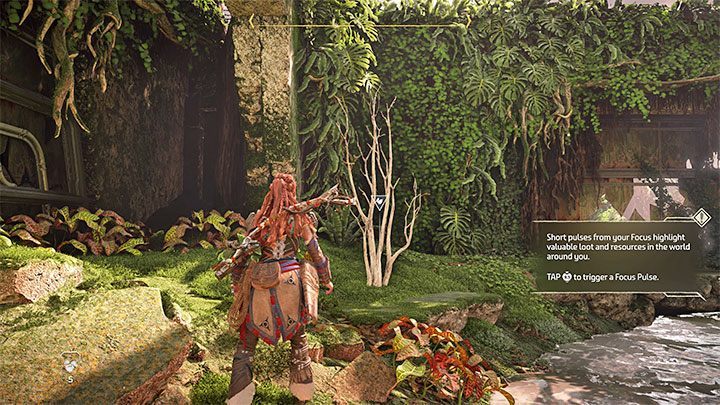
Now you have to obtain some parts to repair the tool needed to get rid of the blockade. Use your Focus to examine the objects marked with purple - the satchel and the rucksack.
Craft the tool
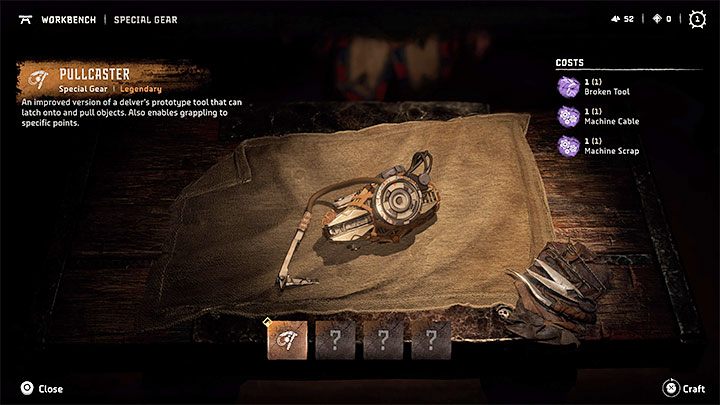
There's a workbench in the camp - approach it and interact with it. Enter the Special Gear tab. Now craft a Pullcaster.
Clear the rubble with the Pullcaster
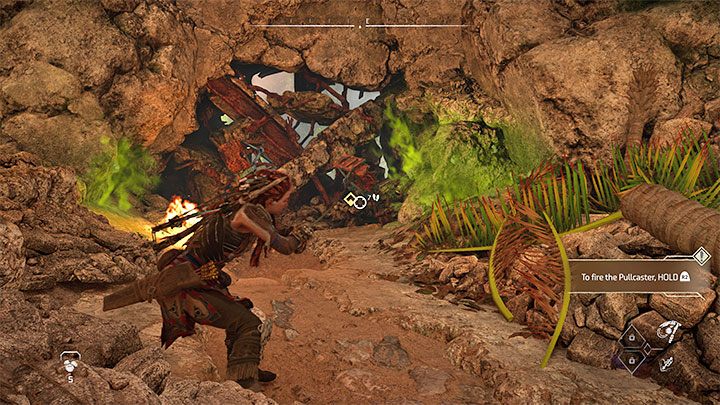
Return to the collapsed wall you examined before. To activate the Pullcaster you must hold down L2 (Aloy will start aiming with the bow), then press Triangle (Aloy will swap the bow for the Pullcaster). To fire the Pullcaster you must hold down R2. Don't let go of the trigger until you pull out the rubble.
Do the same with the second interactive Pullcaster point. This will unlock the way forward.
Use the Grapple Point
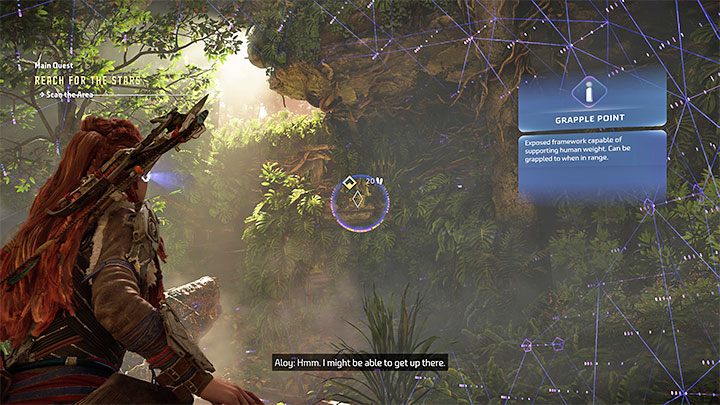
In the new location scan the area with your Focus. You'll find an optional console and an interactive grapple point (pictured above). Aloy can grapple towards these points by pressing X after the action icon appears - it will only show up when you're in range of the grapple point.
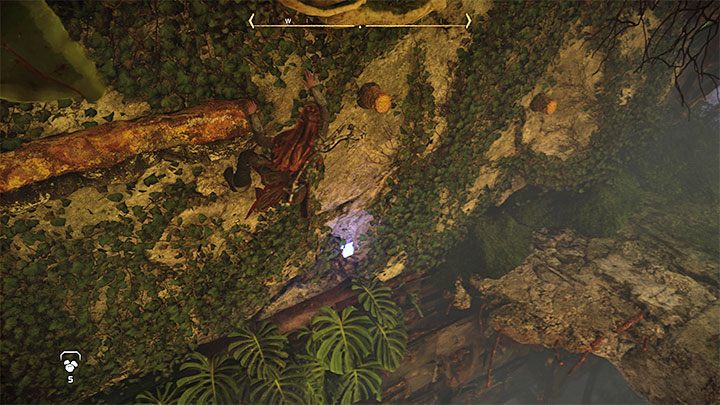
Start moving on the upper shelves - you'll have to use the grapple again as well as grab onto the yellow ledges (the game highlights them with yellow when you use the Focus).
Along the way you'll have to sprint and then make a long jump. Reach the ladder and lower it so Varl can climb up. Open the nearby door and watch the cutscene. Once you regain control over Aloy keep going and use the Pullcaster to destroy yet another obstacle.
Kill the Burrower with a Silent Strike

This new mission objective serves as a tutorial on how to sneak and execute sneak attacks. You can use tall grass to avoid detection as long as you crouch in it.
You can wait for a convenient moment to approach the machine from behind or distract it with a thrown rock. Silent Strikes are executed by pressing R1 and can instantly destroy weaker machines or severely damage the stronger ones. Go to the next area where you'll encounter more machines. You can keep practicing stealth or engage them in open combat. Try to focus on one machine at a time.
Search the Ancient Ruins for a GAIA backu
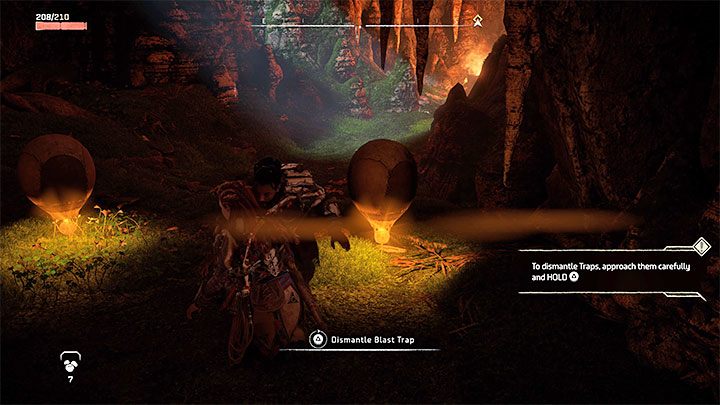
The only available path will lead you to the entrance of the underground facility. In the area pictured above you must watch out for traps which detonate when you come in contact with them. You can bypass them or carefully approach and disarm them. This will also teach you how to craft blast traps.
Keep exploring, you'll have to climb a wall on the way. You'll return to the surface.
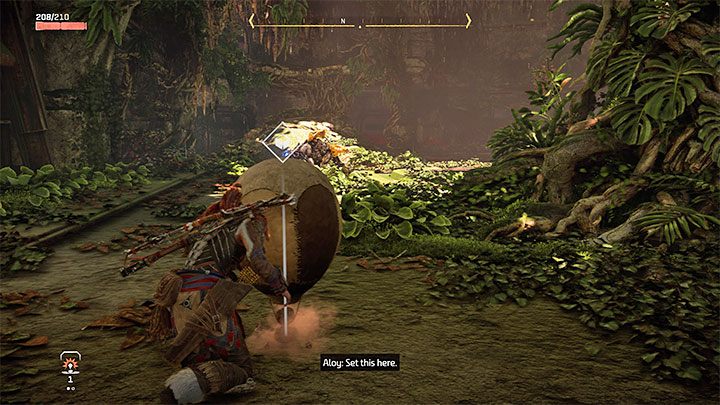
In this area you'll encounter Scroungers. First of all, you should scan one of them to learn their strengths and weaknesses. You can also tag the machine to make its patrol route appear on the screen. This way you can set a trap on the route, wait for the Scrounger to step on it and detonate it. This could make the upcoming battle much easier.

After the encounter find some new yellow ledges on the wall. By using them you can reach a new door. In the next area you'll have to climb some more, with your Focus marking all the yellow handles.
In the upper hall examine the holo-projector console and talk to Varl, who'll give you a Blastsling.
Go to the data center
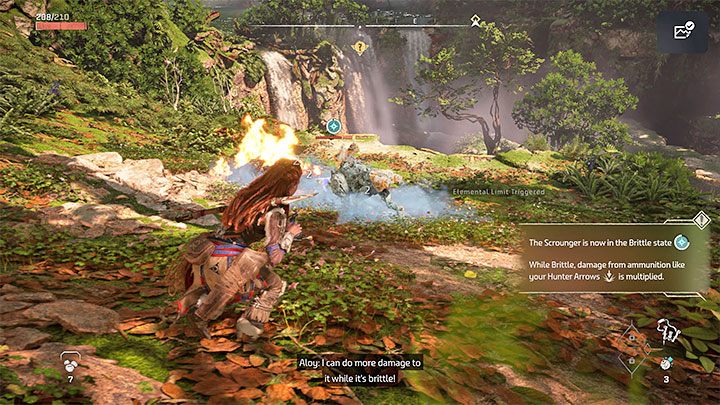
Resume your journey. The Blastsling can be useful when fighting Scroungers, as they're weak to its ice projectiles. You can put them into a Brittle State which makes them more vulnerable to arrows.
You'll eventually reach yet another area with machines - beat them however you'd like. After the battle shoot the red lock to lower the ladder. Reach a vantage point that overlooks the space shuttle and huge snake-like machines.
Go to the shuttle
Get onto the protruding object and press Triangle to lower yourself down on a rope - it will happen automatically. On your way to the shuttle you'll encounter more machines, it's a good idea to look for ambush opportunities before the battles (silent strikes, shooting weak spots, setting traps).
Locate the next red lock and lower the ladder to begin a long climb. You'll have to jump to new handles on the way so always press X when the corresponding icon appears. You must reach some of the handles by jumping from a running start and pressing the correct button while airborne. You'll also go down a zipline along the way.
Search for the shuttle clamp controls
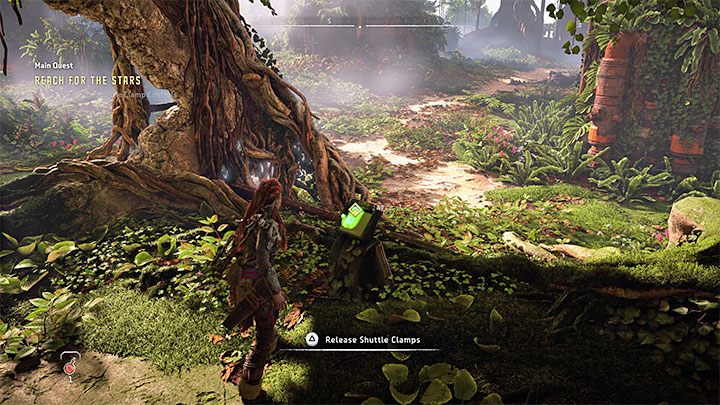
You'll end up in another location filled with machines which should be your priority. Remember you can use ice attacks to weaken your enemies more effectively. You can also look for opportunities to perform silent strikes.
After securing the area you must find the shuttle clamps. Releasing them won't free the shuttle though, so you must take some further steps.
Climb the launch tower
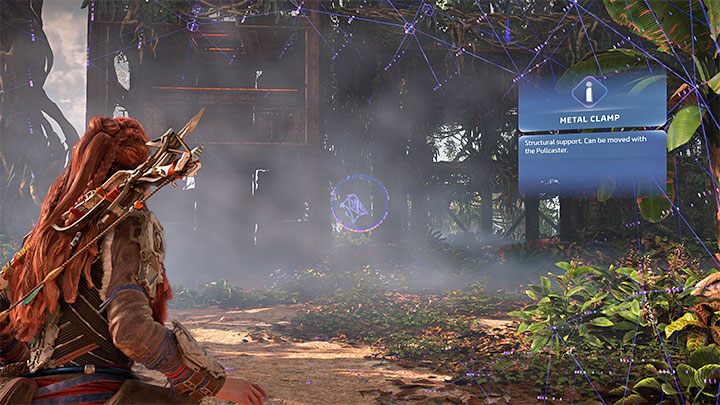
Look around until you find an interactive clamp pictured above - use the Pullcaster on it to change its position.
Start climbing again, just like before use your Focus to tag the yellow elements.

Your objective is to hit two Shuttle Cable Connectors. You can reach them in successive stages of your climb. Once you get near the connectors (as pictured above) shoot them with your bow.
You'll drop the shuttle and trigger a boss fight.
Slitherfang - boss fight
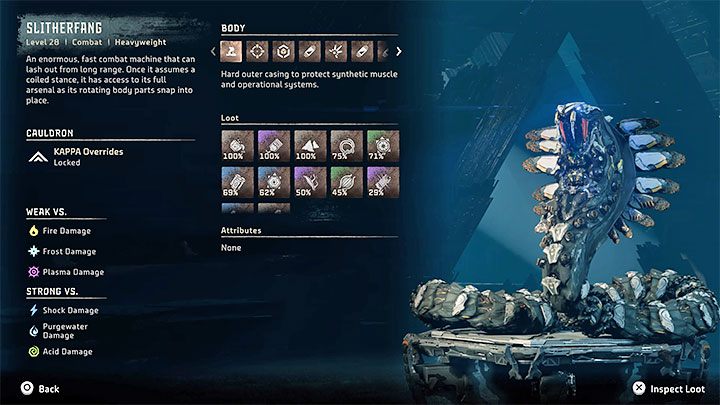
The Slitherfangis a giant mechanical snake and the first boss. Before you start attacking it, you should scan the snake and open its entry in the Machine Catalogue.
You can also change the tabs in the top list to learn about different parts of the boss's body that can be destroyed or detached. Try to destroy them with ranged weapons.

In the first phase, the Slitherfang will use two types of attacks. The first type is spitting venom. Hide behind rocks for the duration of this attack to avoid it. Aloy will be safe there.

The second of the boss's attacks is very dangerous - it is a powerful charge. This attack is signaled, so you will have some time to dodge to the side to avoid damage.
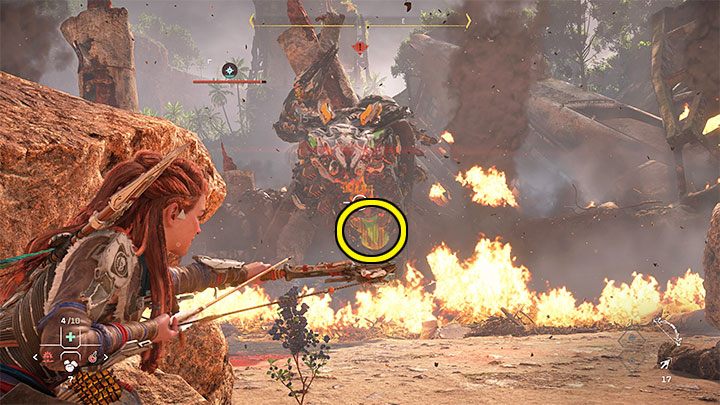
When attacking the boss, try to target the yellow parts of its armor - its weak points. The Slitherfang's section below its maw highlighted in the image is especially vulnerable.

Once weakened, the boss can fall to the ground. This is the perfect opportunity to run up to it and attack with the spear. First of all, check if you can perform a Critical Strike with the spear. If not, use your normal attacks until the boss stands up again.

The second phase of the fight is signaled by a short cut-scene. The boss will become more mobile. You will also lose some of the cover that Aloy was able to use in the first phase. Fortunately, this doesn't mean that you have to fight in the open - there are still a few large boulders to hide behind. Use them primarily to avoid the boss's electrified tail attacks.

The boss can hide underground and then attack you from somewhere else. You must stay on the move to avoid being attacked suddenly. Unfortunately, some of these types of attacks can destroy boulders meaning you will gradually lose more cover.
You can find useful loot in the arena - mainly berries for healing and resources for arrows. Keep replenishing your ammo by using the weapons radial menu.
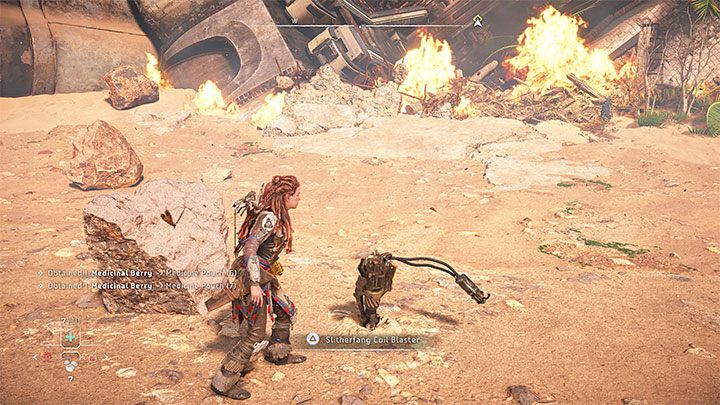
You can also find a blaster in the area. You can use this firearm to shoot the giant snake.
You must fight until the Slitherfang loses its entire health bar. Watch a cut-scene during which the boss will be defeated. Don't forget to search the remains of the machine to collect valuable loot. You may also spend the first skill point you got.
Go to the data center - continued
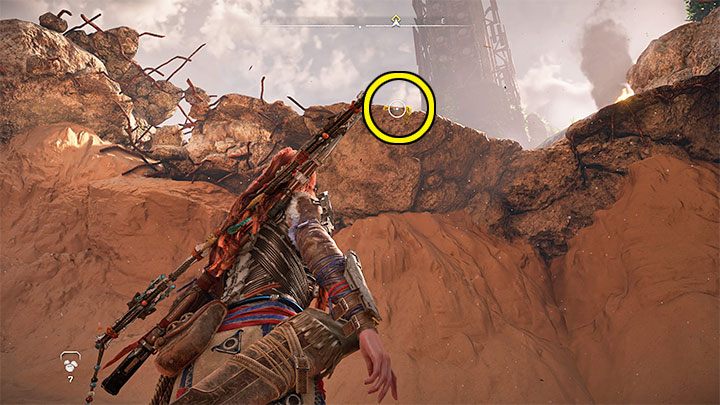
Leaving the battle arena may be a bit problematic. You must locate the handle pictured above, jump up and grab it.
Go towards the passage visible far away from here. In the new area keep climbing the yellow elements until you reach a hall where a cutscene will trigger, completing the quest.