
Stage 2 (An Unexpected Party) | Main Stages - Collectibles LEGO The Hobbit Guide
Last update: 11 May 2016
Unique Treasure 1/4
Requirements: Flail (e.g. Dori)
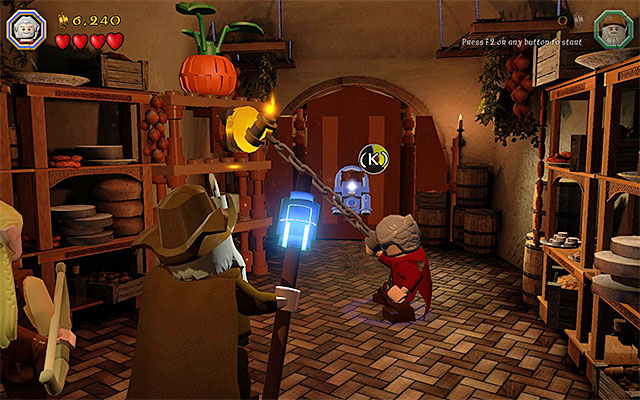
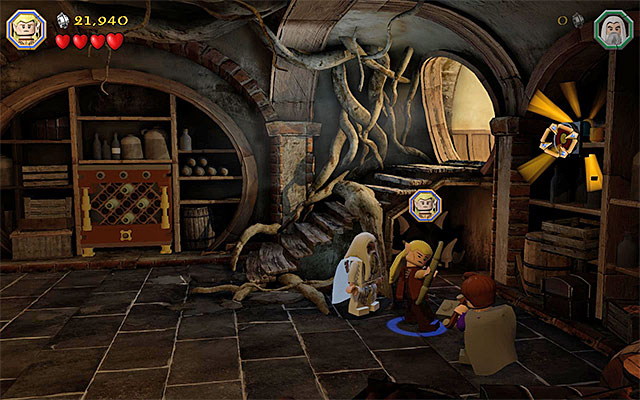
Way to obtain: Soon after you start the second stage, you will find yourself in the side storage (you reach it by pushing the large object out of the way). Use the flail on the catch on the left and take a look around for the collectible.
Reward: Pumpkin Crown
Unlock access to the garden
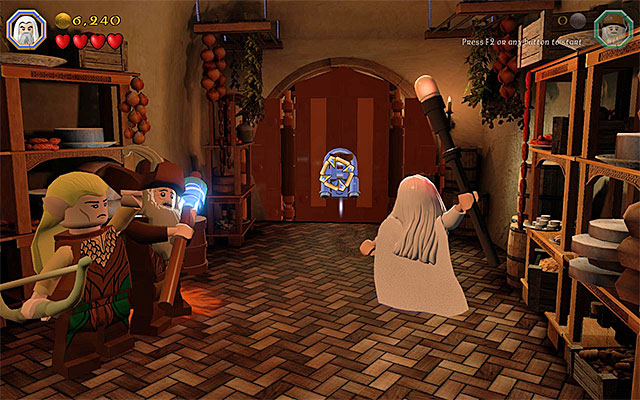
During the second stage of the game, in the storyline mode, you do not het the opportunity to explore the garden adjacent to Bilbo Baggins' cottage. While completing the second mission in the Free Play mode, this is possible and also required, because there are many of the collectibles that you are looking for, in the garden. Remain in the side storage, where you found the Unique Treasure mentioned above. Switch to Saruman here and prepare the Saruman's Staff. Enter the targeting mode (hold down the action key/button) and aim at the padlock shown in the above screenshot.
Unique Treasure 2/4

Requirements: staff (any wizard)
Way to obtain: After you get to the garden, find a circular blue object on the right. Send a magic projectile towards it and collect the shield.
Reward: Window Shield
Minikit 1/10

Requirements: the ability to heal animals e.g. Radagast)
Way to obtain: In the left side of the garden, you will find a wounded goat. Approach the animal and use the unique healing ability. As a reward, where there has been the goat, there will appear a minikit.
Schematic 1/1

Requirements: the ability to eat (e.g. Bombur)
Way to obtain: In the left part of the garden, there is a red blanket. Stand on it, as a character that has the ability to eat food (e.g. Bombur). Switch to another character, approach the one on the blanket to feed them - 2 Bread and 2 Meat (you can find these around the location). After you do that, start bouncing off the stomach of the well-fed ally, try to reach the branch of the tree and make the schematic fall down.
Reward: Mithril Tornado Axe Schematic
Minikit 2/10

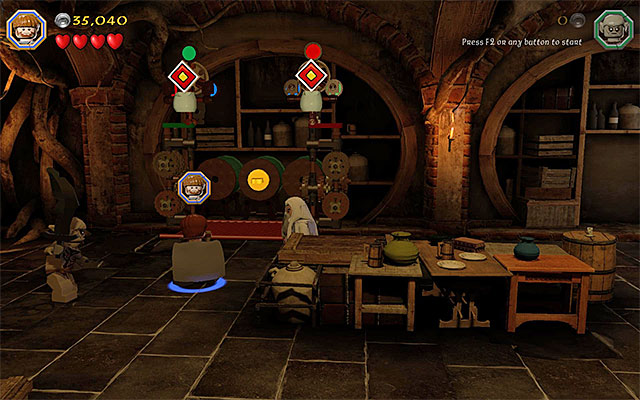
Requirements: spade (e.g. Fili)
Way to obtain: In the center of the garden, find the place shown in the above screenshot, where you can use the spade. Start digging, thanks to which you will obtain a knob. Take the knob to the well, click it into the slot and use it. Wait for the minikit to be drawn from the well and collect it.
Minikit 3/10

Requirements: -
Way to obtain: You need to destroy five garden gnomes in Bilbo Baggins's garden (you can use any weapon). After you have done that, you receive the minikit automatically.
Unique Treasure 3/4

Requirements: fishing rod (e.g. Bilbo)
Way to obtain: In the right part of the garden, find the pond. Stand on the pier, switch to the character with fishing rod and start the fishing minigame. After you complete it. you will be rewarded with the collectible.
Reward: Gaffer's Trowel - the functioning of the trowel is identical to the spade (digging objects out of the ground and planting)
Reach the cellar
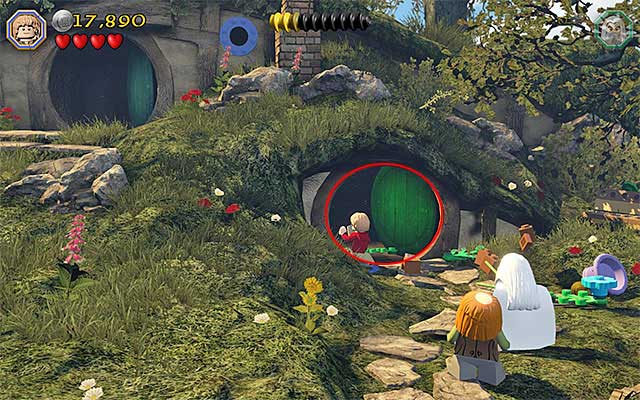
The cellar is another one of the bigger locations, which have not been available, while completing the second stage of the game, for the first time. The entrance to the cellar is in the spot shown in the above screenshot, i.e. in the right side of the garden.
Minikit 4/10

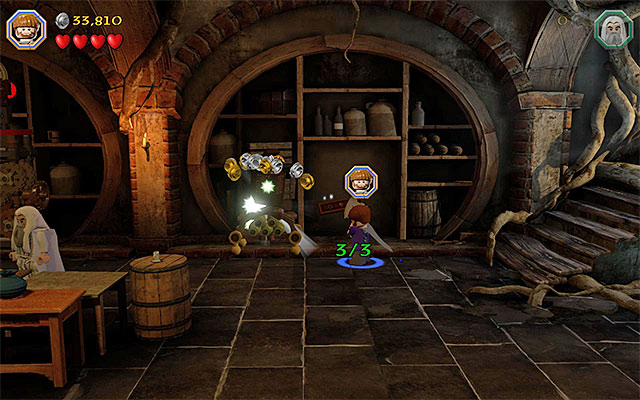
Requirements: The Ring
Way to obtain: After you get to the cellar, start by putting The Ring on, while playing as Bilbo. Interact with the objects shown in the above screenshot, thanks to which you will build the first bottle stand.
You can now take off the ring and explore the rest of the cellar. Look out for the hopping bricks and, each time you approach them, hold down the building key/button. This way, you will build two more stands and receive the minikit automatically.
Unique Treasure 4/4
Requirements: bow (e.g. Kili or any elf)
Way to obtain: Explore the right side of the cellar and locate a target, which you can fire the bow at. Performing this, will let you access an unique treasure.
Reward: Tea Hat
Minikit 5/10

Requirements: Morgul Blade
Way to obtain: Switch to Sauron and explore the right side of the cellar. You need to enter the dimly-lit area under the stairs and destroy the object there. Thanks to this, you will gain access to a minikit.
Minikit 6/10

Requirements: the ability to climb walls (e.g. goblin)
Way to obtain: Examine the left side of the cellar, thanks to which you will find an interactive wall. You need to switch to the goblin here and start climbing that wall (the above screenshot). After you reach the very top, grab the hovering minikit.
Minikit 7/10
Requirements: slingshot (e.g. Ori), flail (e.g. Dori)
Way to obtain: Examine the left side of the cellar and turn your attention to the two targets here. You need to hit them with slingshot. The solution to the puzzle here has been shown in the above screenshot - above the target on the left, there needs to be a green circle, above the one on the right, a red one. Wait for the grate to slide open, switch to the character with flail and rip the golden catch off. You can now collect the minikit.
Minikit 8/10
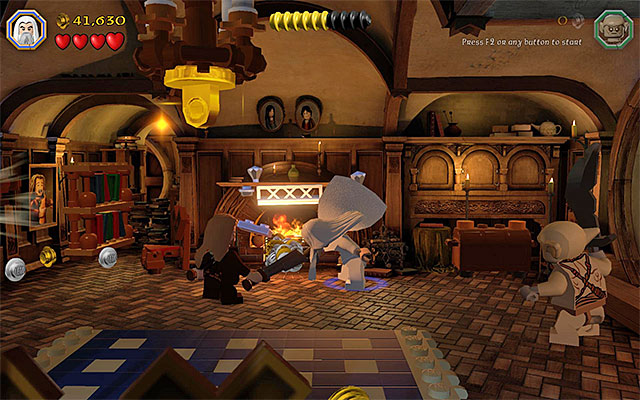
Requirements: Saruman's staff
Way to obtain: reach the main area in Bilbo's hut, i.e. the one where the fireplace is. Approach the fireplace and use Saruman's staff to destroy the silver mithril fence. You can now collect the minikit.
Minikit 9/10

Requirements: flail (e.g. Dori), spade (e.g. Fili)
Way to obtain: Remain in the main area of Bilbo's hut and switch to the character with flail. Use the flail to reach the chandelier under the ceiling. Wait for the chandelier to smash and approach it, as the character with the spade. You can now start digging, thanks to which you will obtain a minikit.
Minikit 10/10

Requirements: -
Way to obtain: To obtain the last, tenth, minikit, you need to build three maps in various locations of Bilbo's hut. You can prepare the first map at the fireplace, where you have obtained the two collectibles mentioned above.

You need to build the second map in a smaller area, between the main area and the dining room.

To build the third map, you need to go to the main pantry in Bilbo's hut, i.e. in the area where you find the items for the guests.
Master Burglar
To obtain the Master Burglar Status, you need to amass, at least, 70000 studs. This becomes possible only in the Free Play mode because, in the story mode, the garden and the cellar are inaccessible. Apart from that, try to complete the dancing minigame, without a fail (each time you press the indicated key, at the correct moment, provides you with extra 1000 studs).